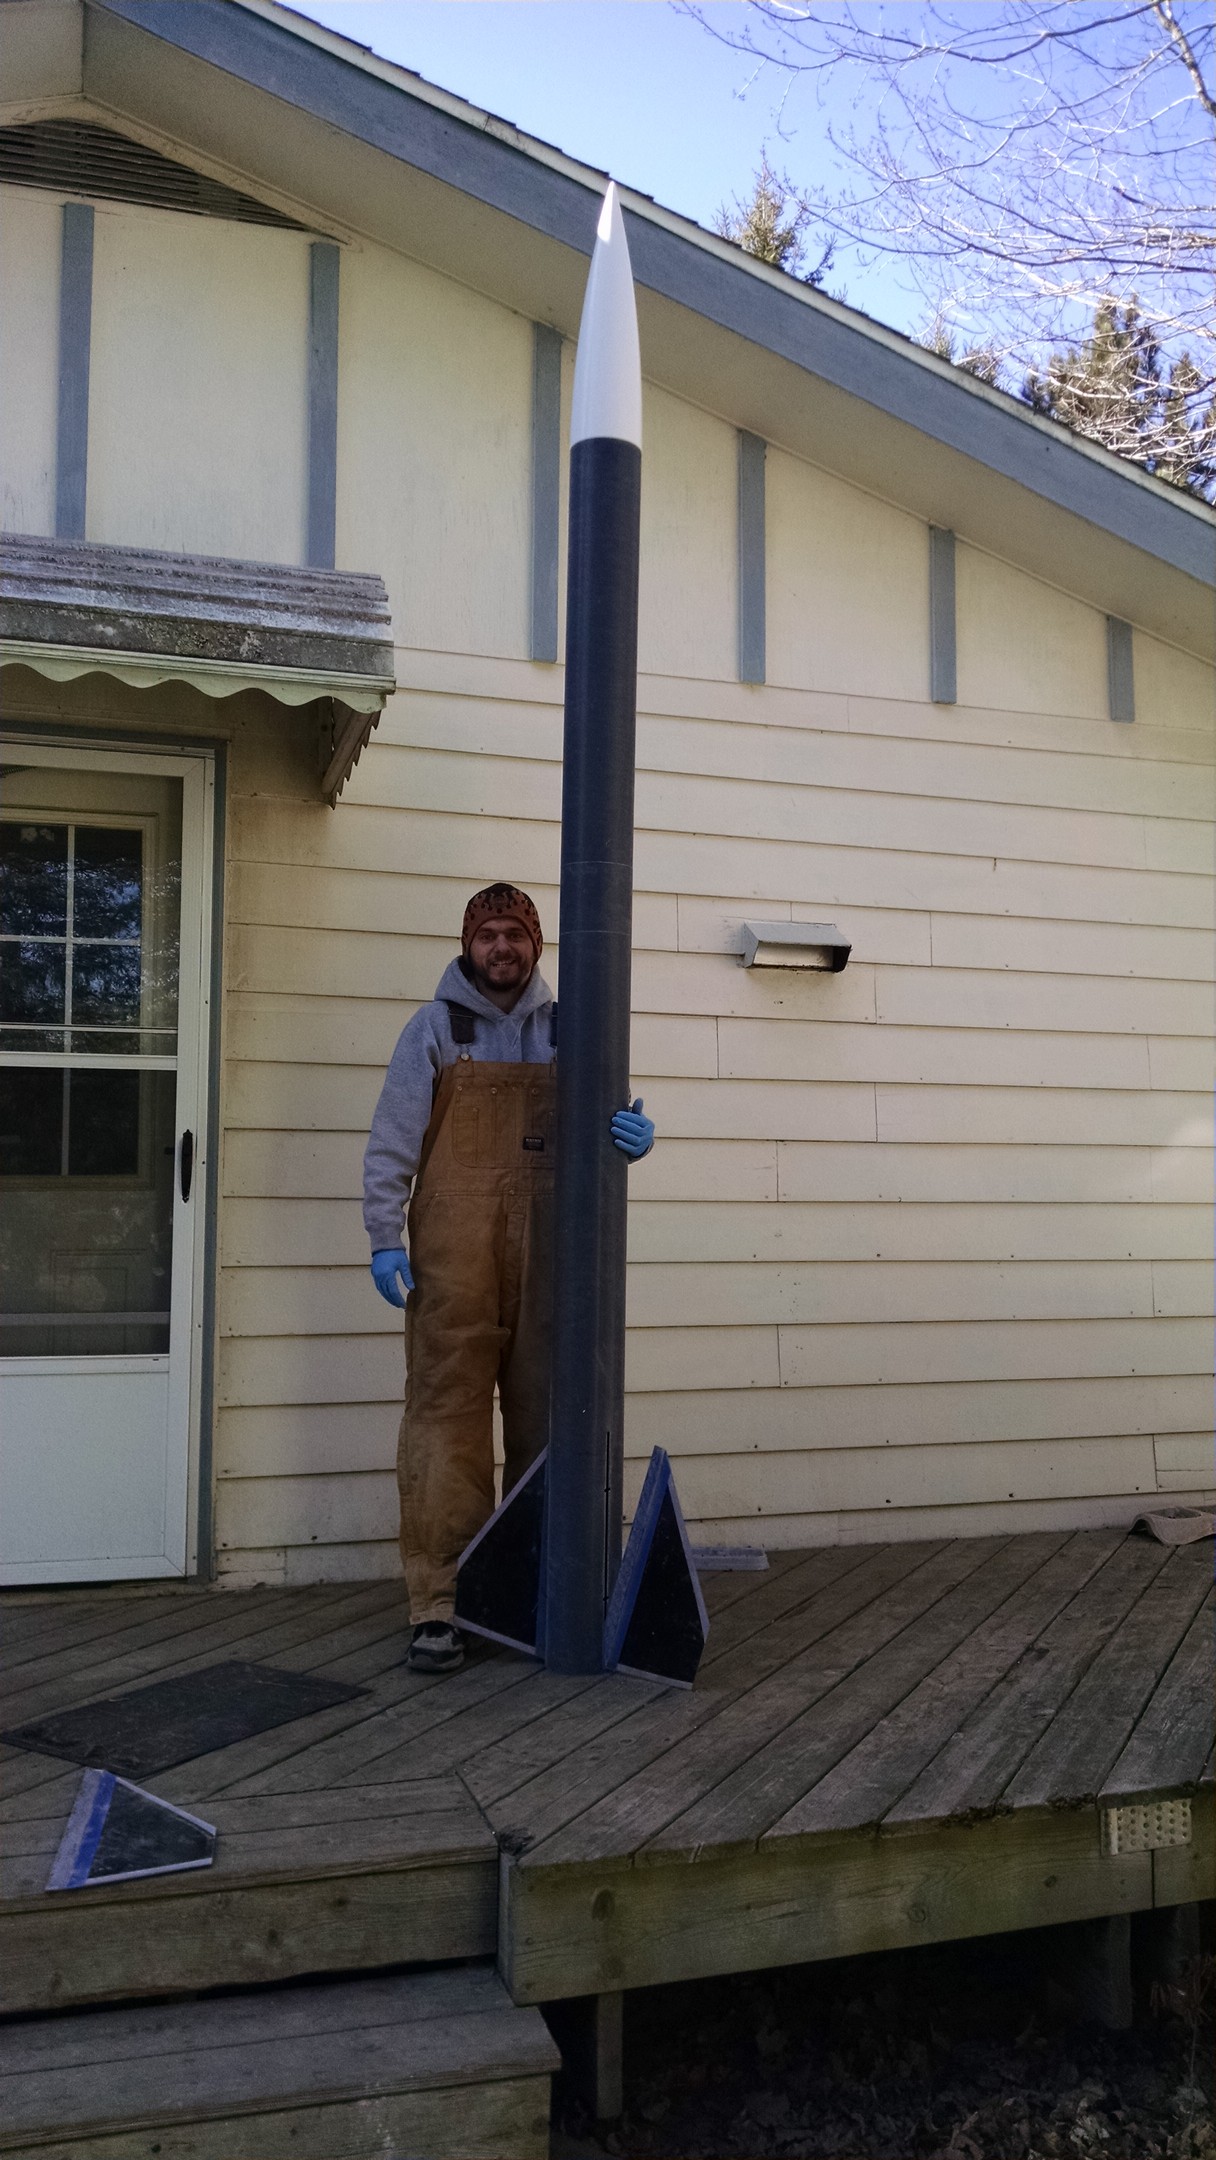
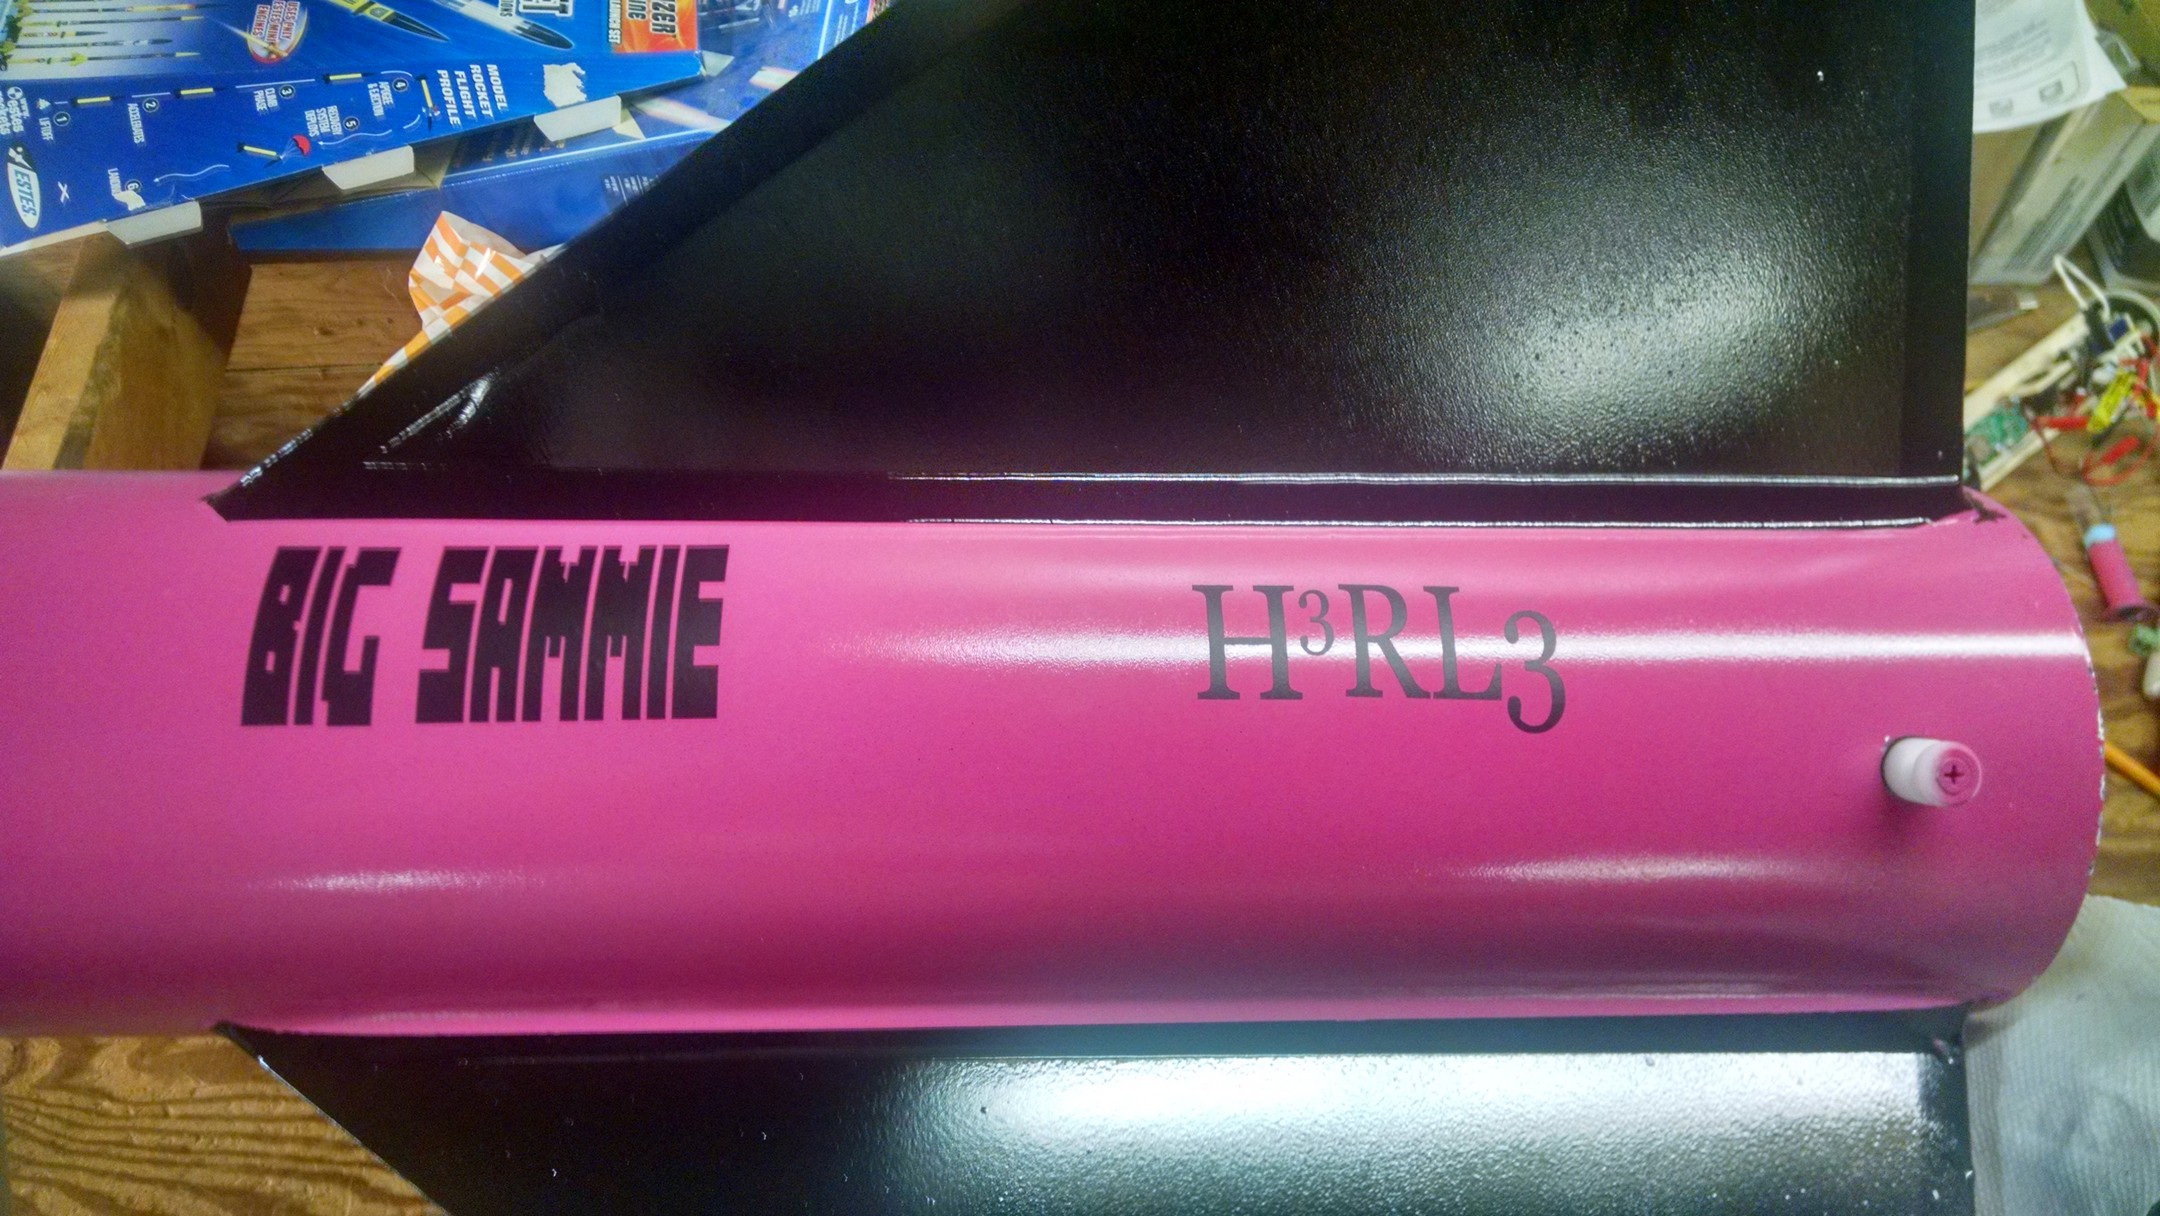
Title: Level 3 Certification “The Big One”
Location: H³ Workshop 1
Date: Jan 21, 2015 – Mar 13, 2016
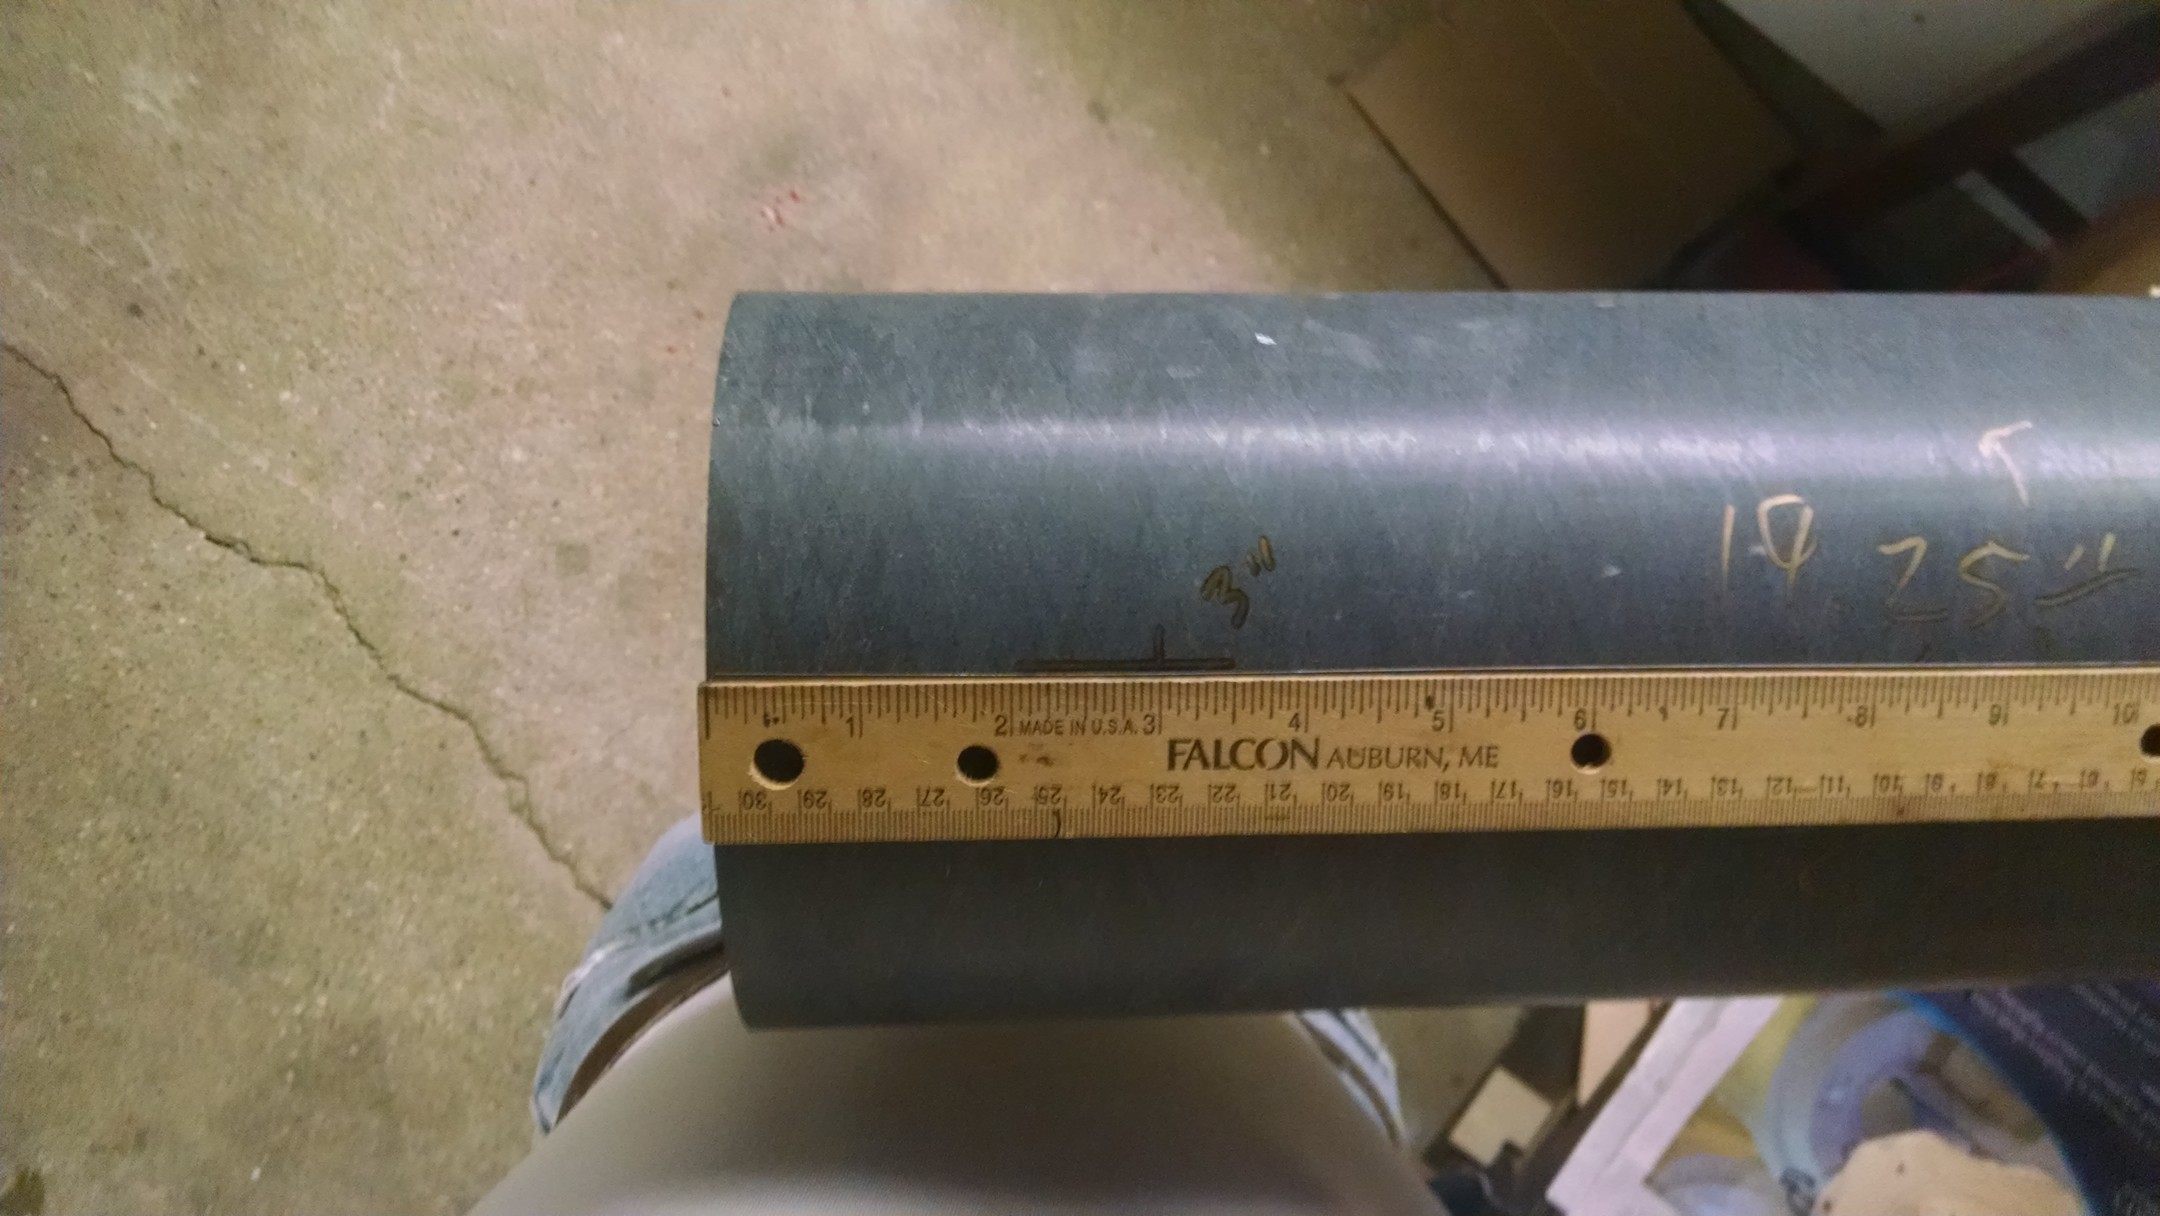
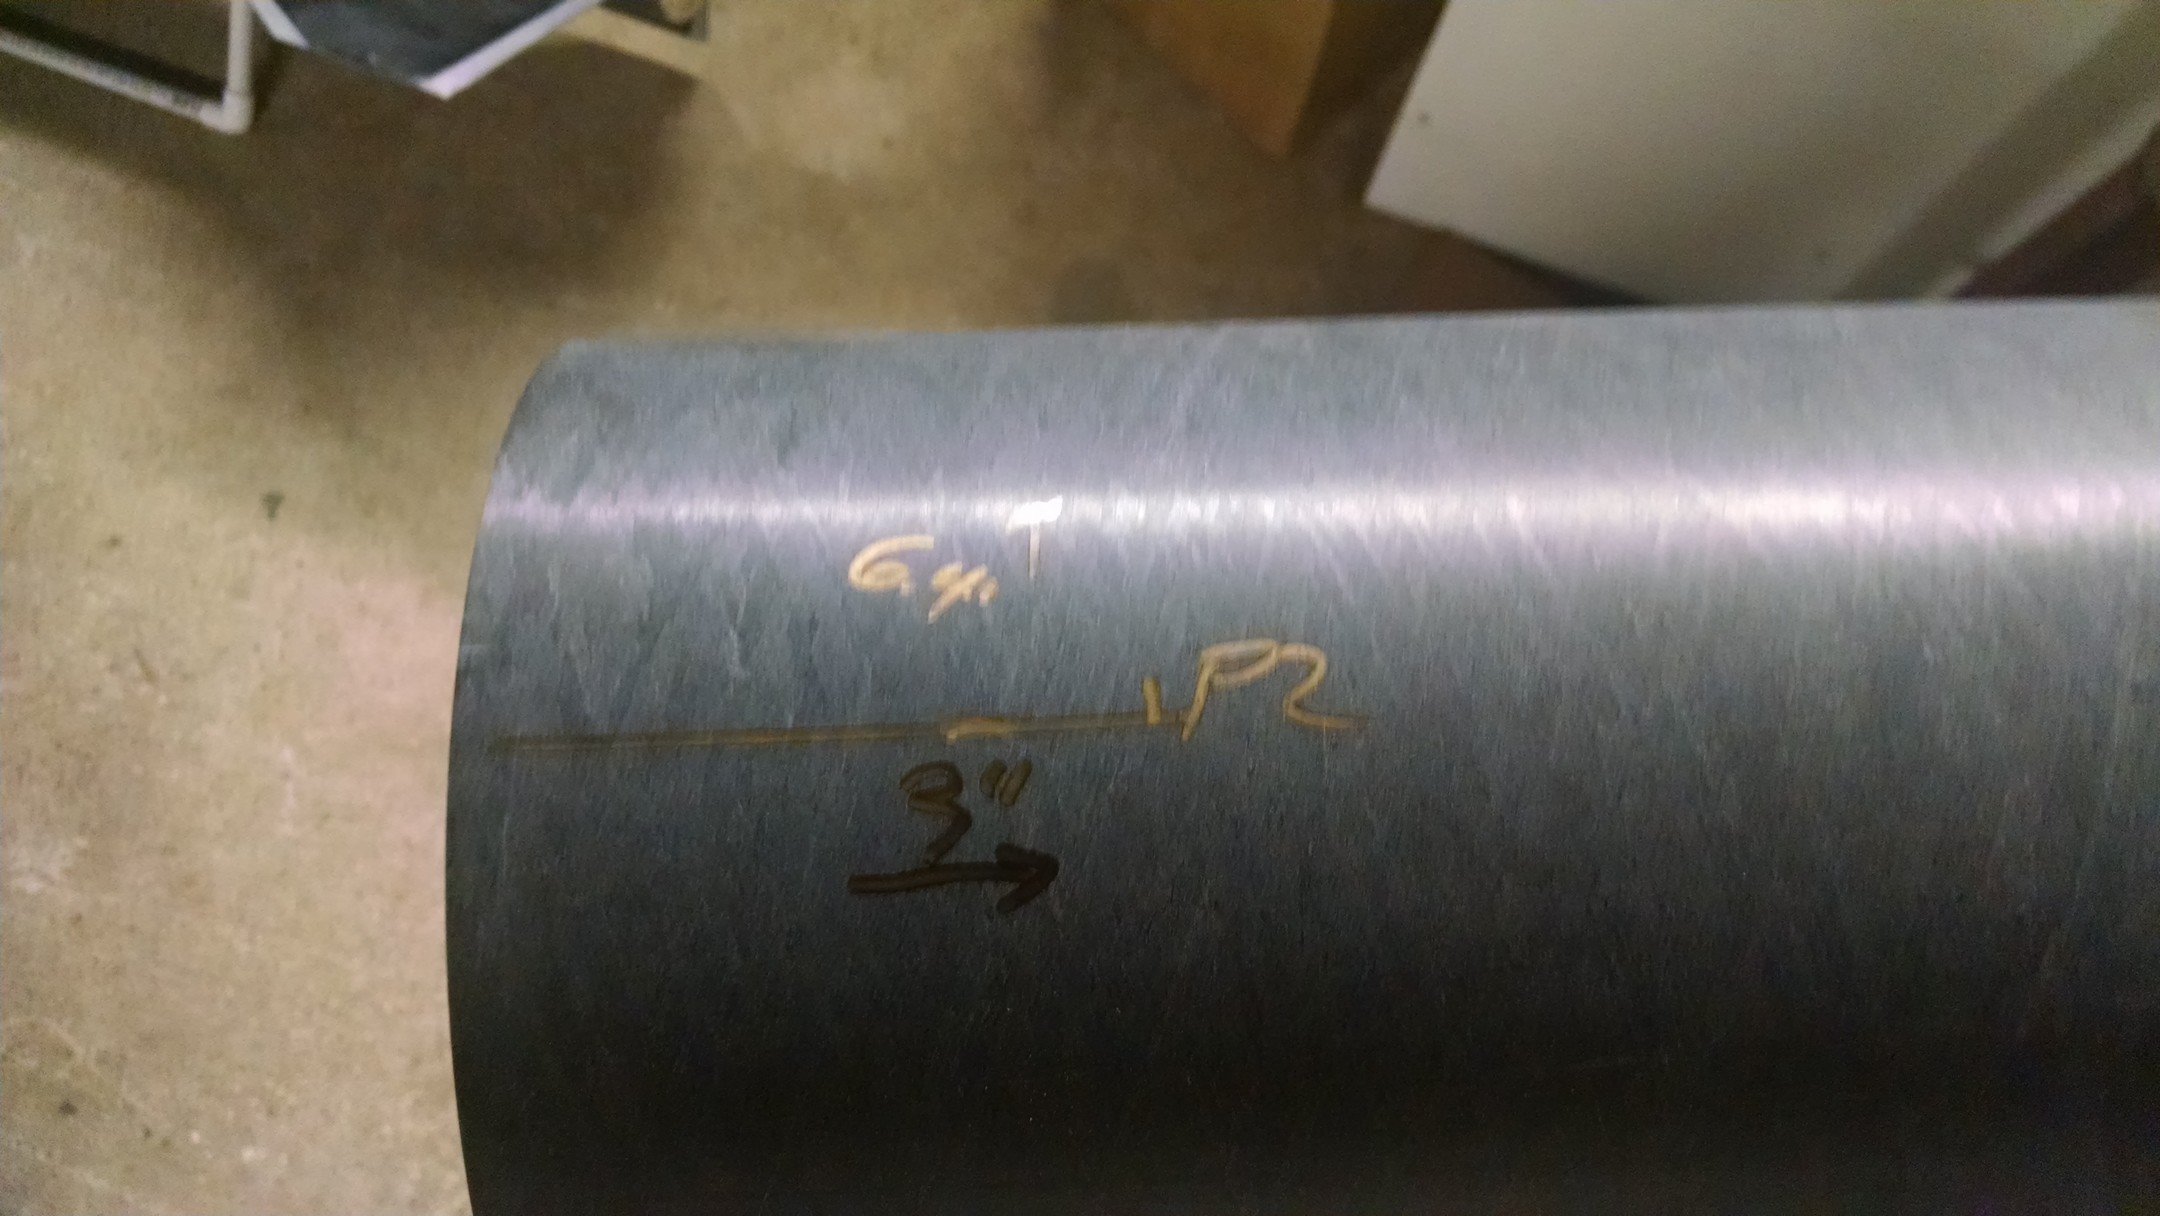
Description: Ultimate Wildman Kit – 6in x 10.5ft fiberglass kit
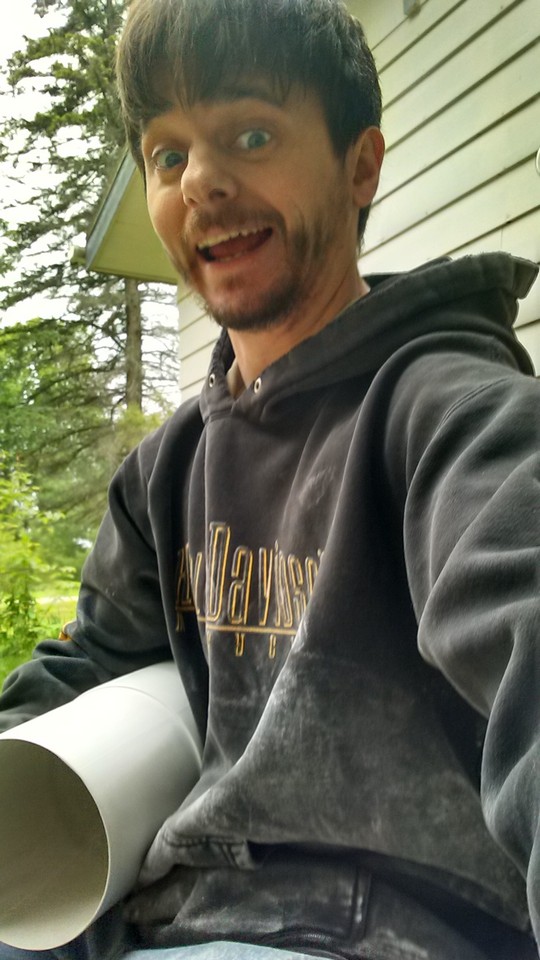
Builder: Russell Hall
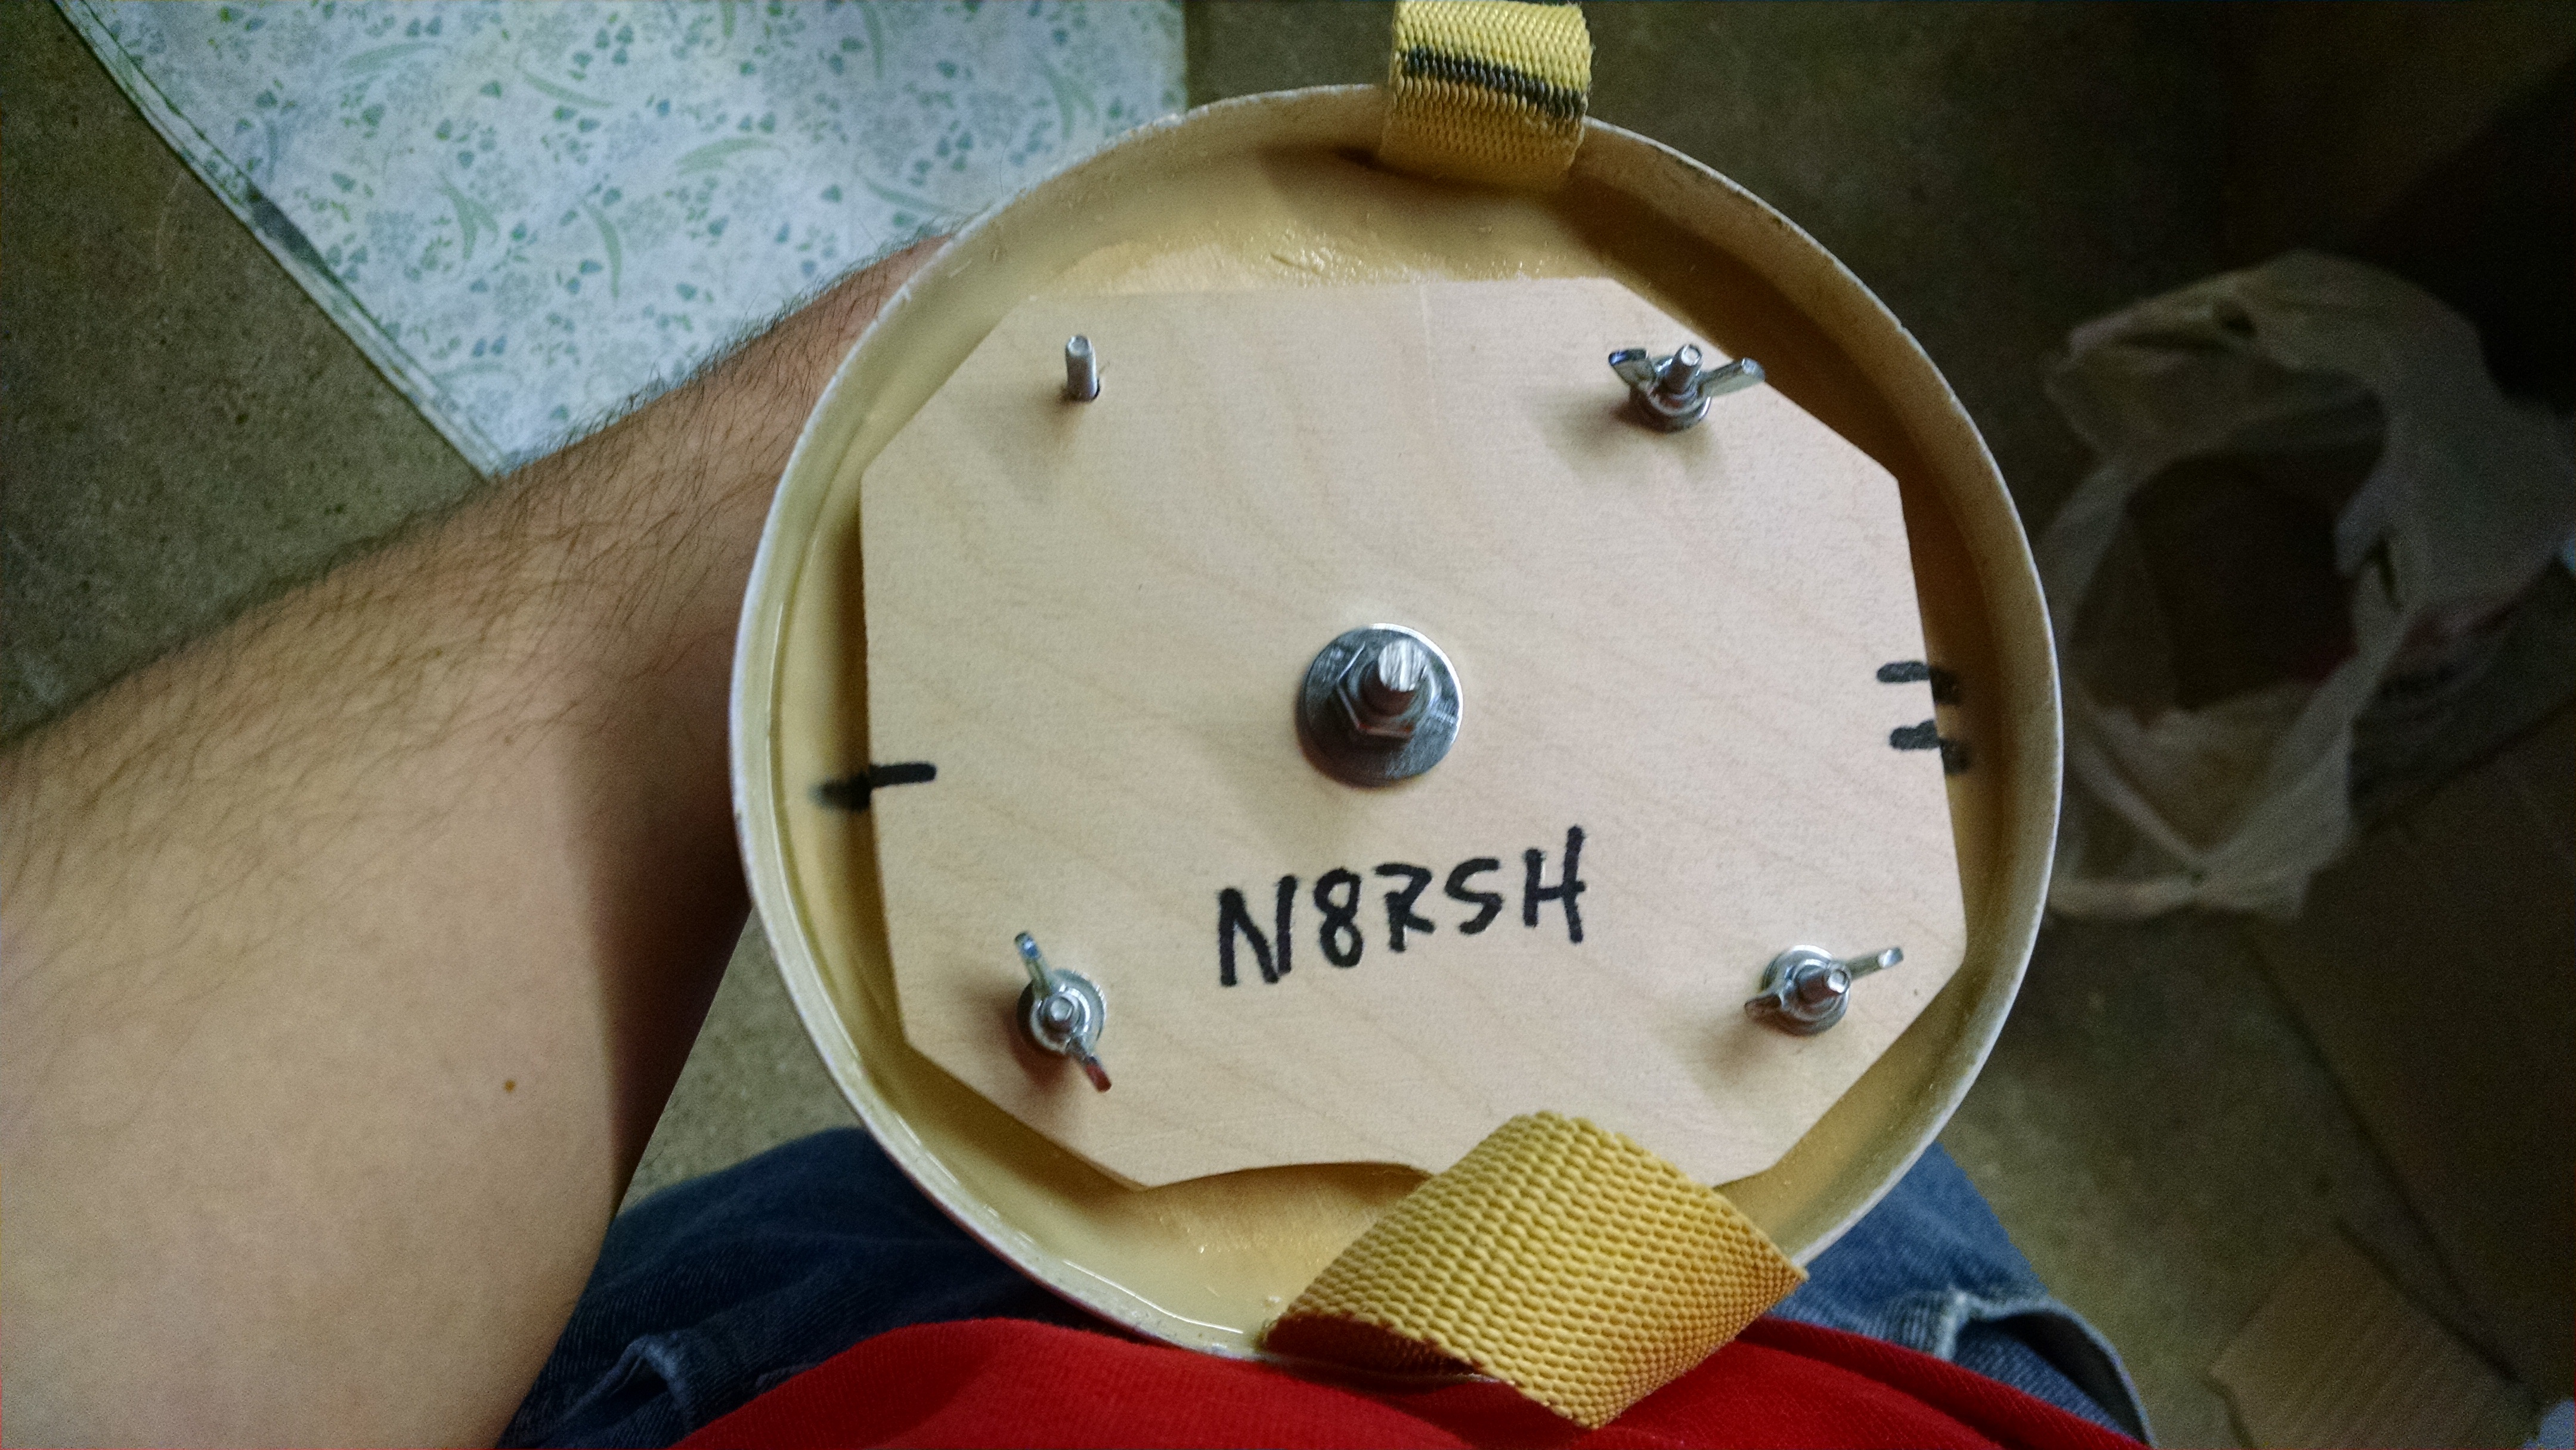
Project Mission Codename: H³RL3 (Rocket Level 3)
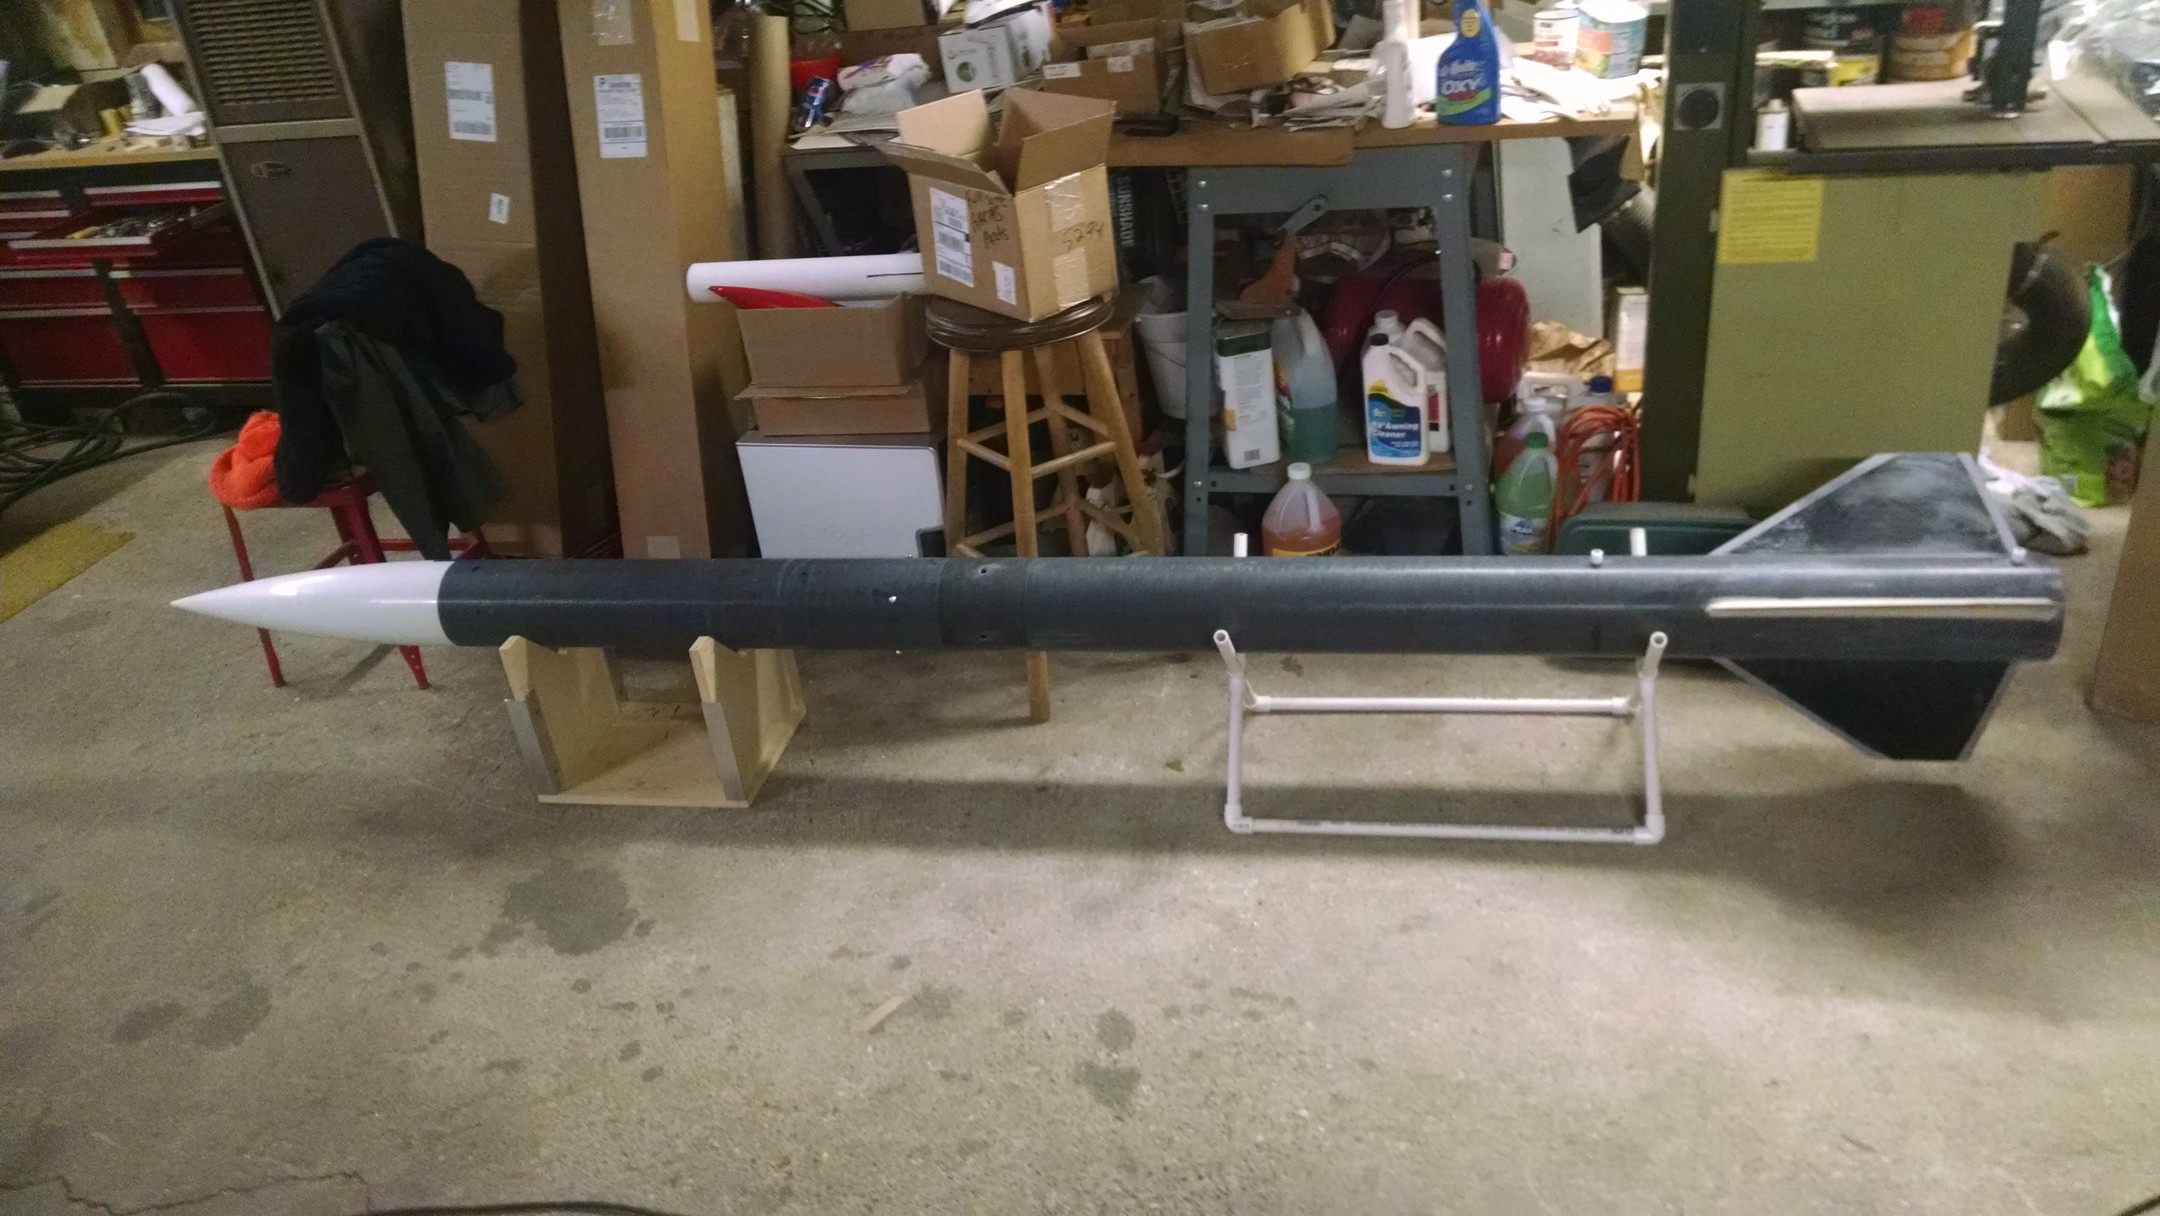
Total weight with M1830 is 49.1lb
![]() Hall L3 Construction Package D1.8 Updated Feb 23,2016
Hall L3 Construction Package D1.8 Updated Feb 23,2016
 Rob’s BP Burrito
Jan 21, 2015 UPS Delivery

Waiting for me.. in the cold.
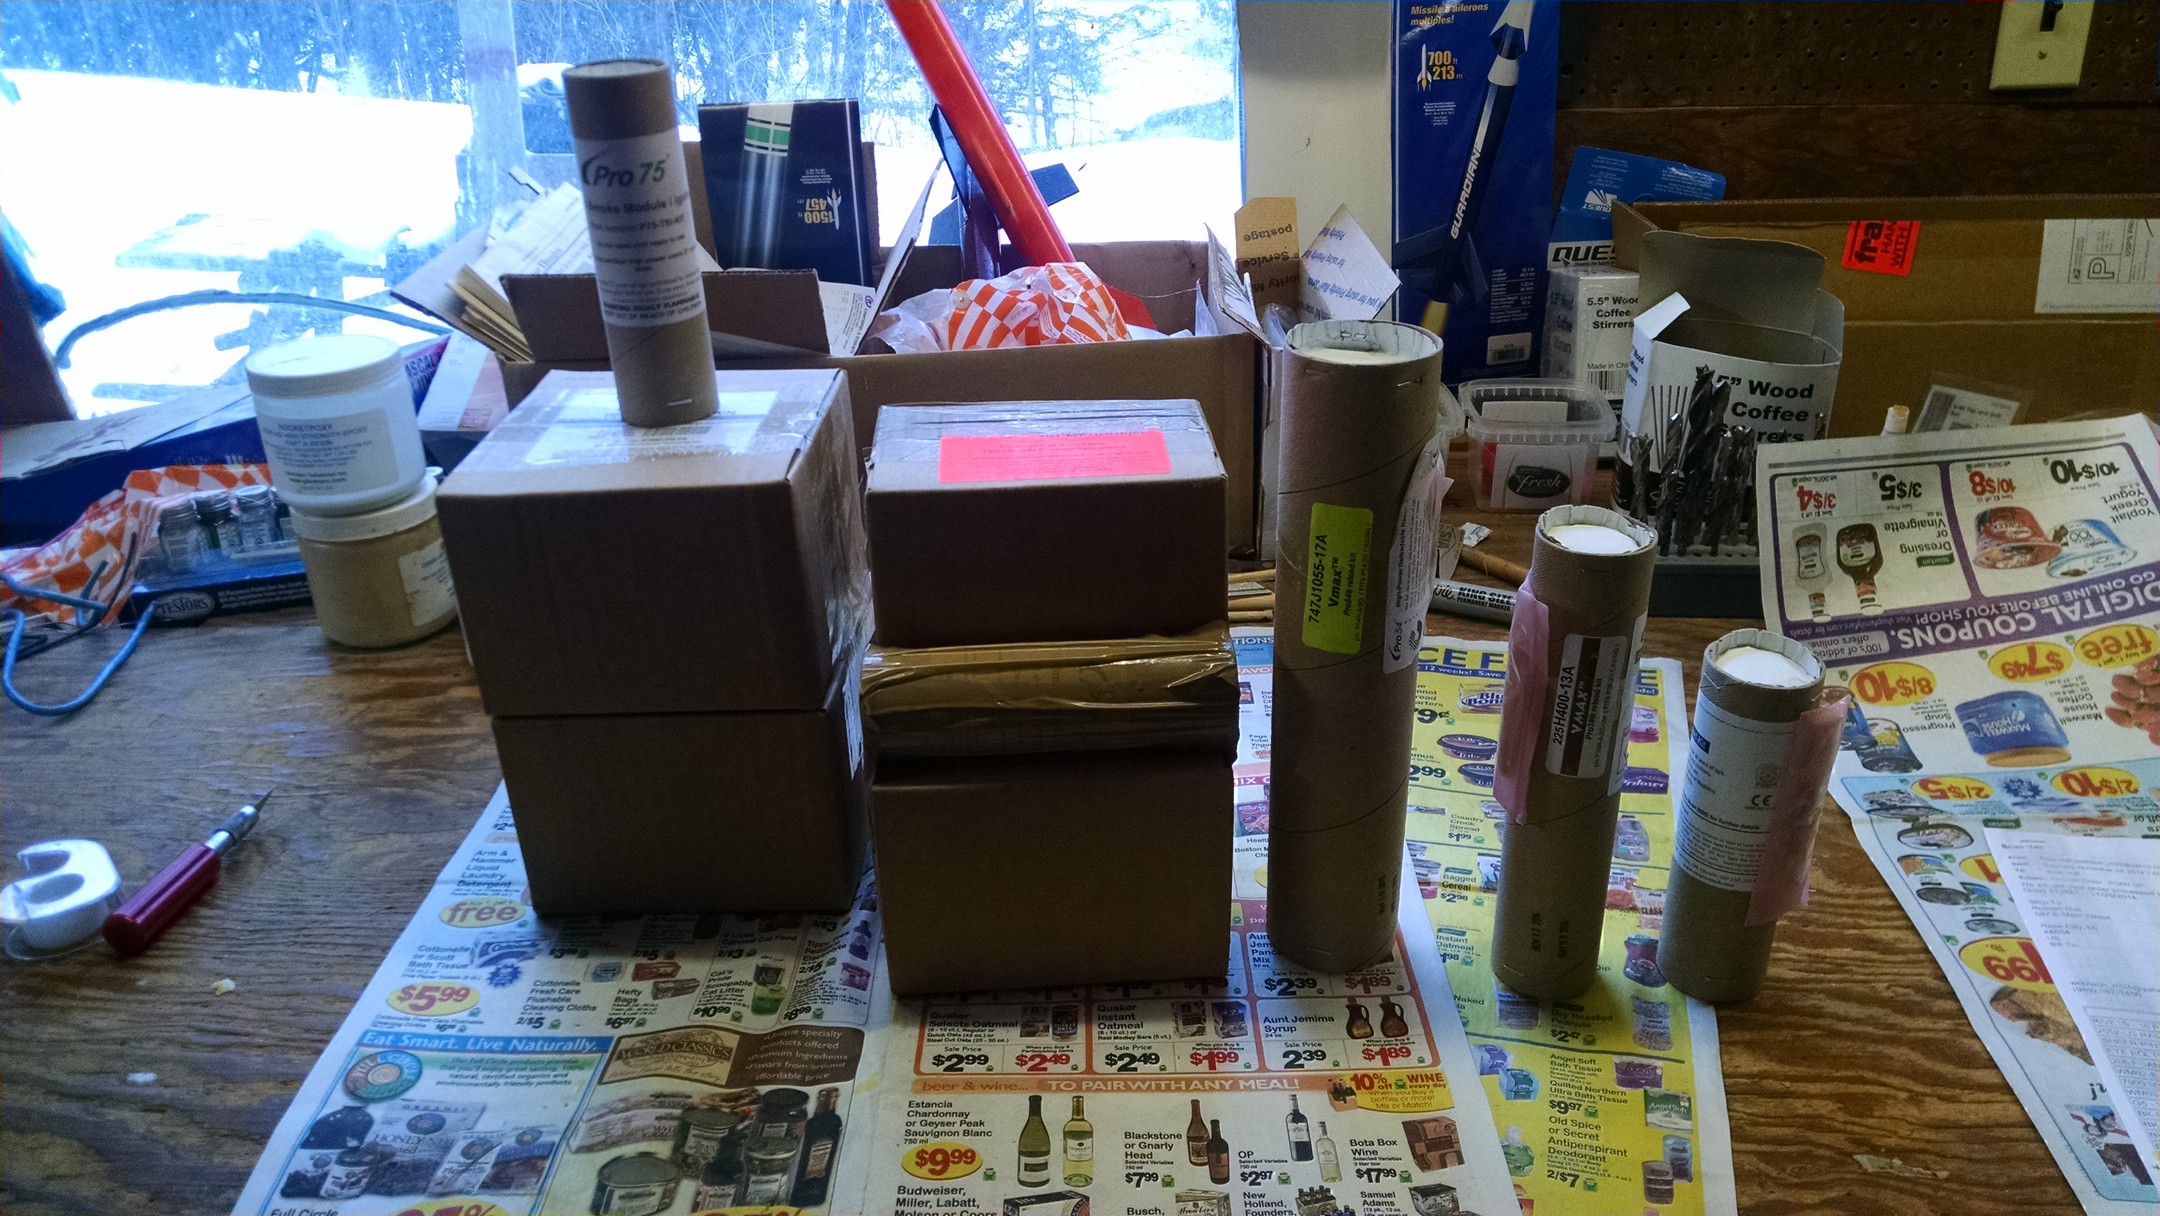
M1830, L990 and my daddy’s VMAX
CTI 75mm 6G Gen2 Case..
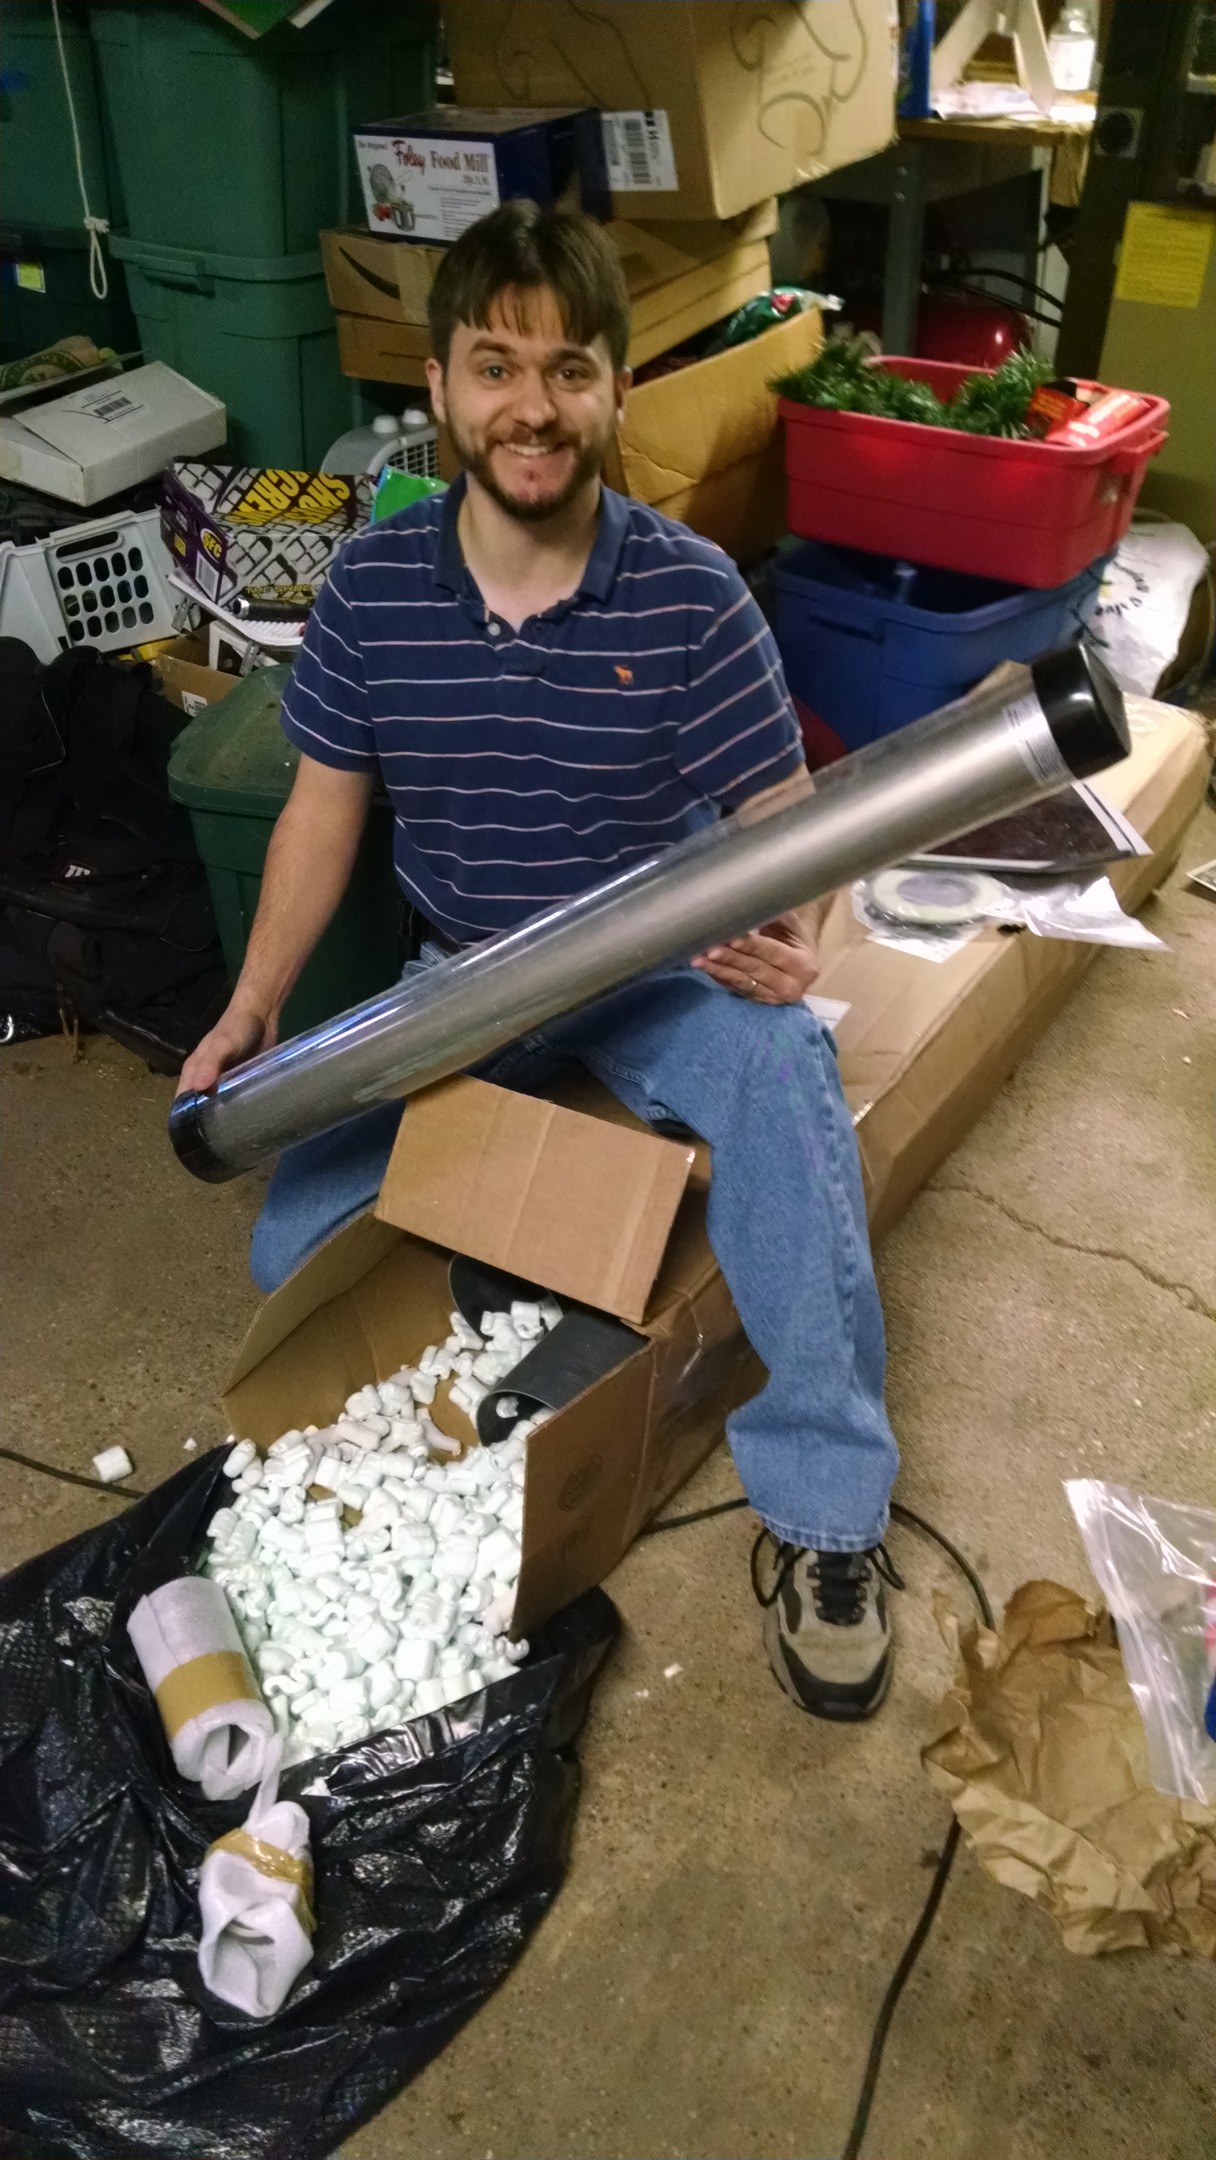
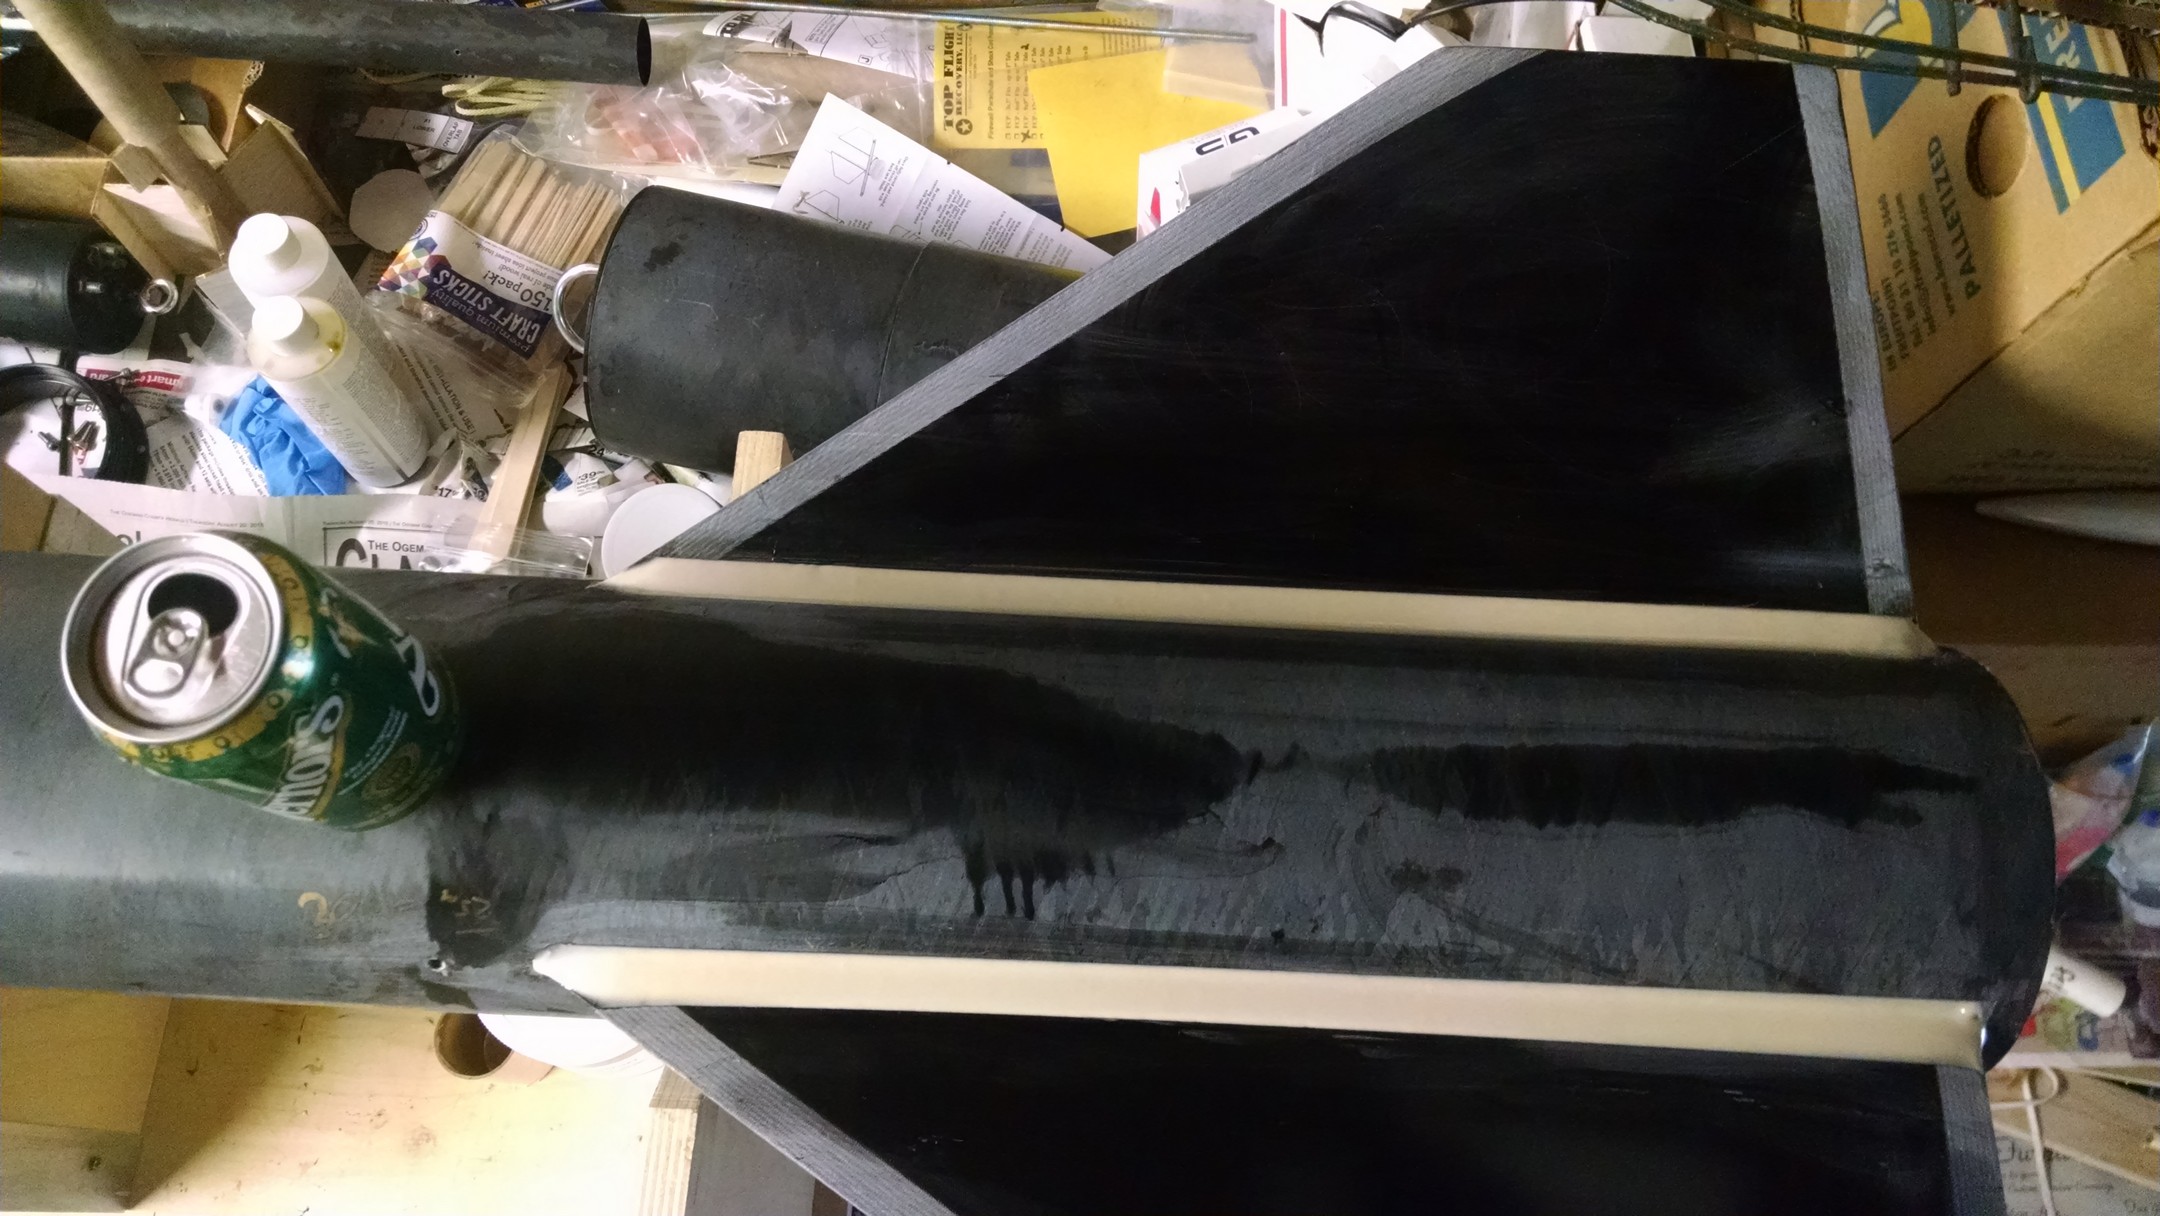
The Kit… before the bath…
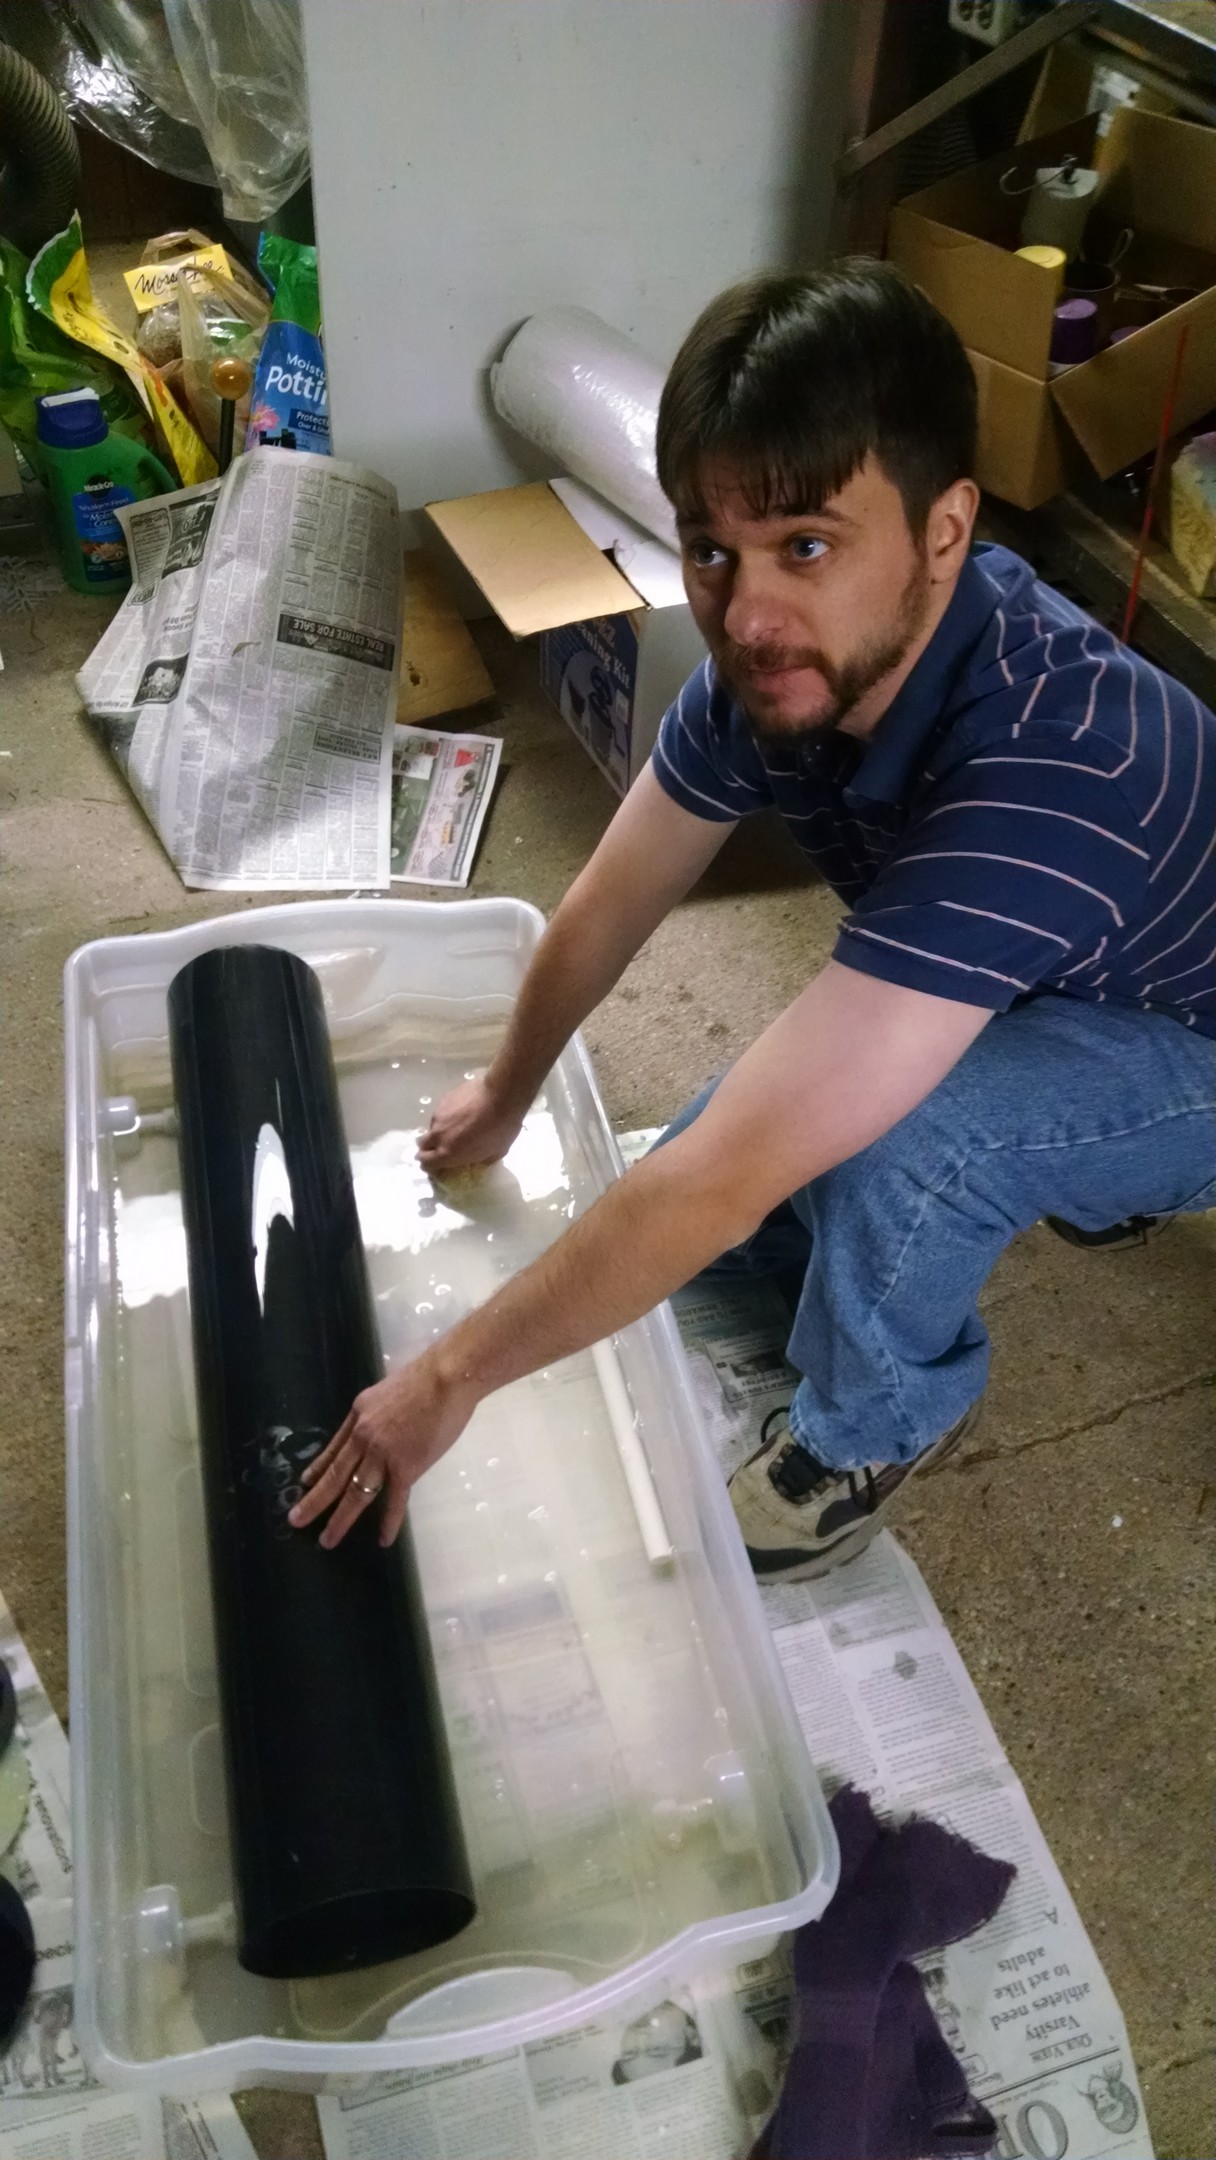
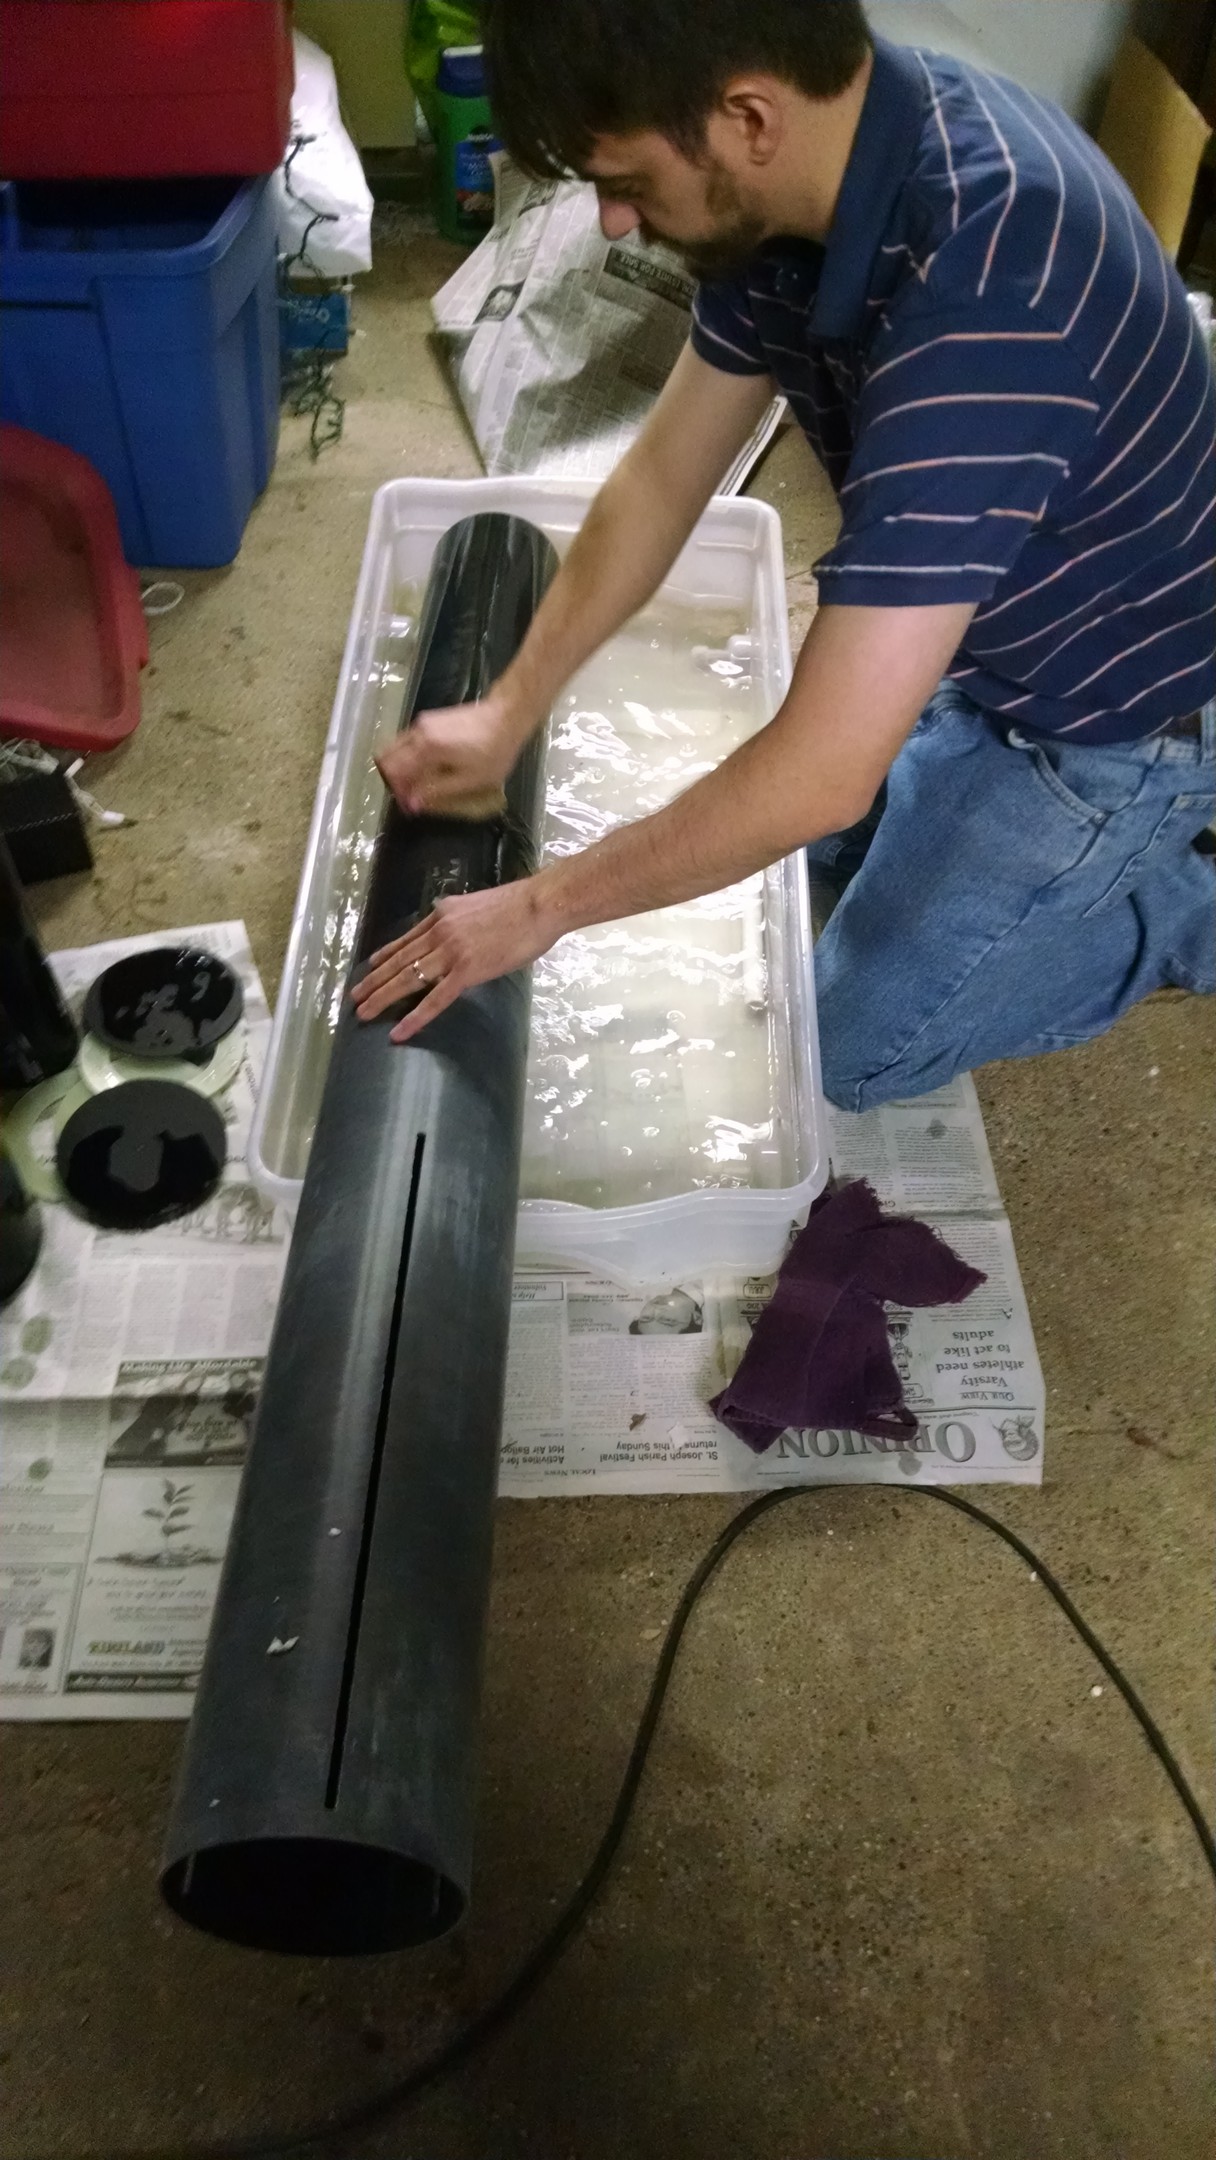
Bath Time
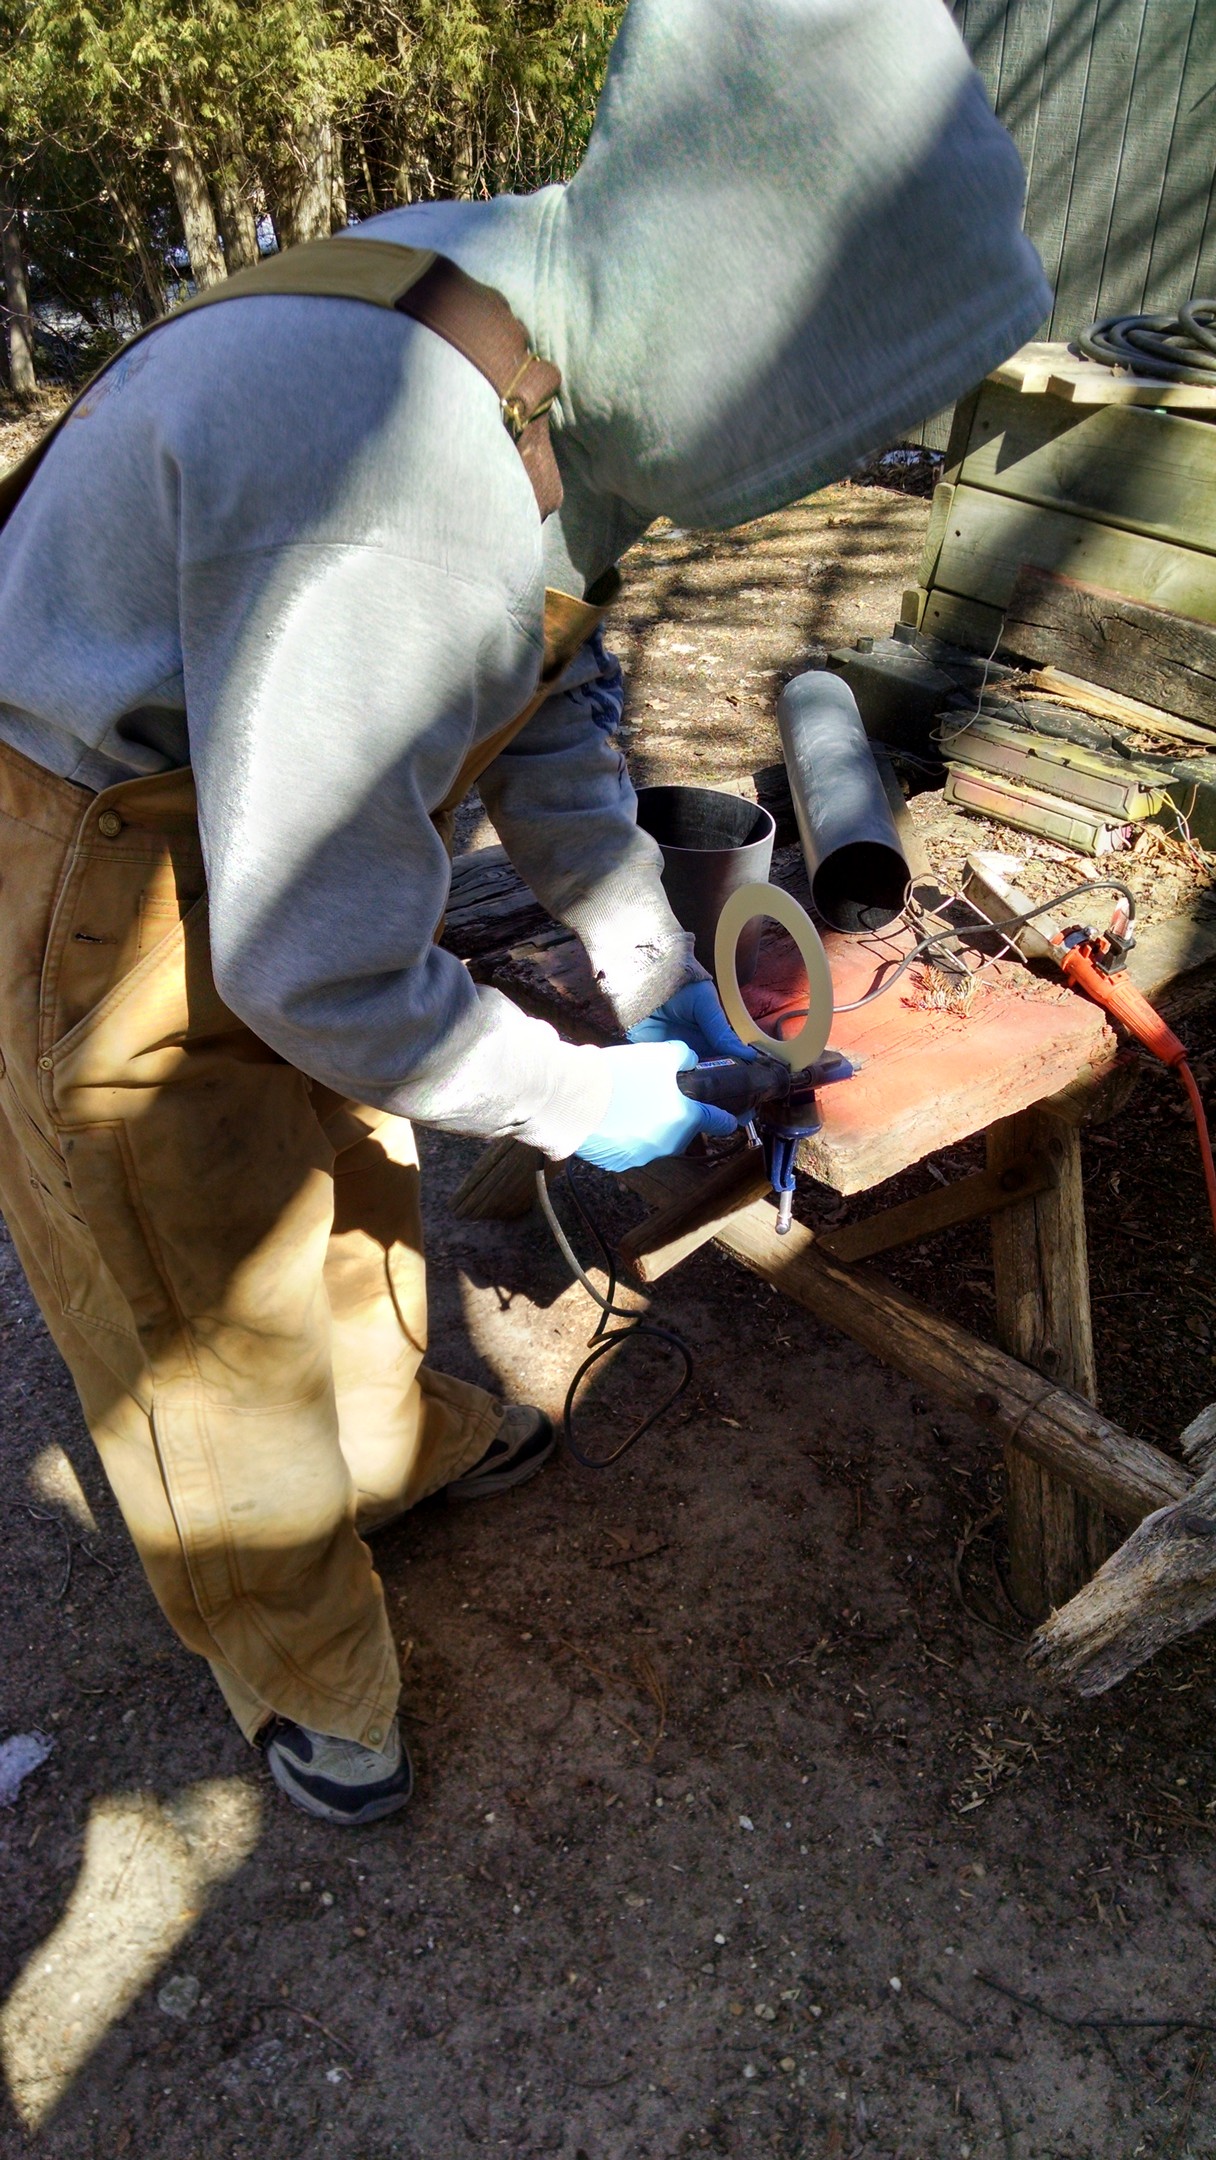
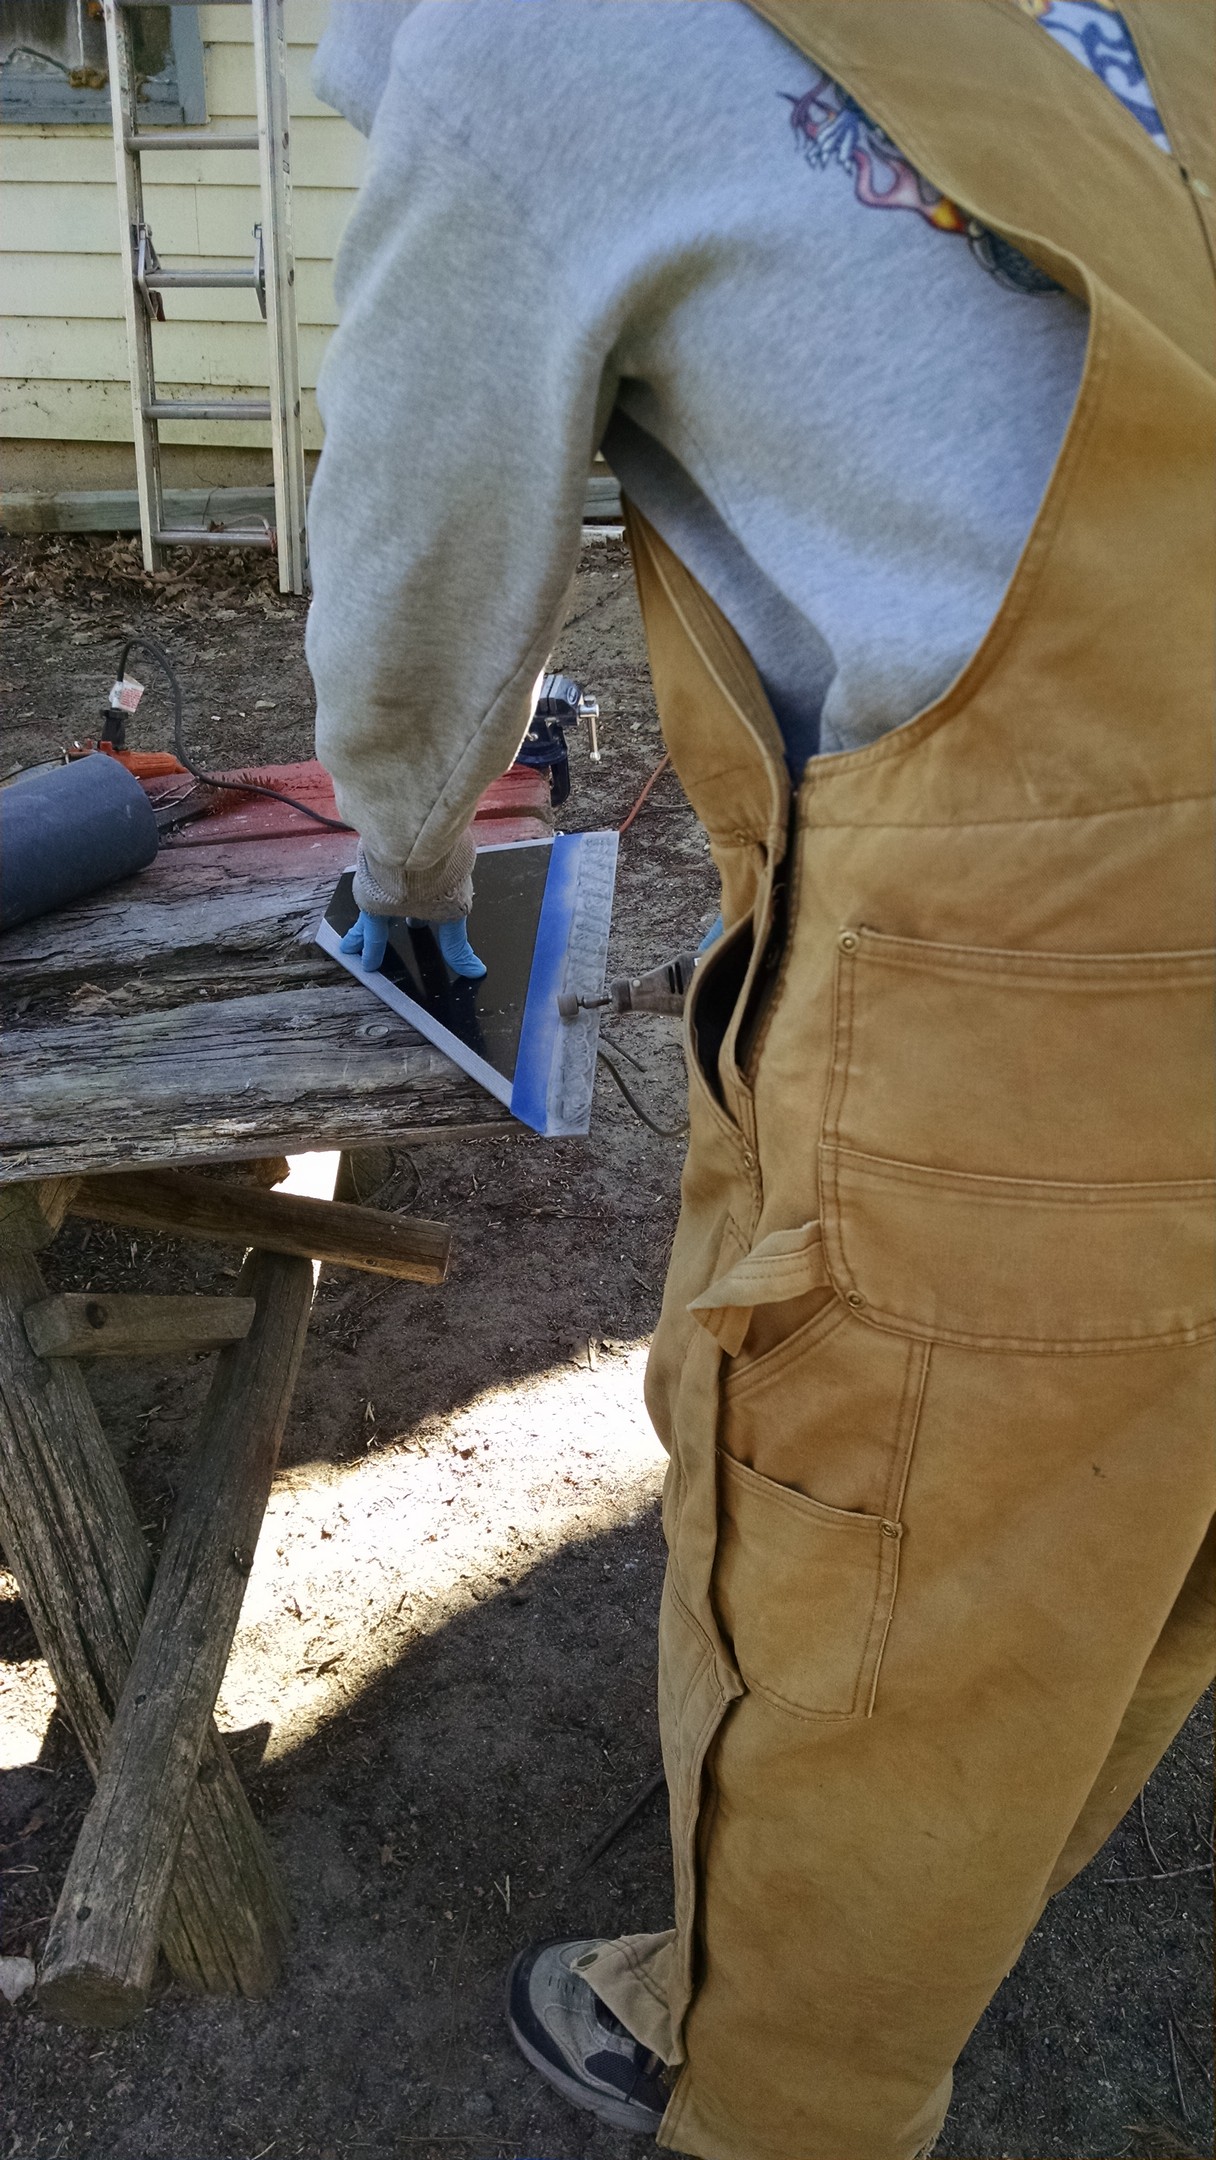
 Got my sanding face on… March 22 2105 30* out side
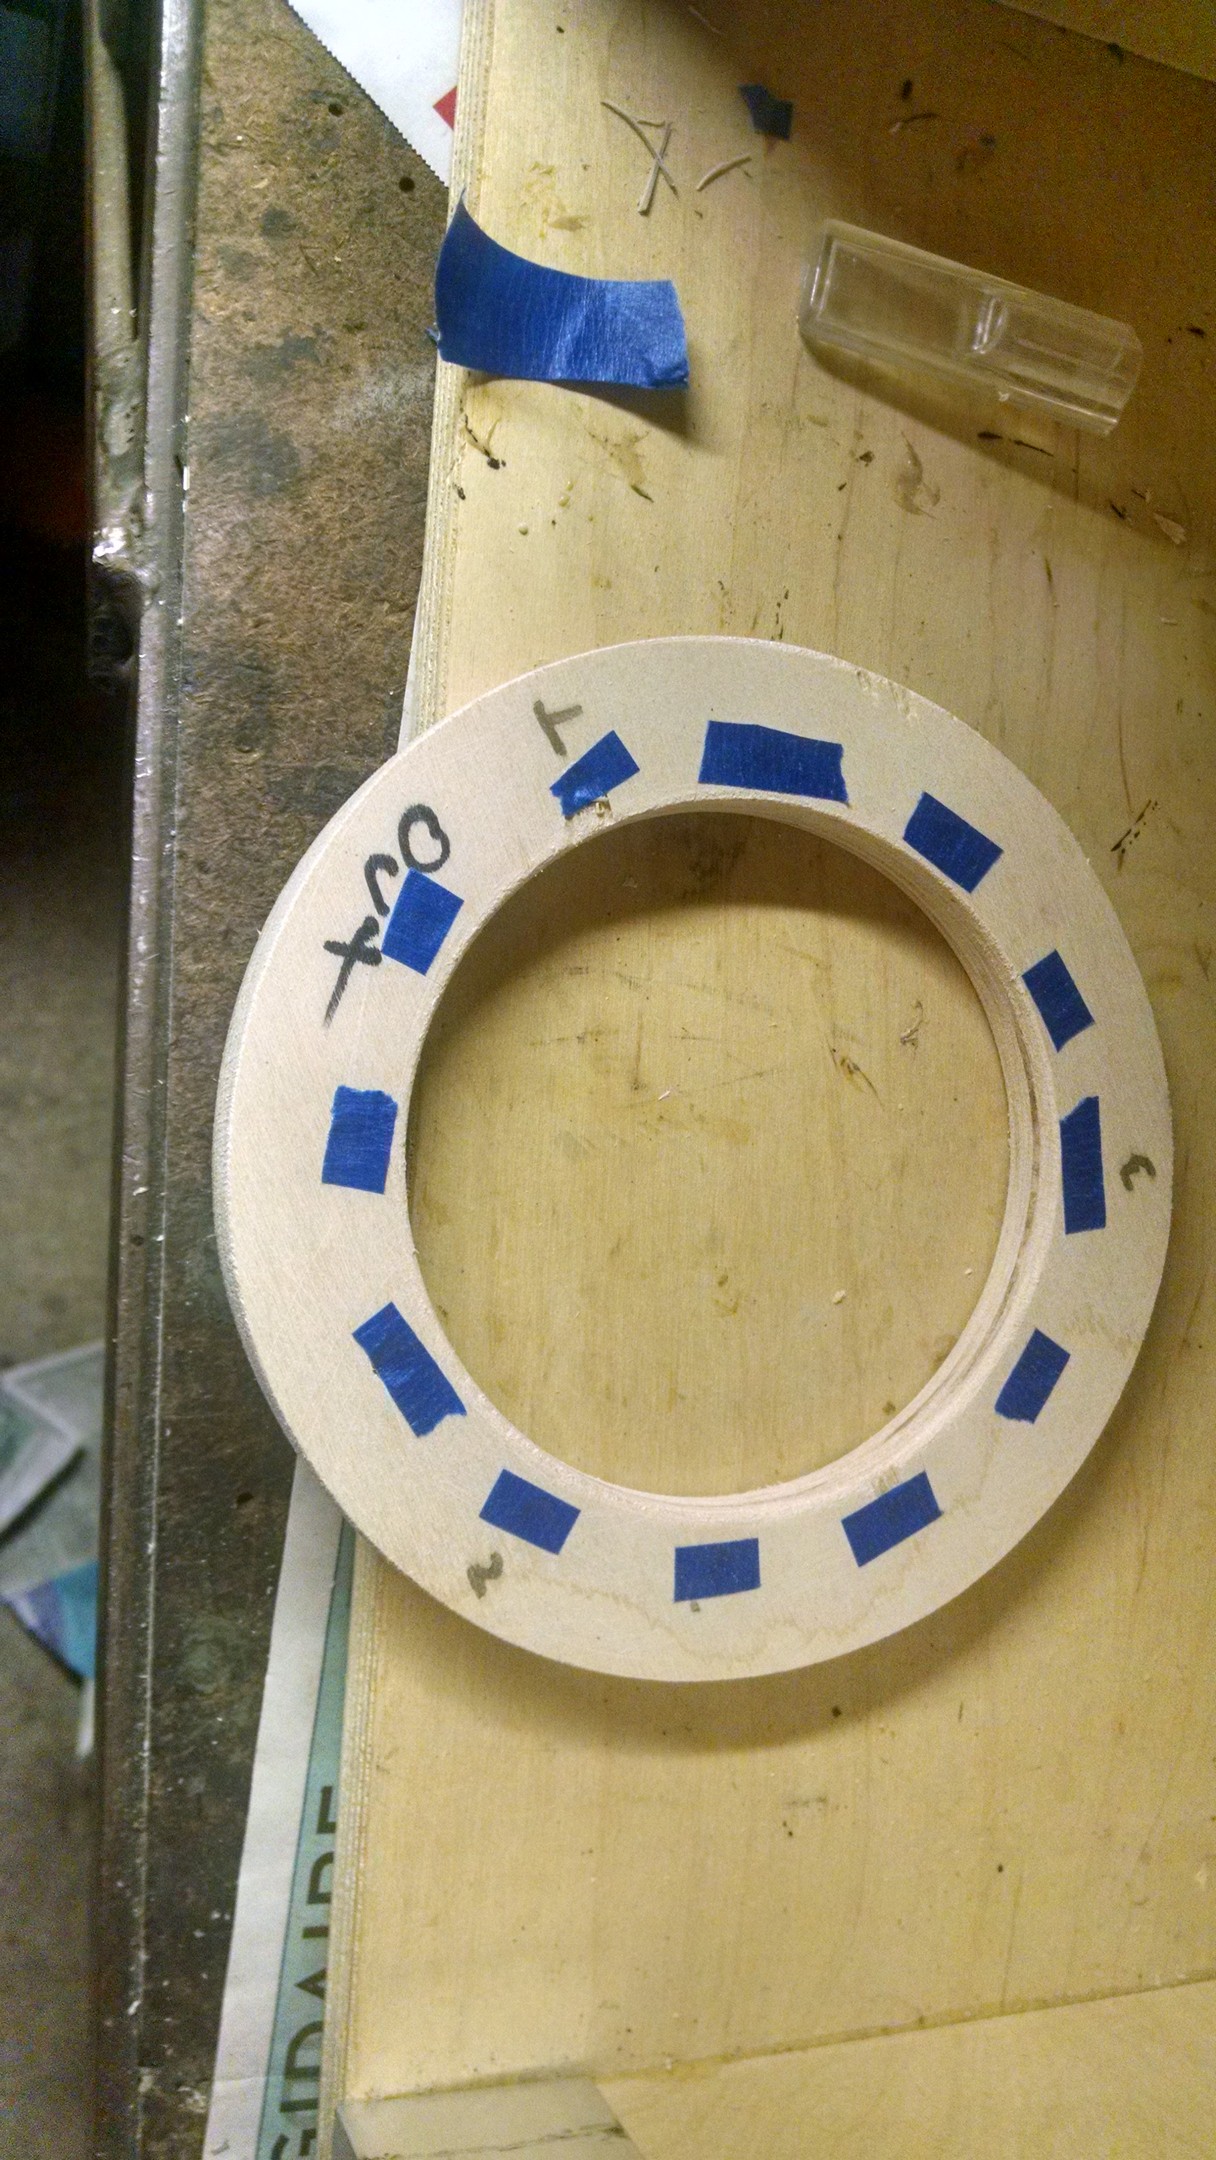
 Cleaning up a centering ring
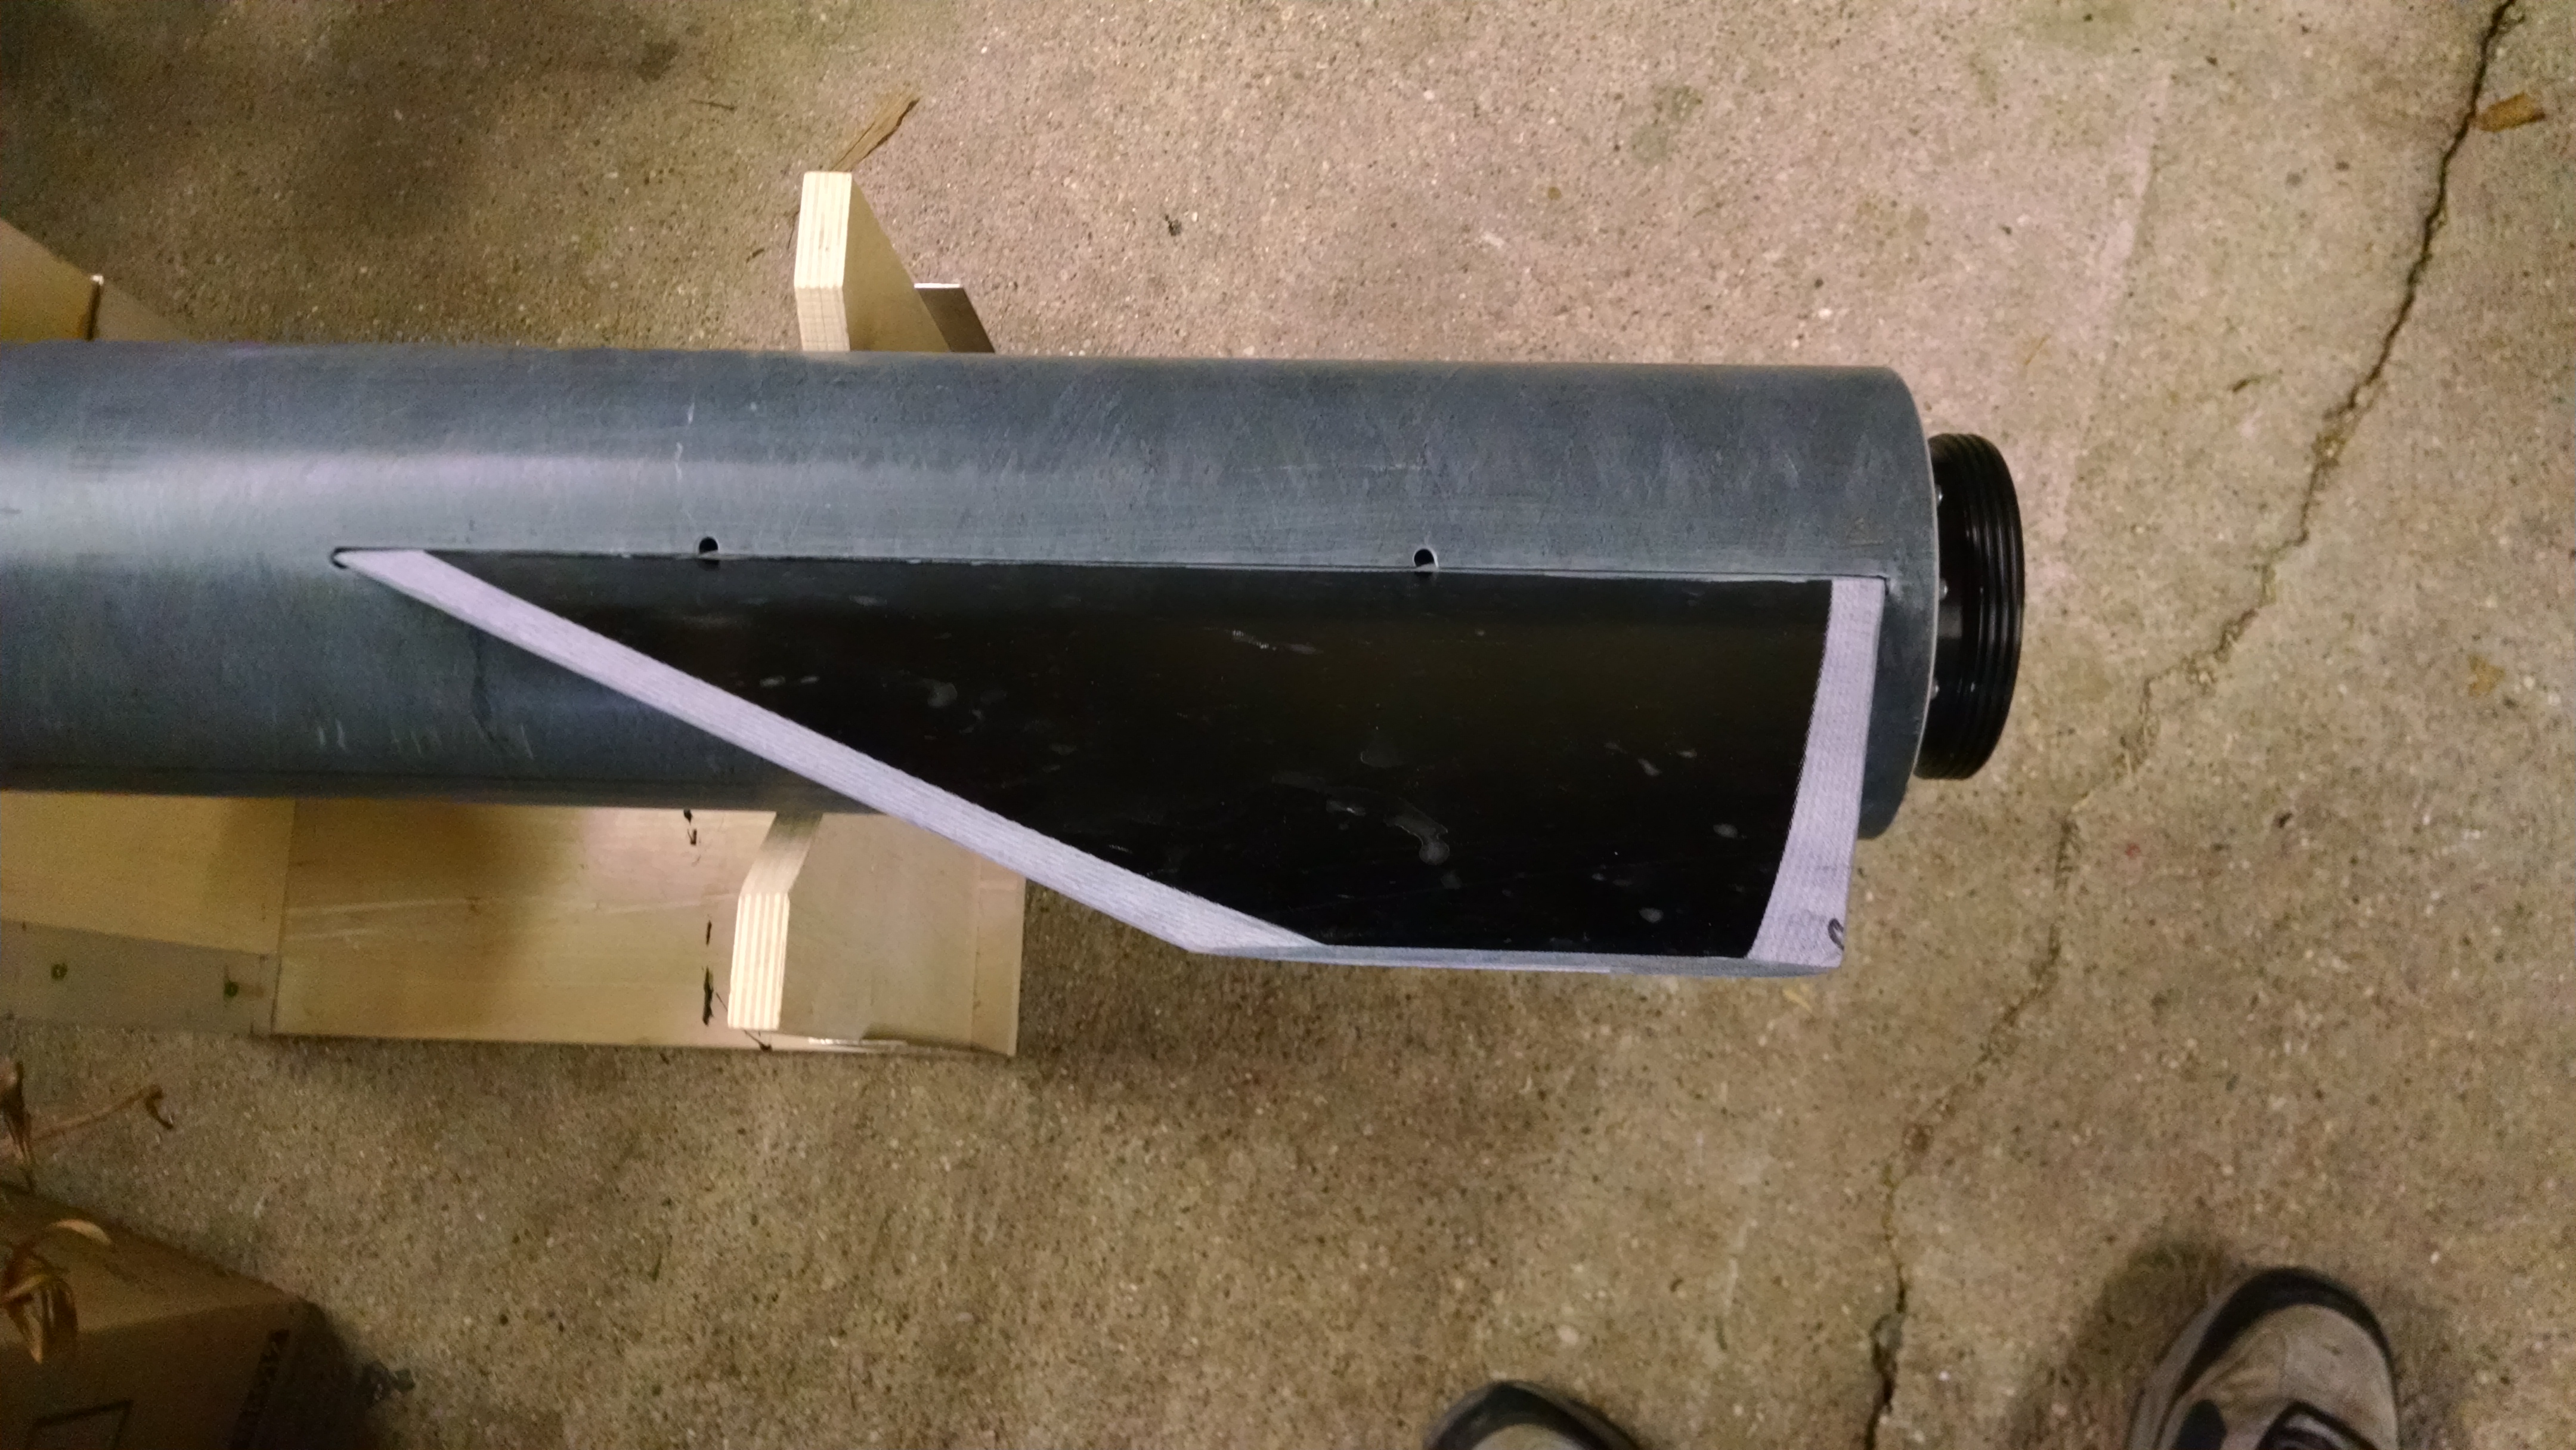
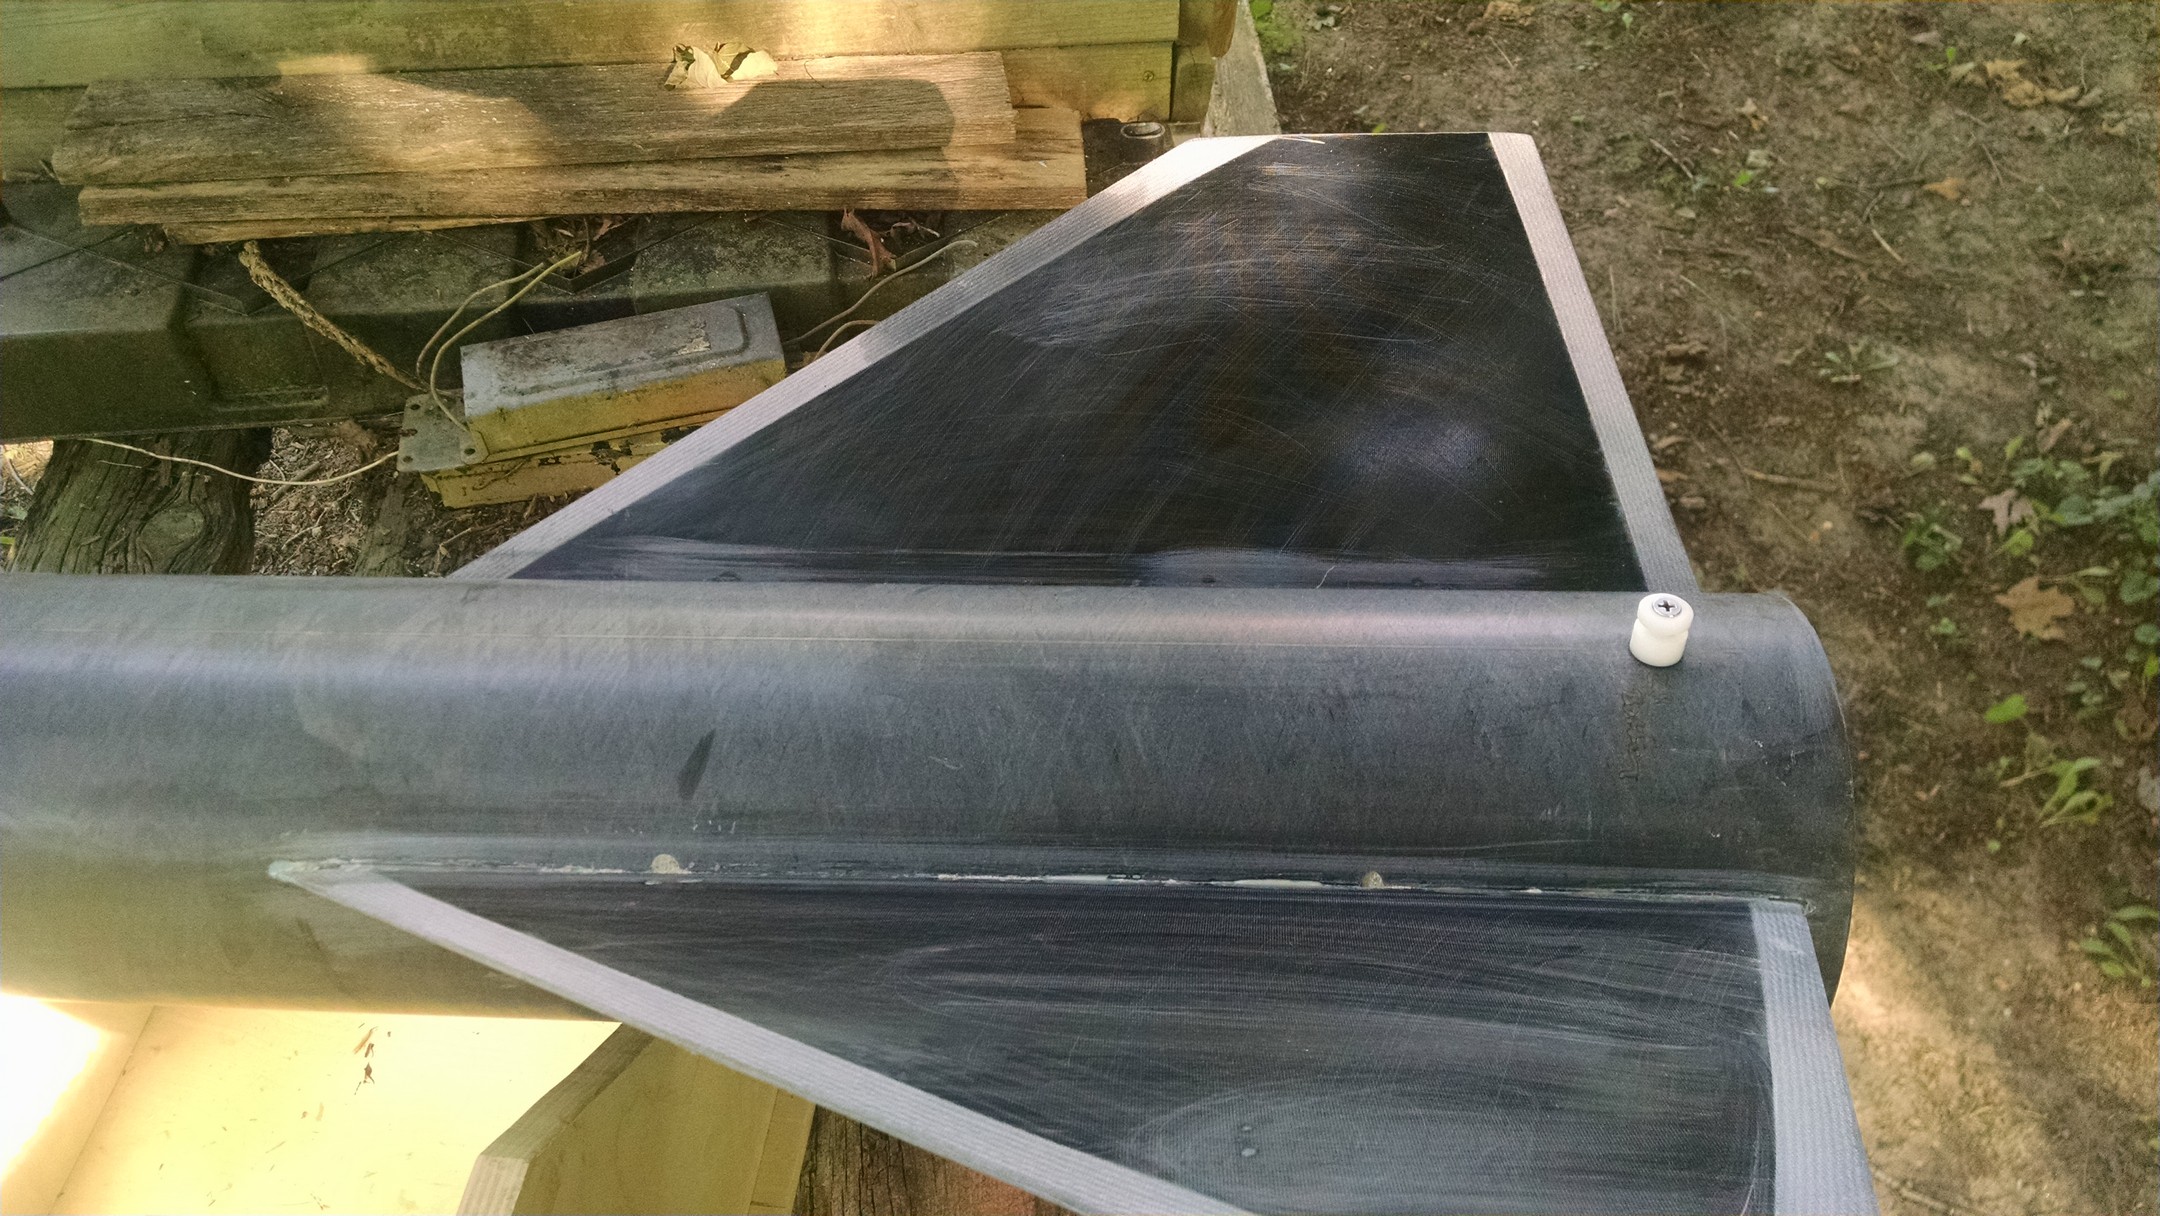
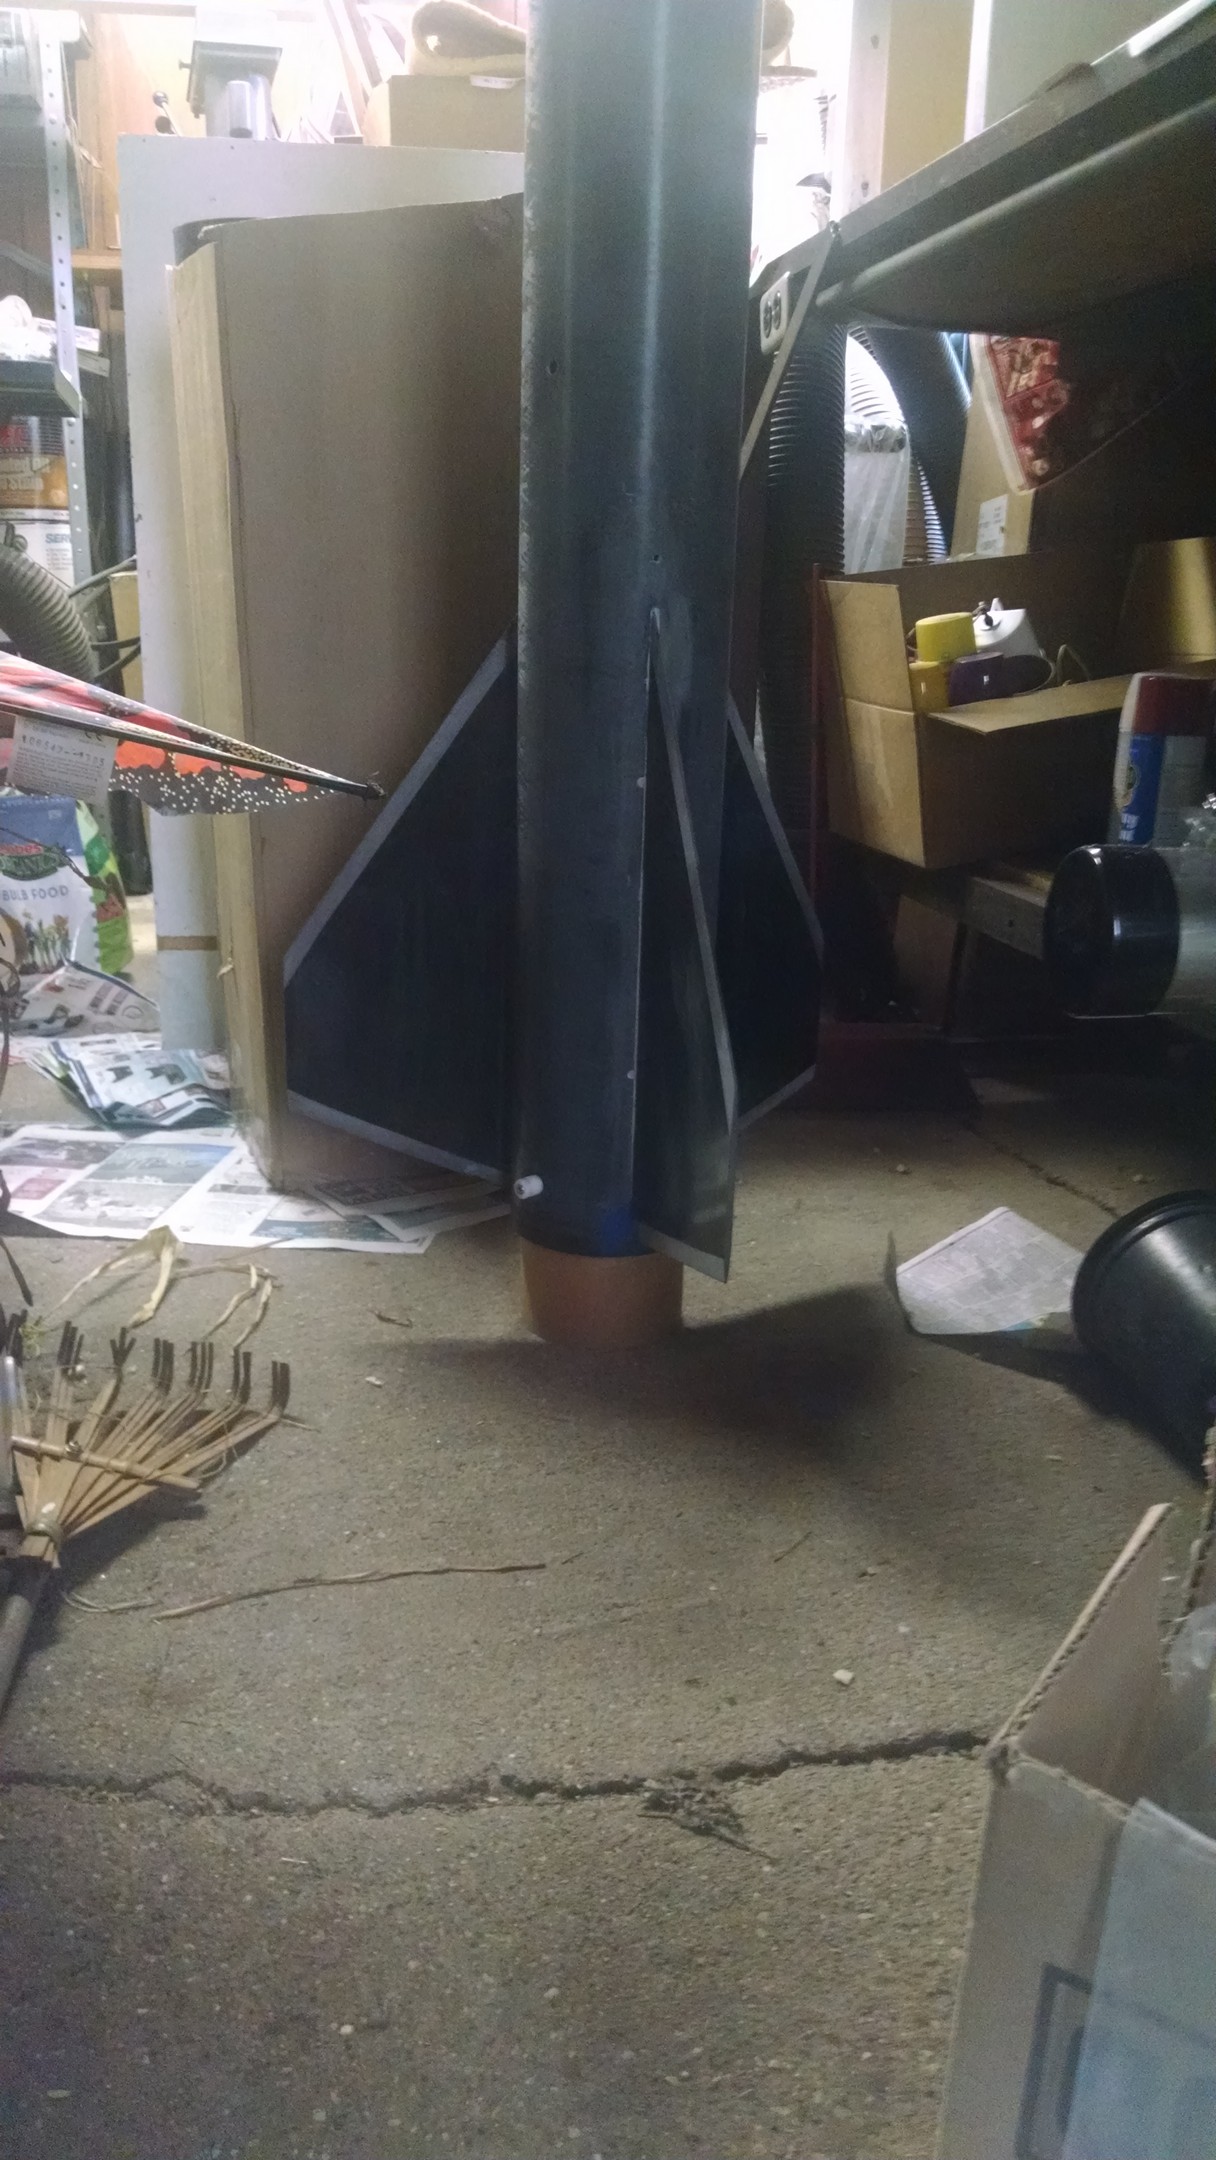
sanding the root of a fin
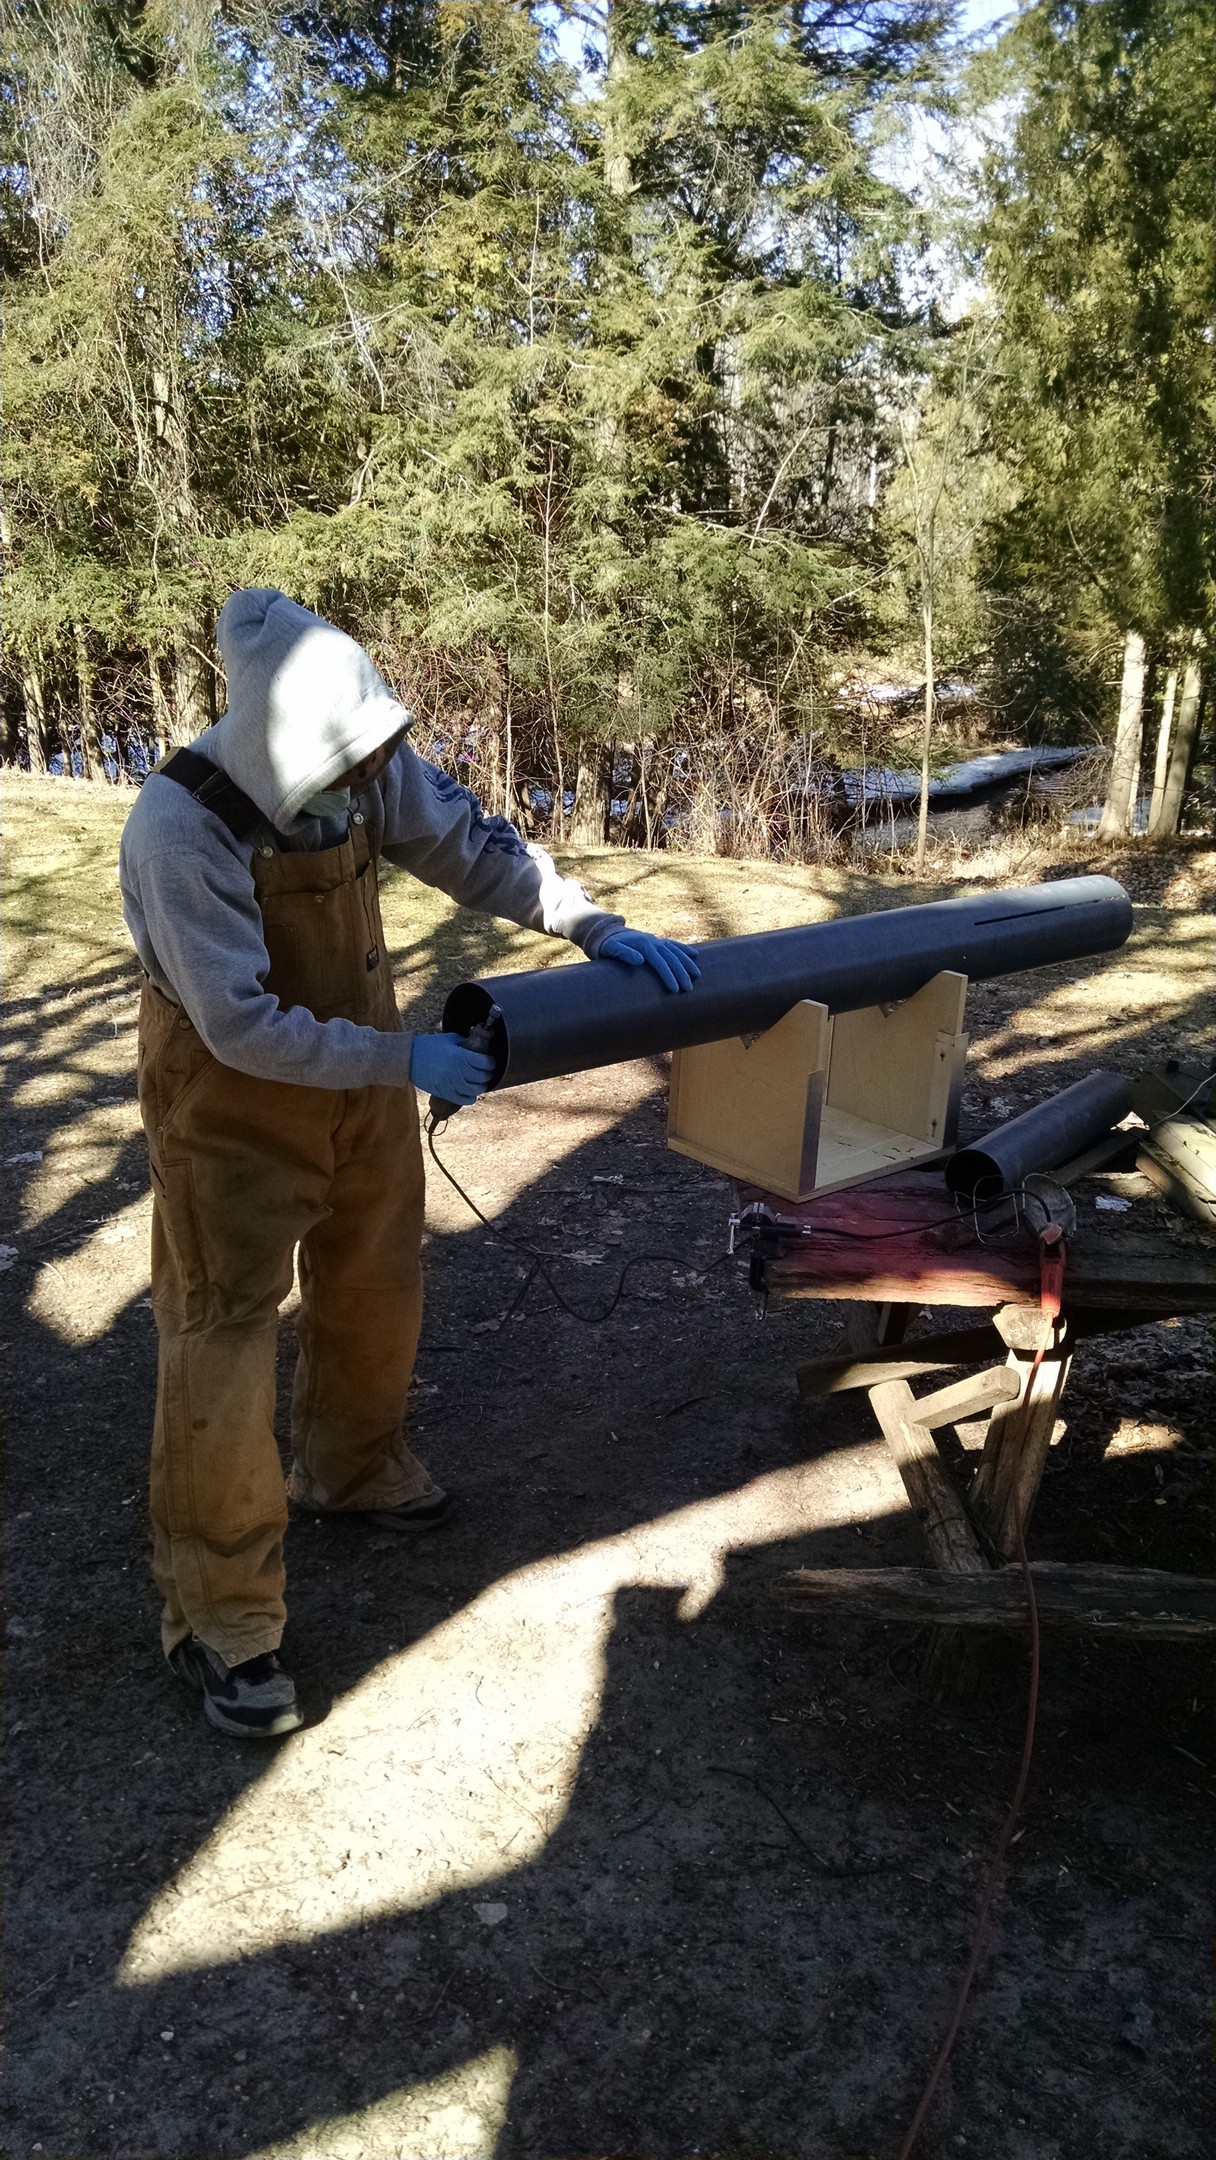
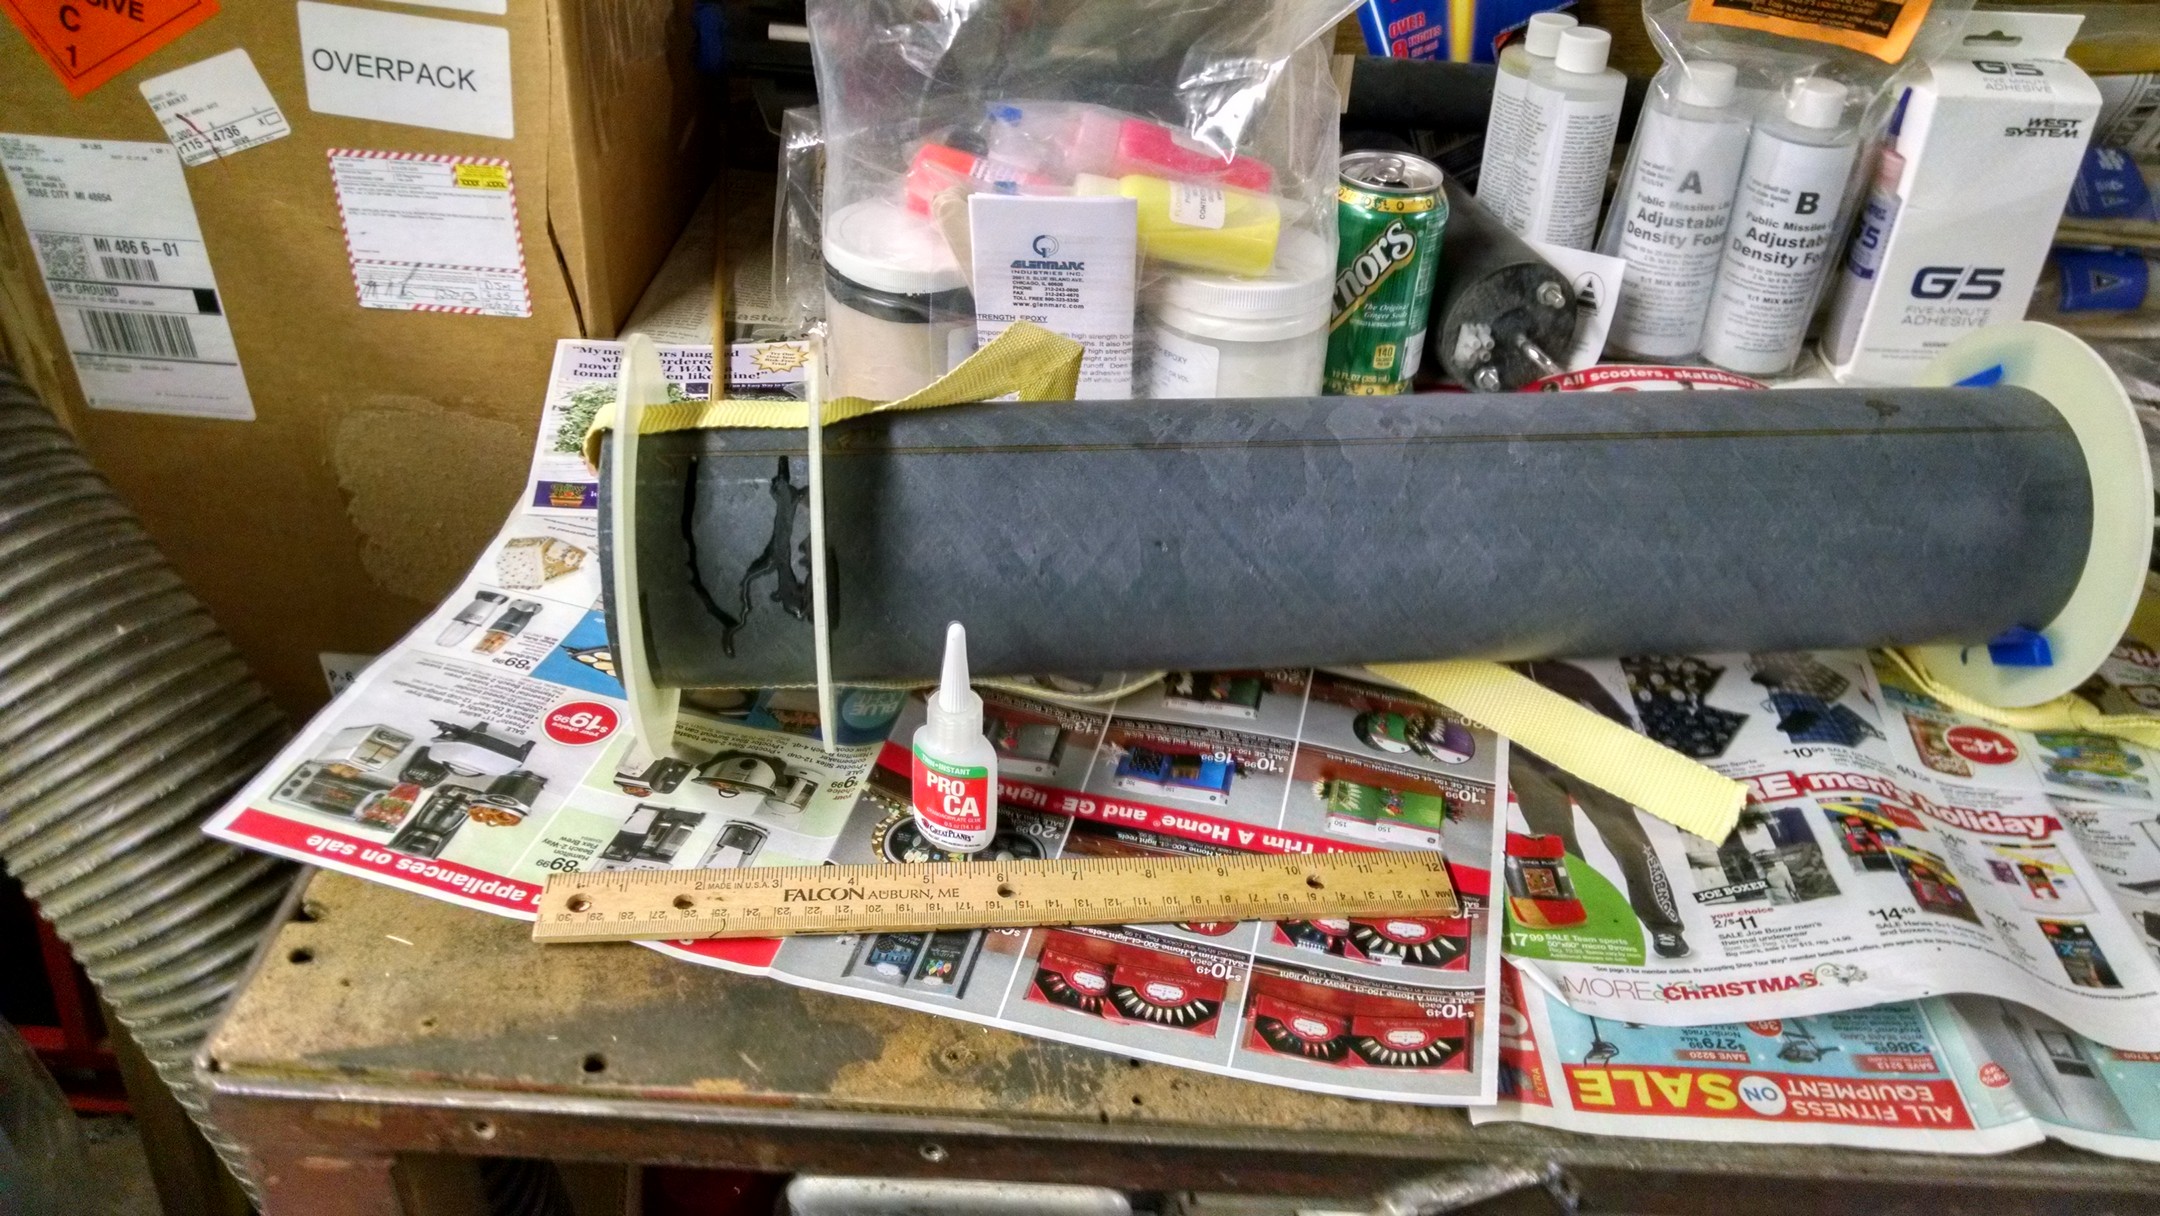
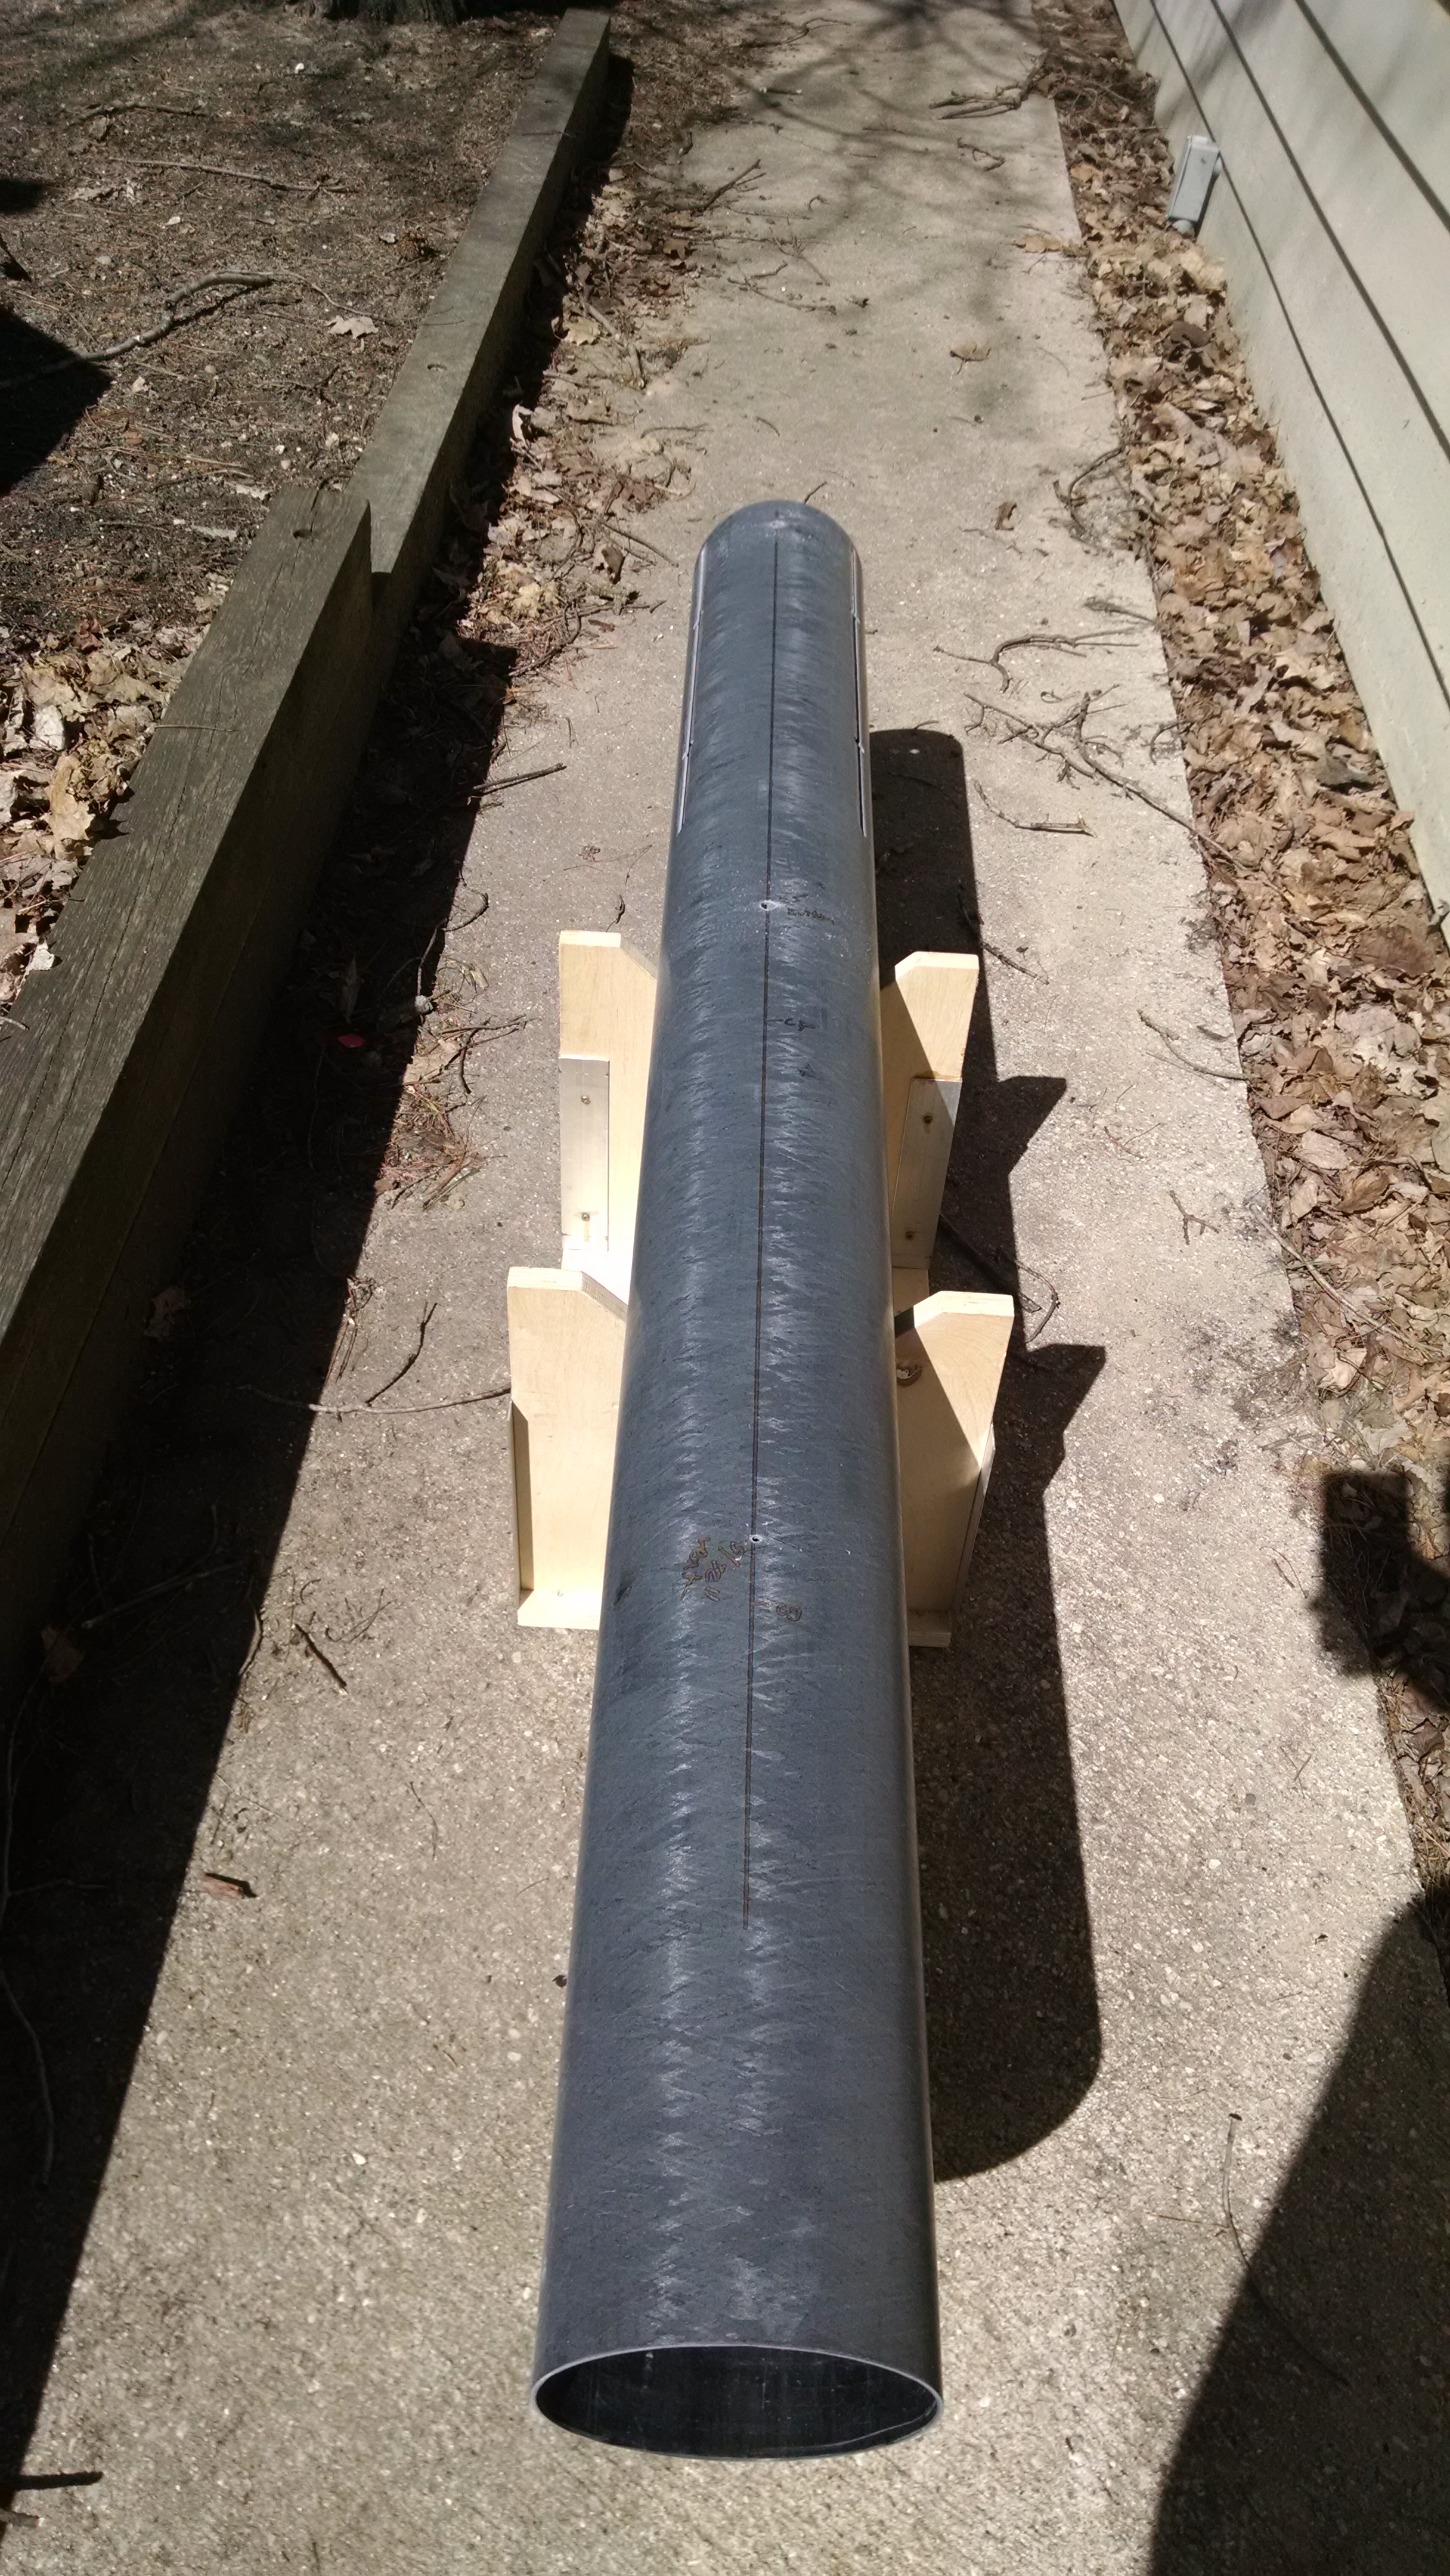
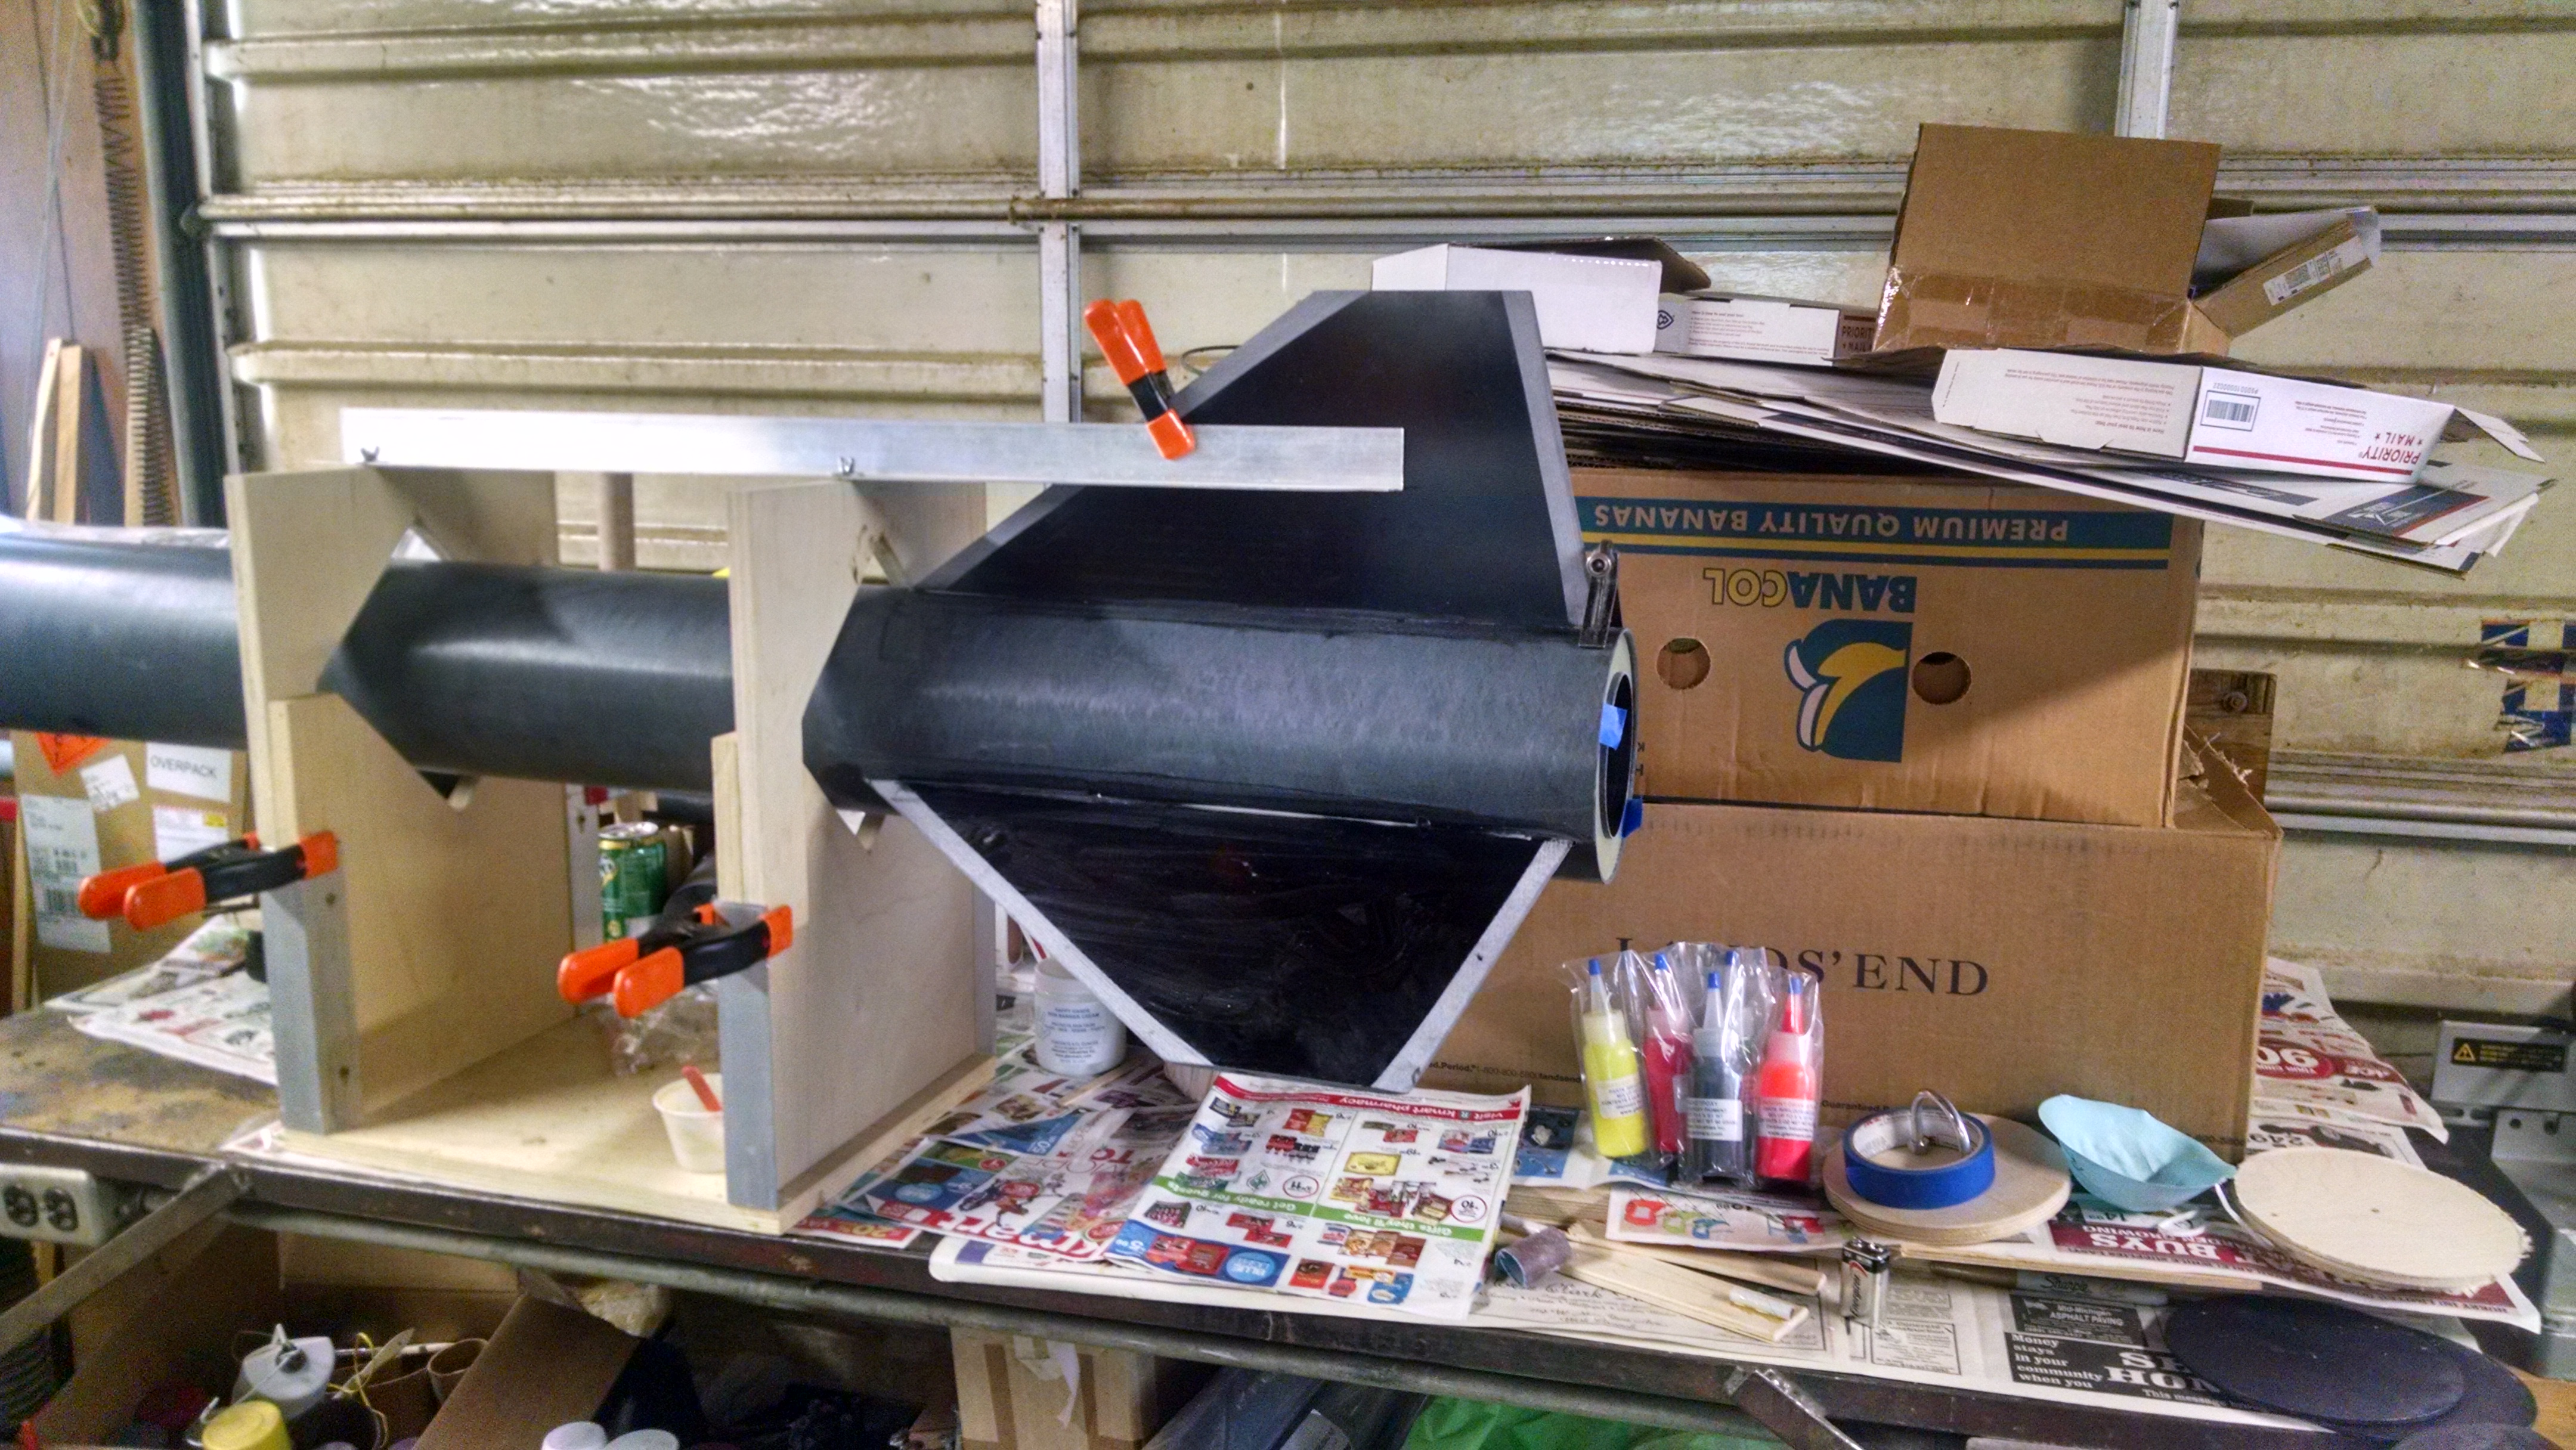
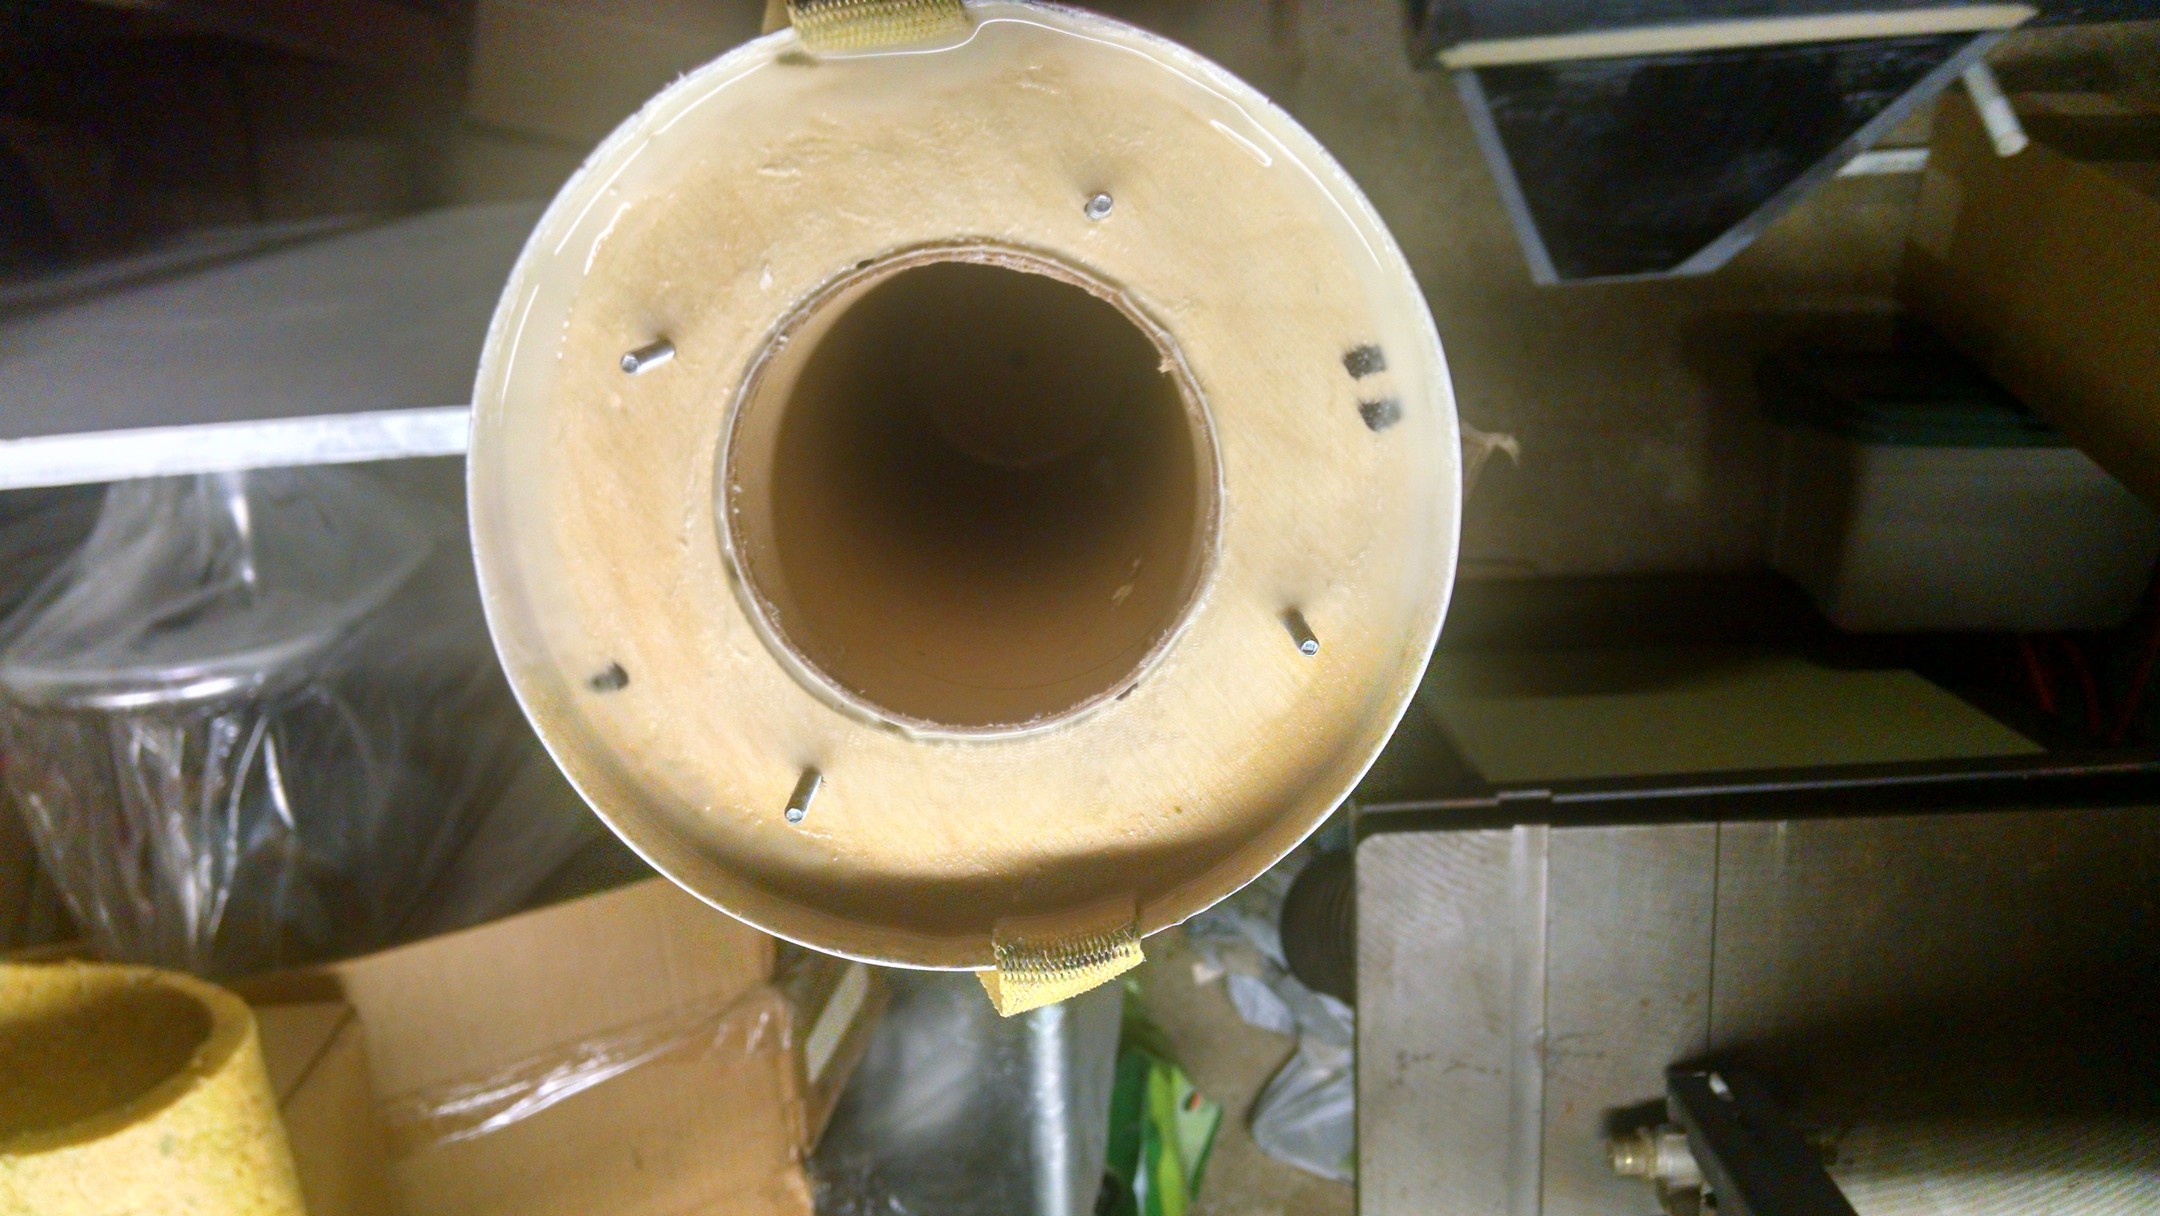
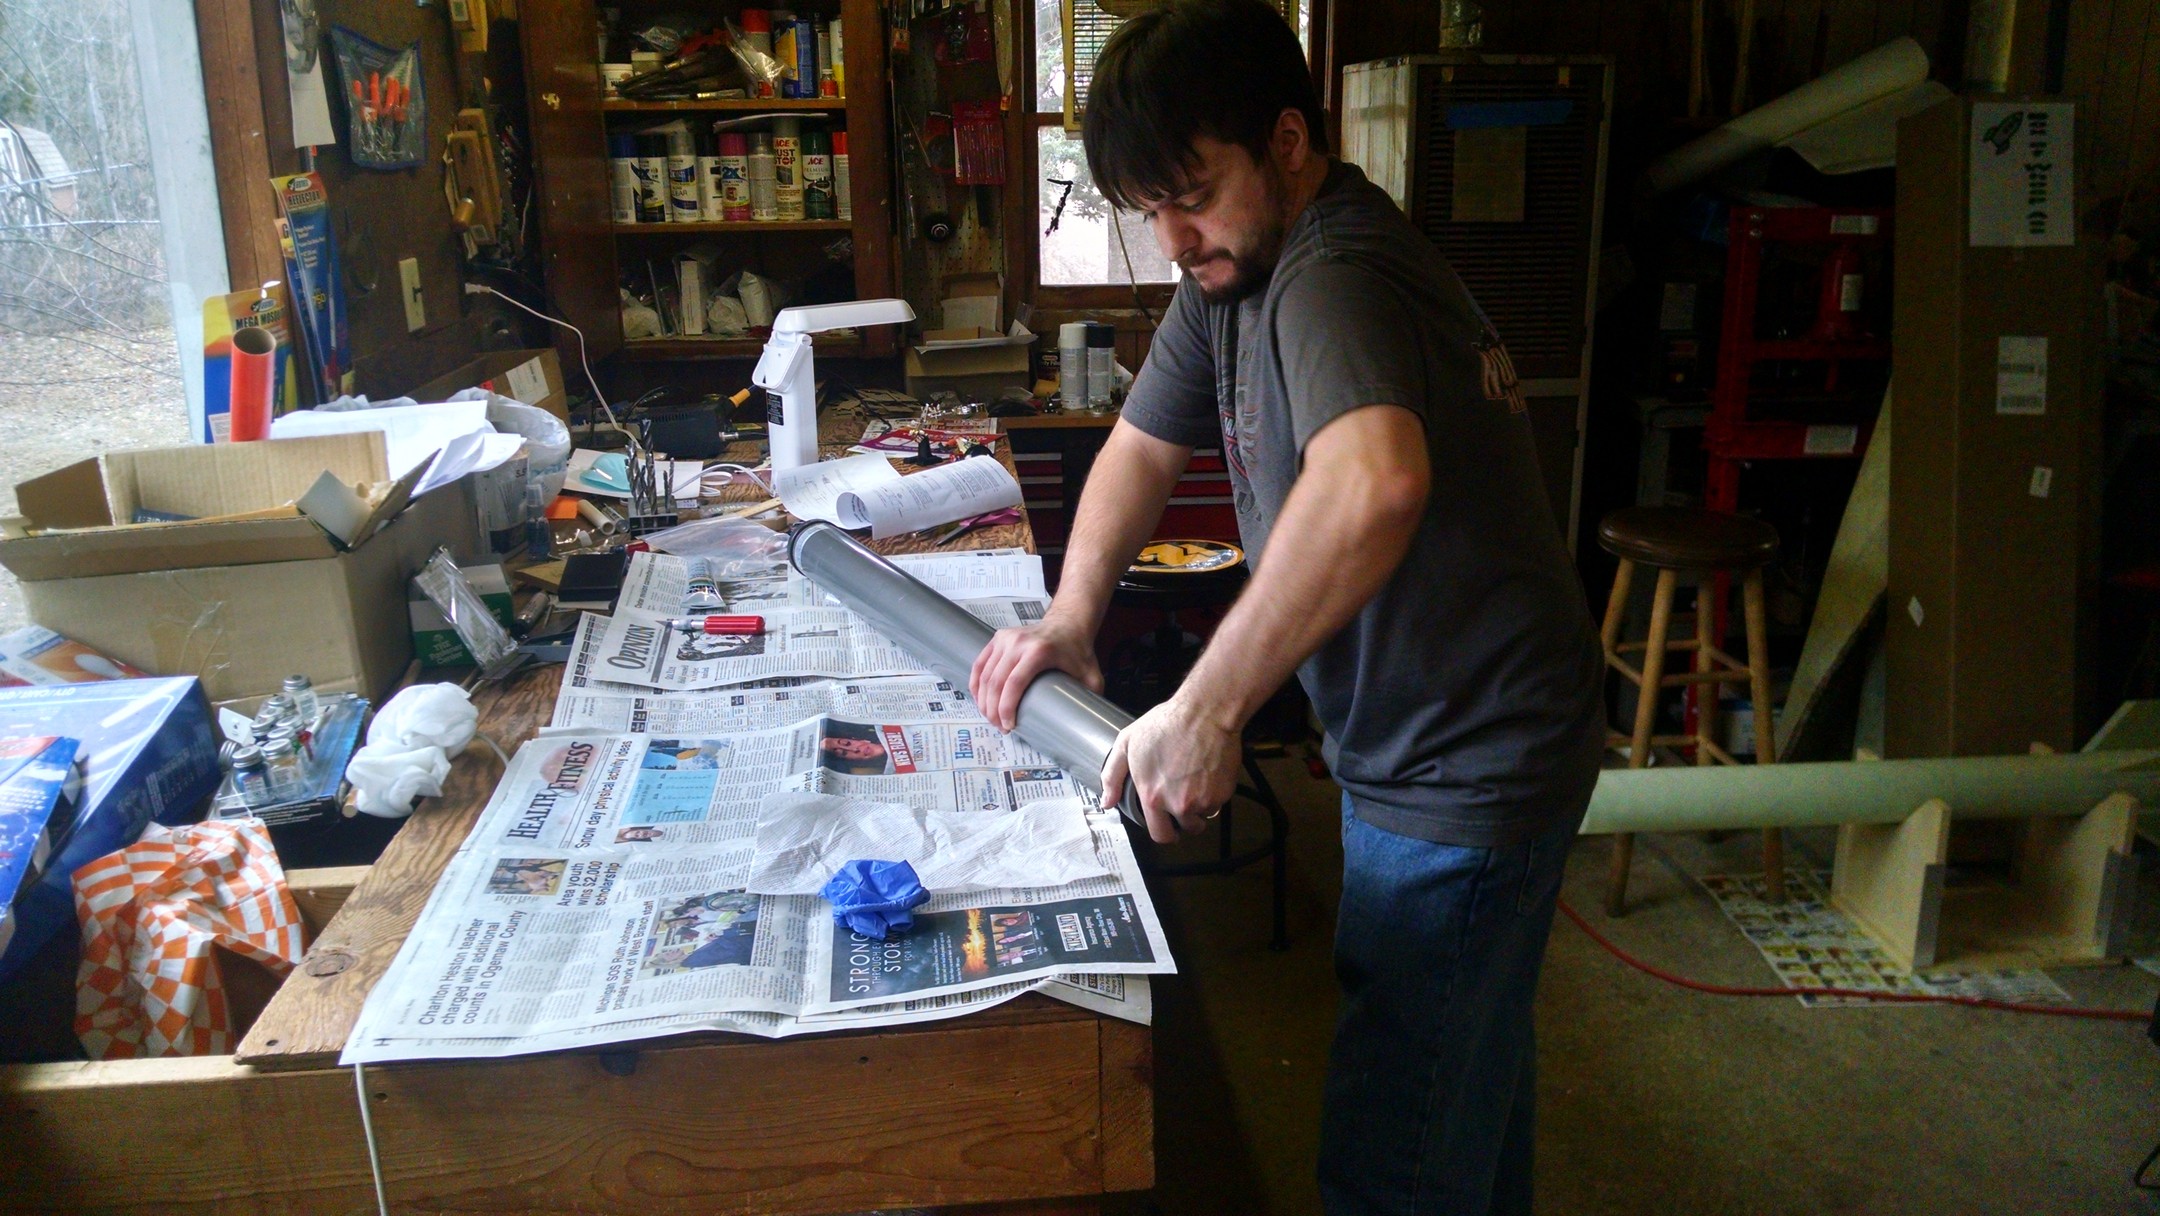
Cleaning up the booster tube
Test dry fit
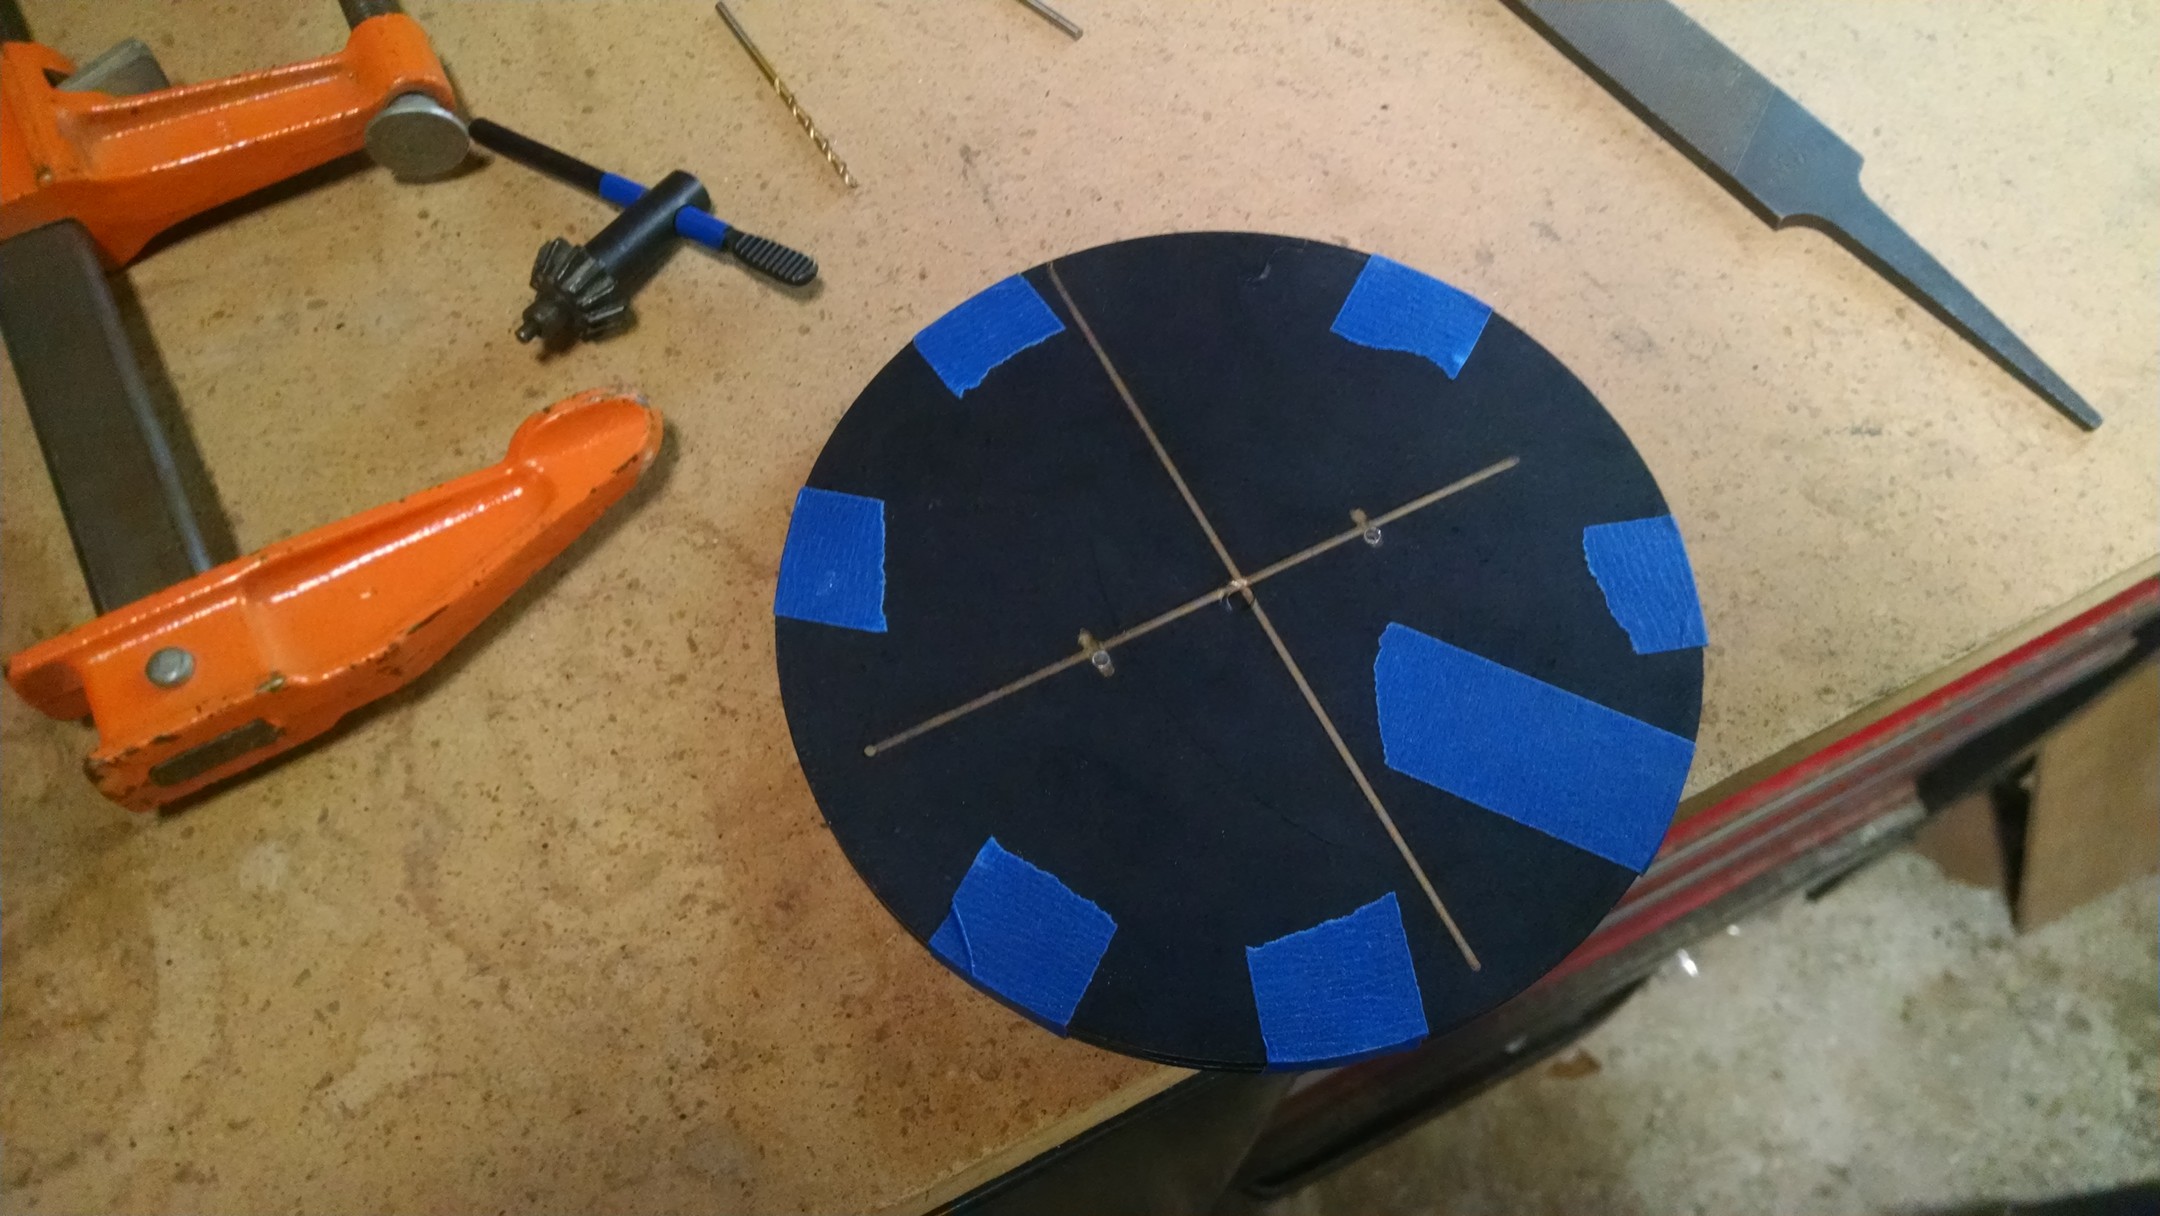
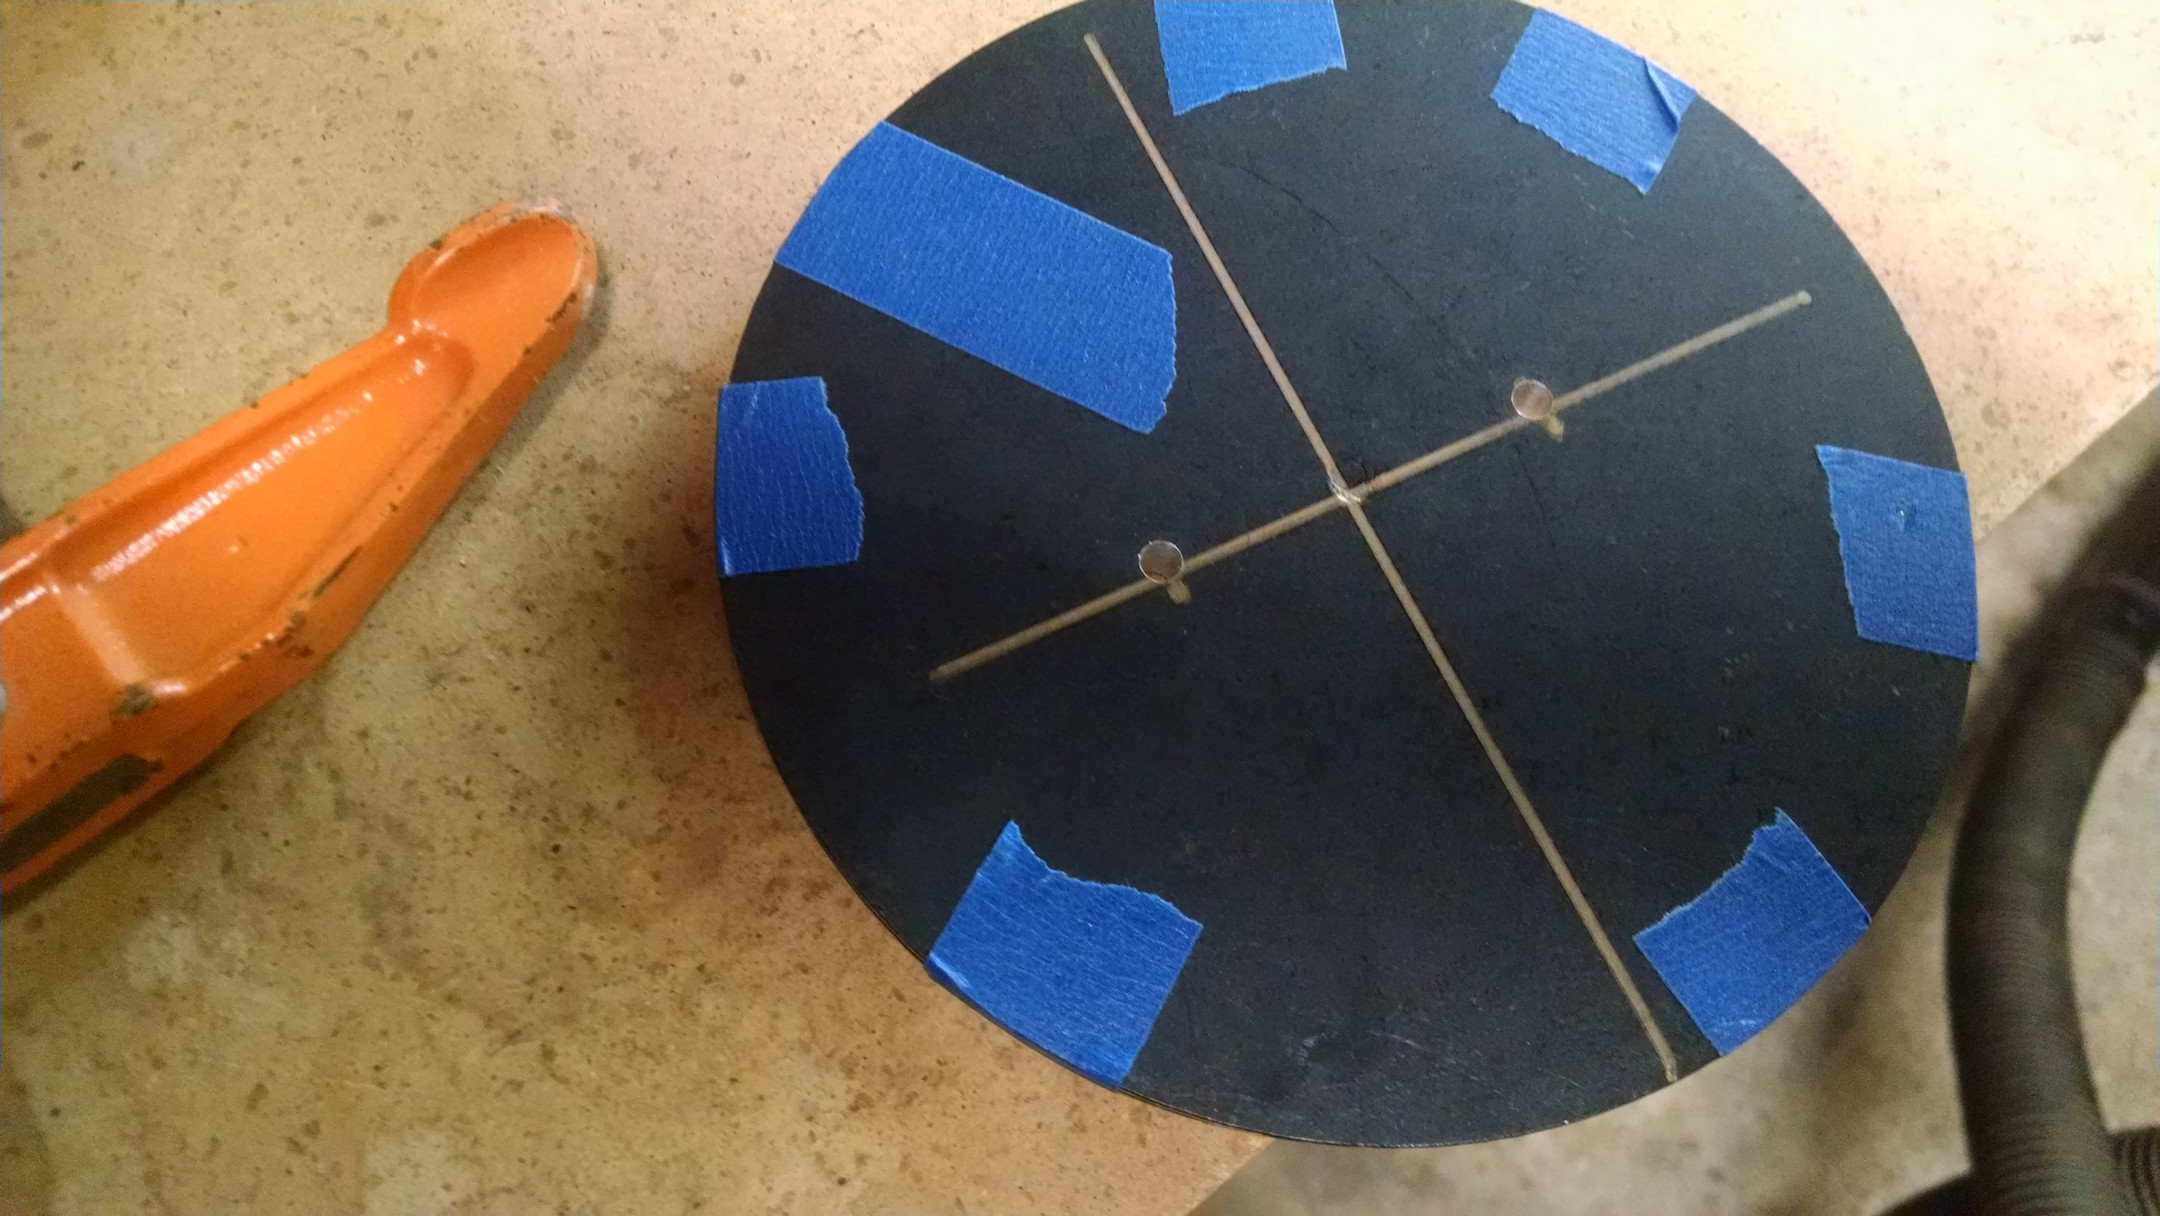
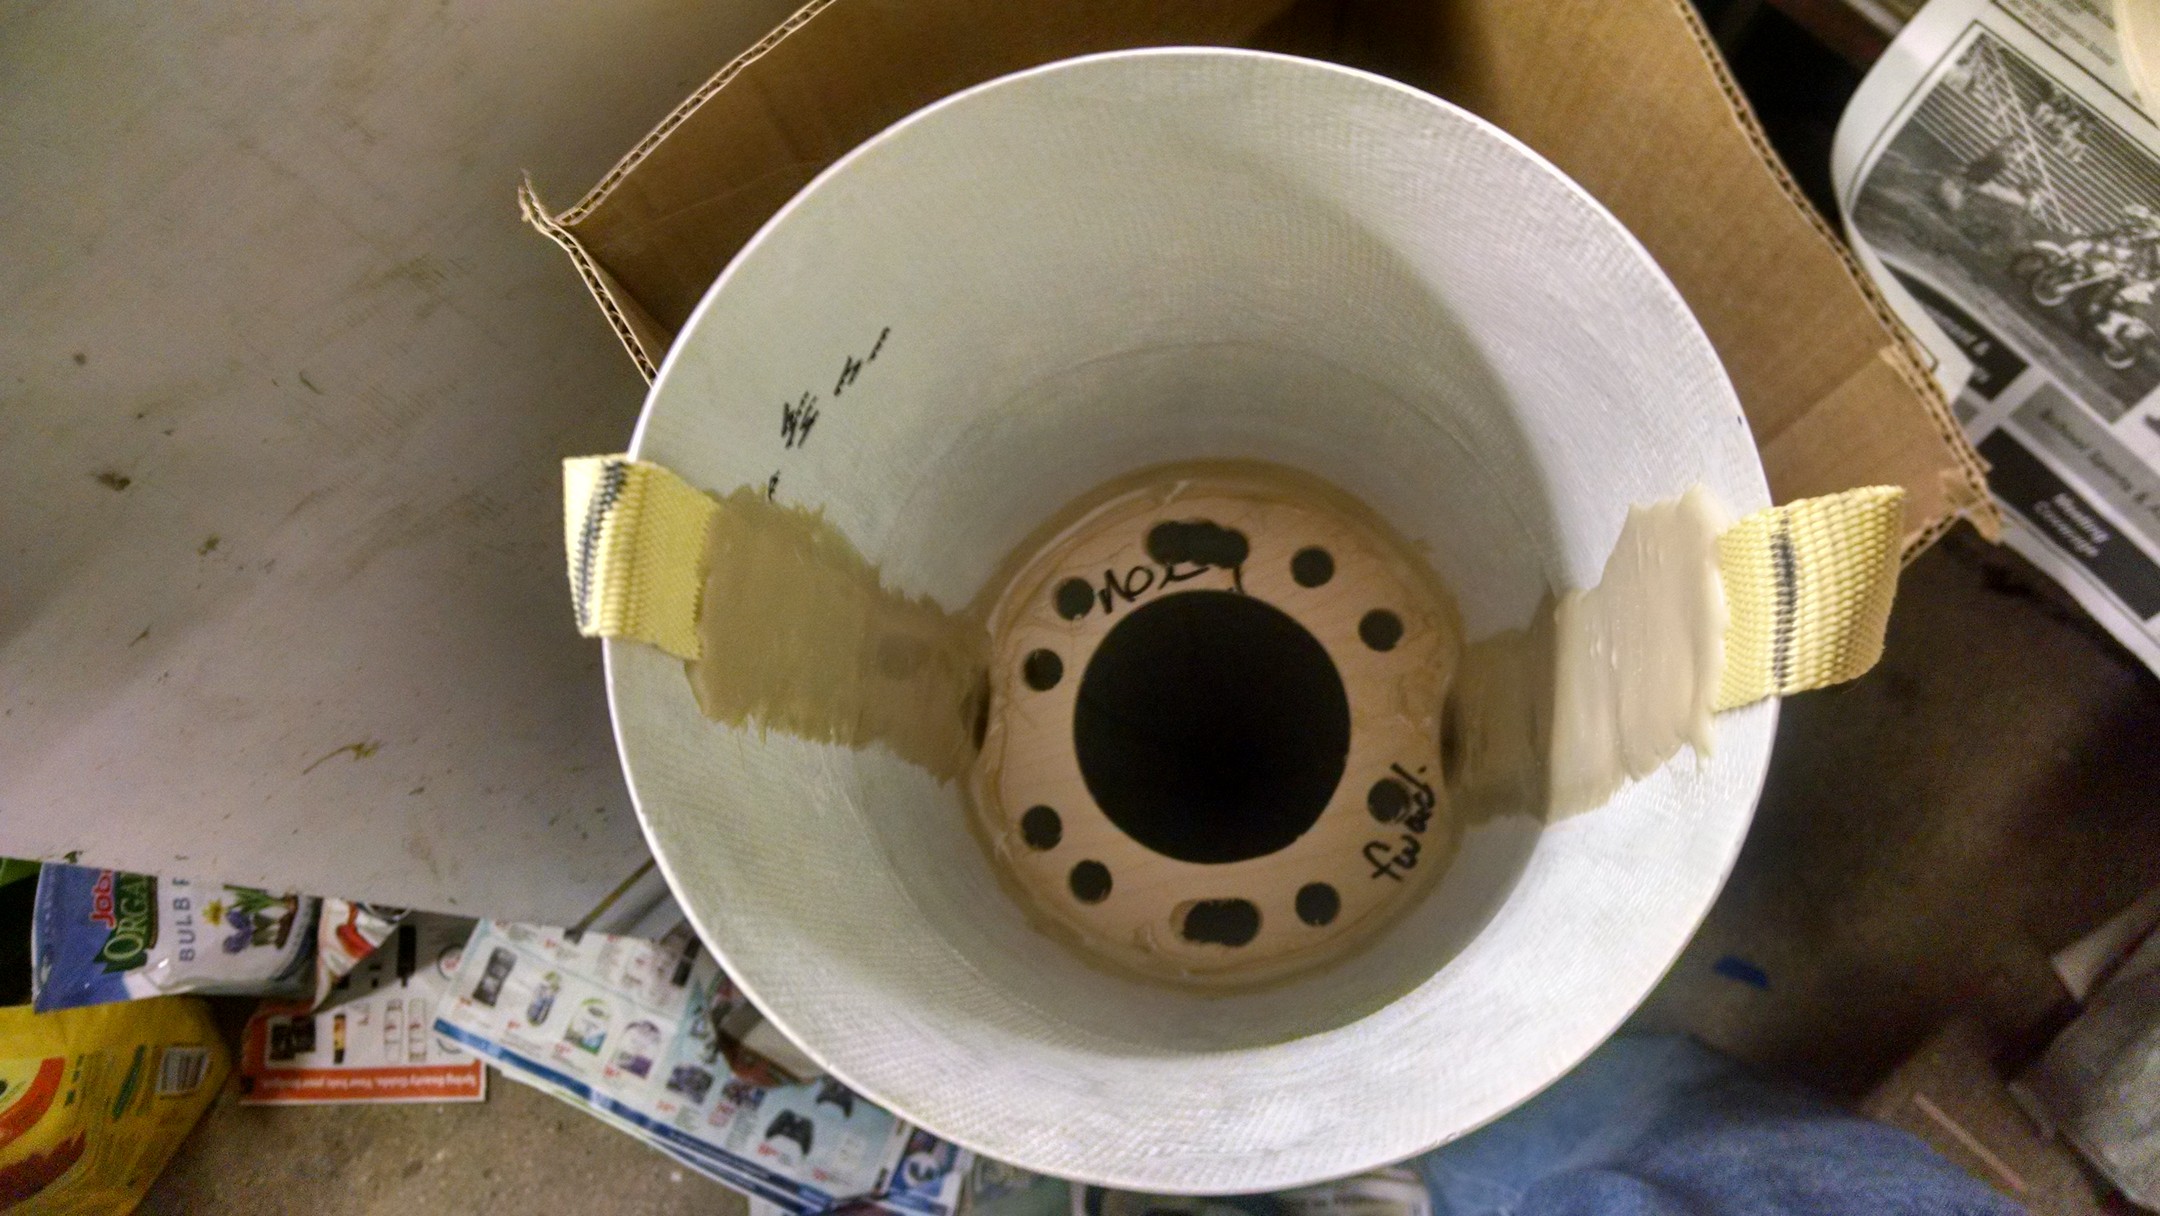
Marking centering rings with 1 inch spacing 180* apart March 29, 2015
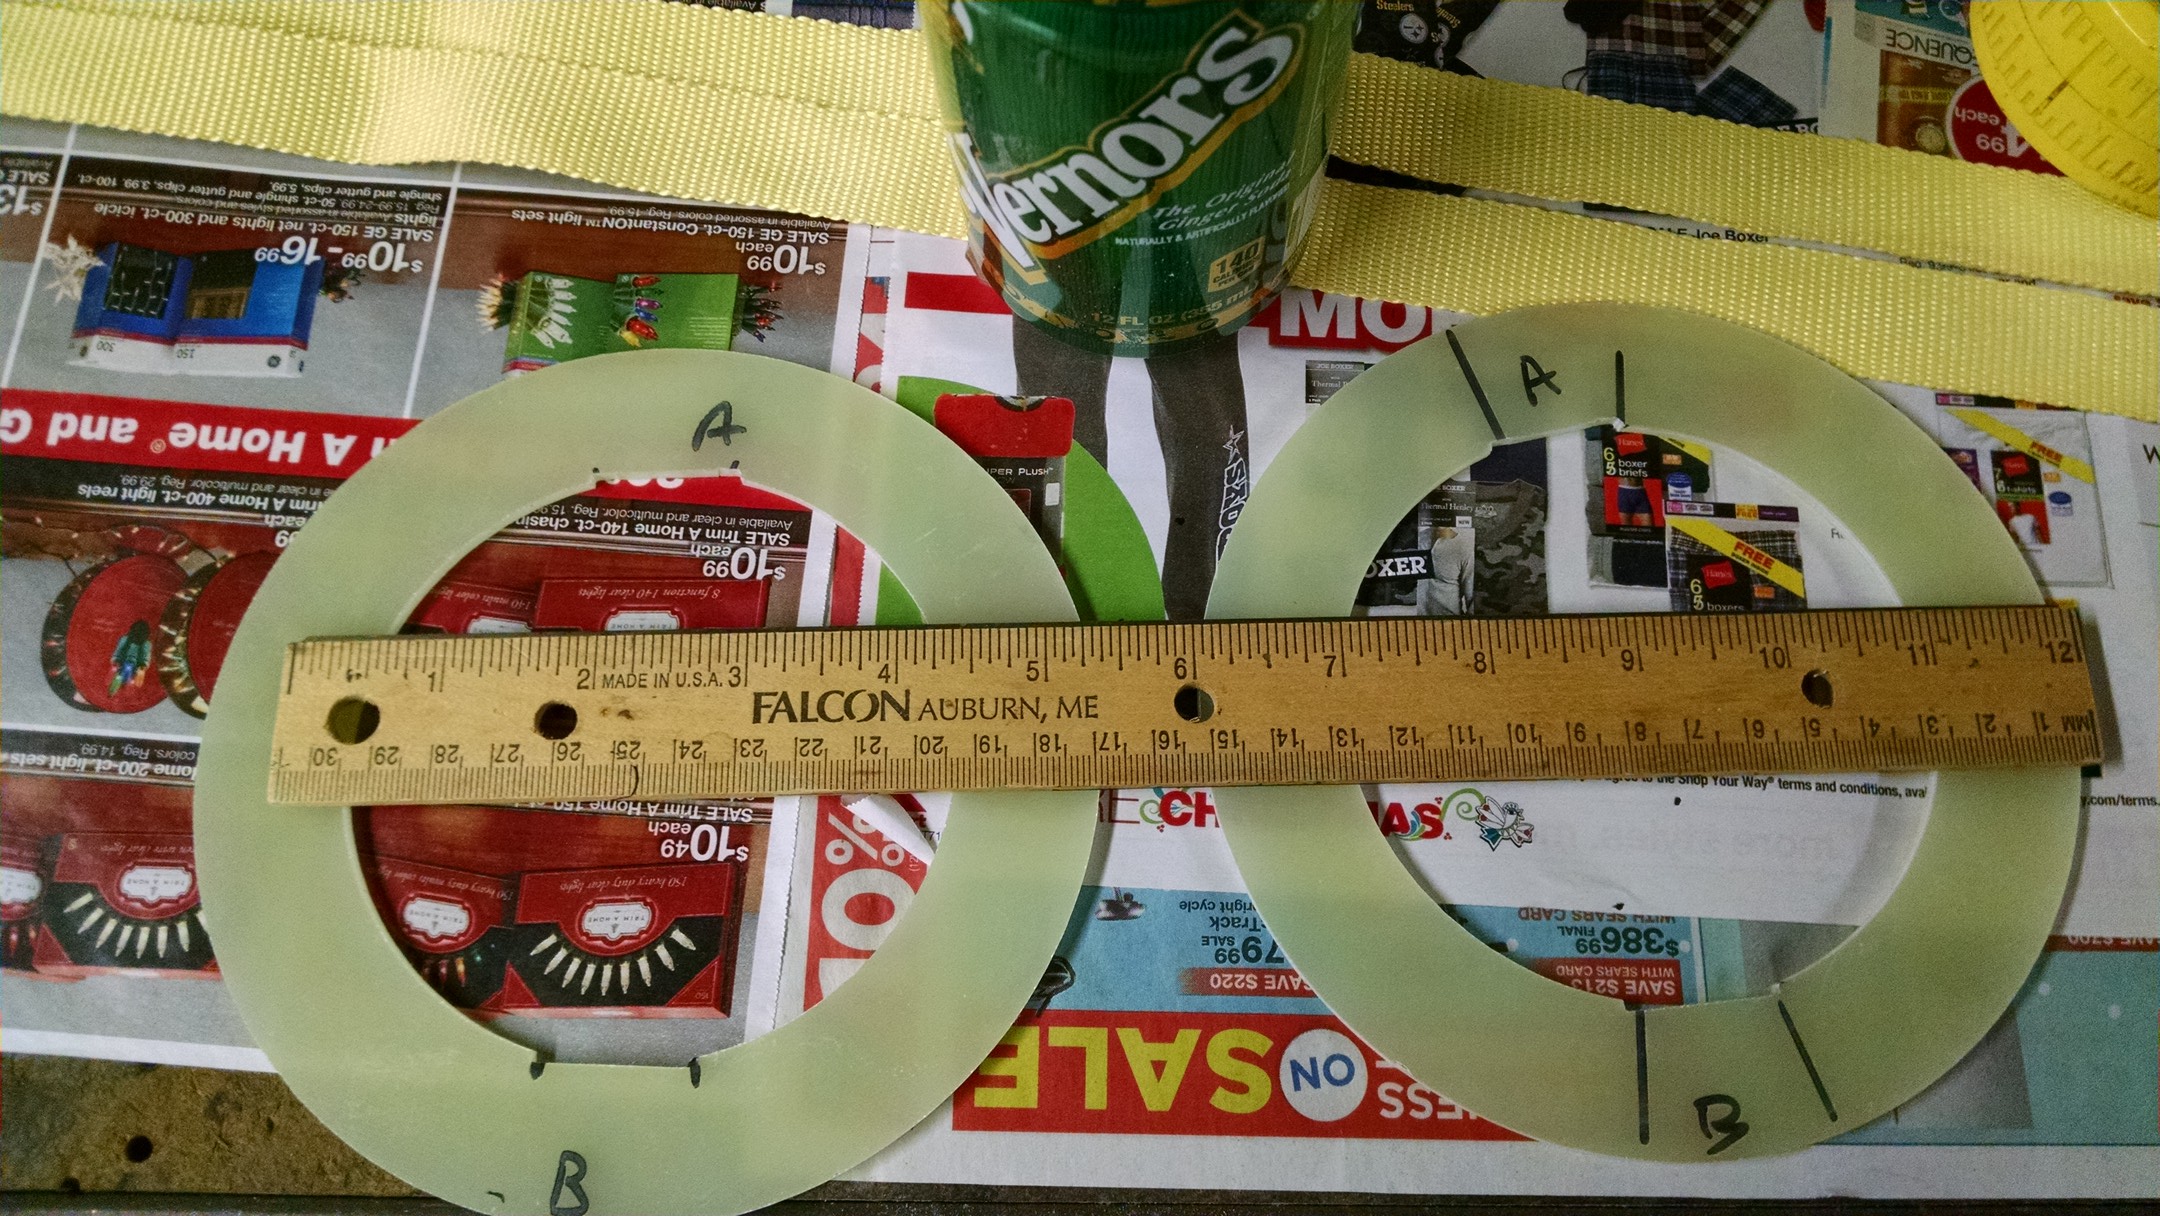
Two centering rings notched out for kelver bridle
CA tacked the front two centering rings
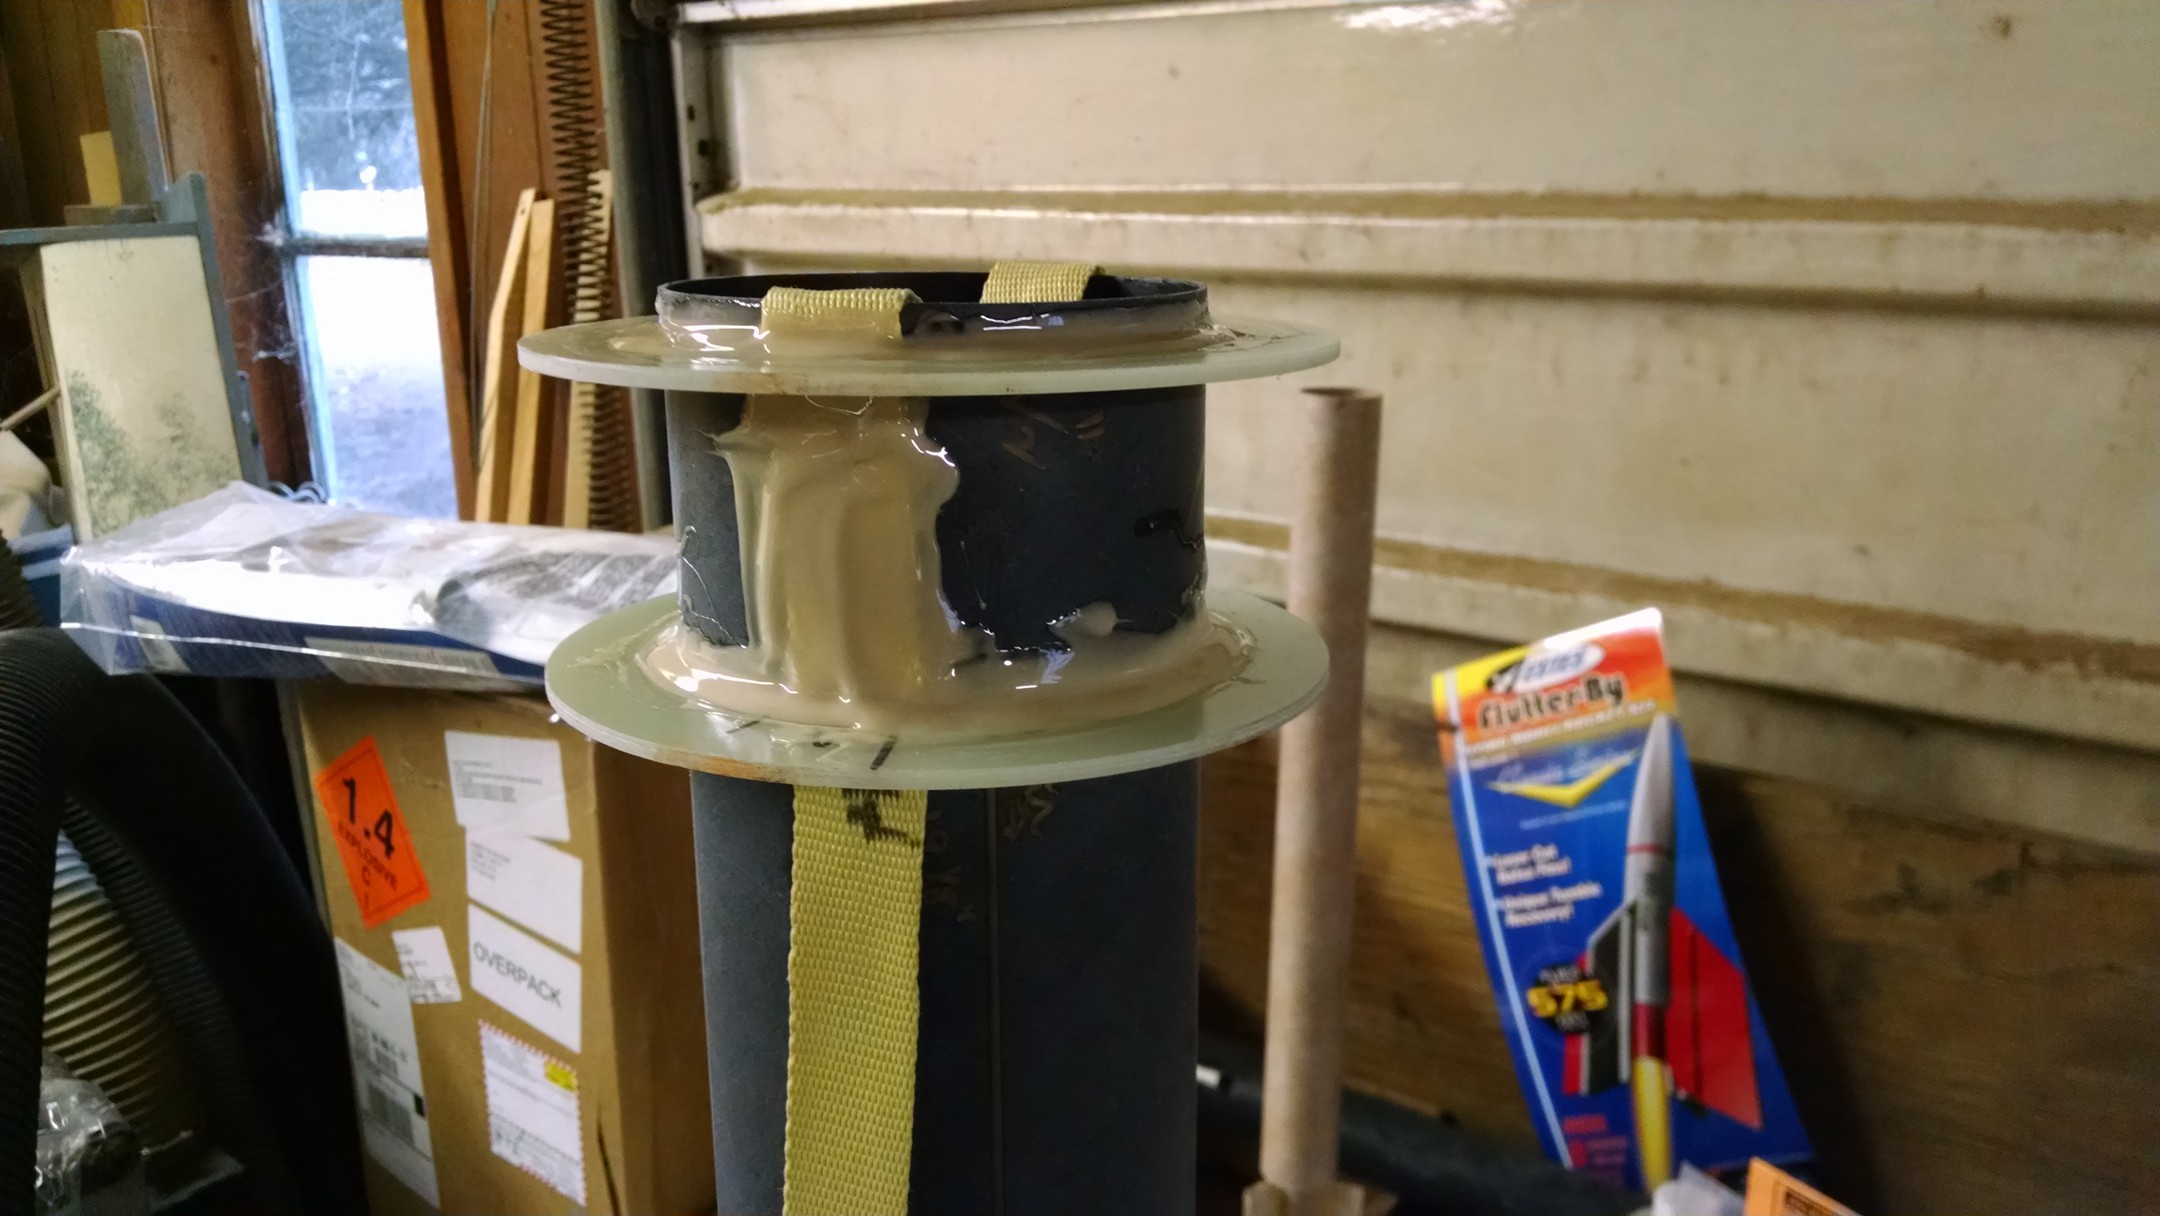
Rock-Poxey the ‘top’ of the centering rings on the motor tube
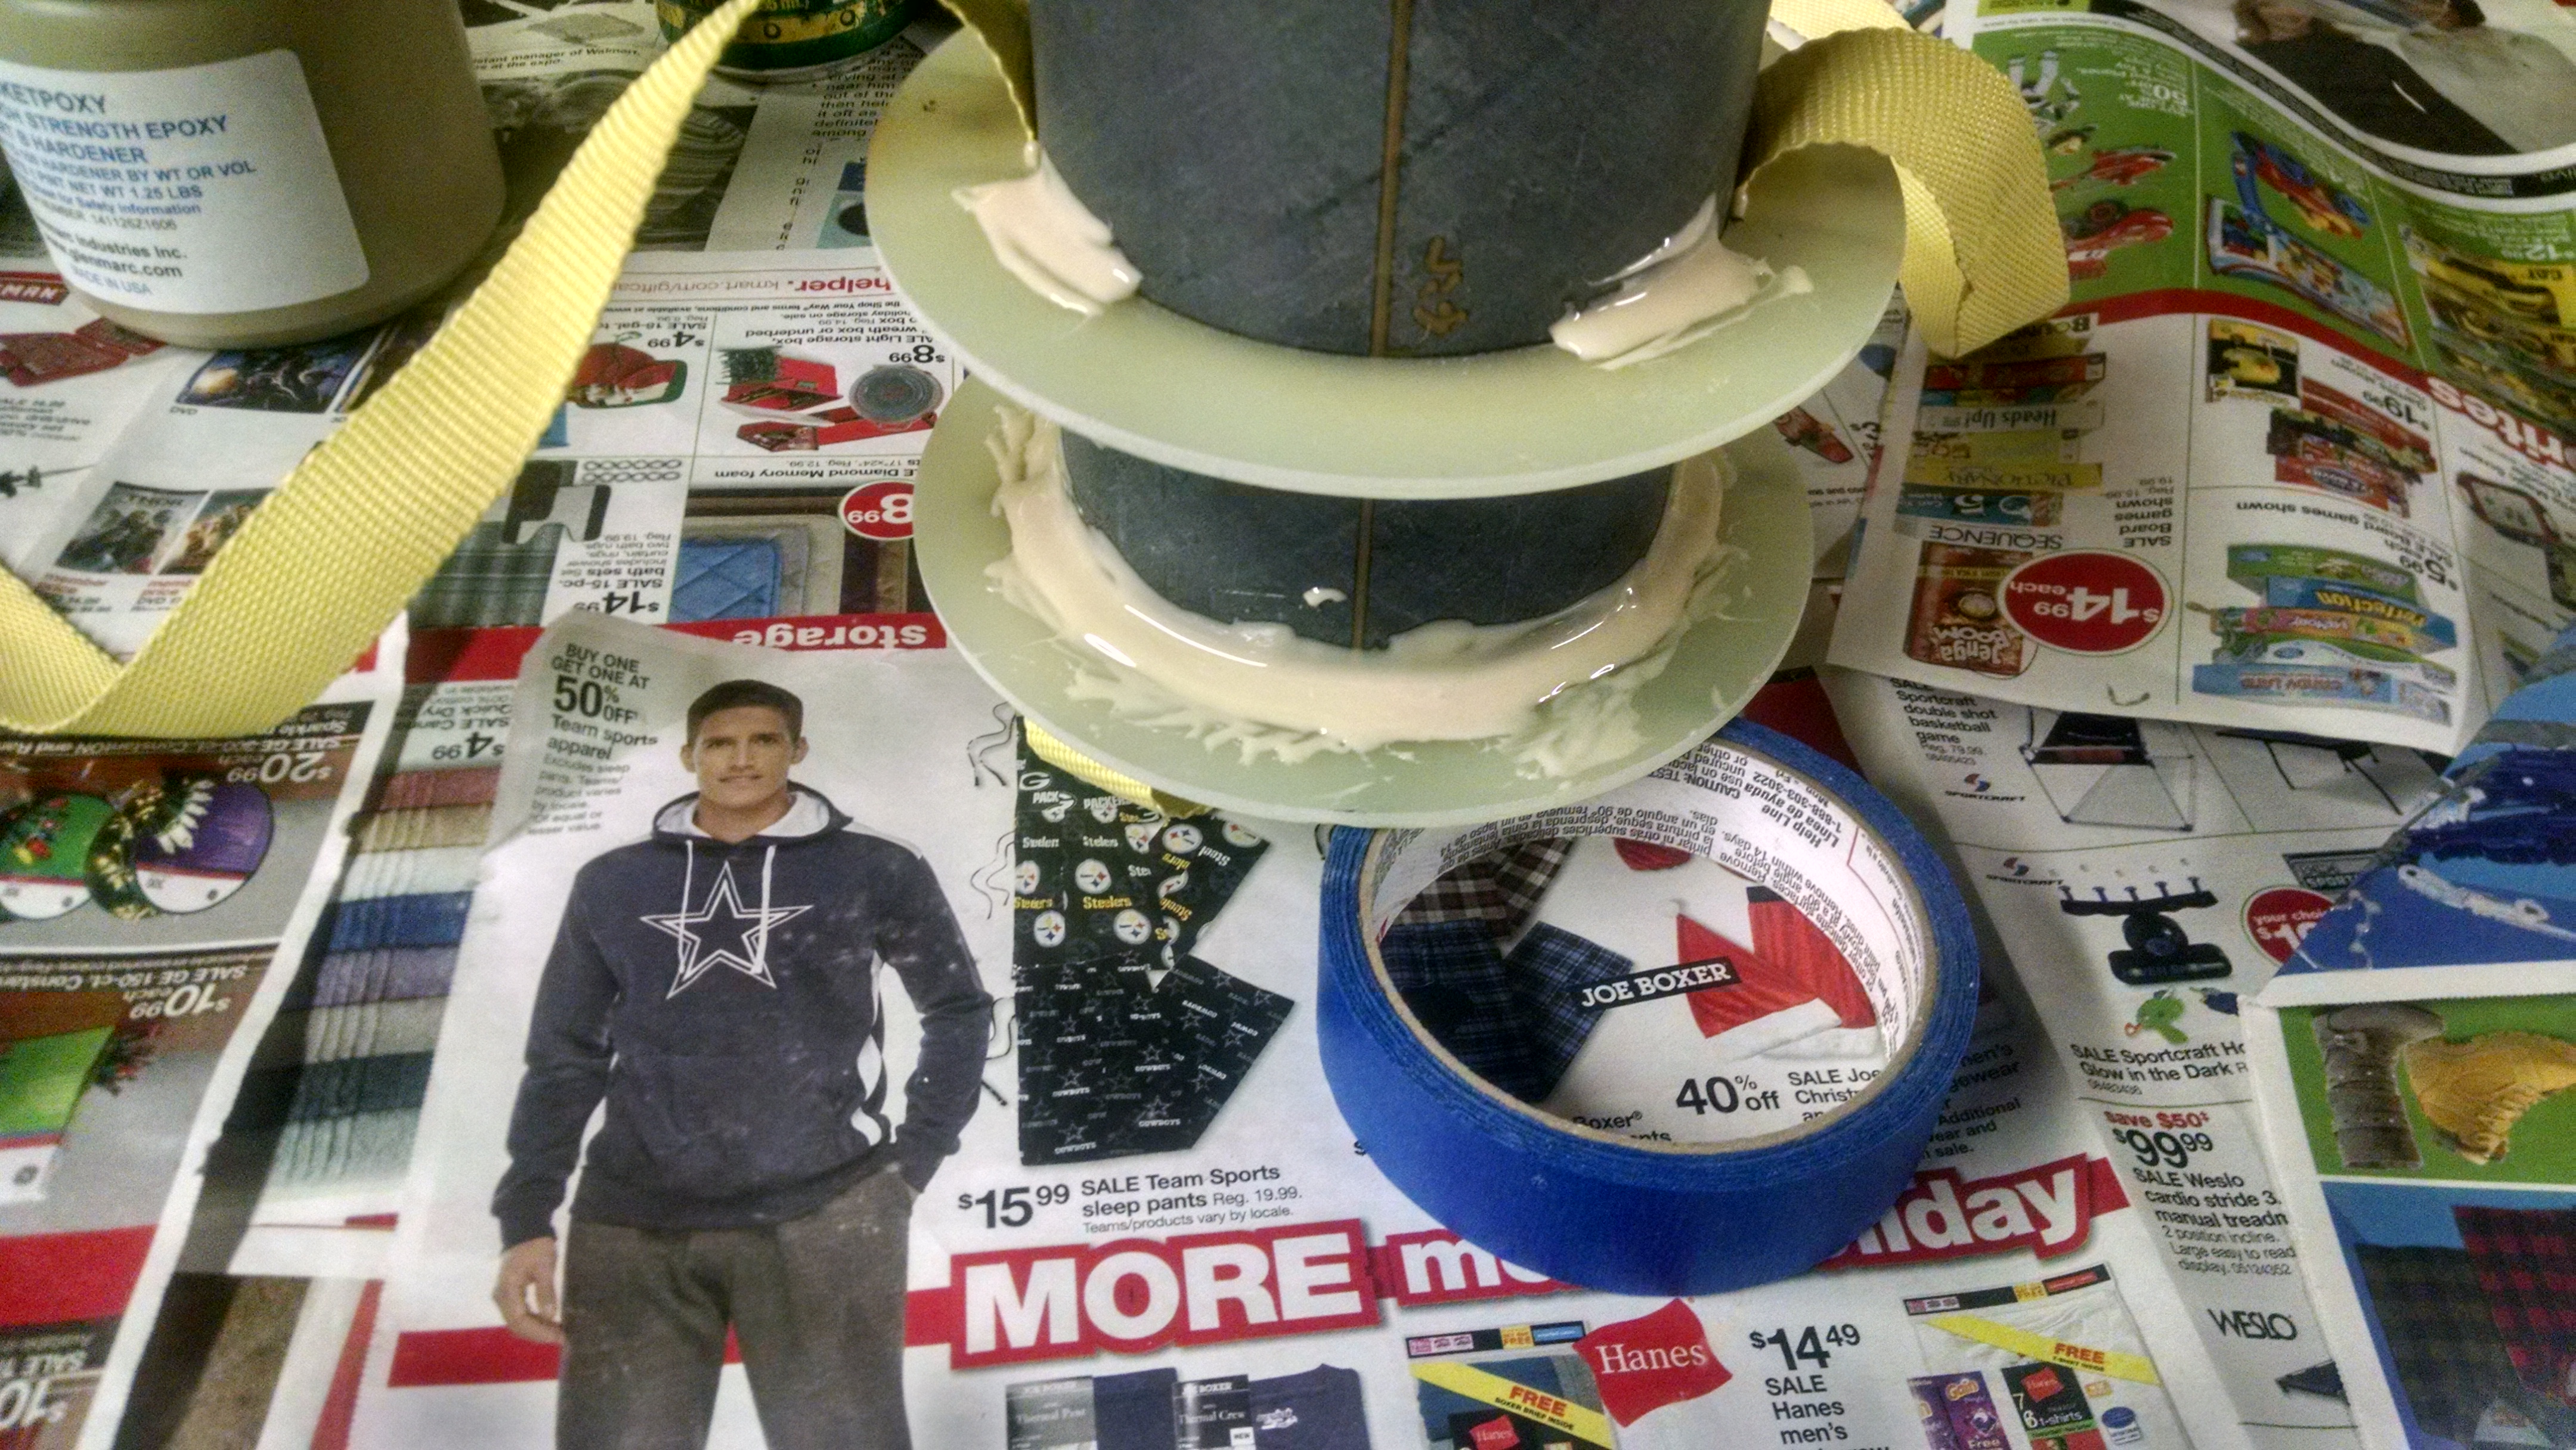
epoxy added to the bottom of the centering ring
First layer of Rock-Poxey down before the strap goes down.
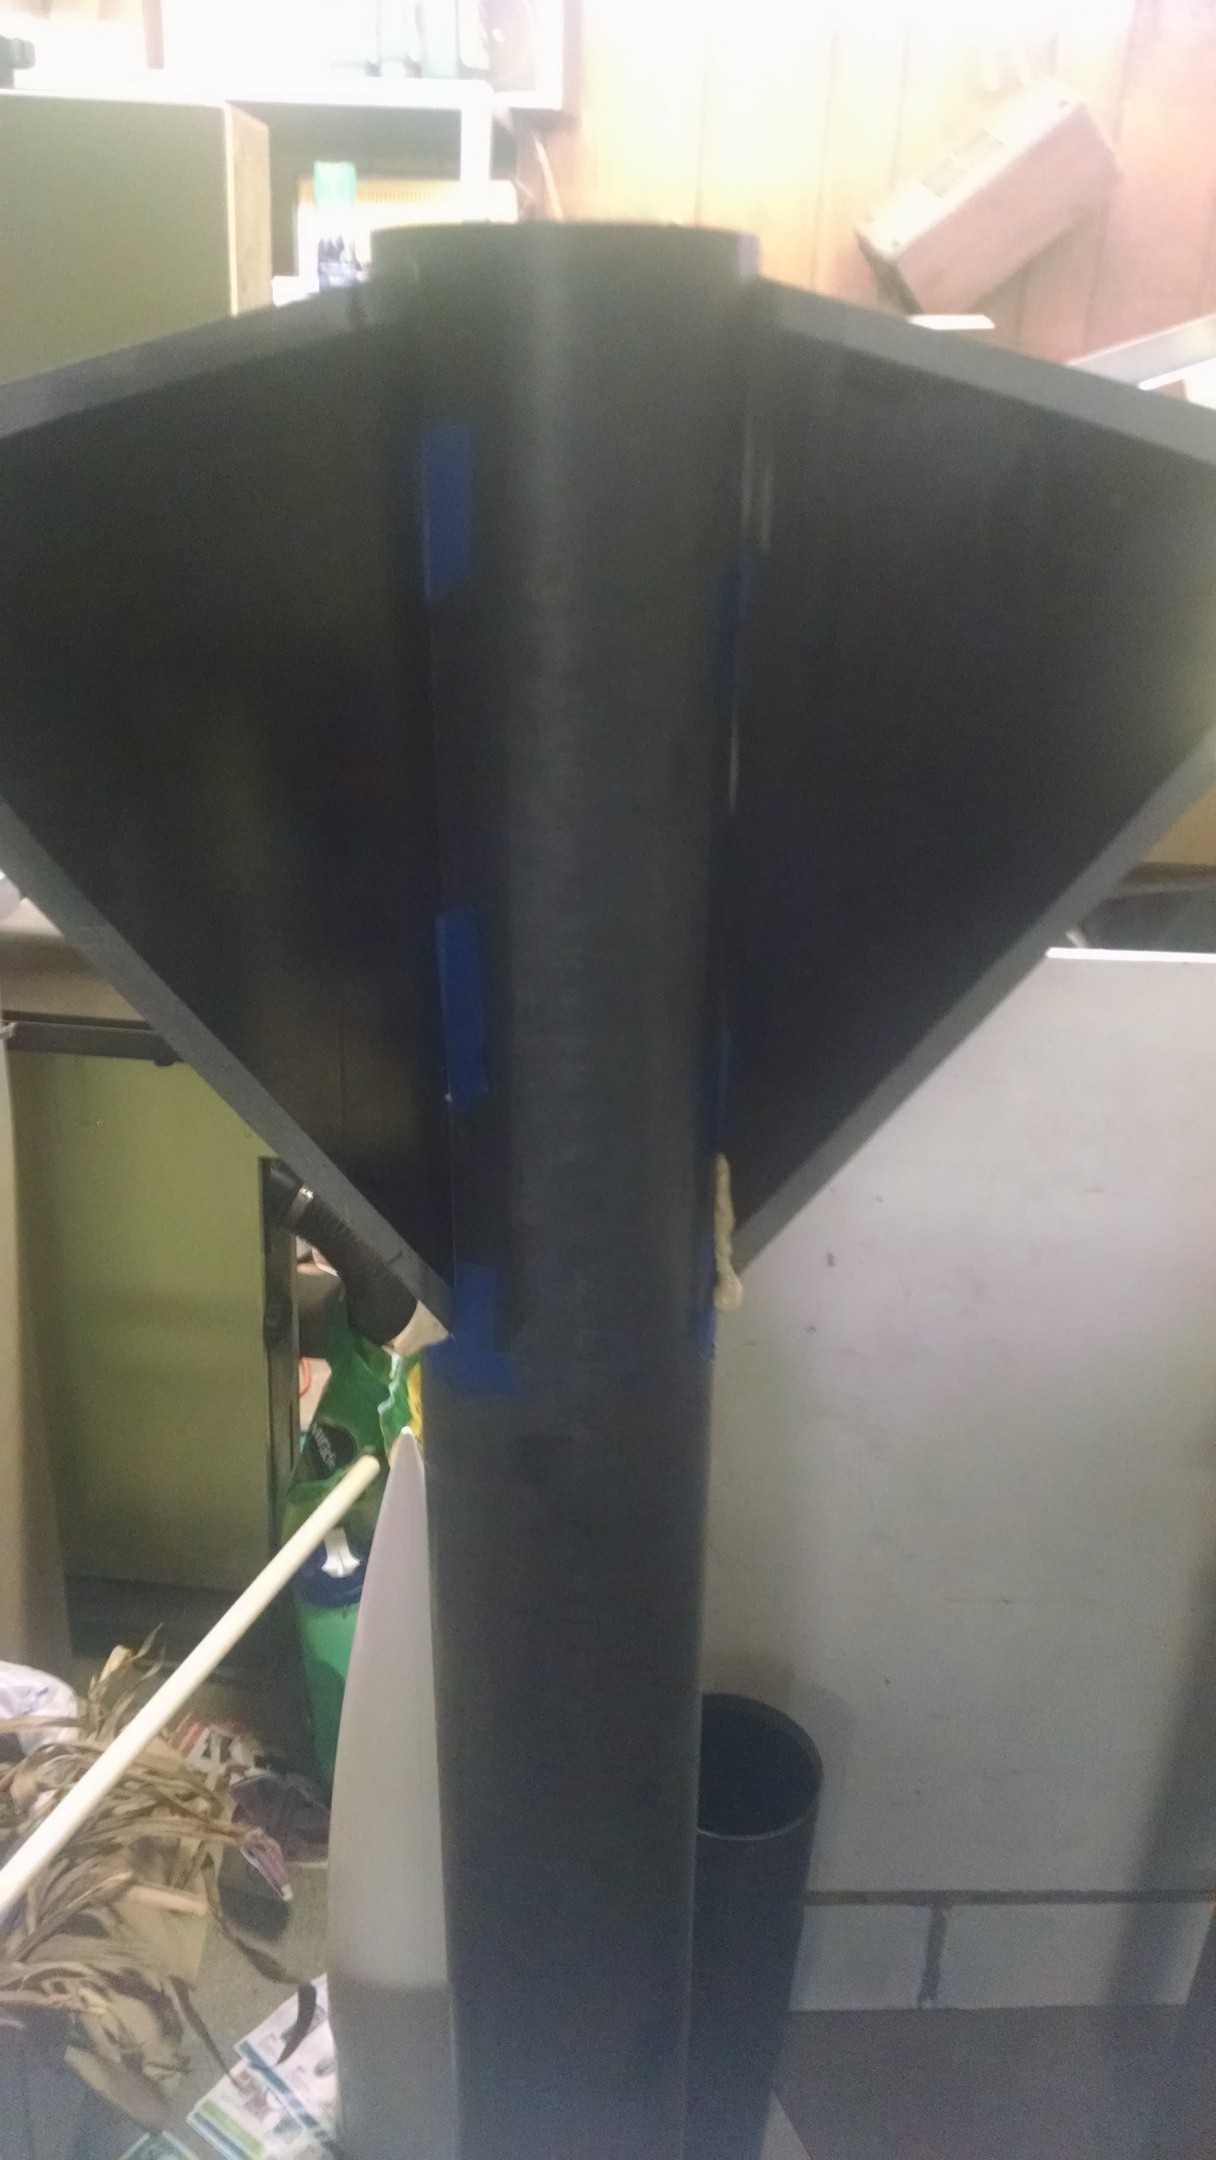
 blue tap is to keep the epoxy out of the B Fin root mount
Flip and repeat
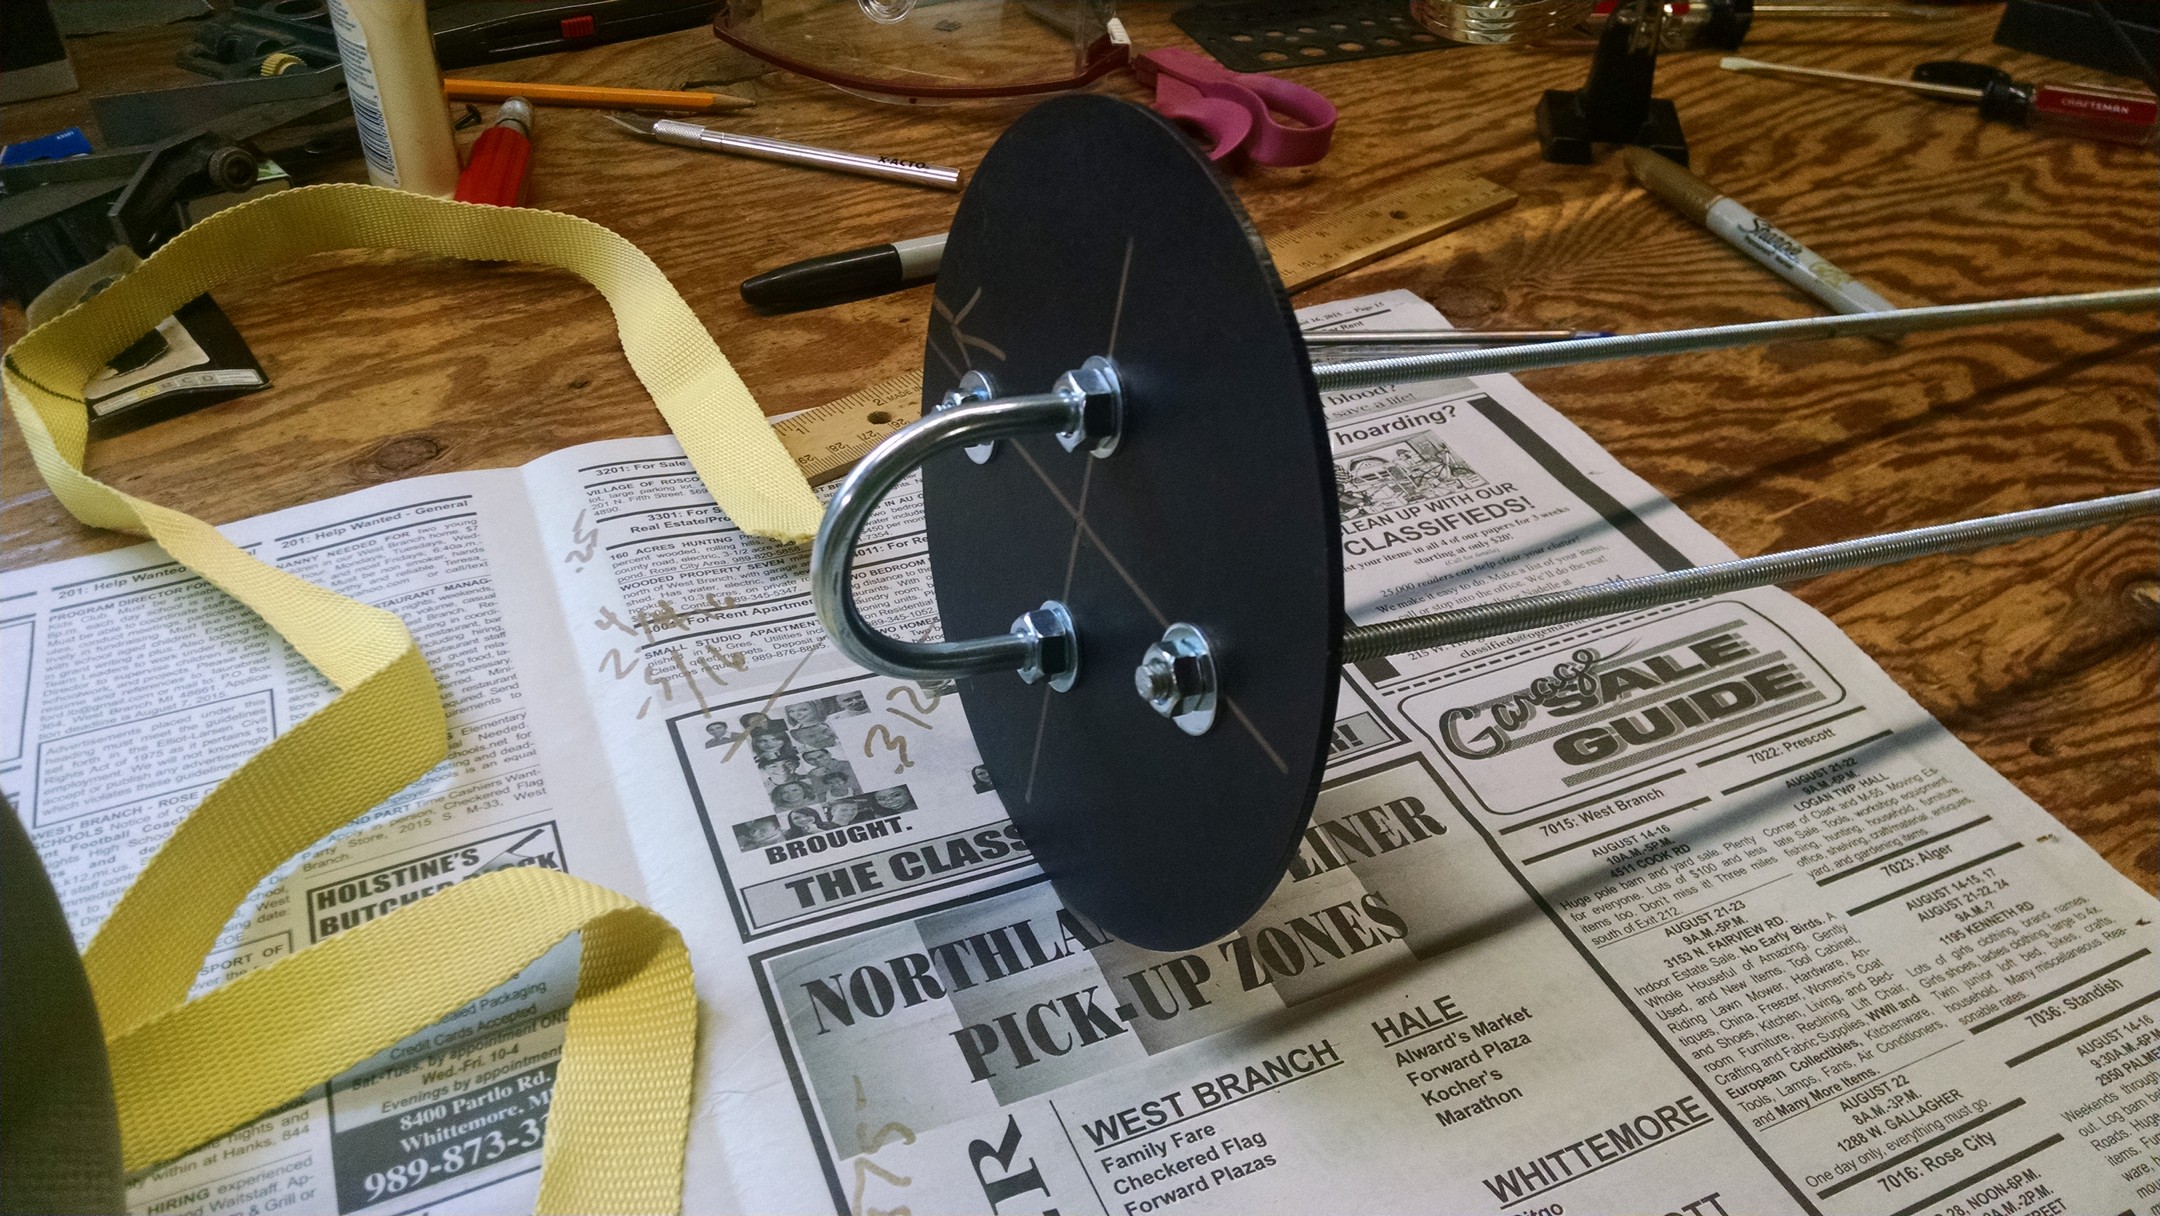
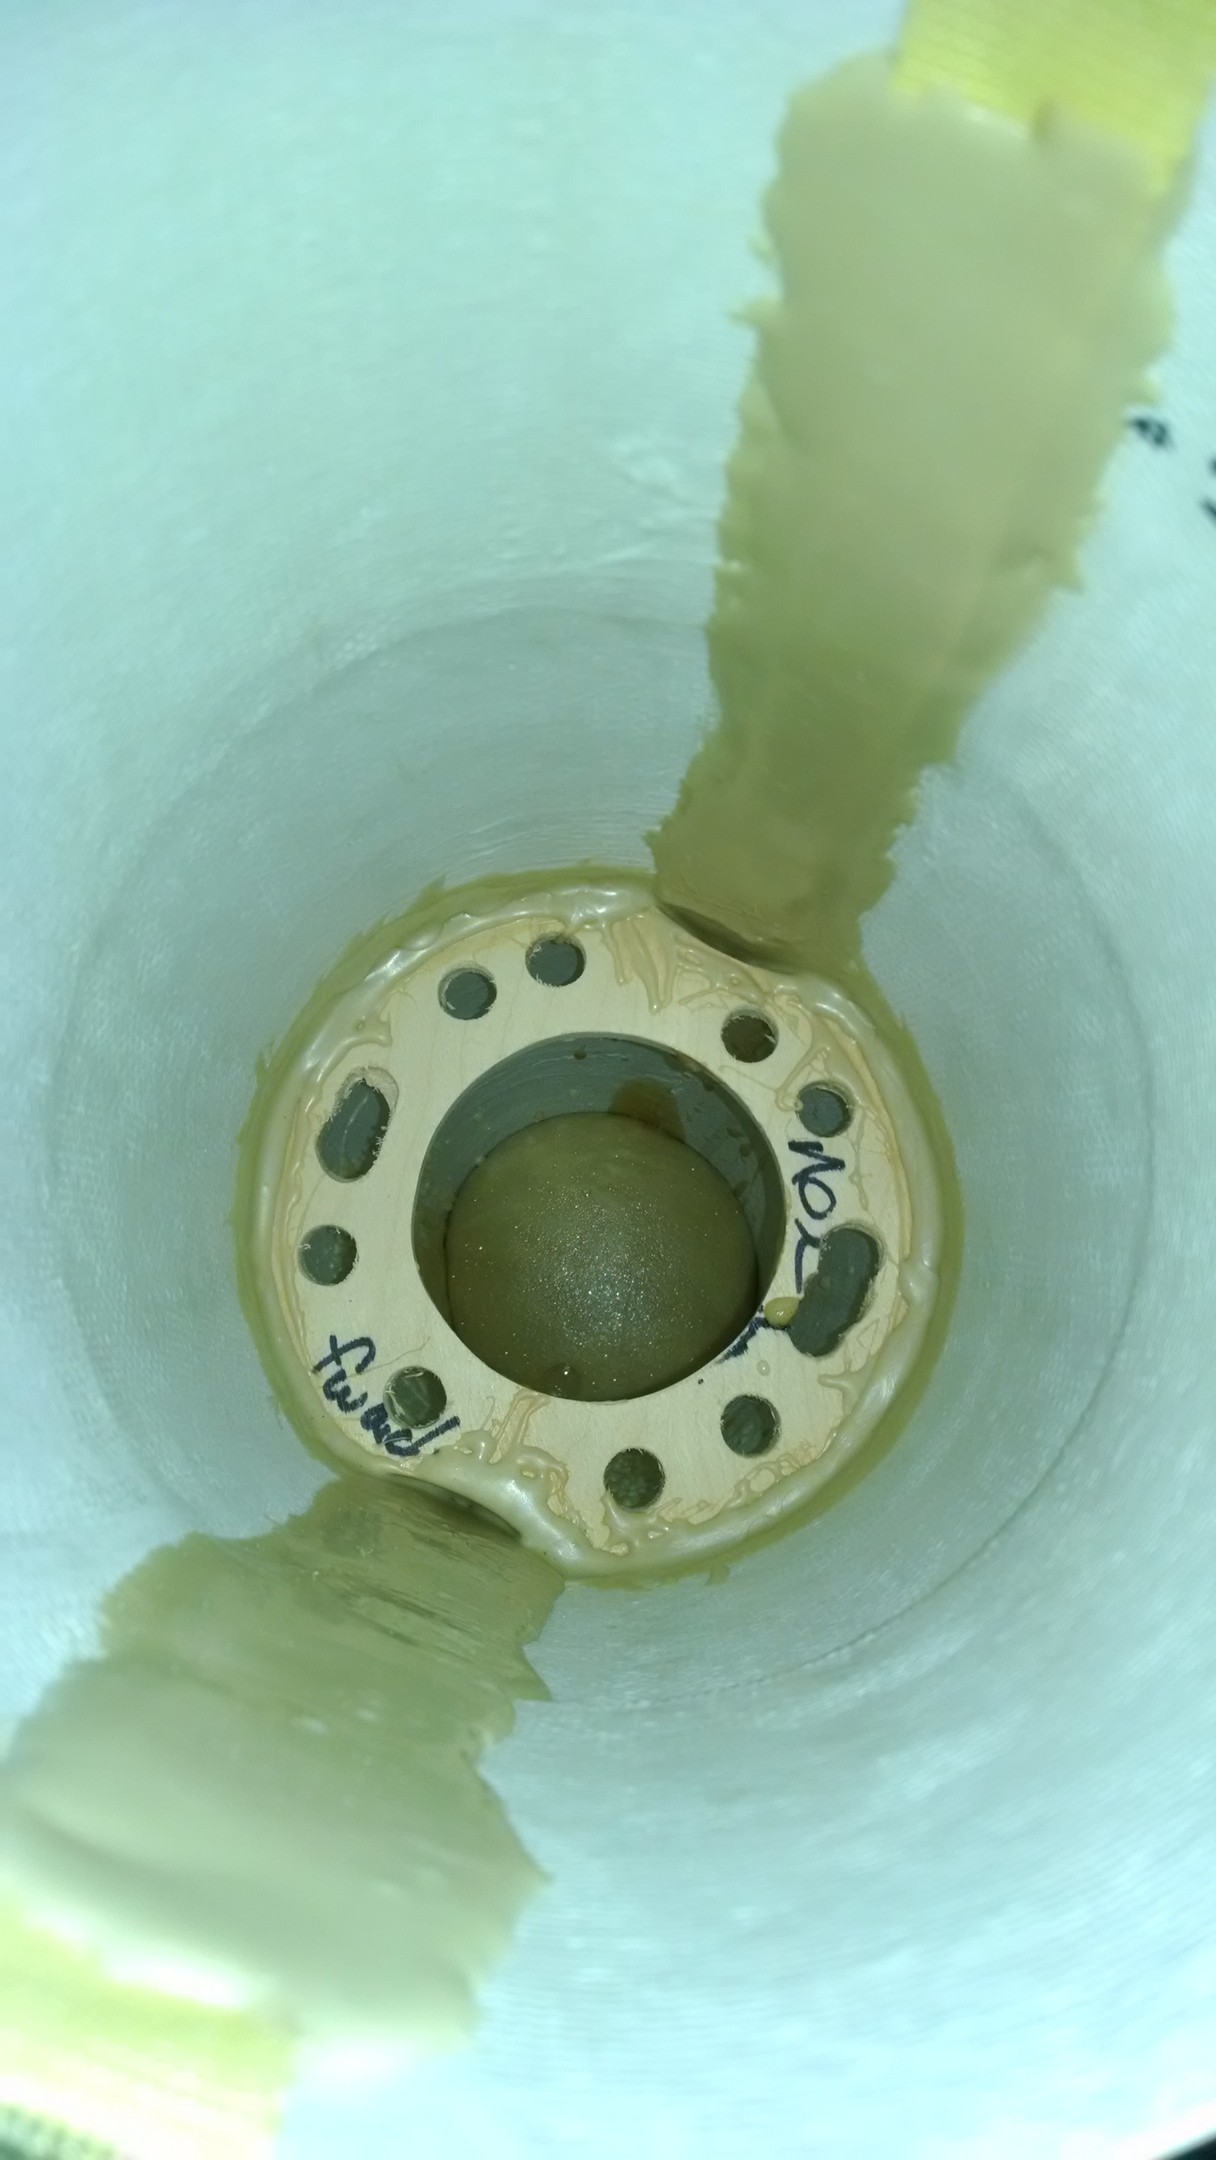
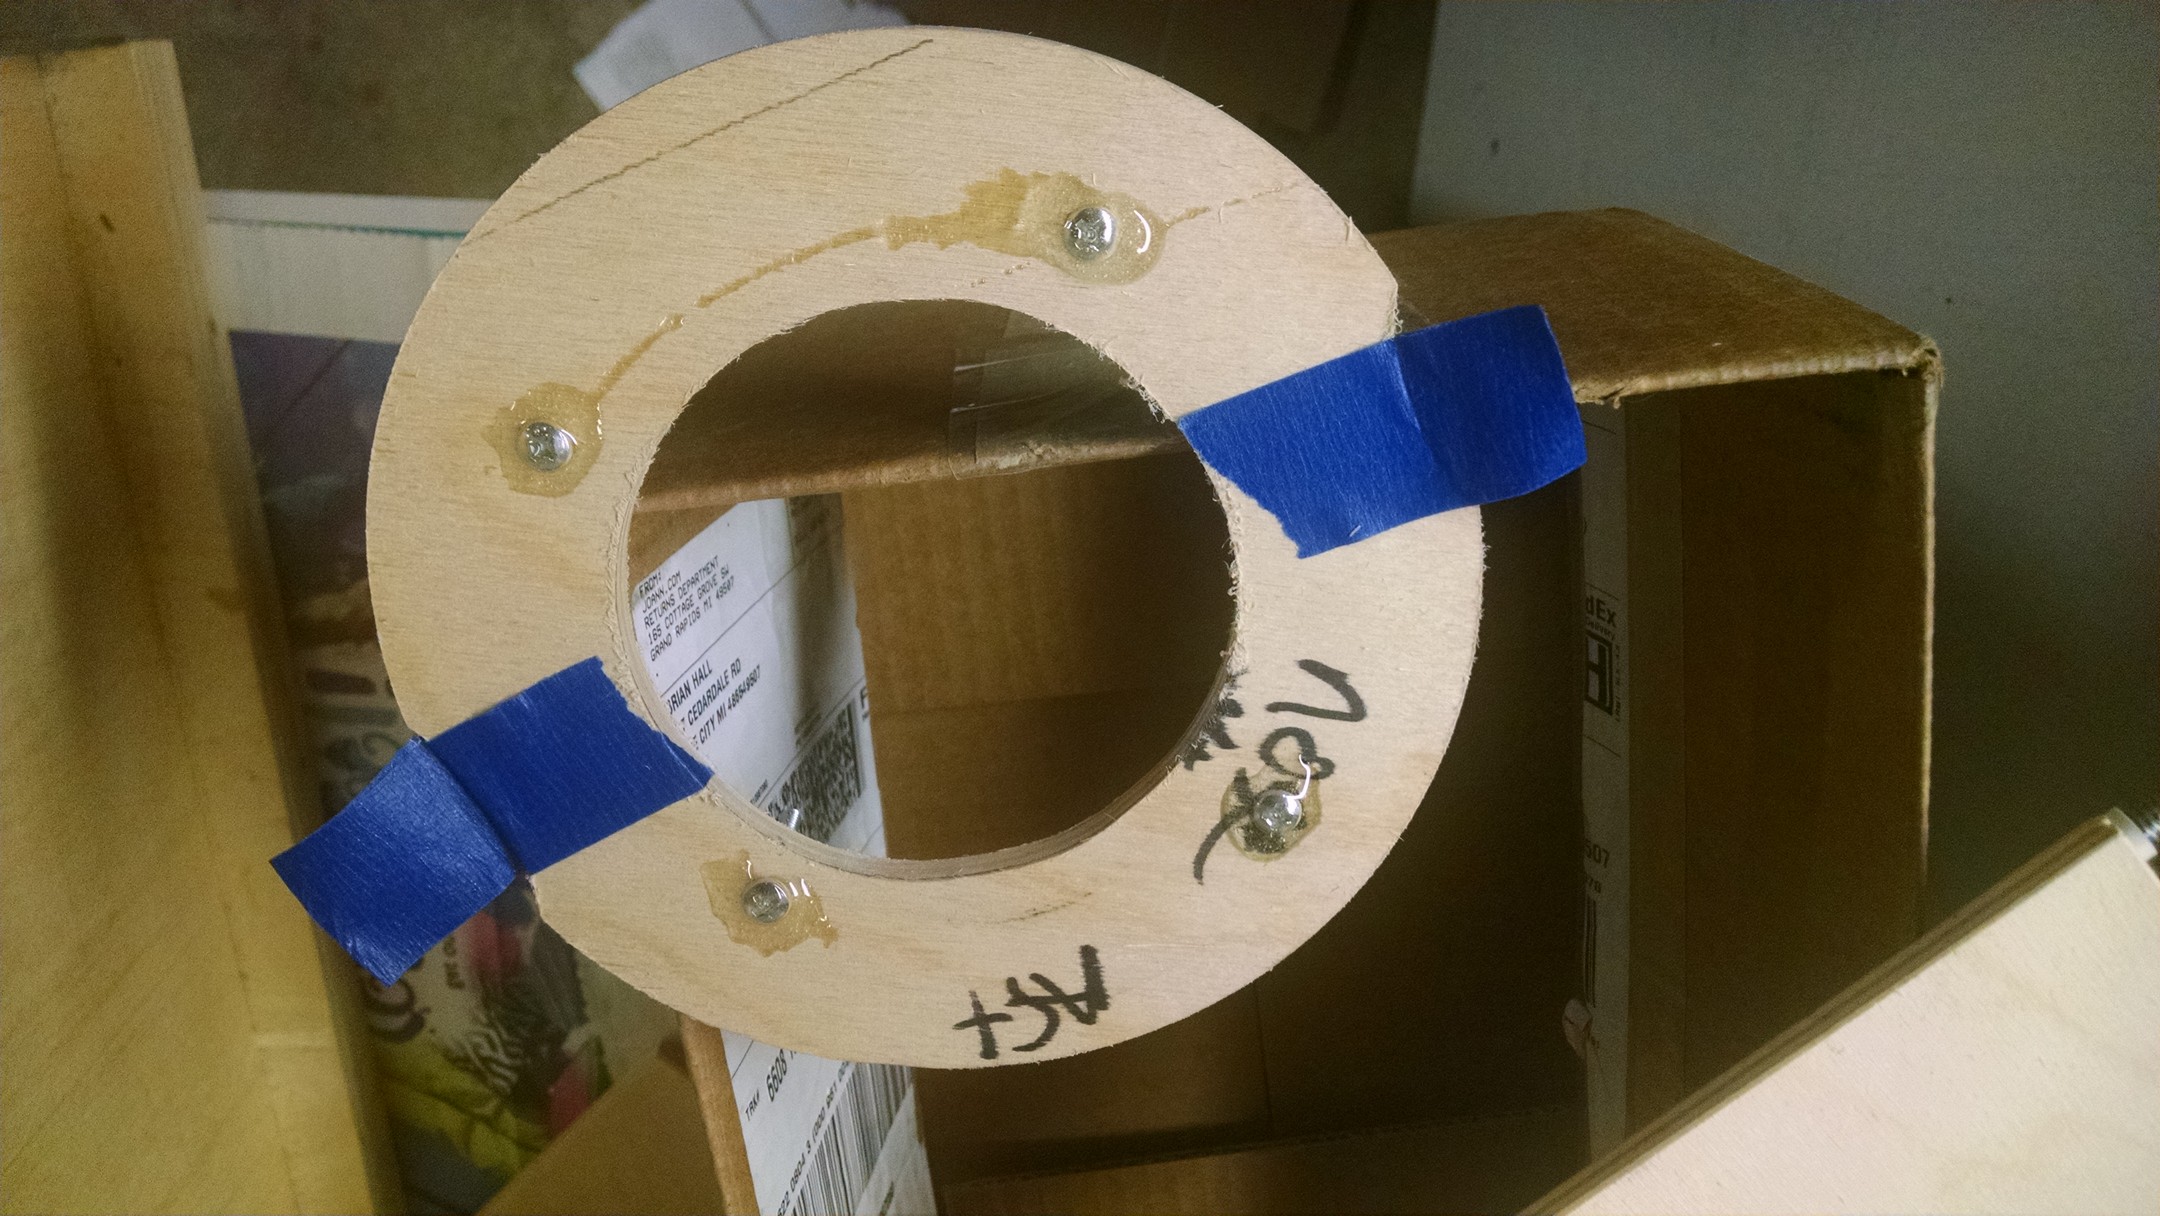
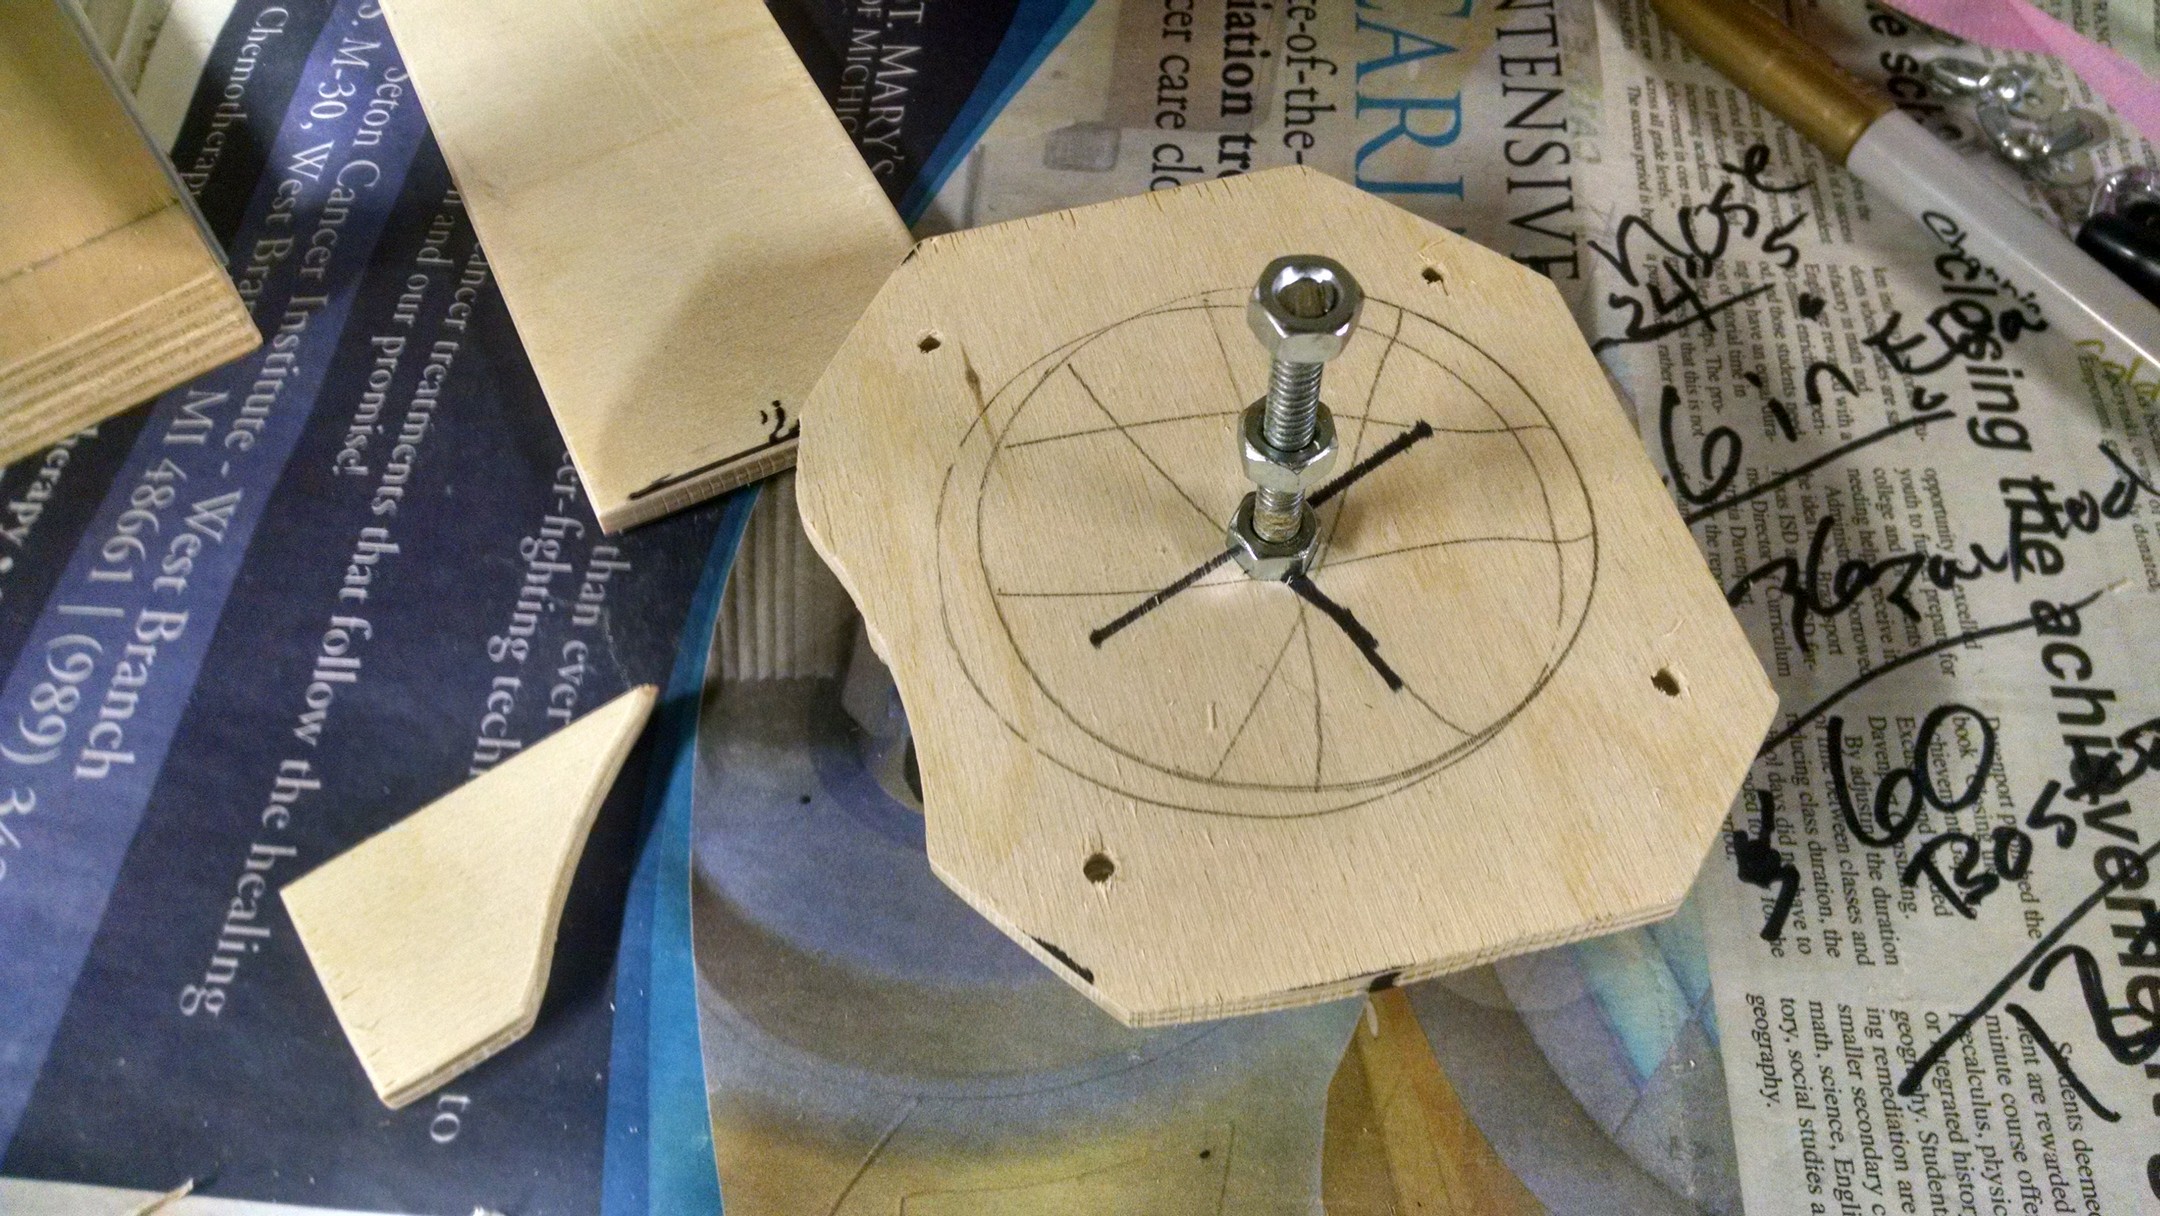
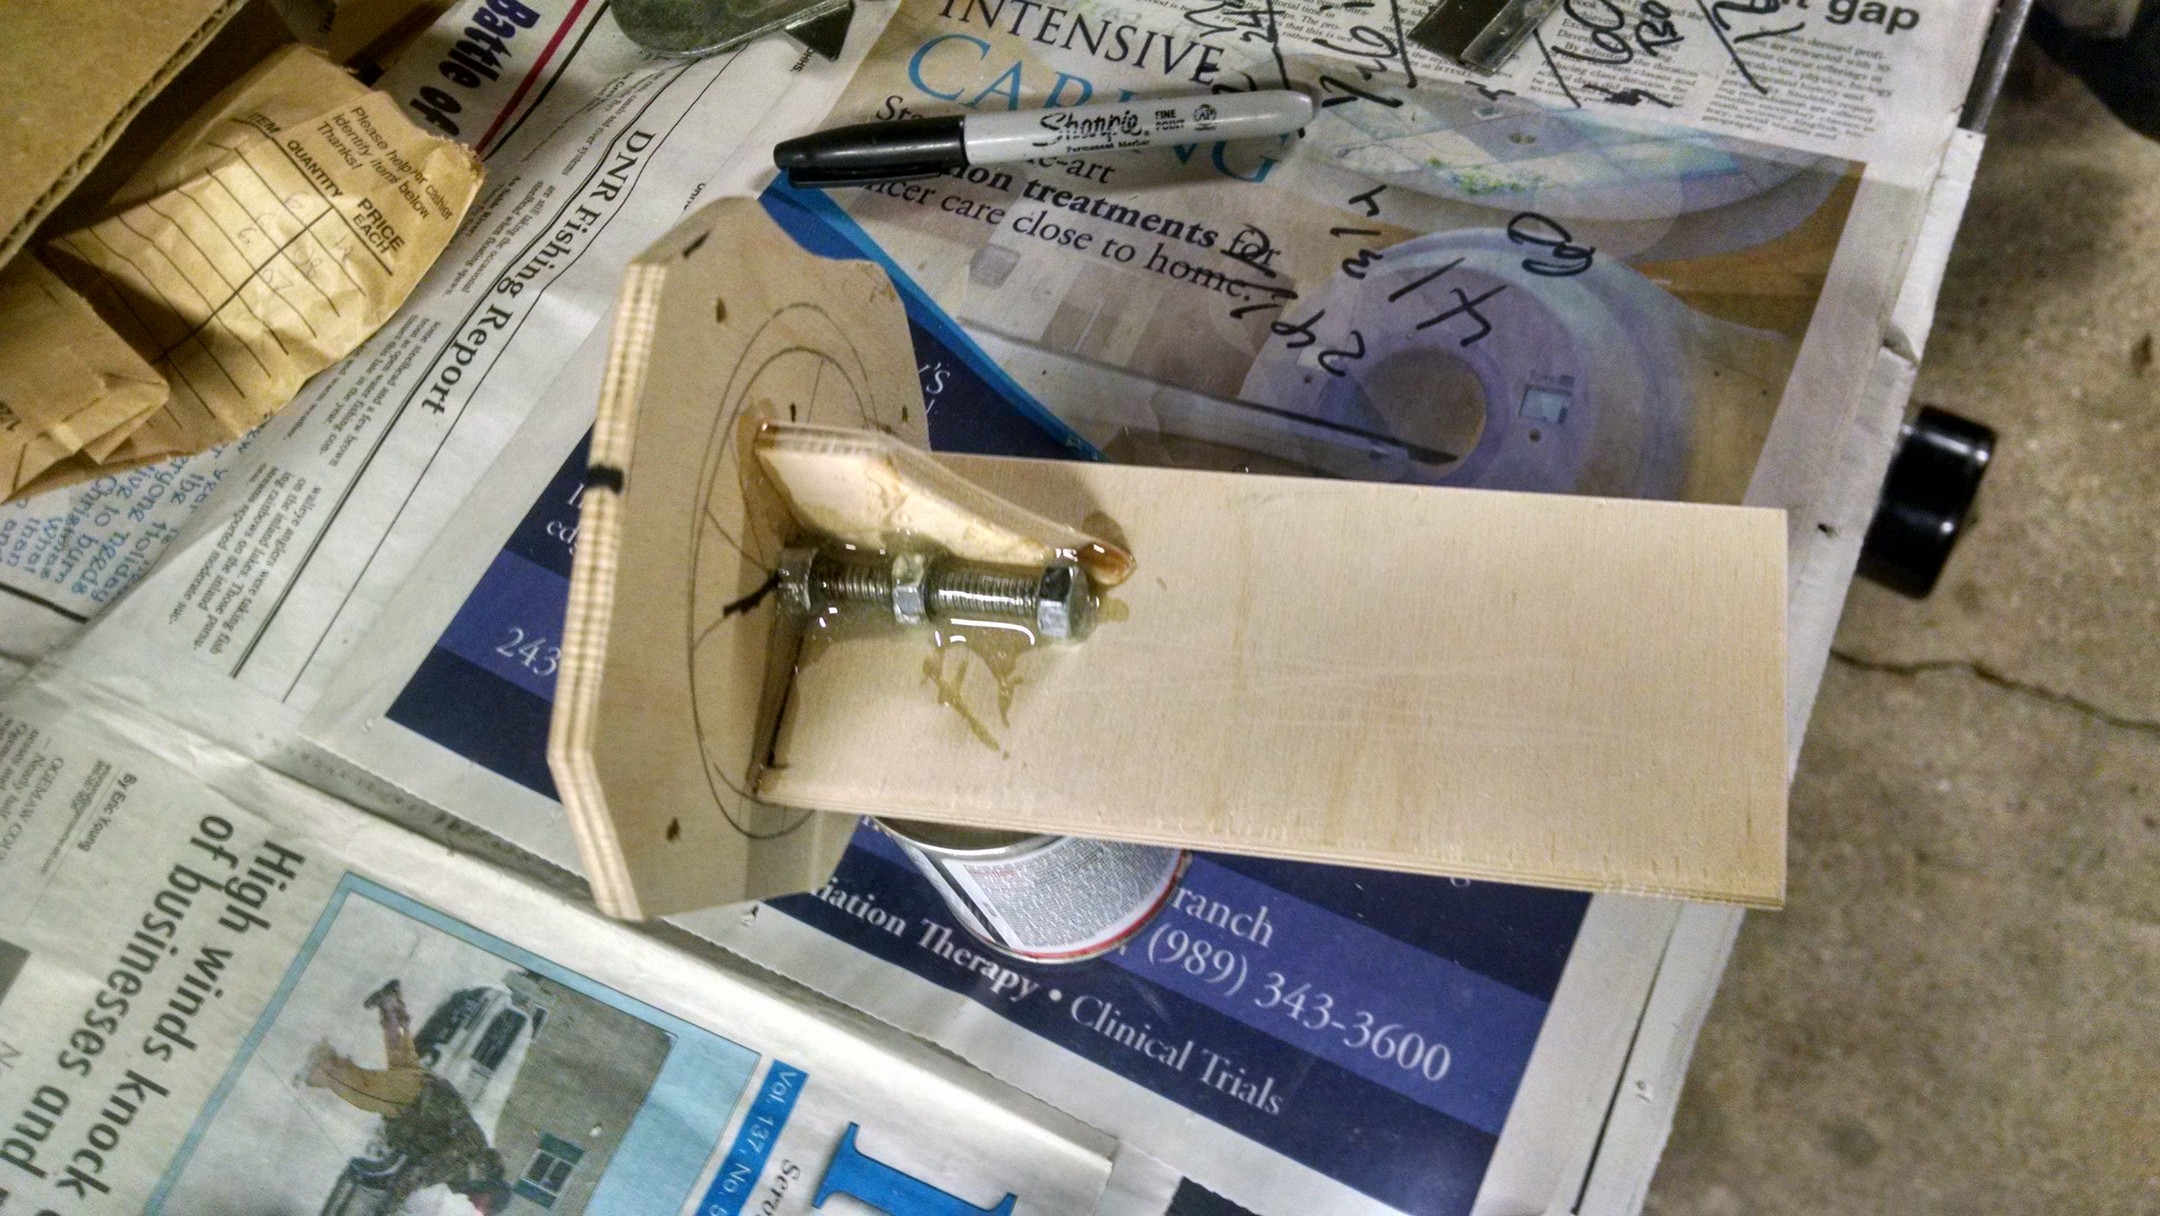
Making the base centering ring to mount the motor retainer to.. it’s too big 😉 April 8, 2015
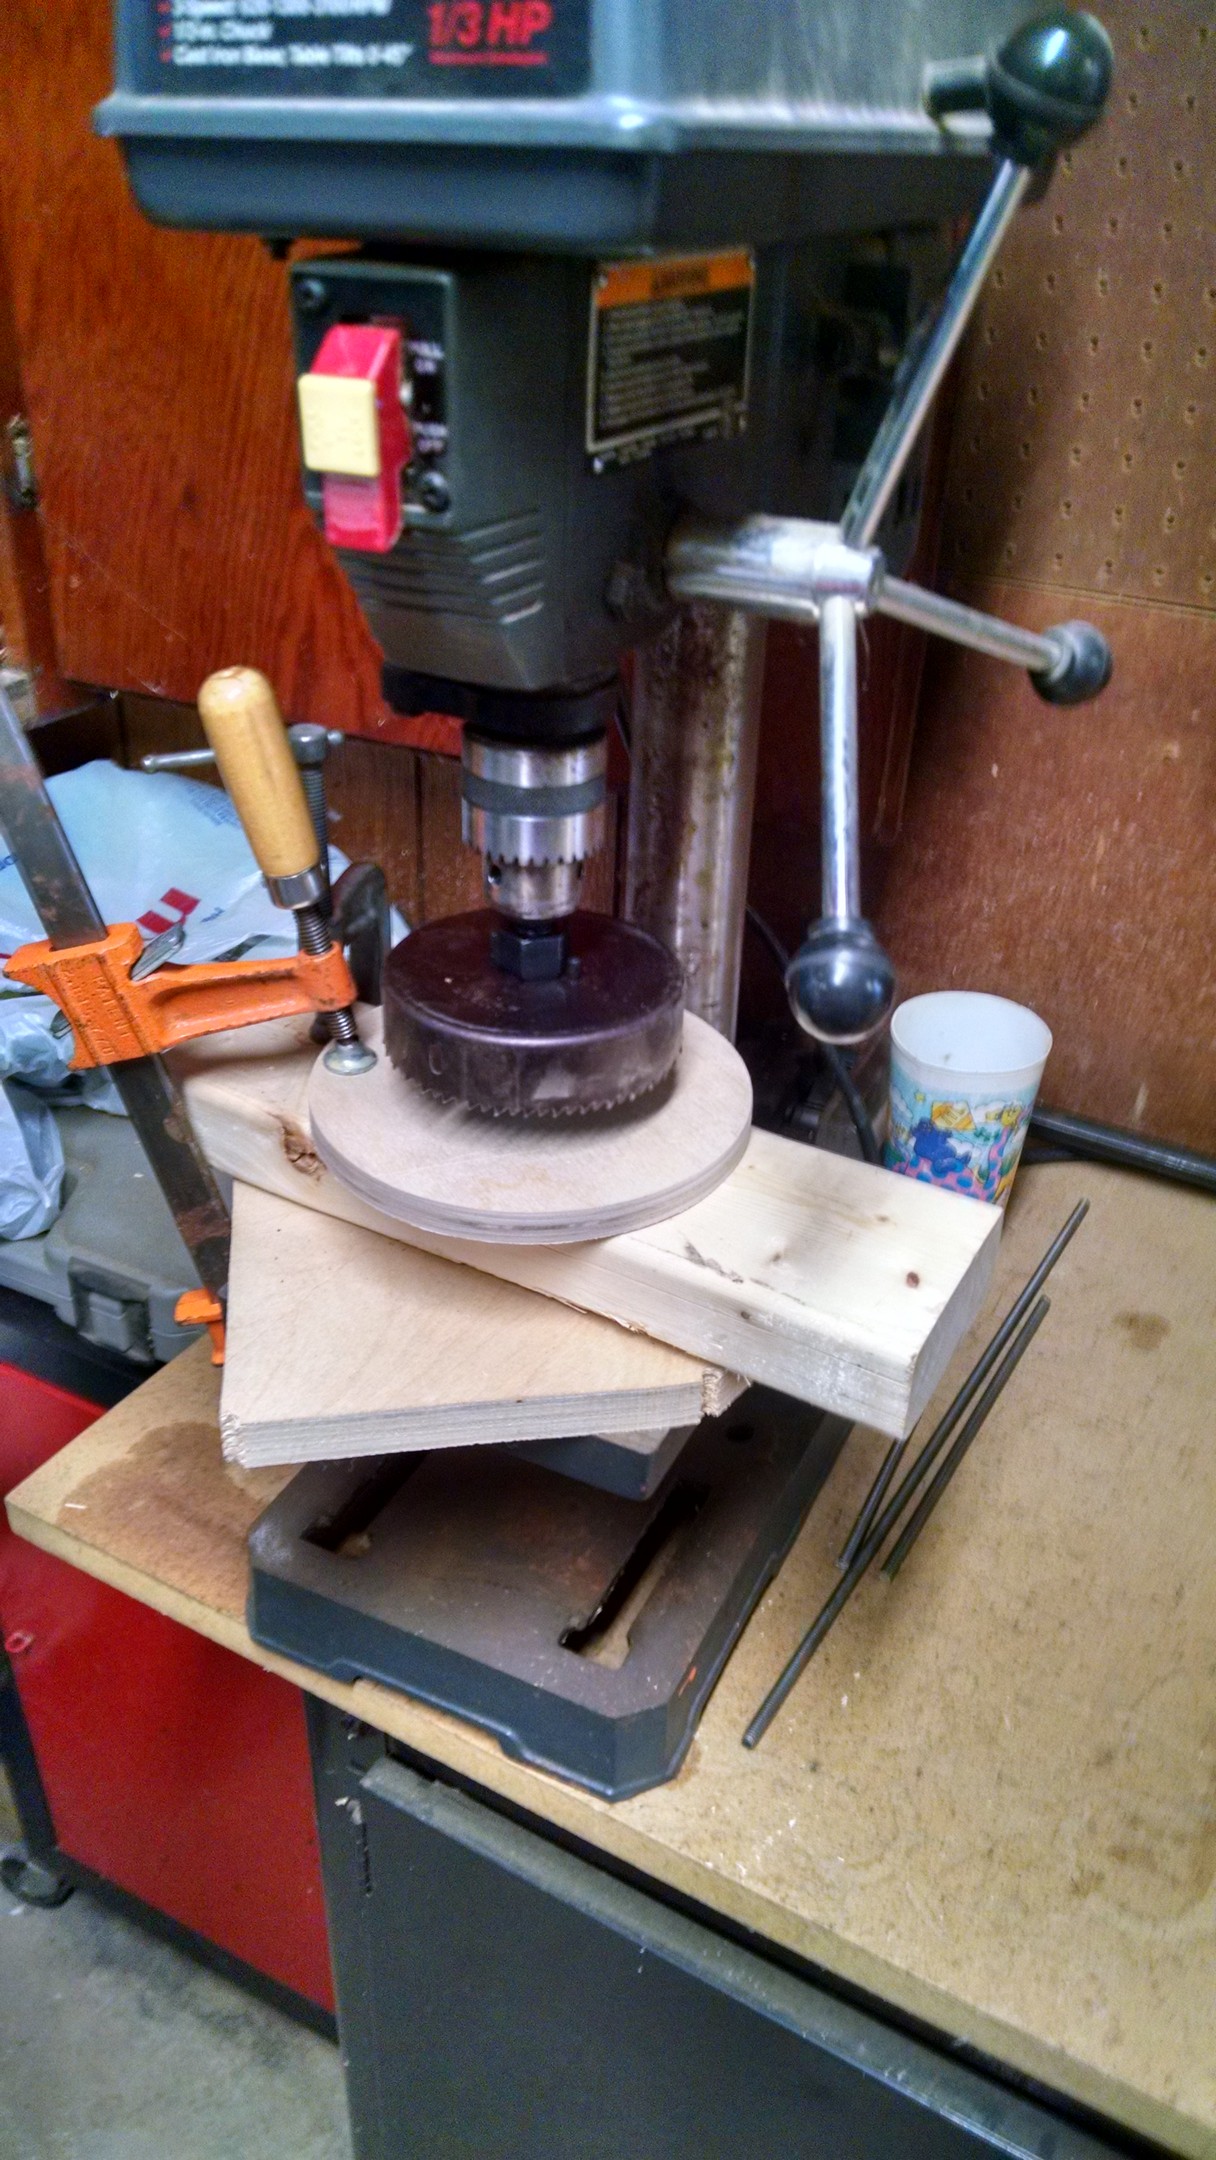 the centering ring needs a 4in hole in it
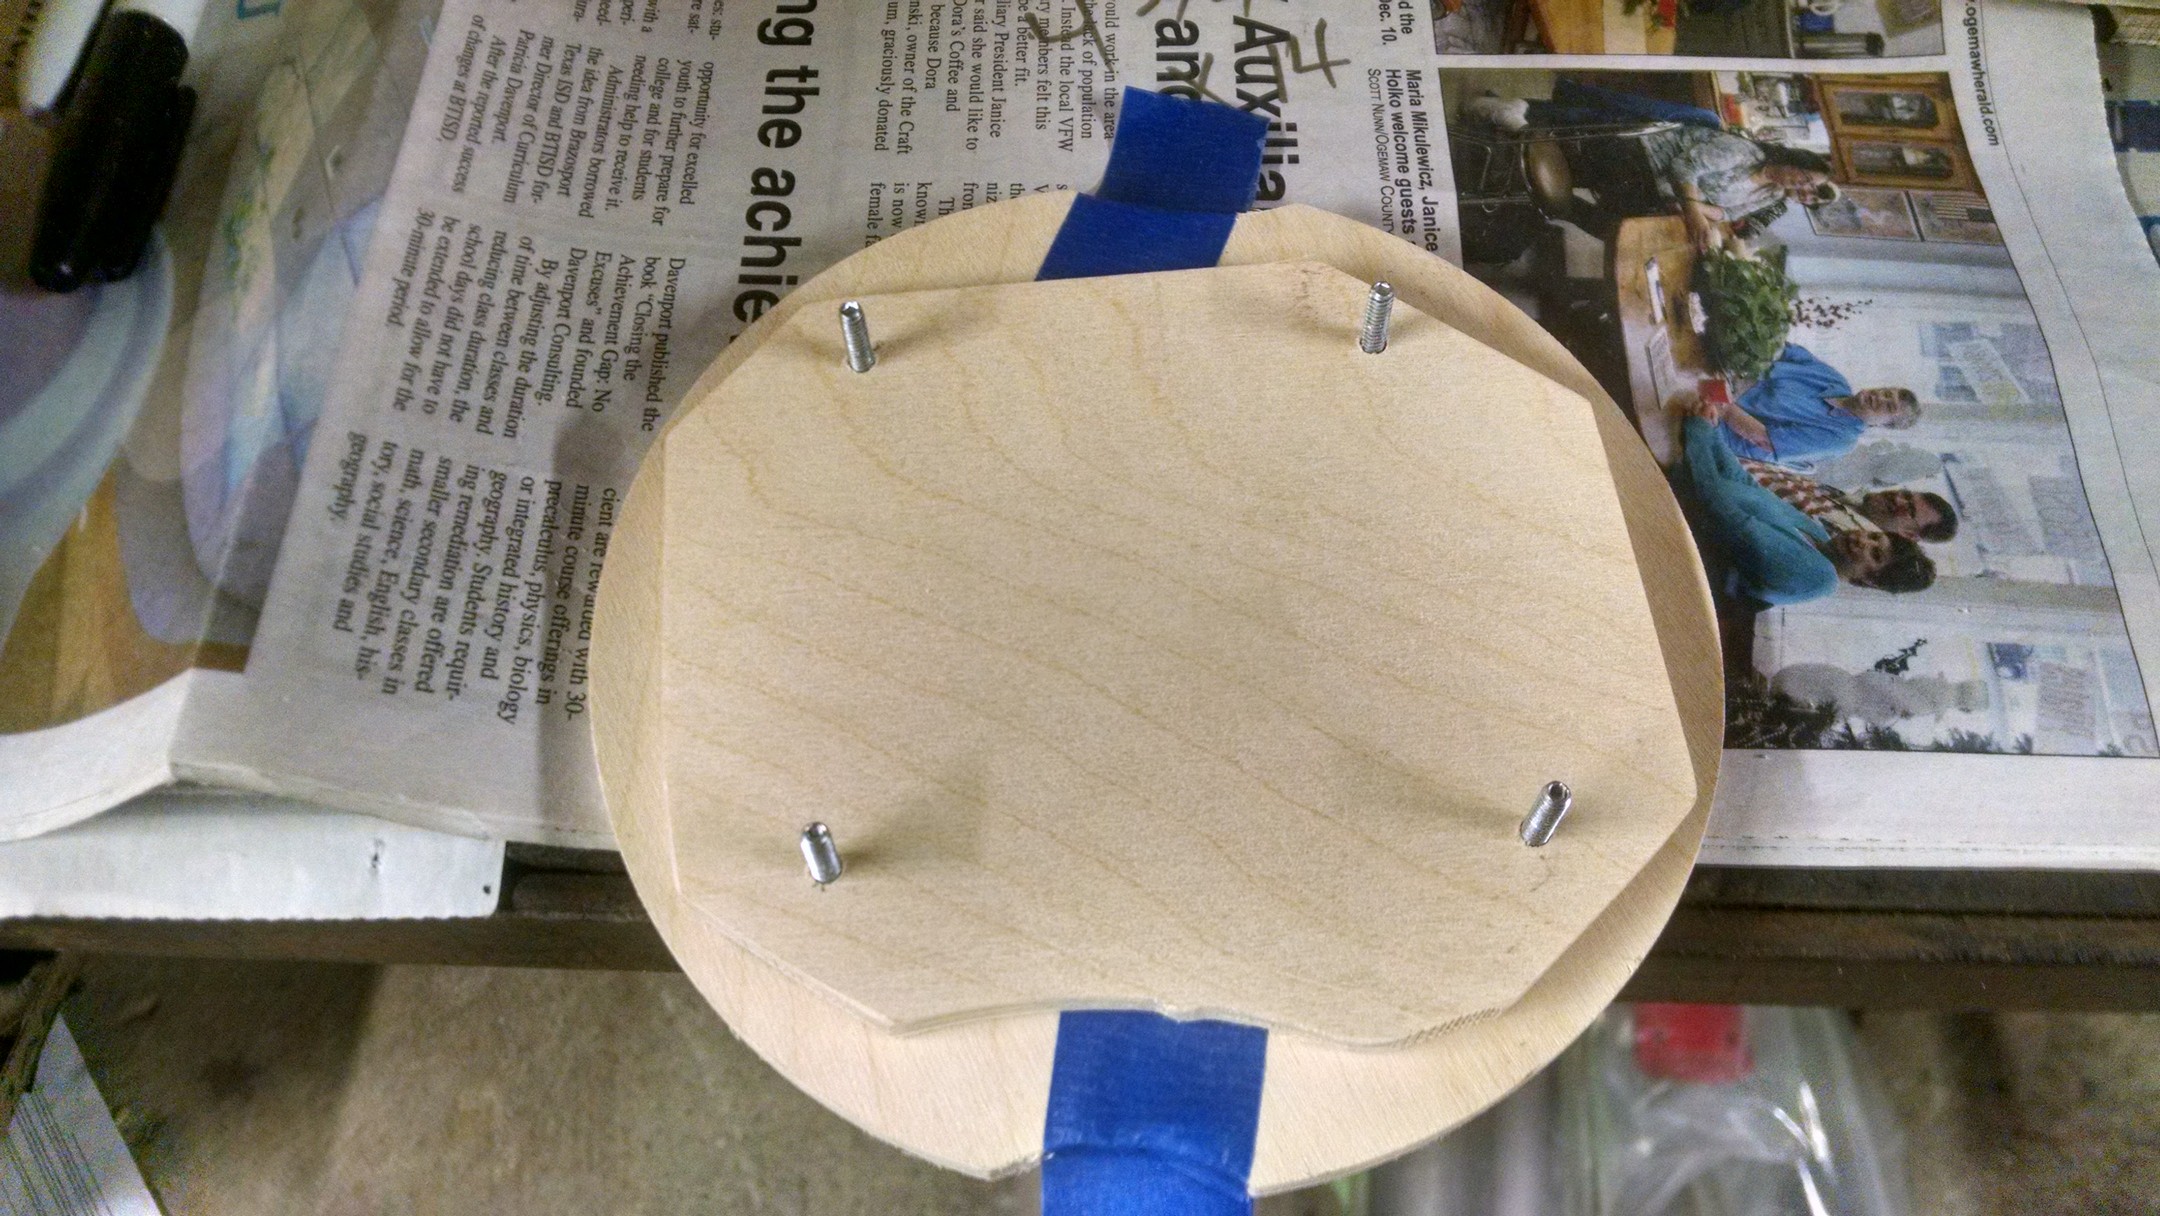
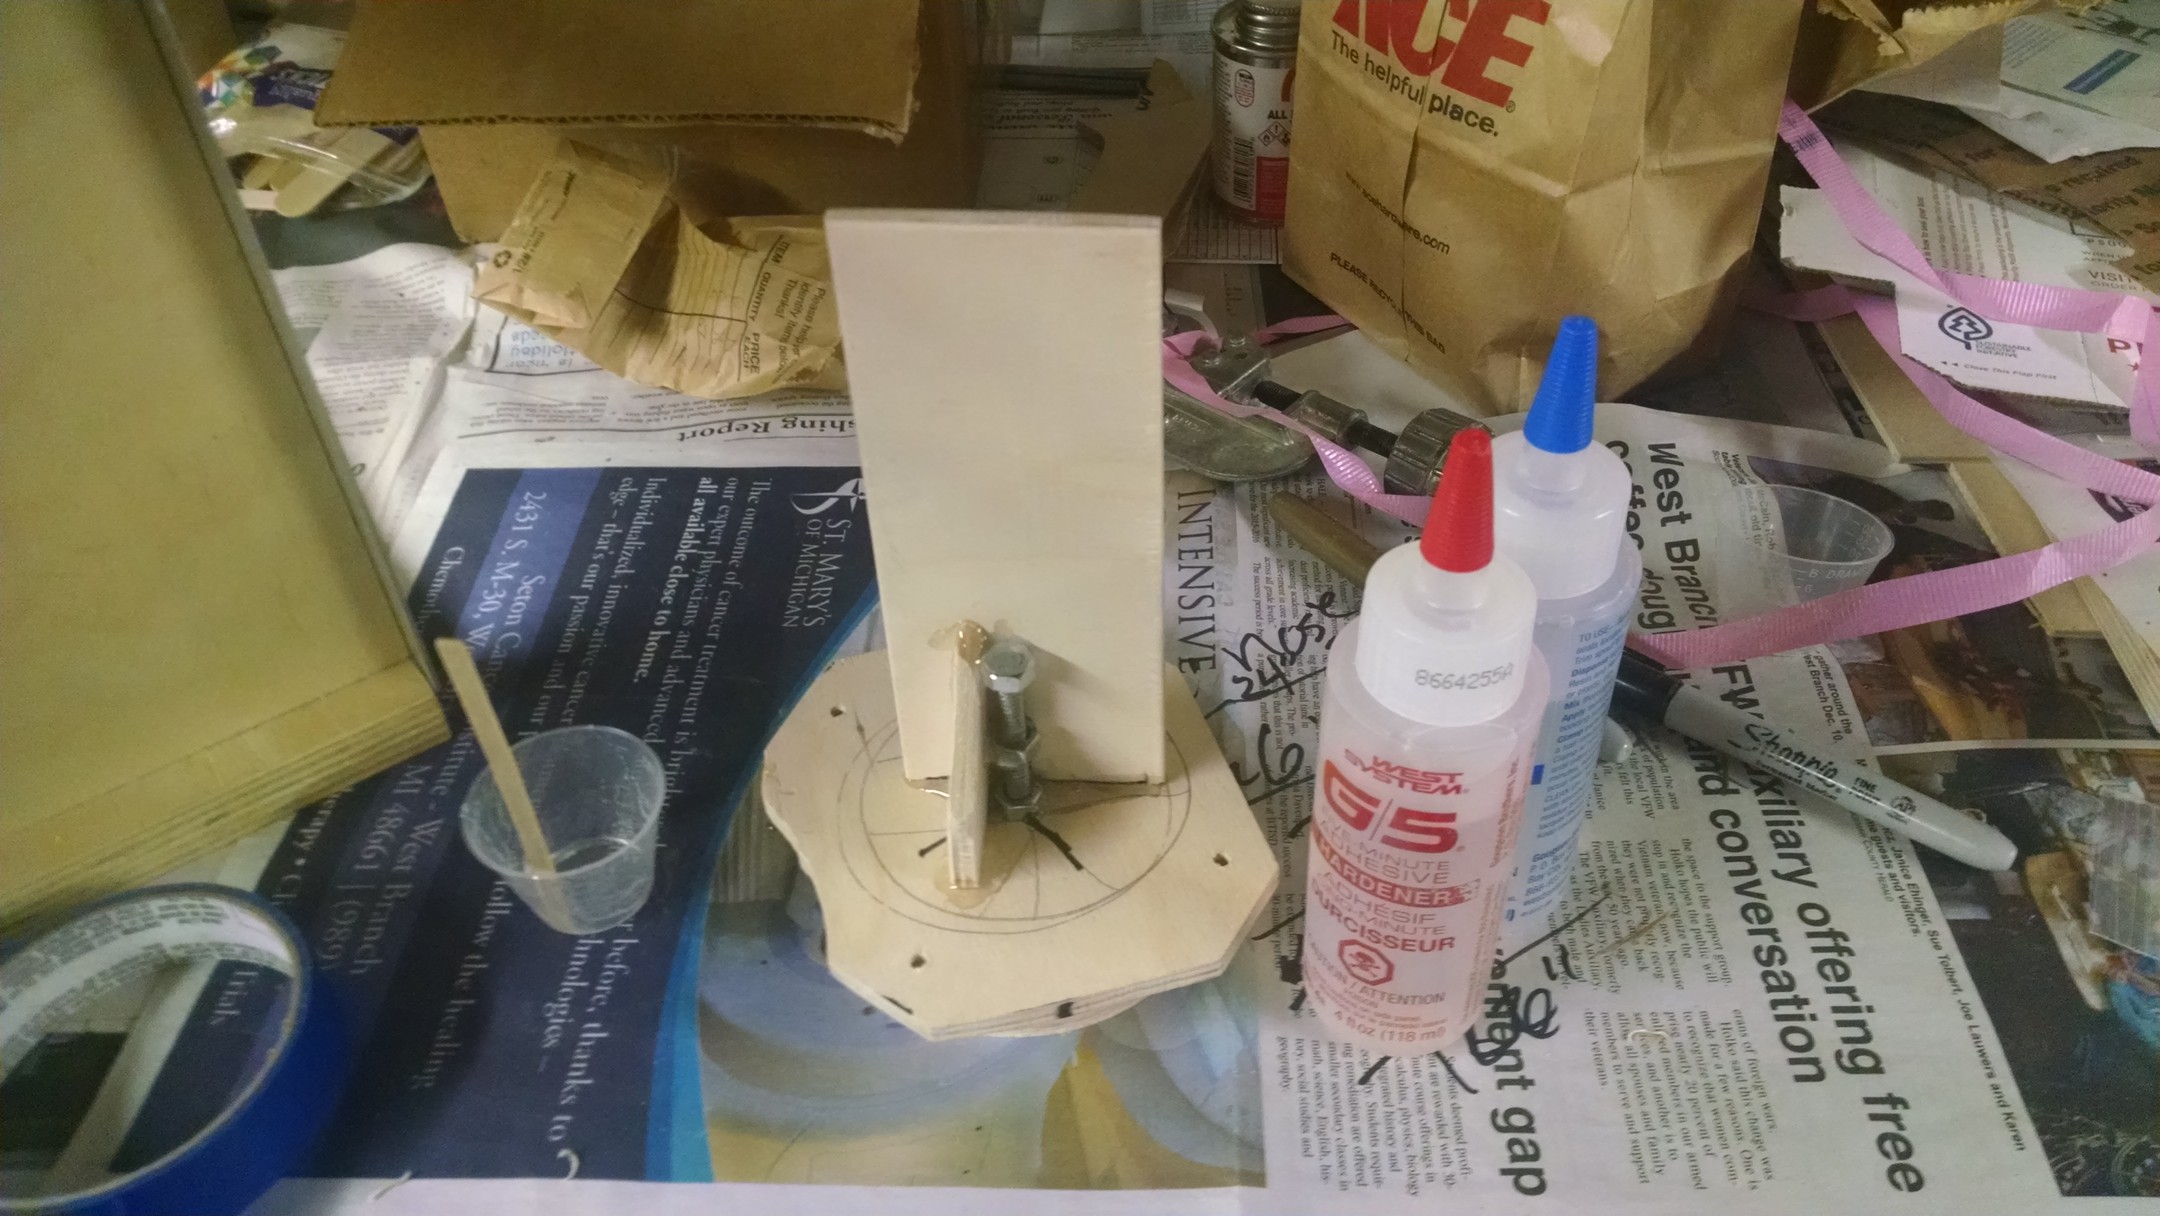
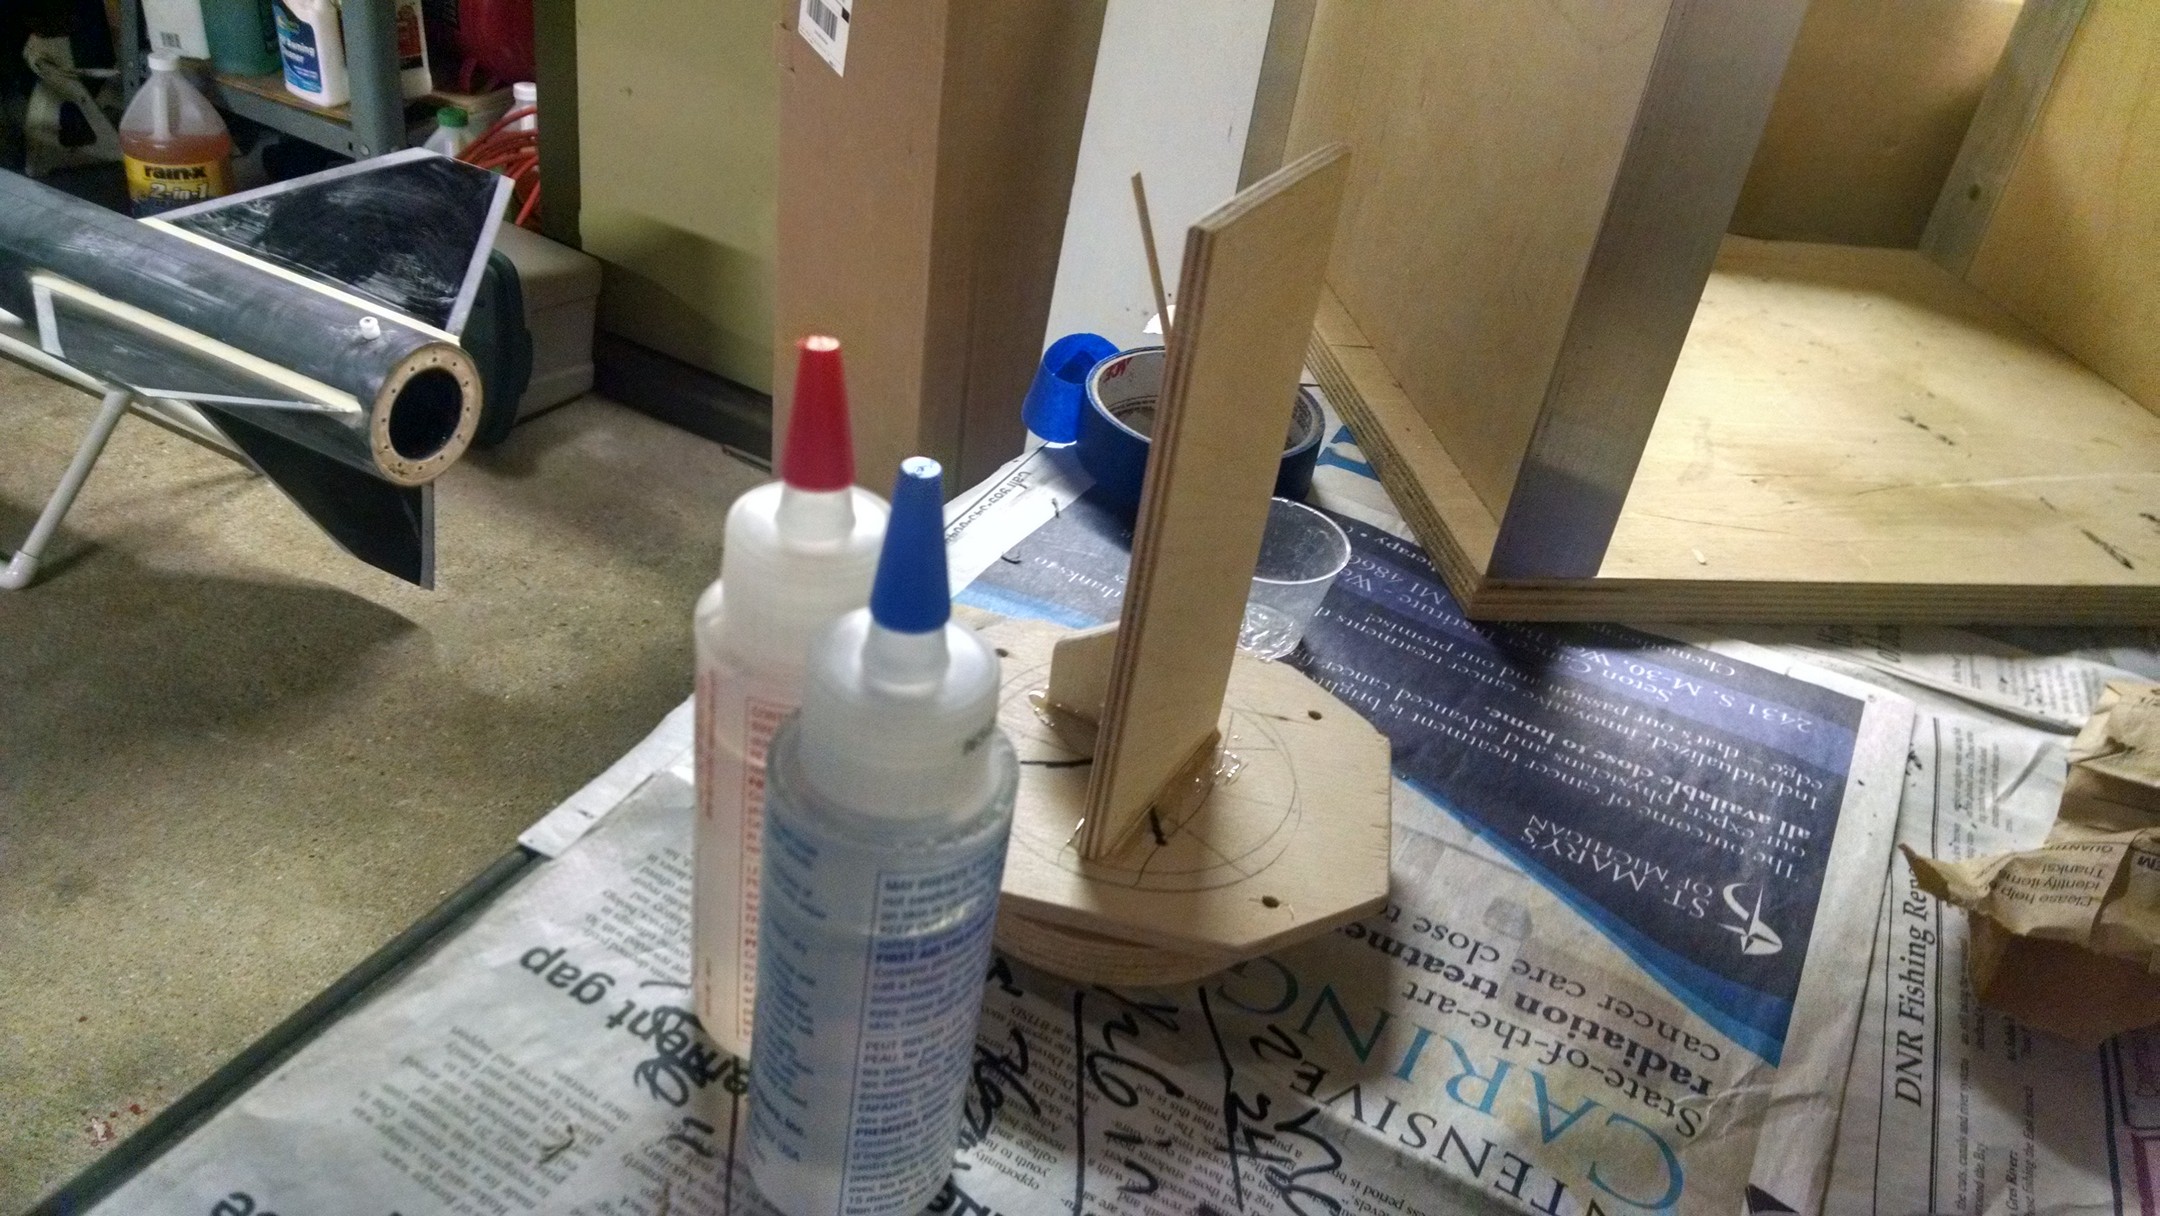
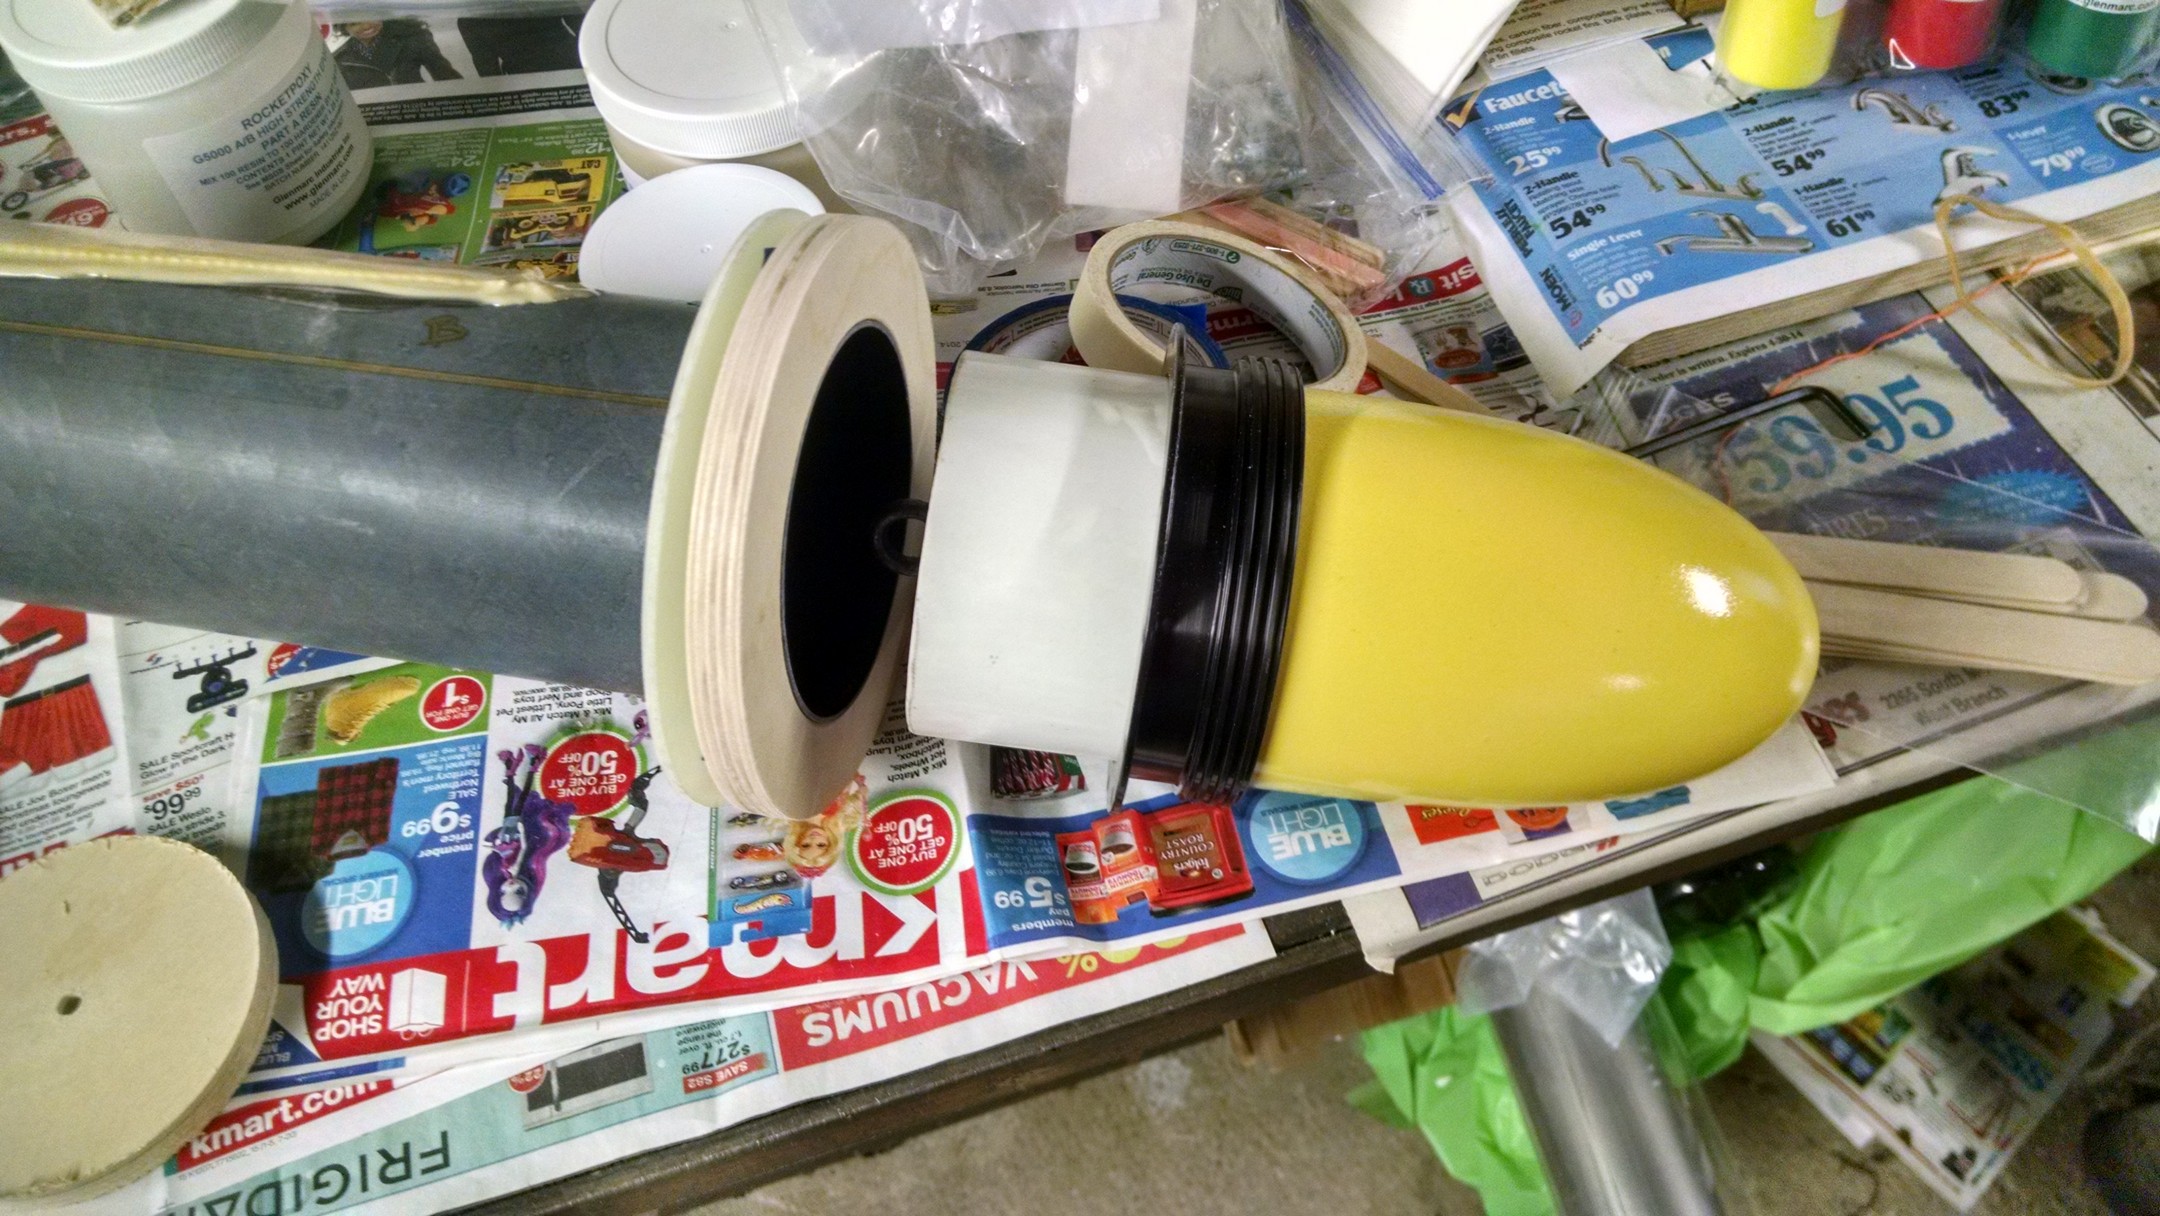 I used my dad’s 4in nose cone to line up the retainer to the centering ring
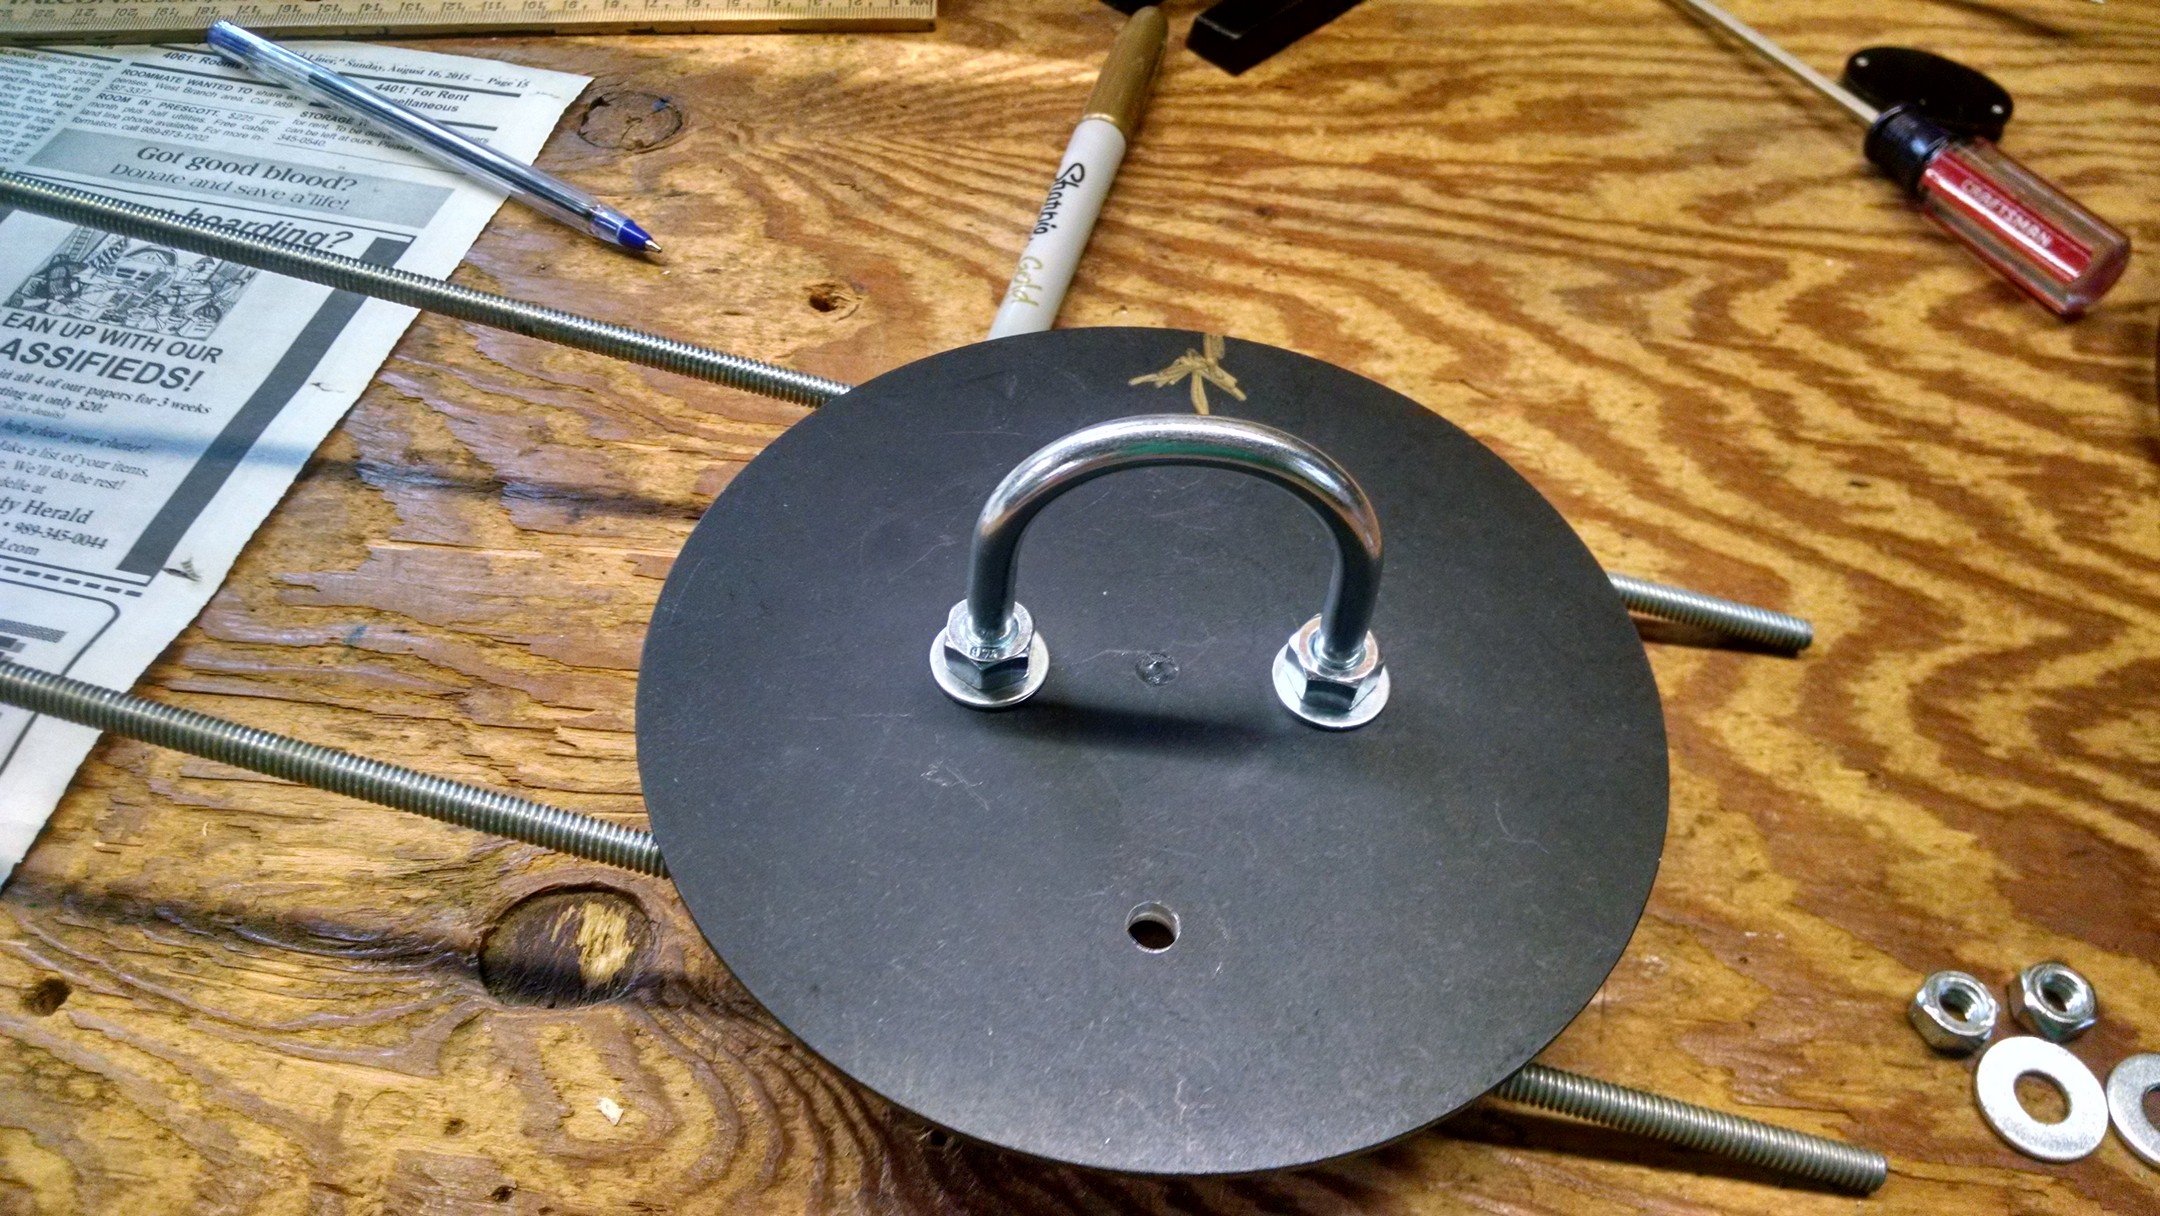
 First couple of taps for the retainer
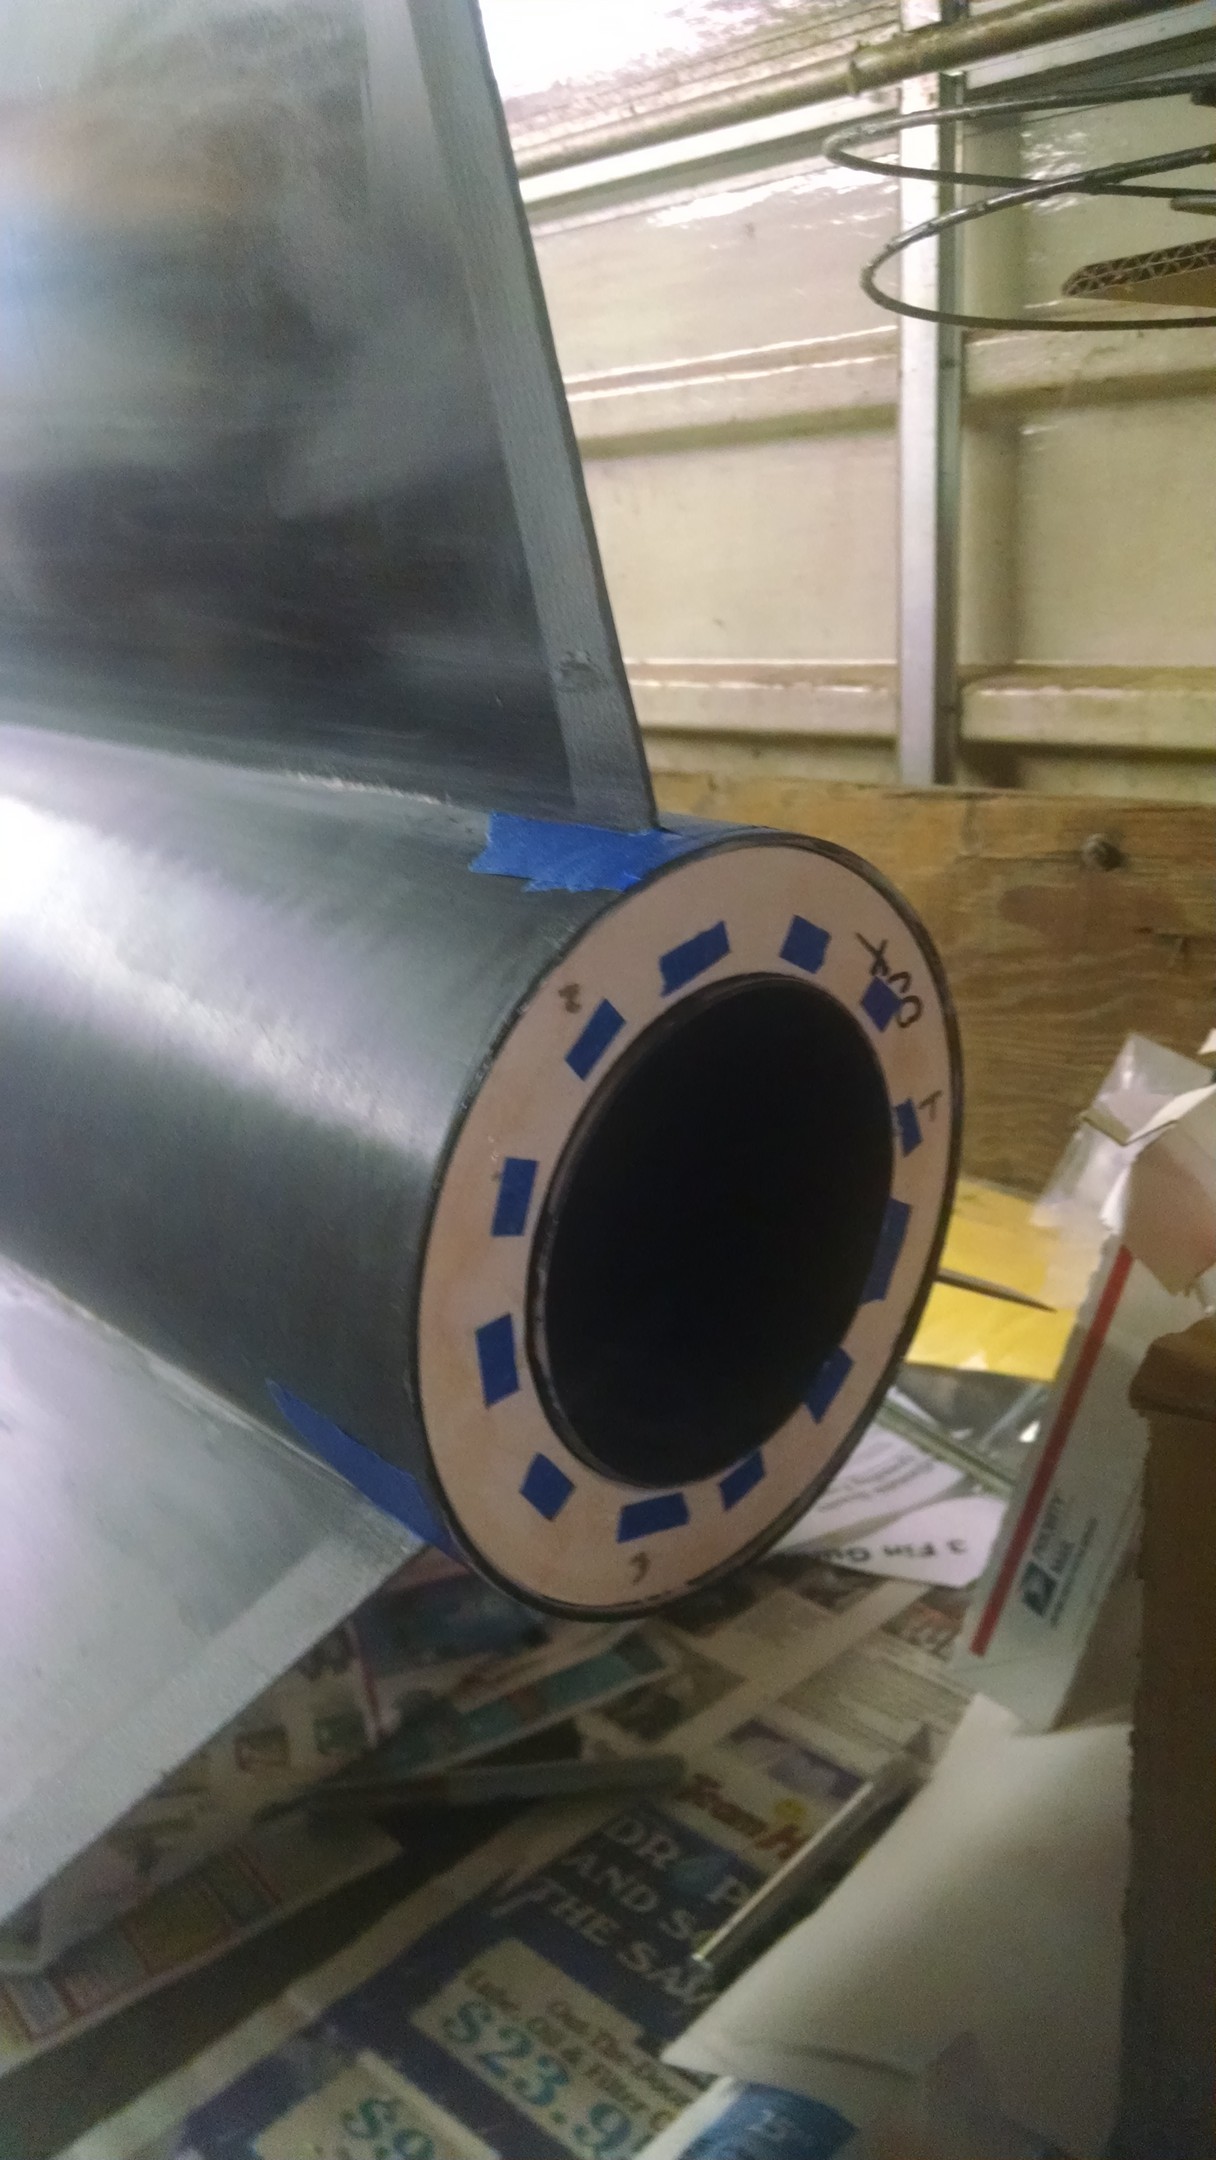
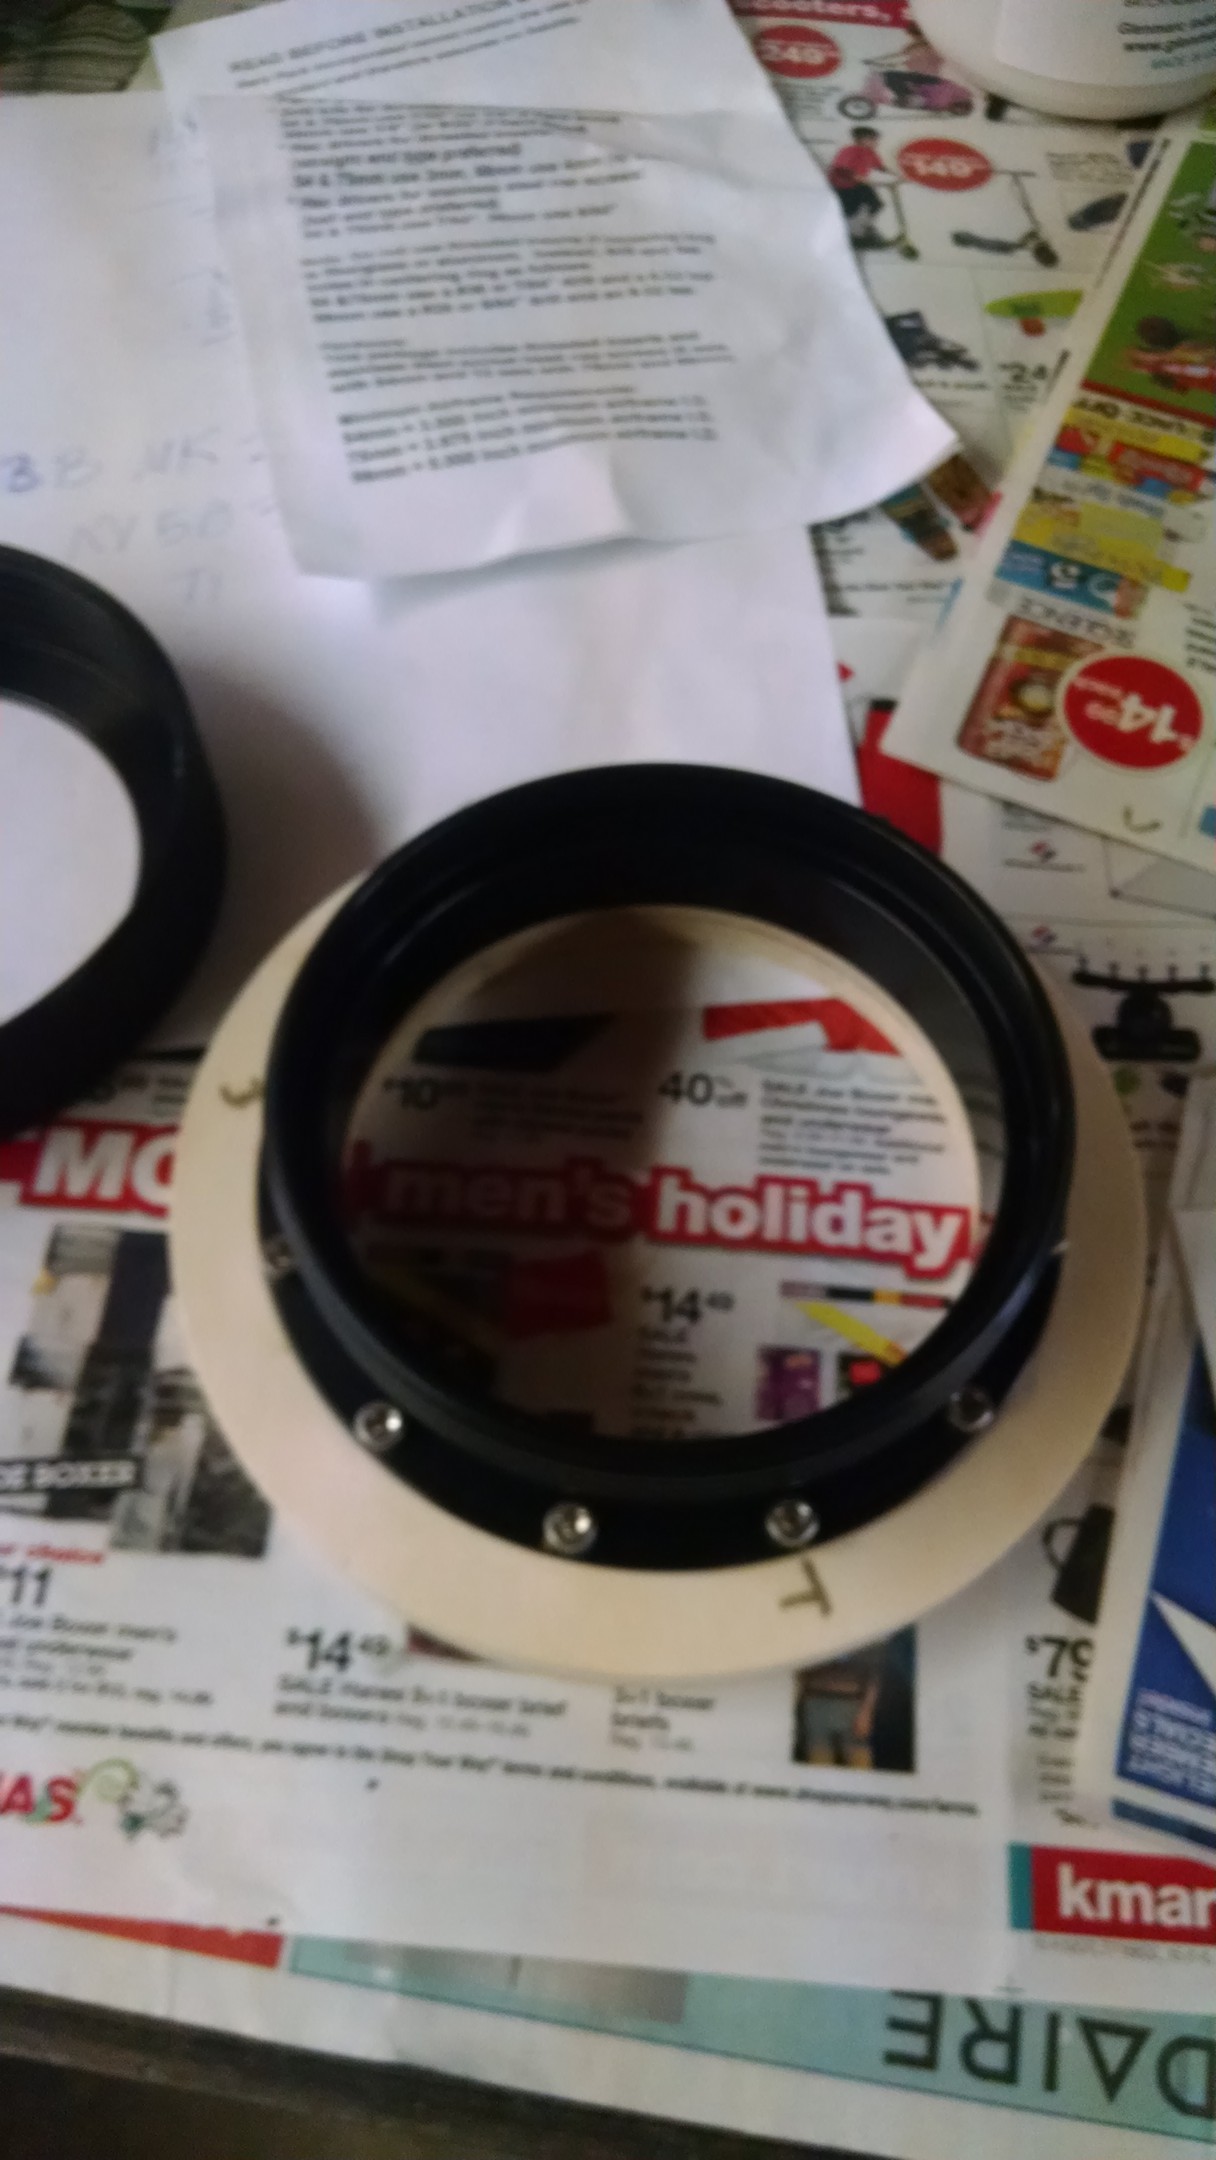 all of the taps are in, and it fits
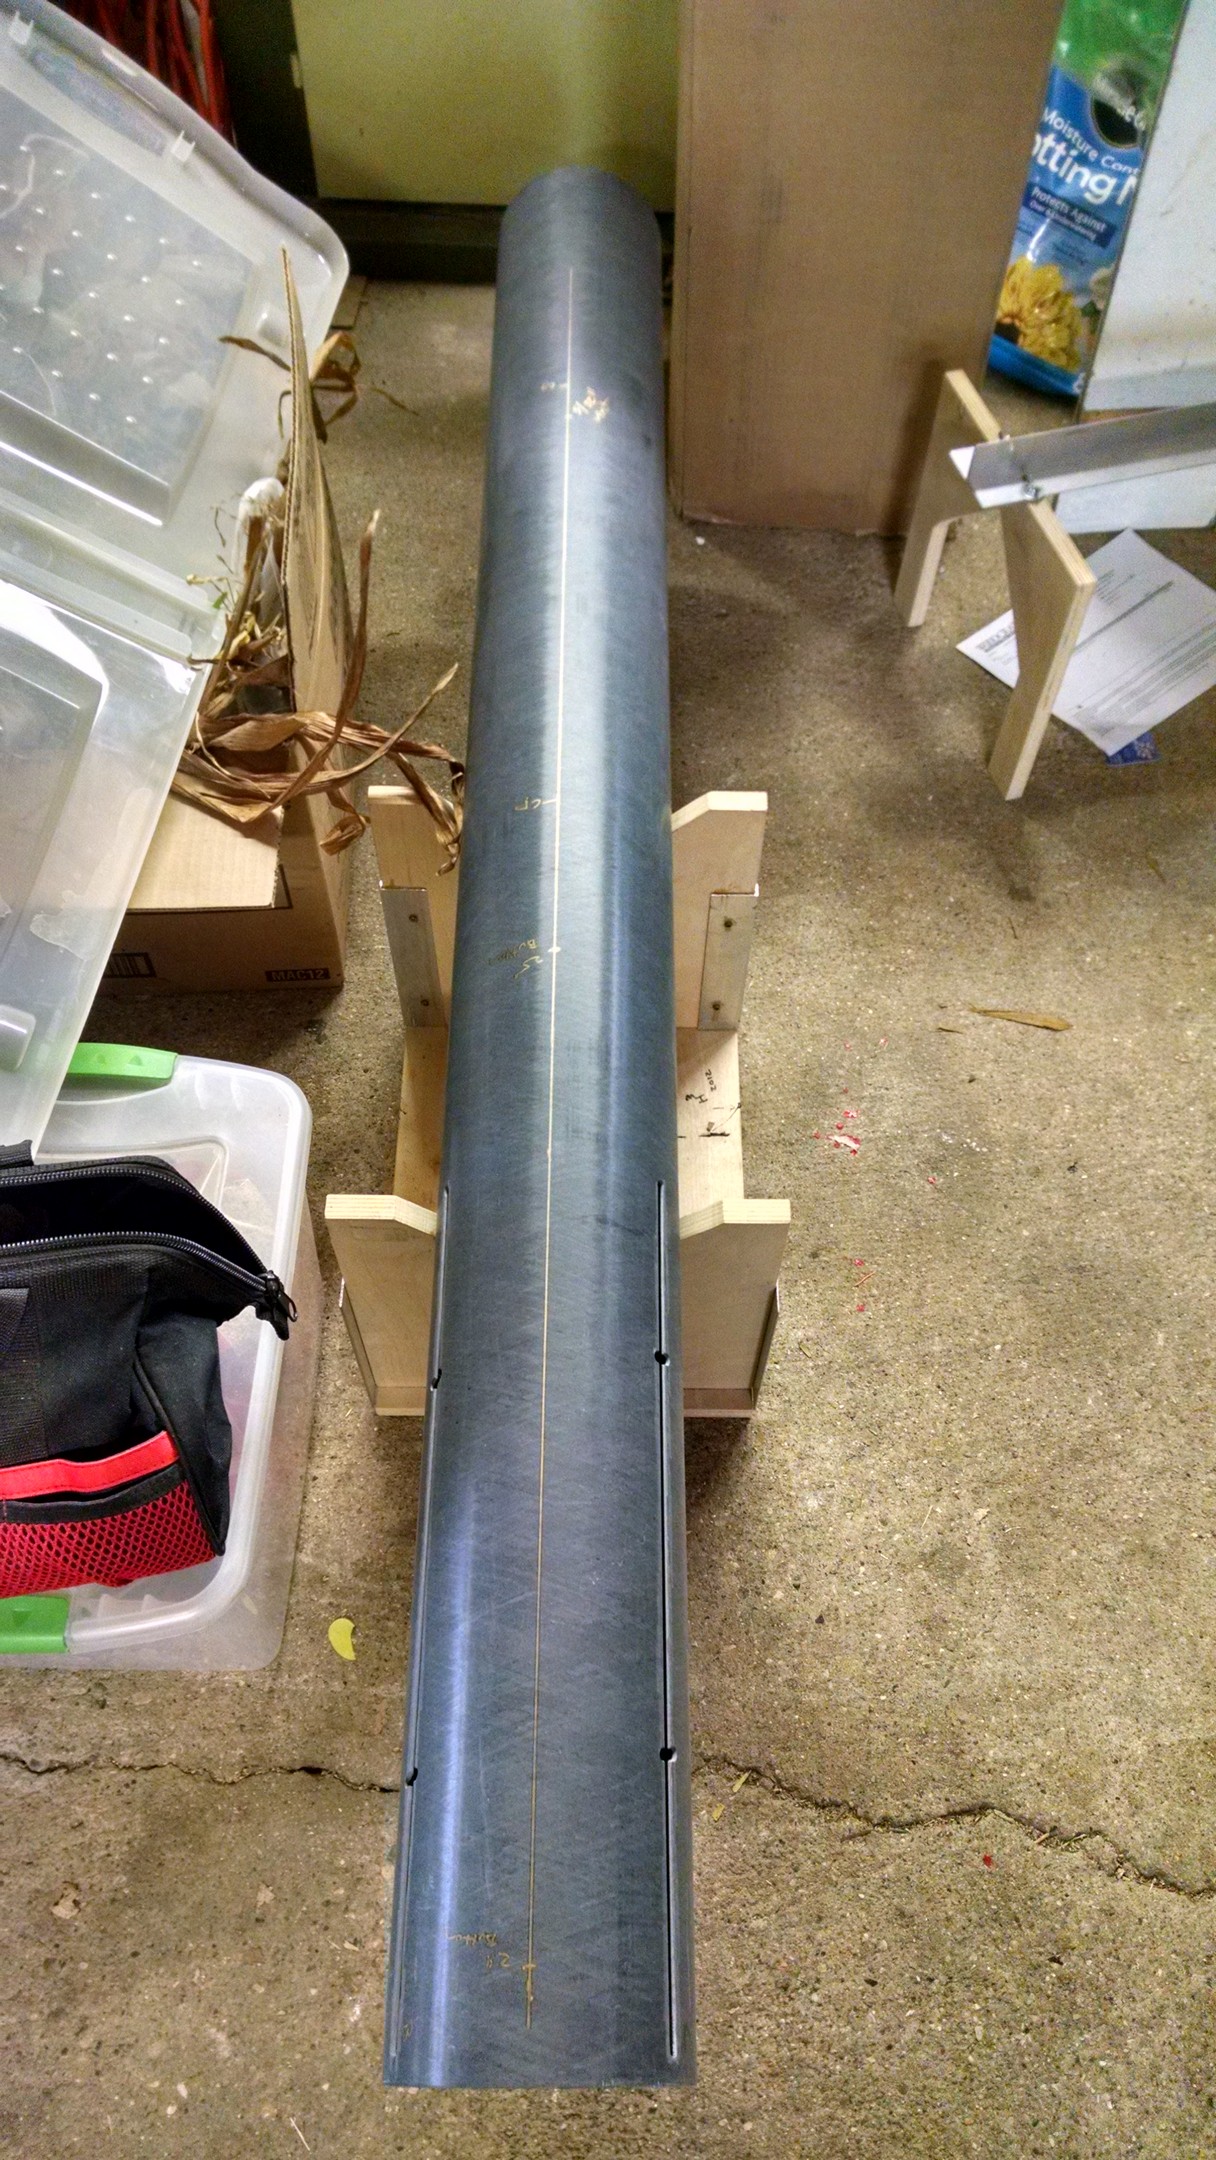
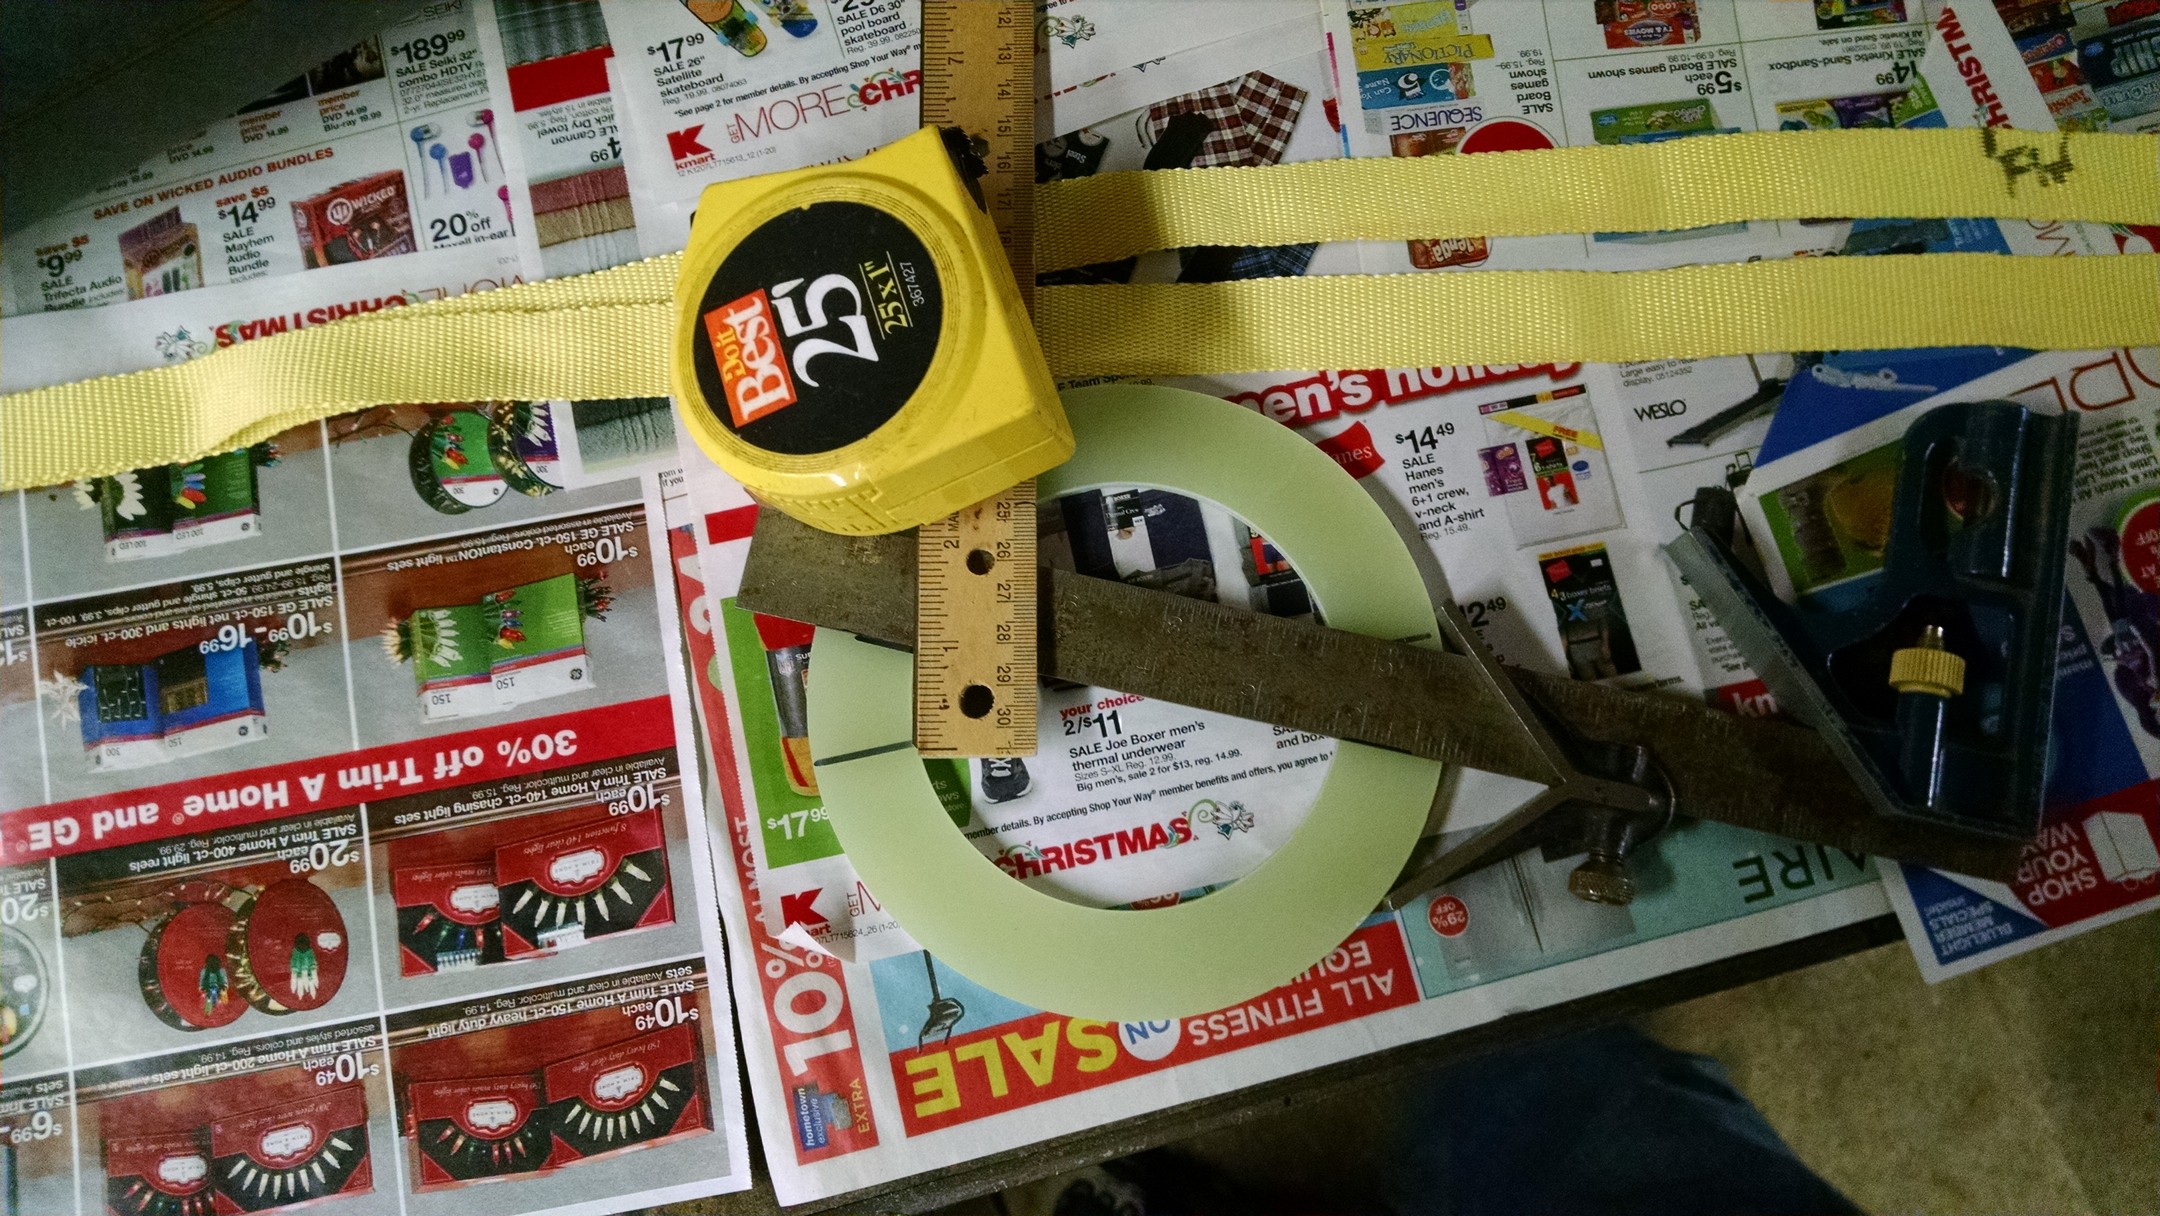
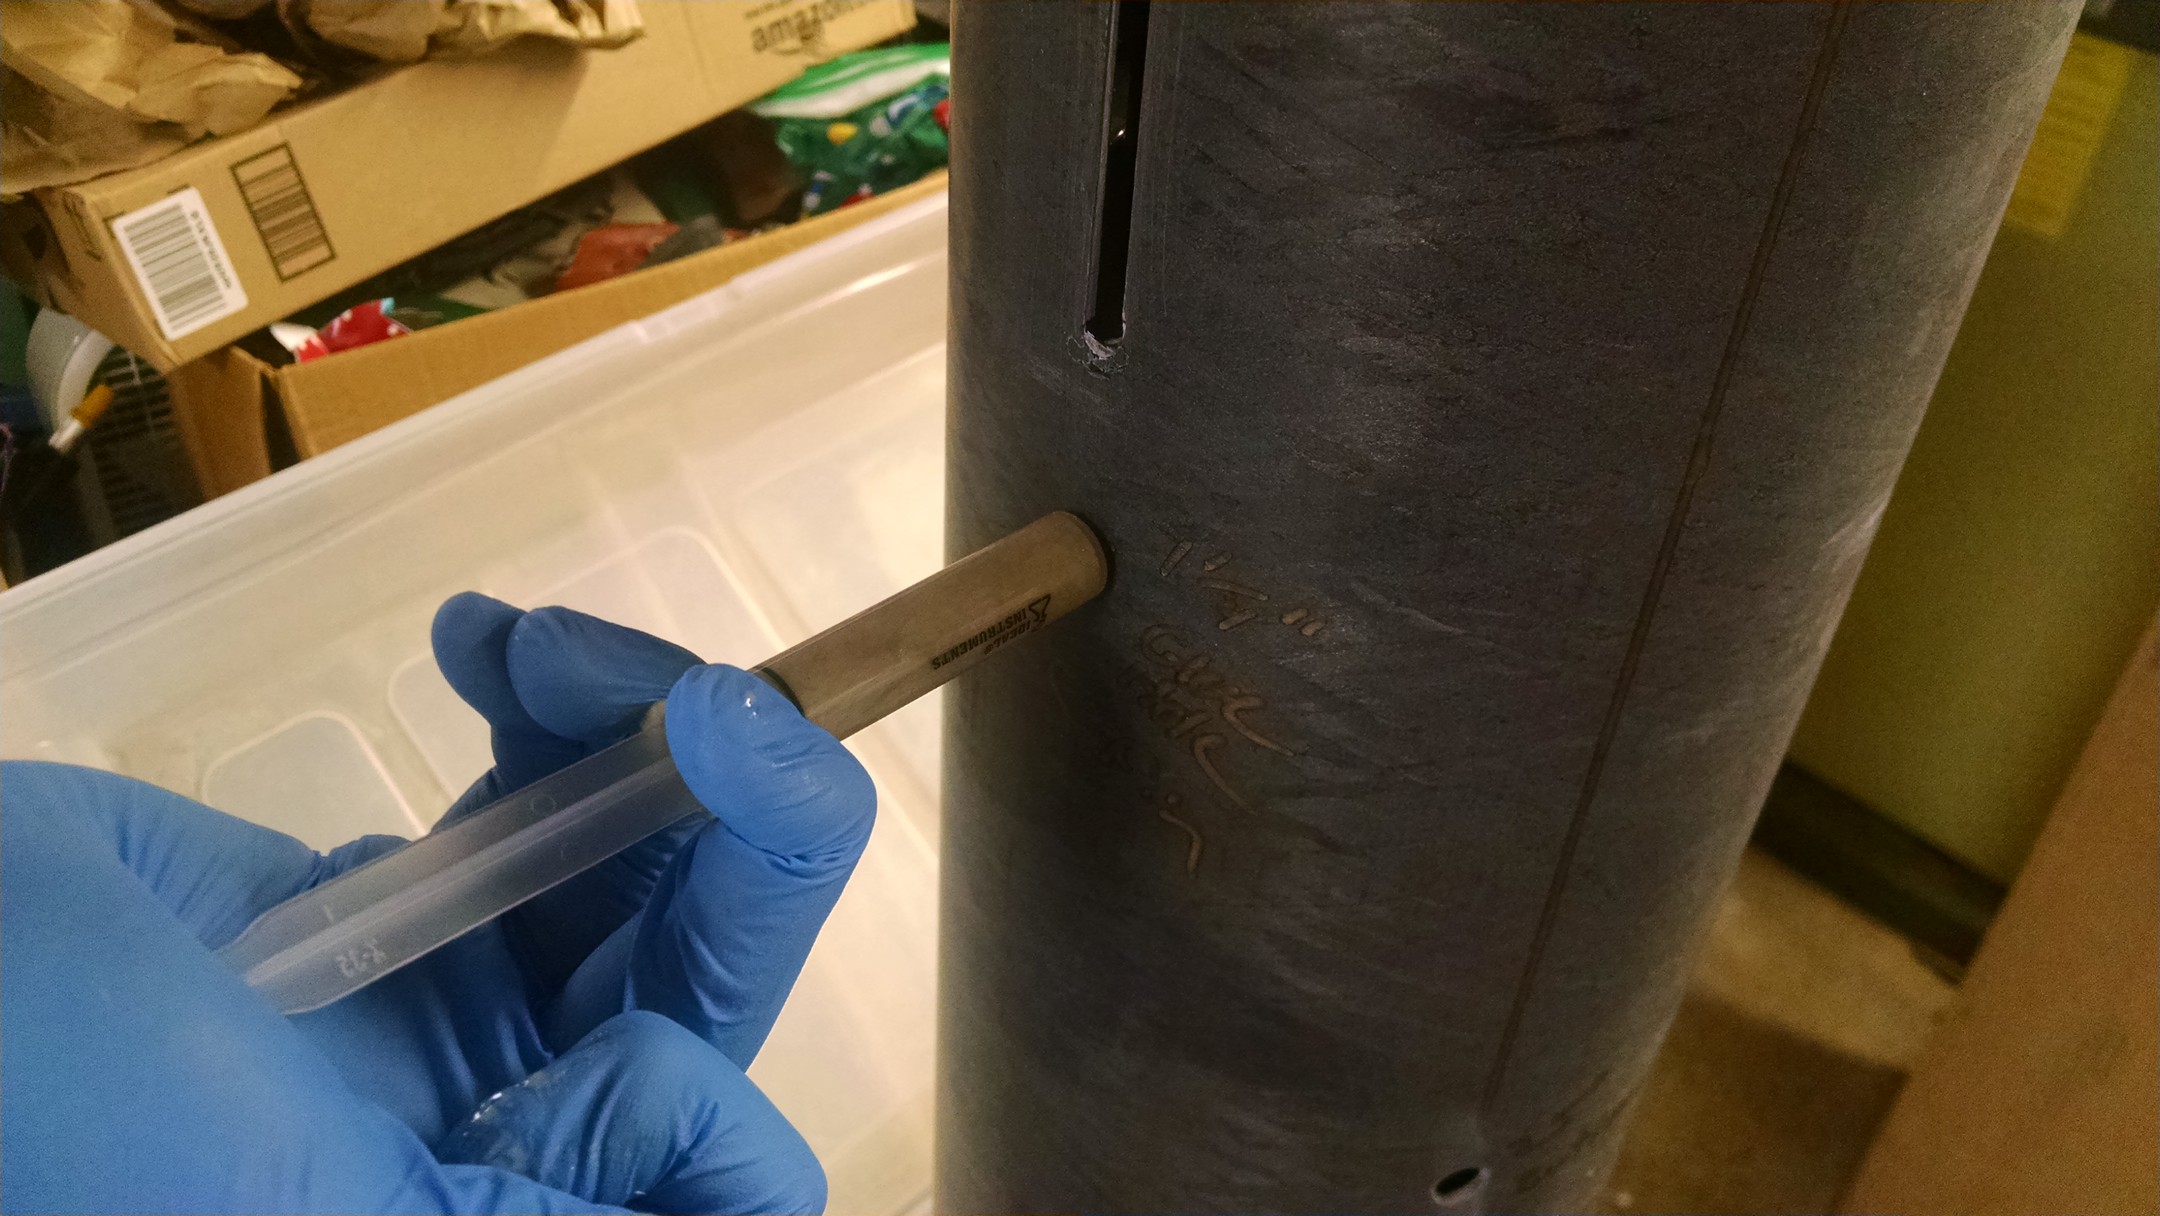
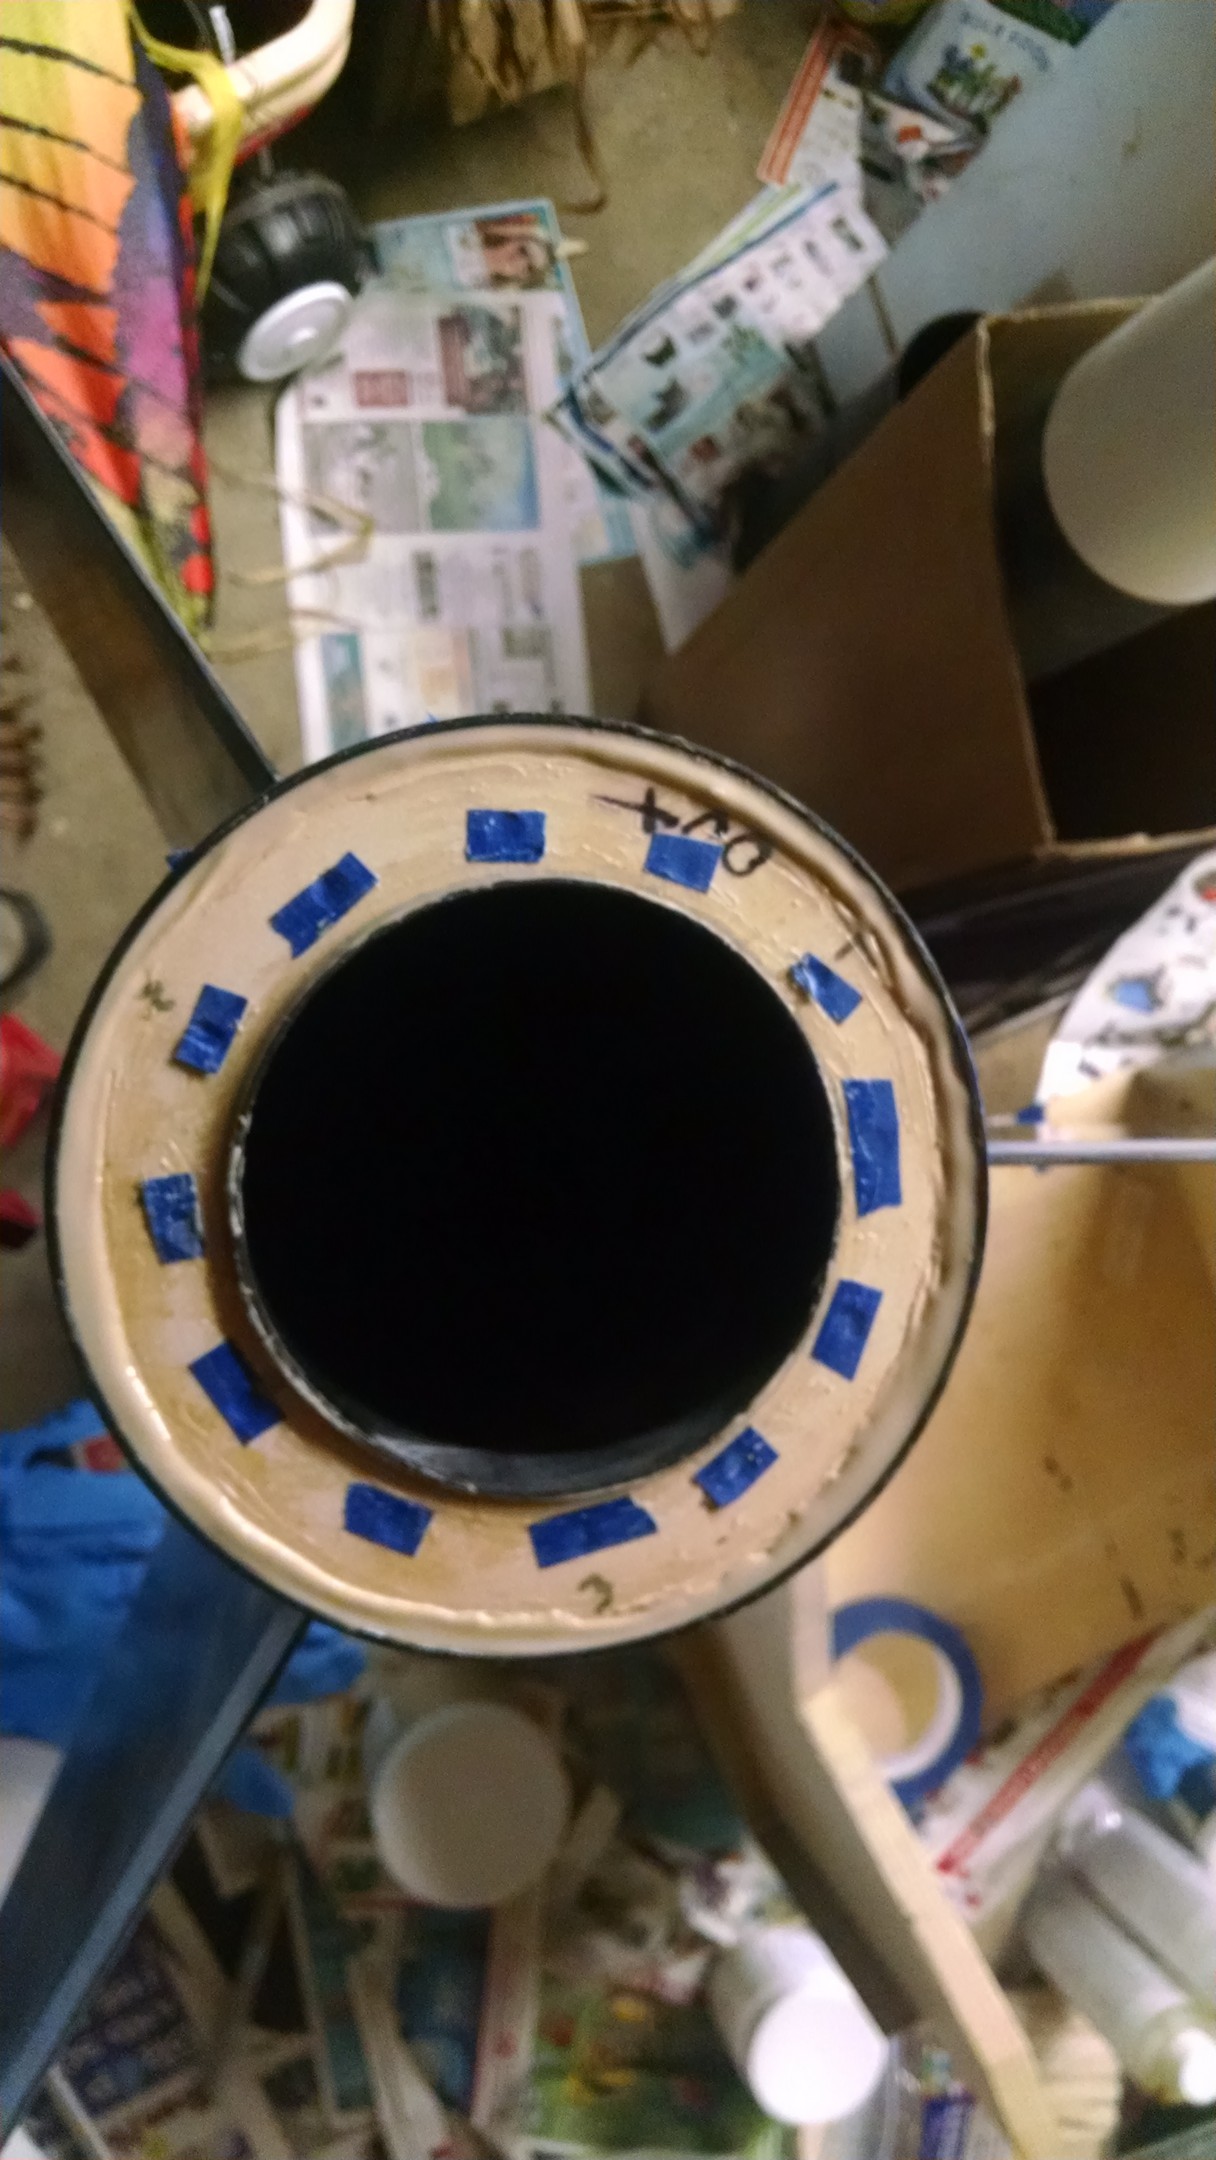
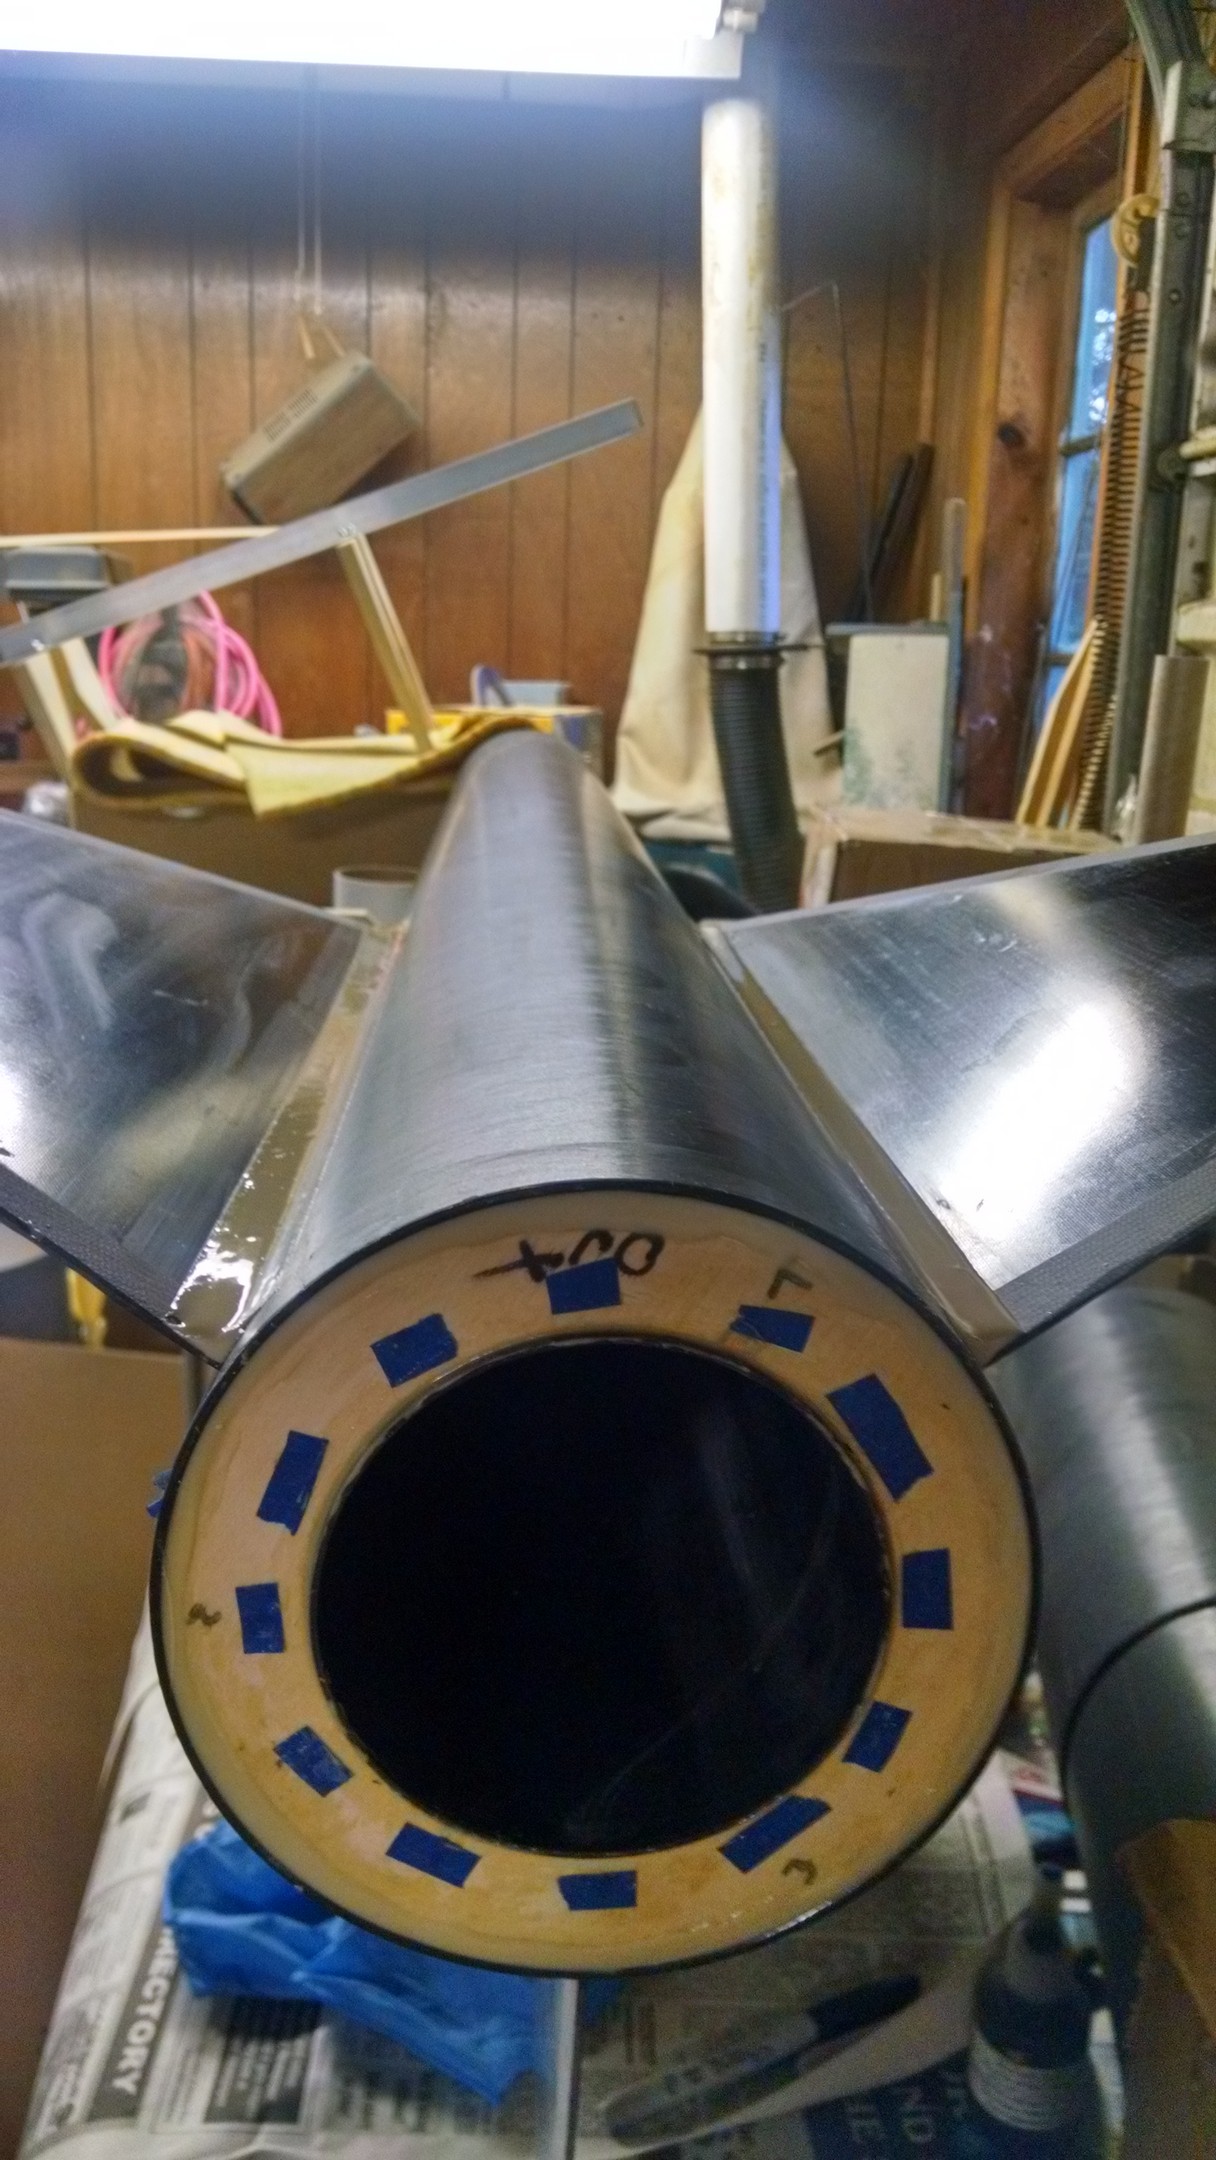
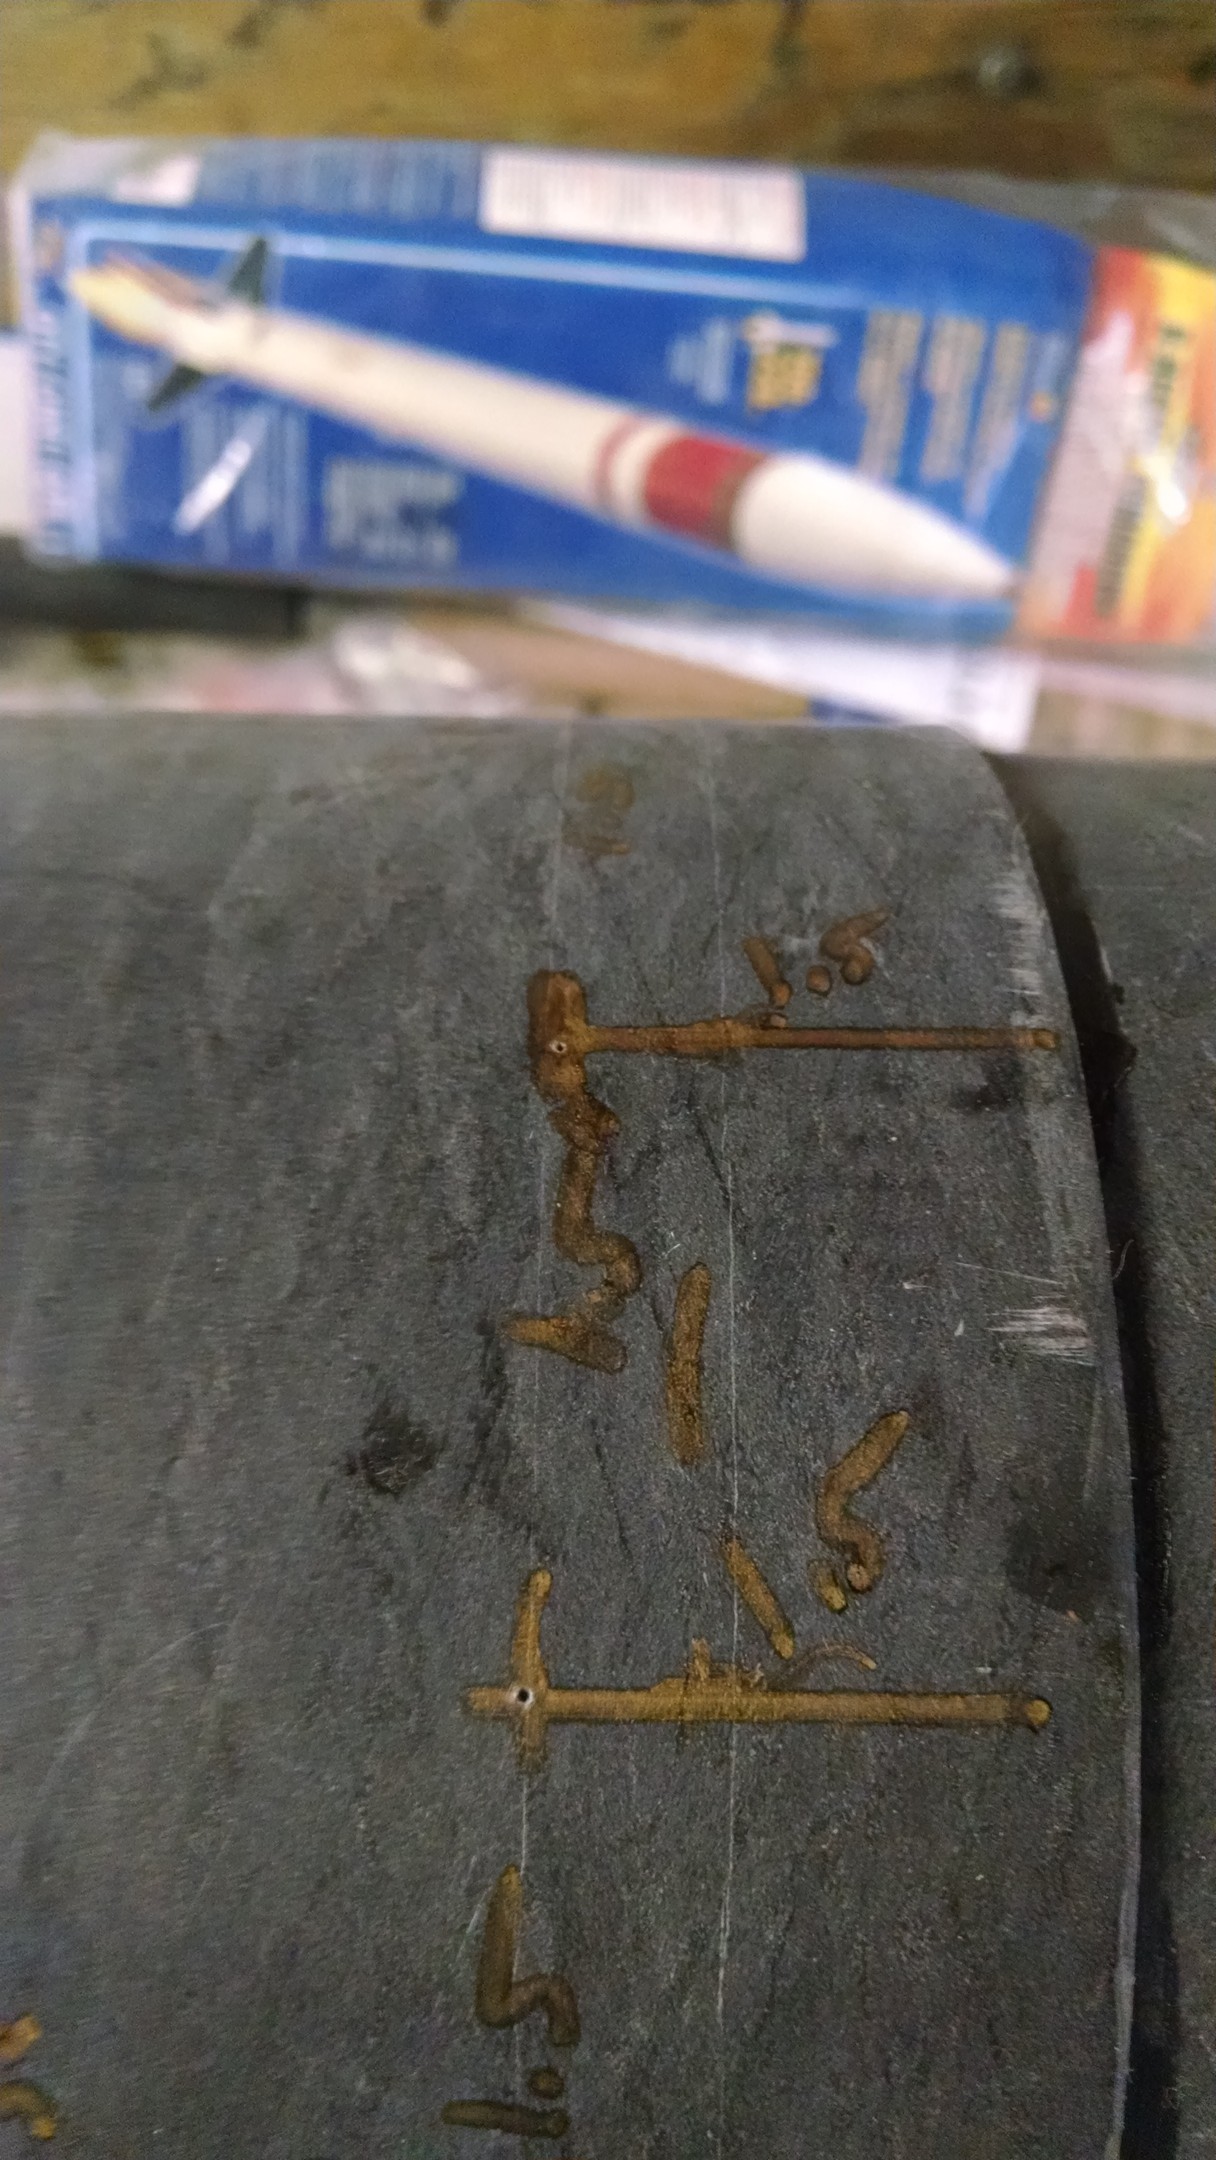
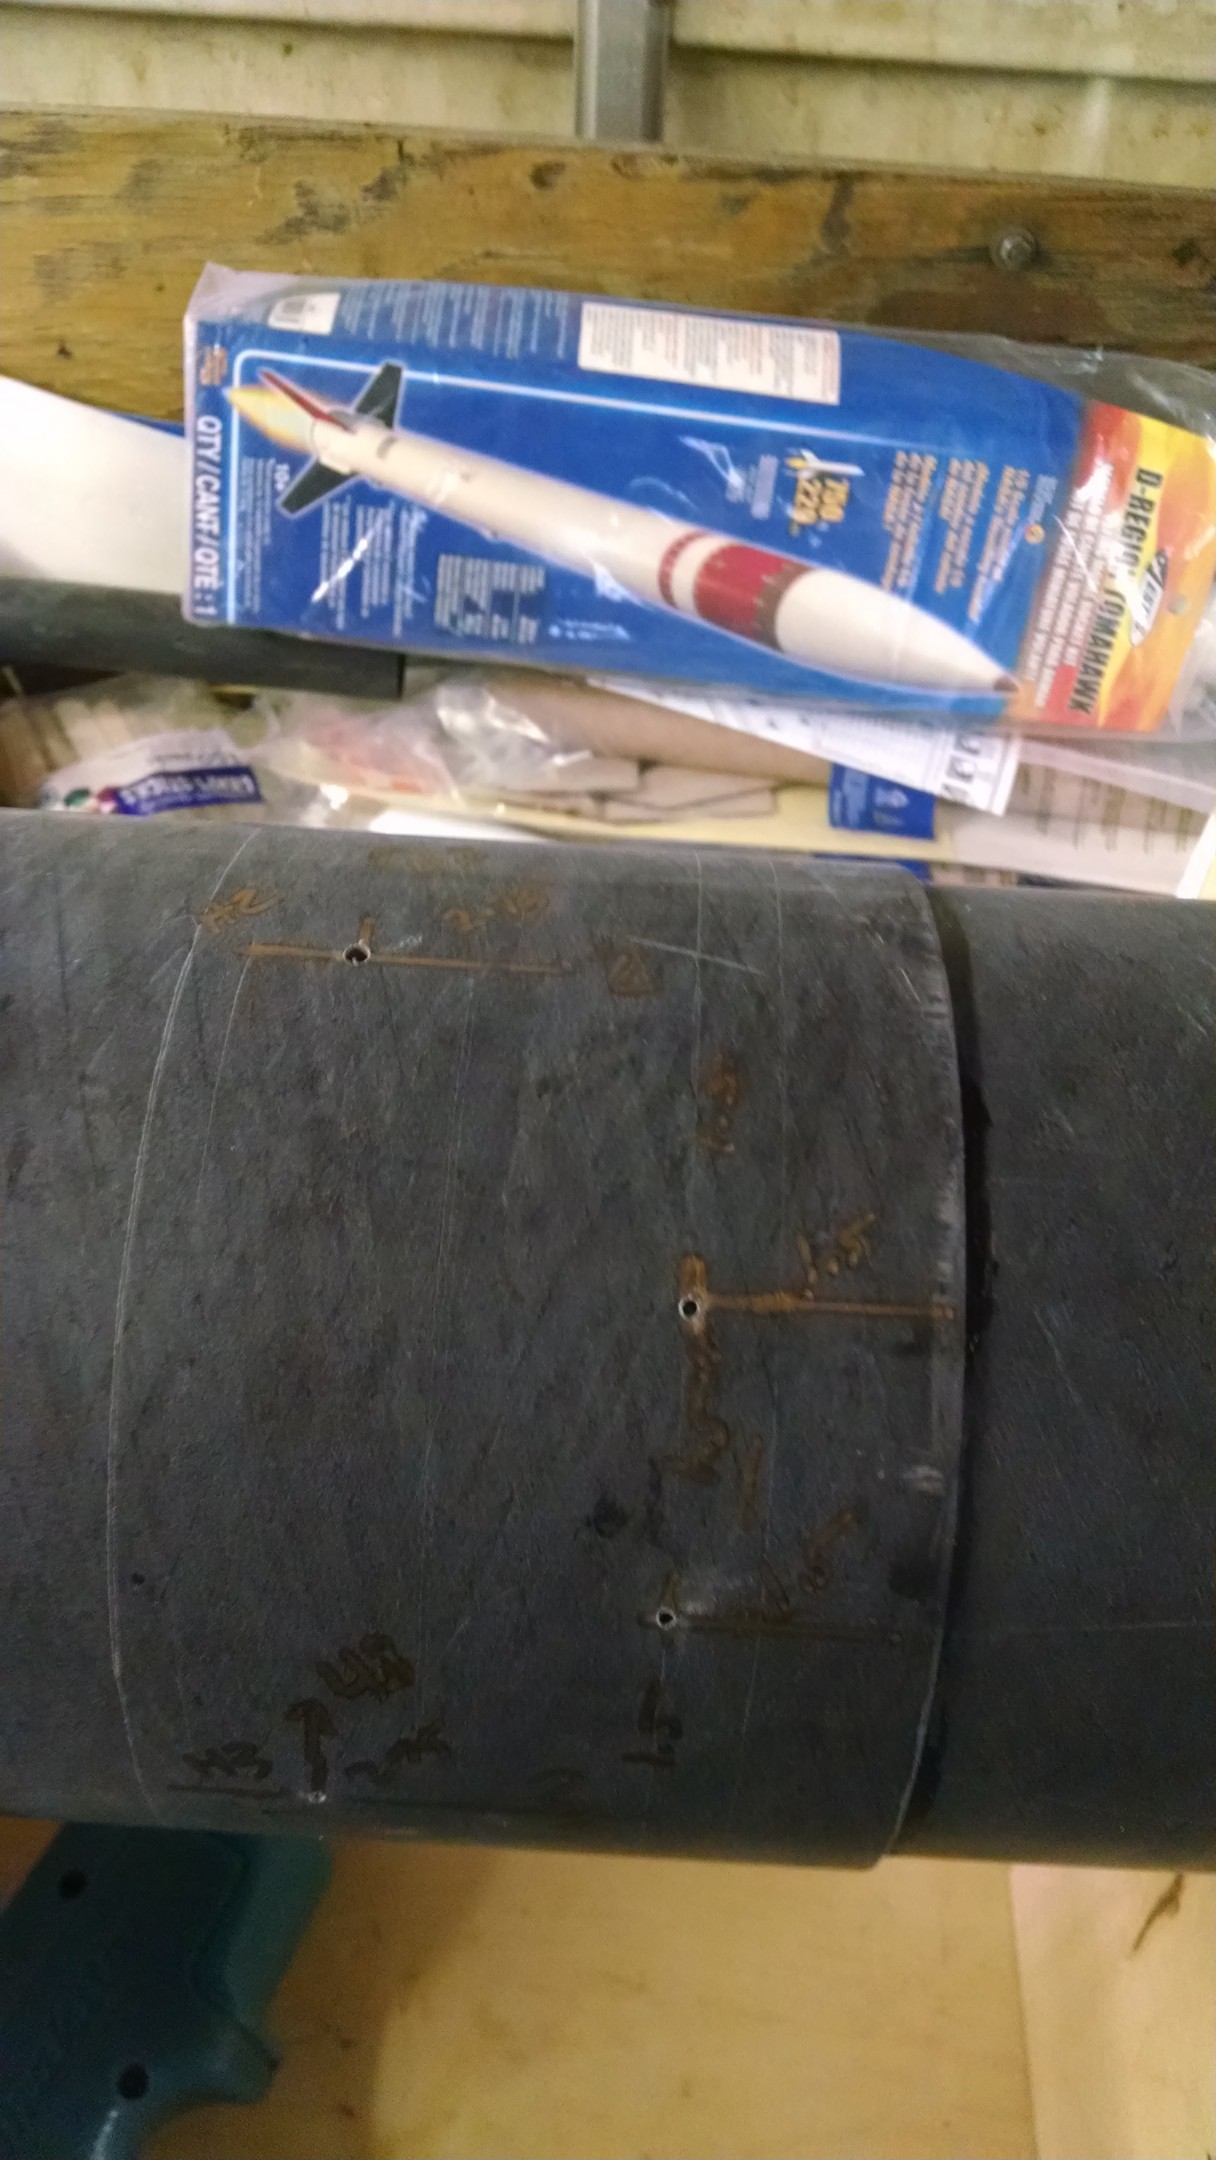
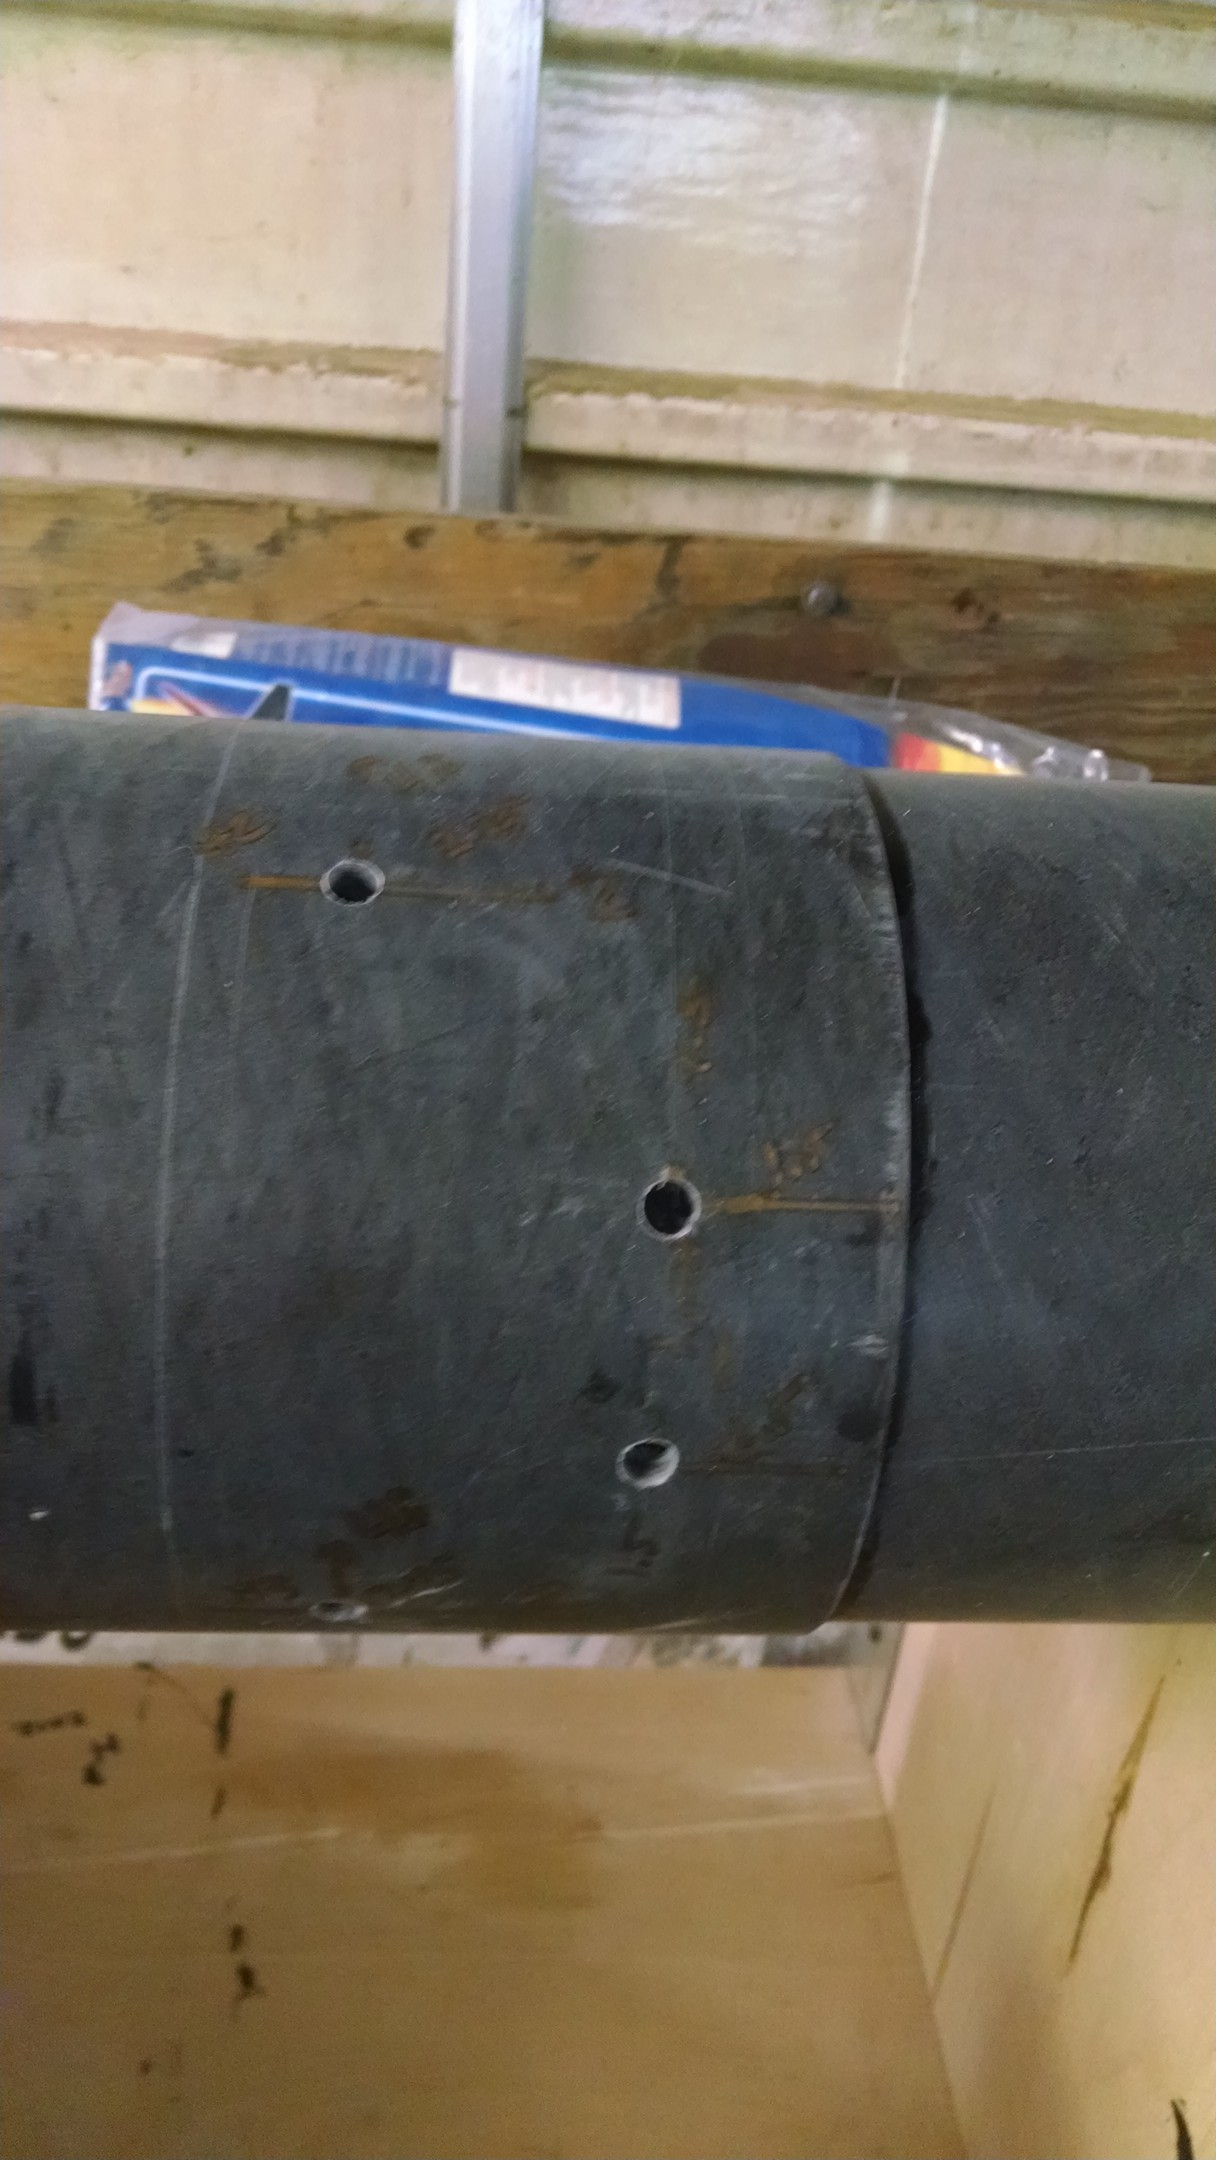
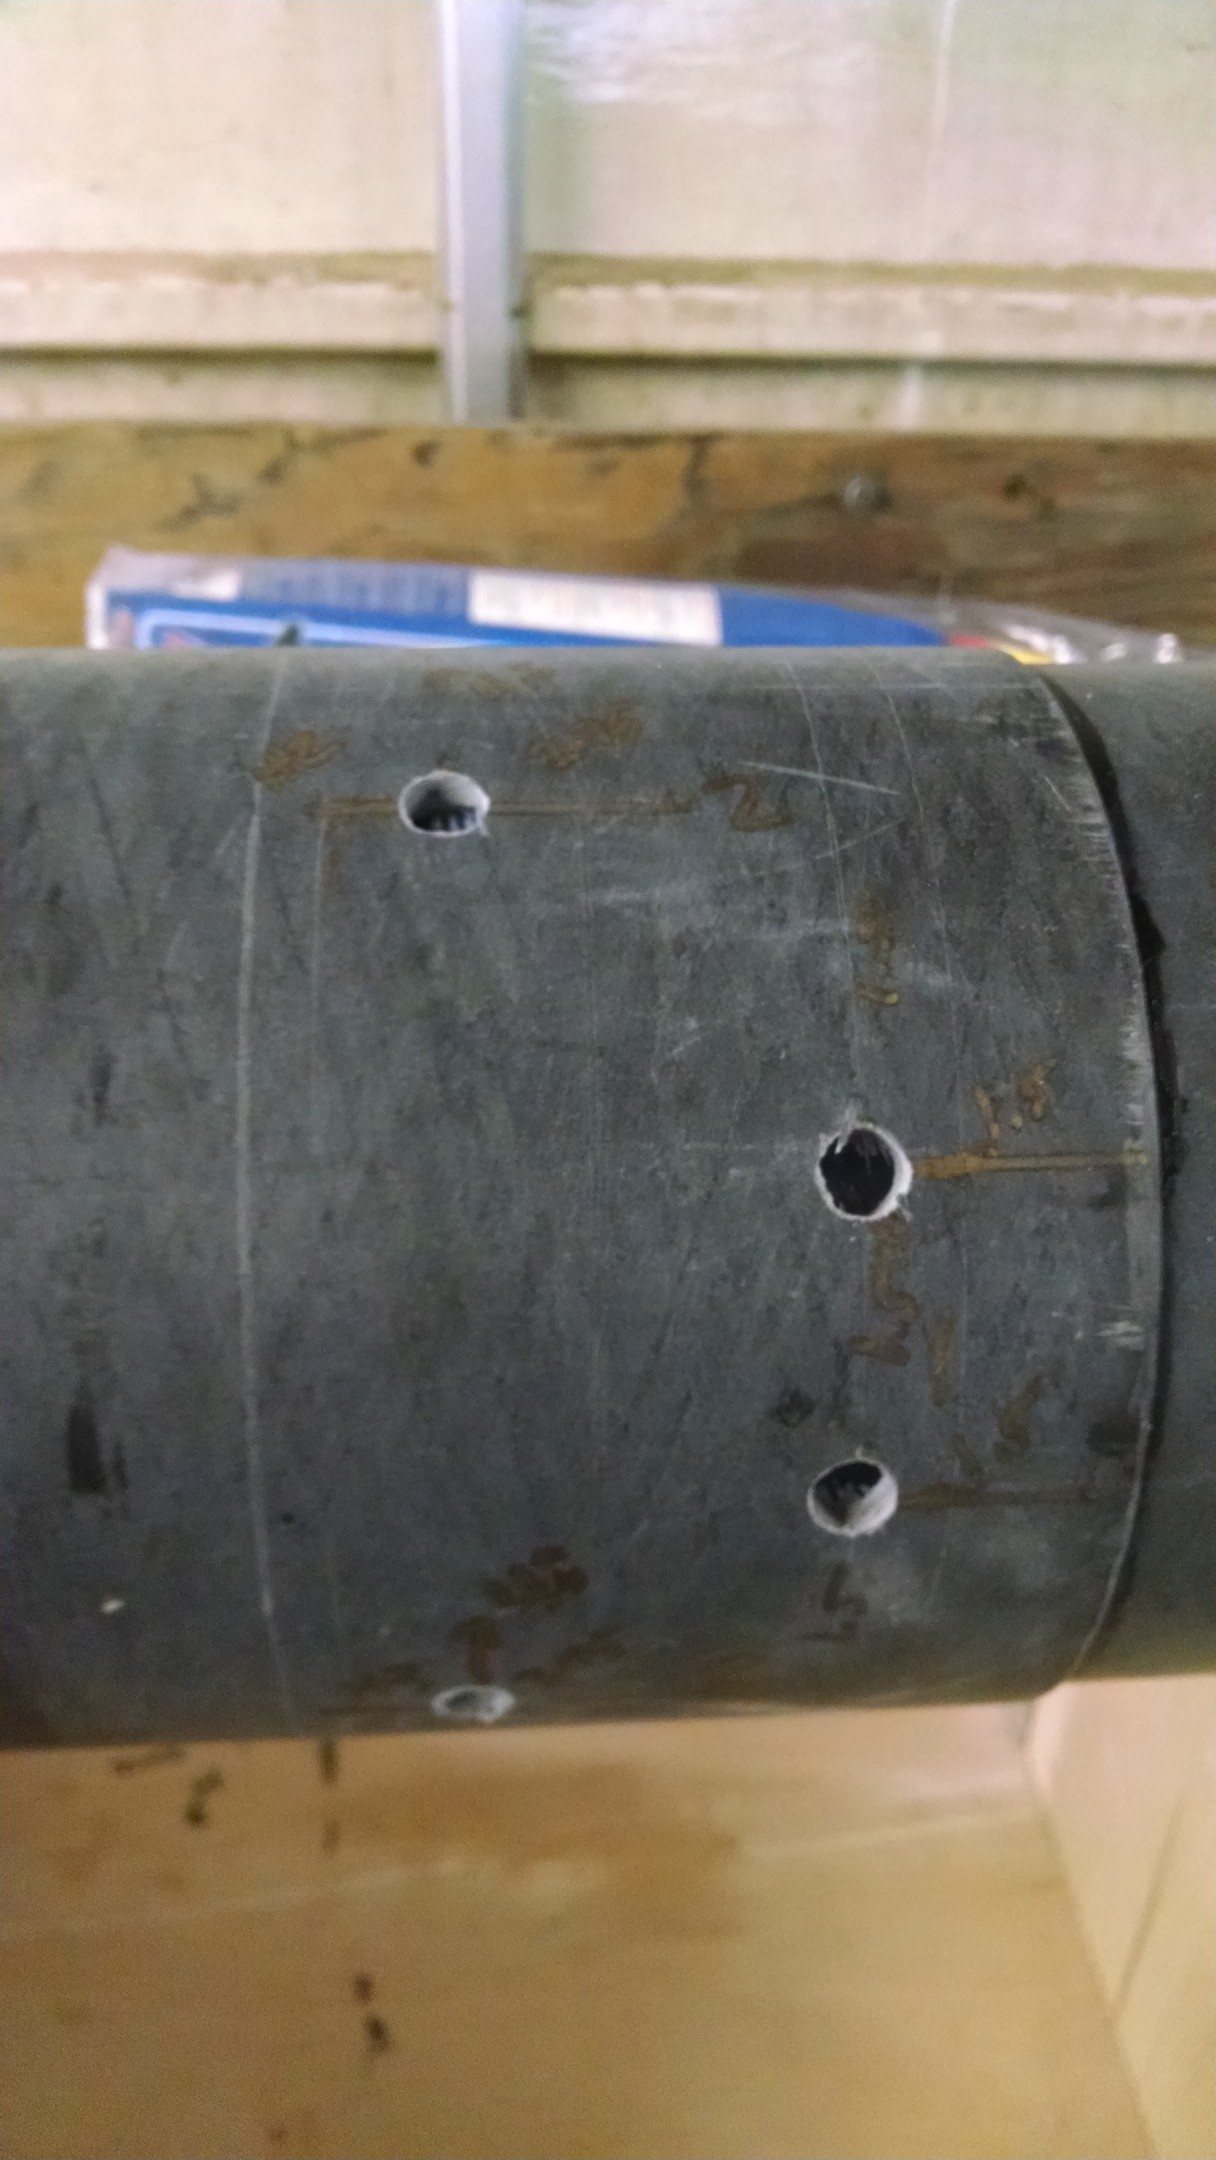
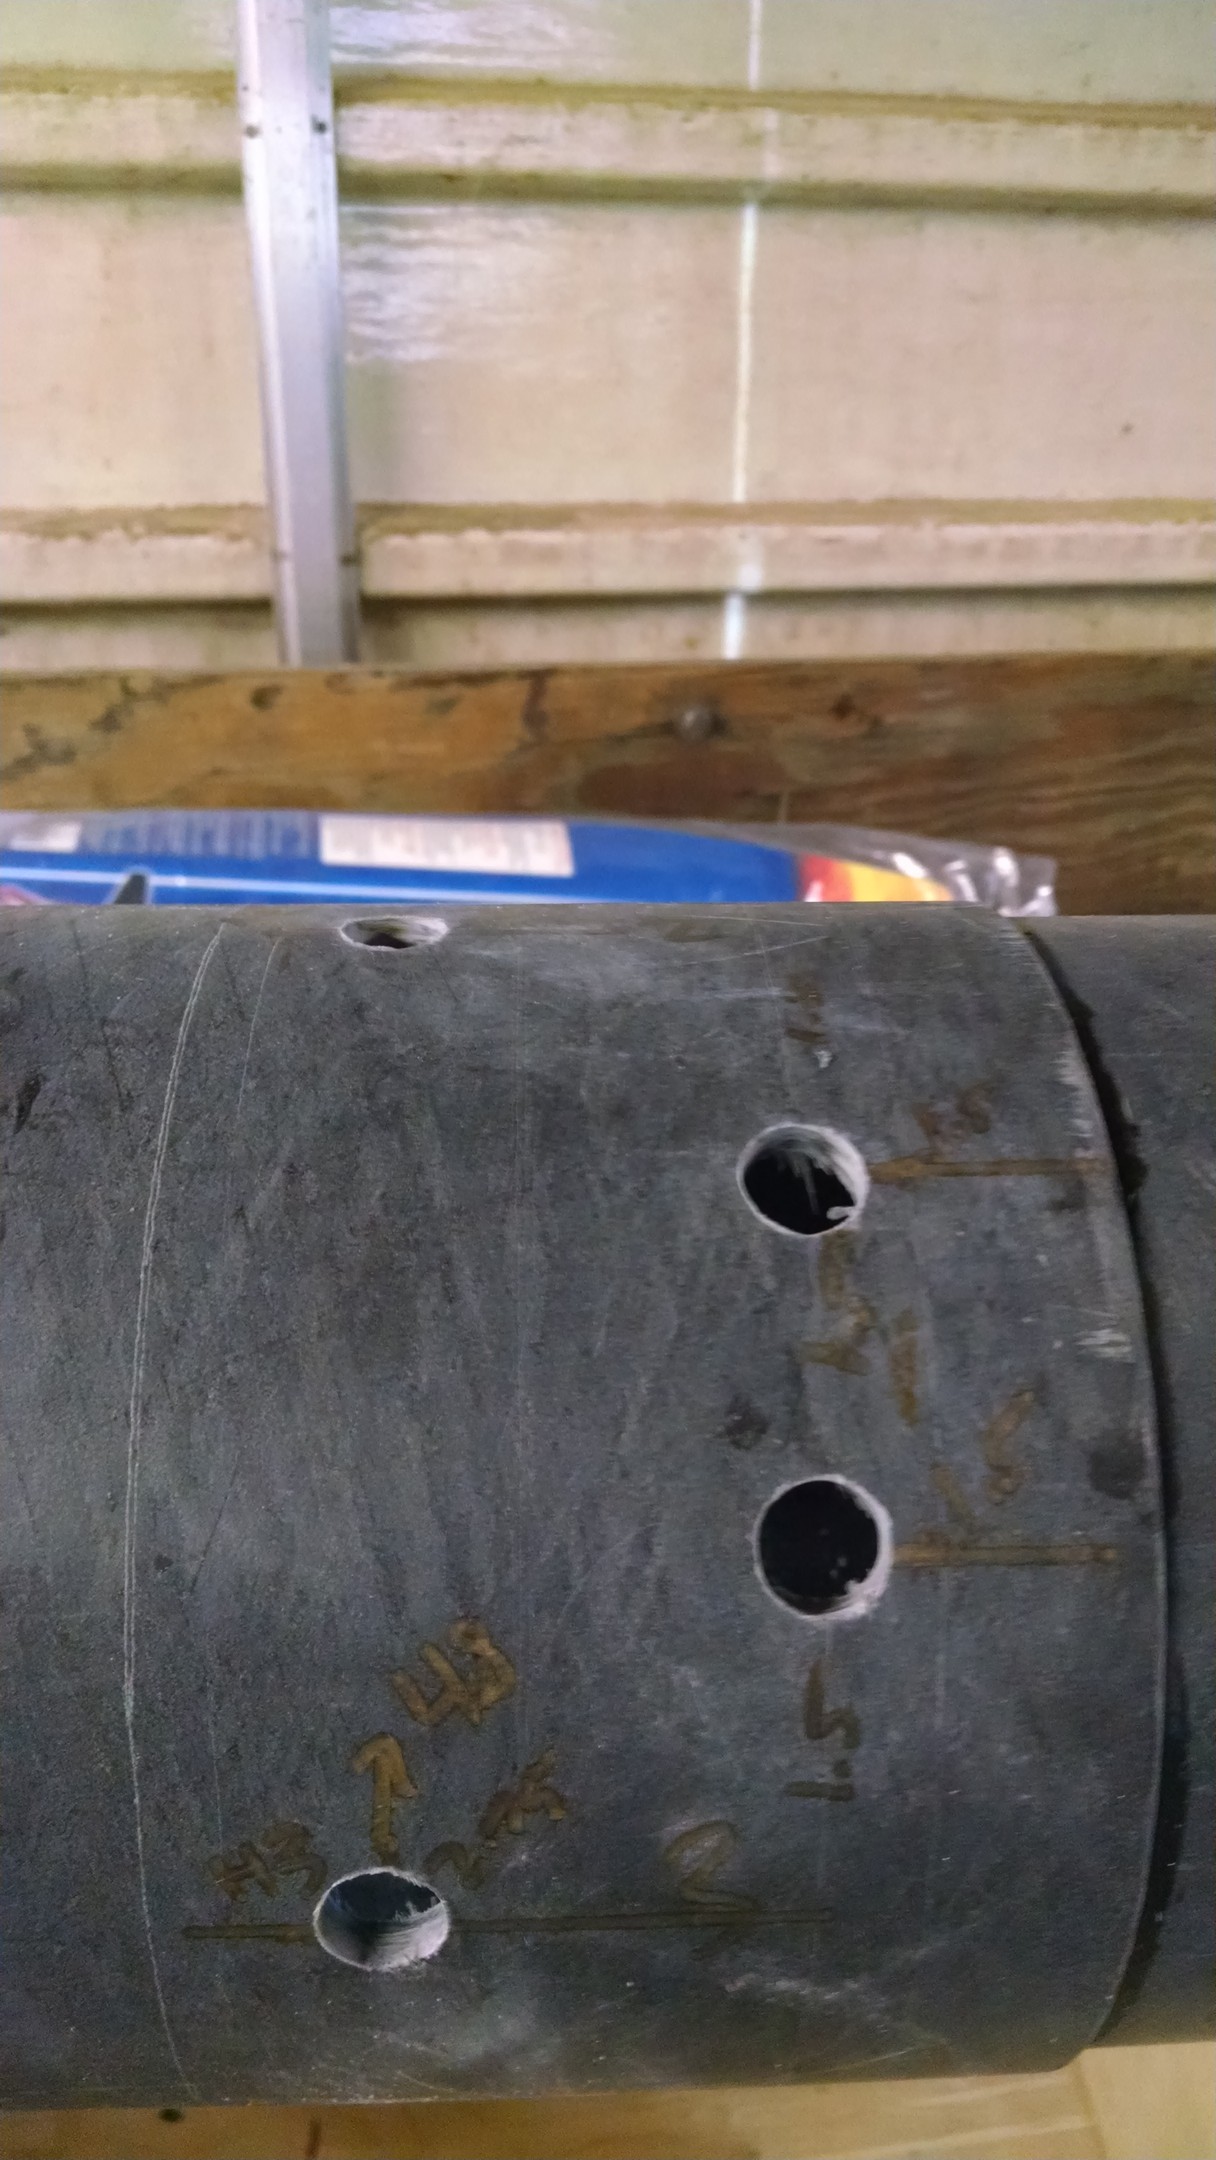
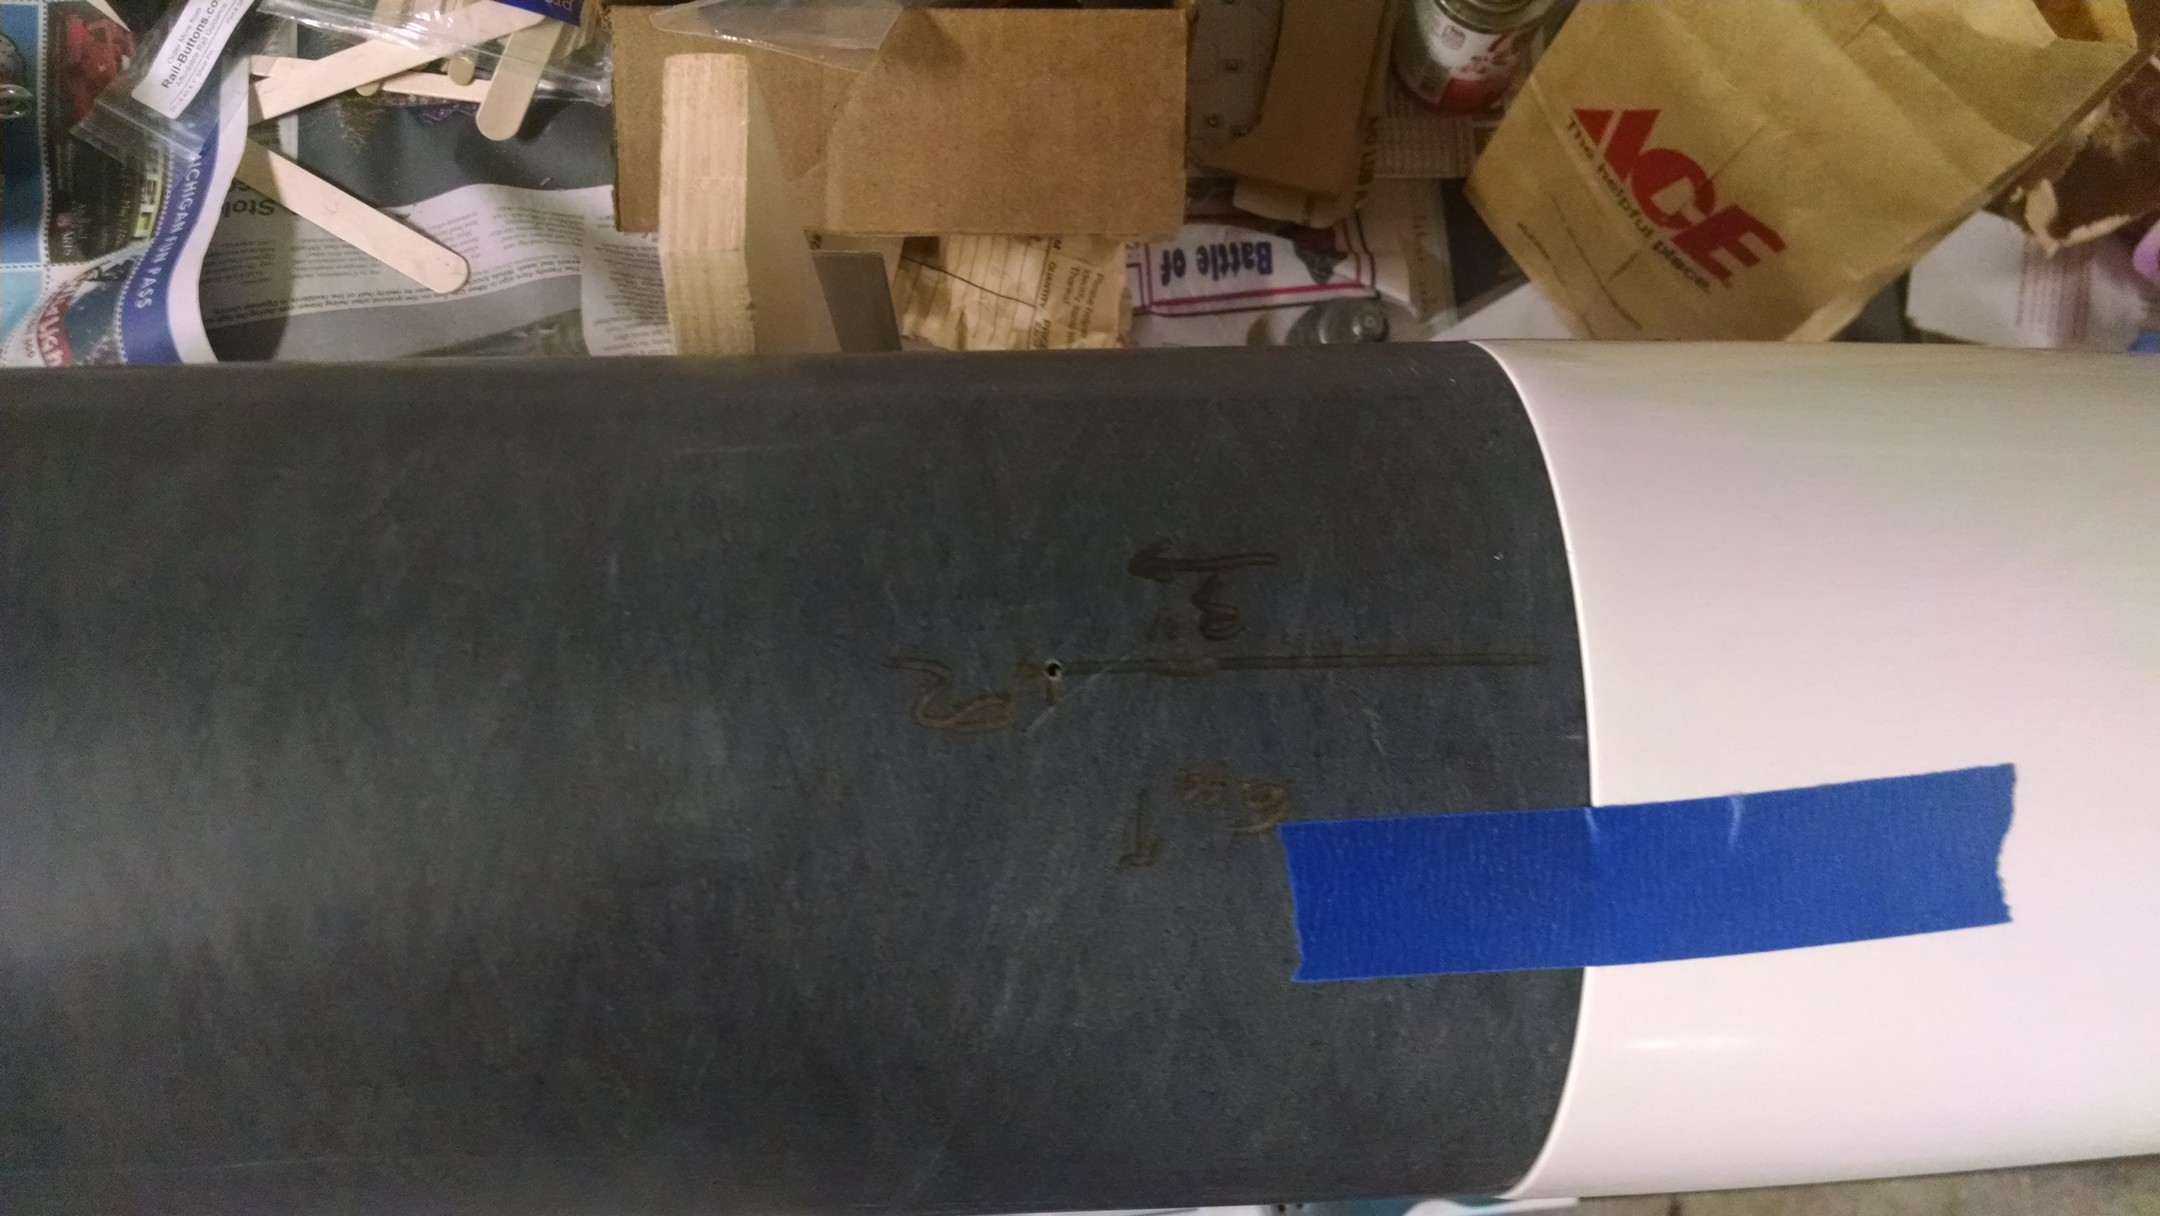
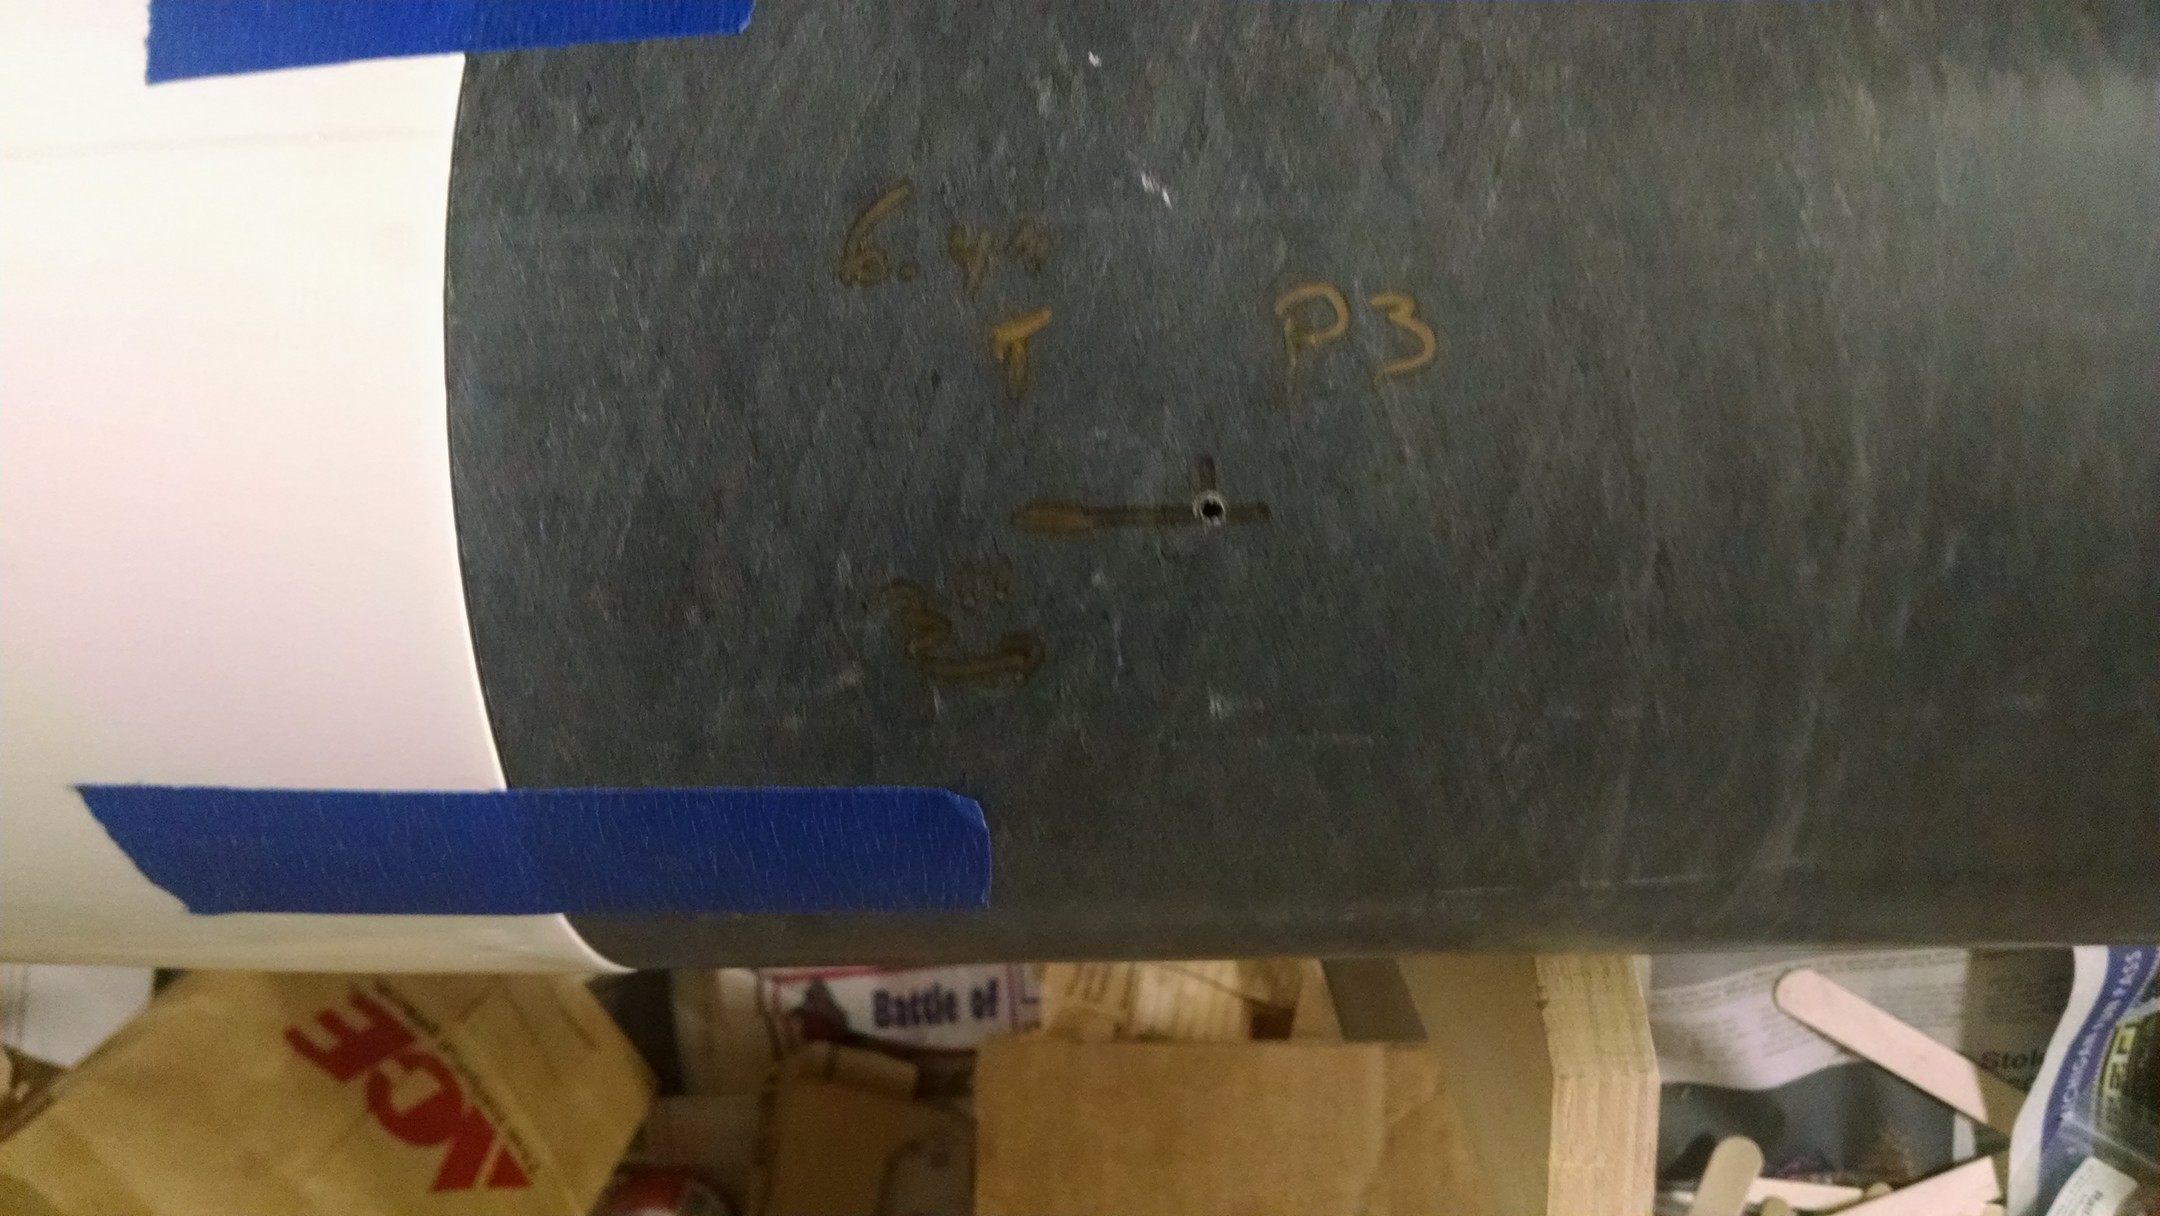
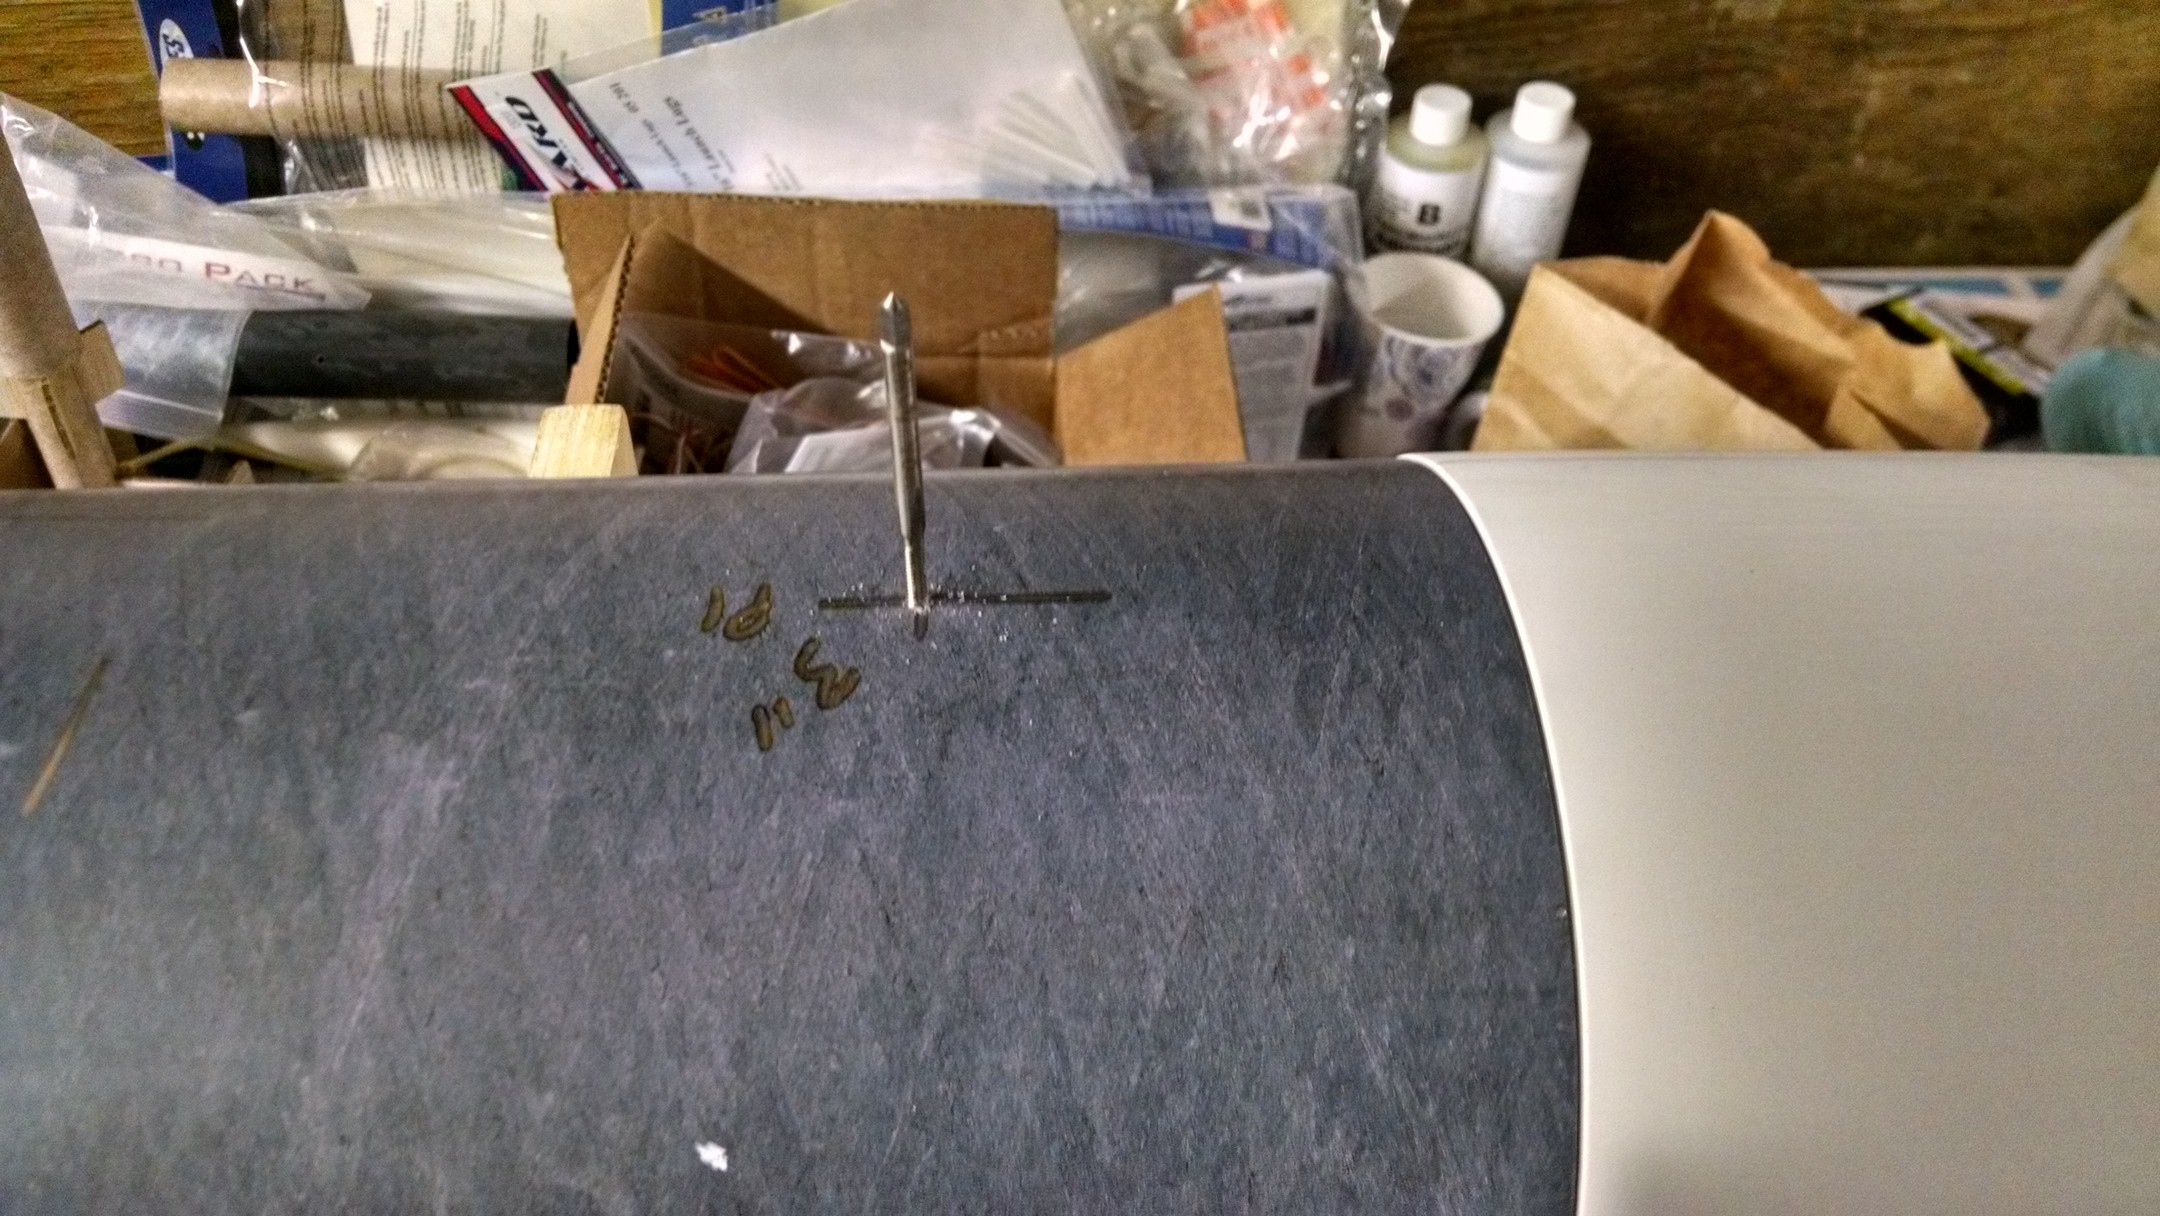
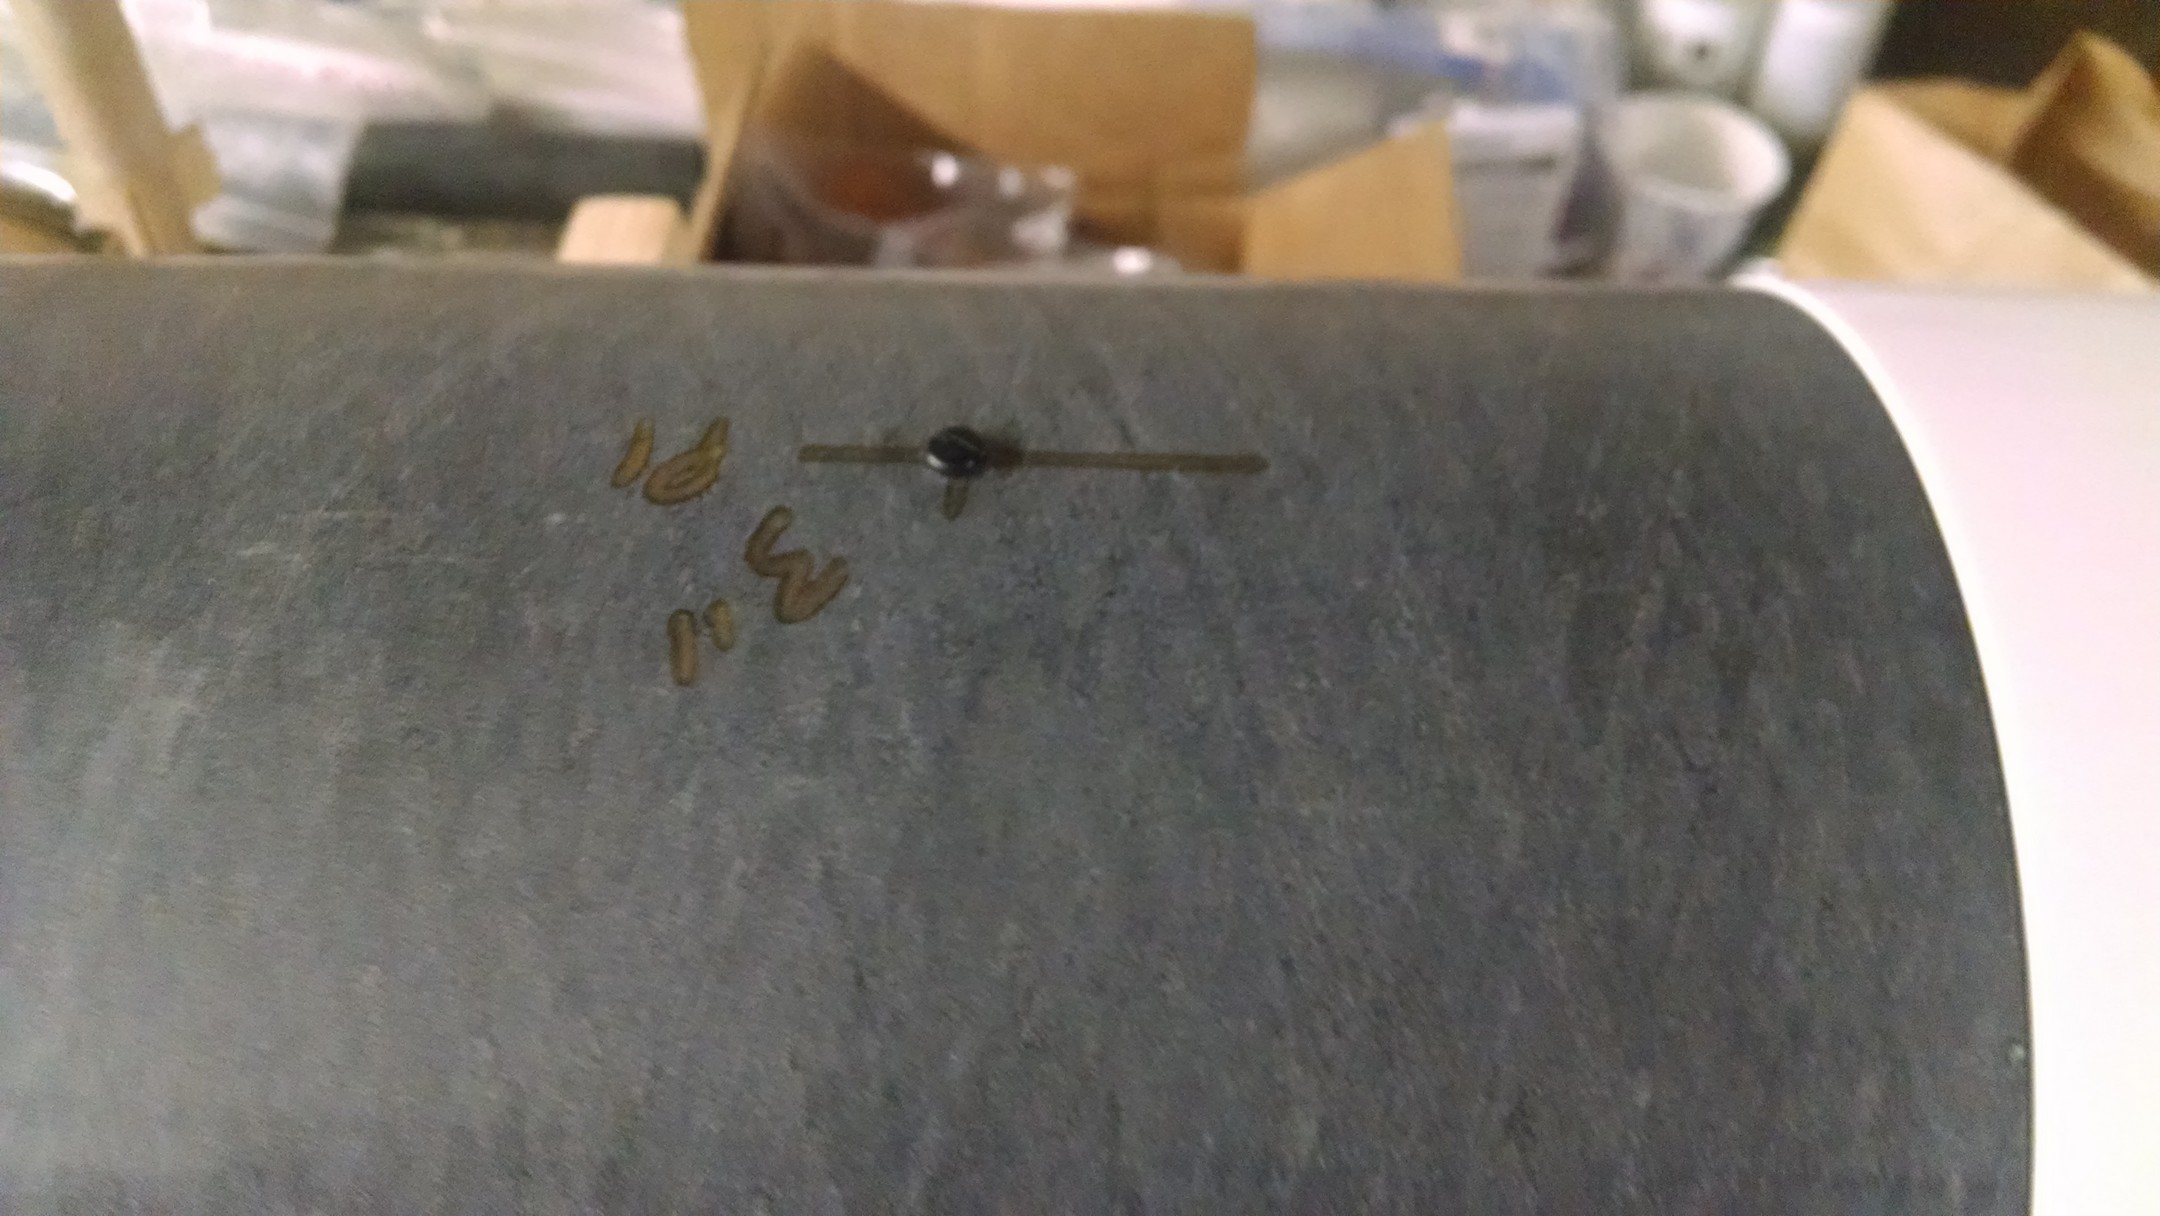
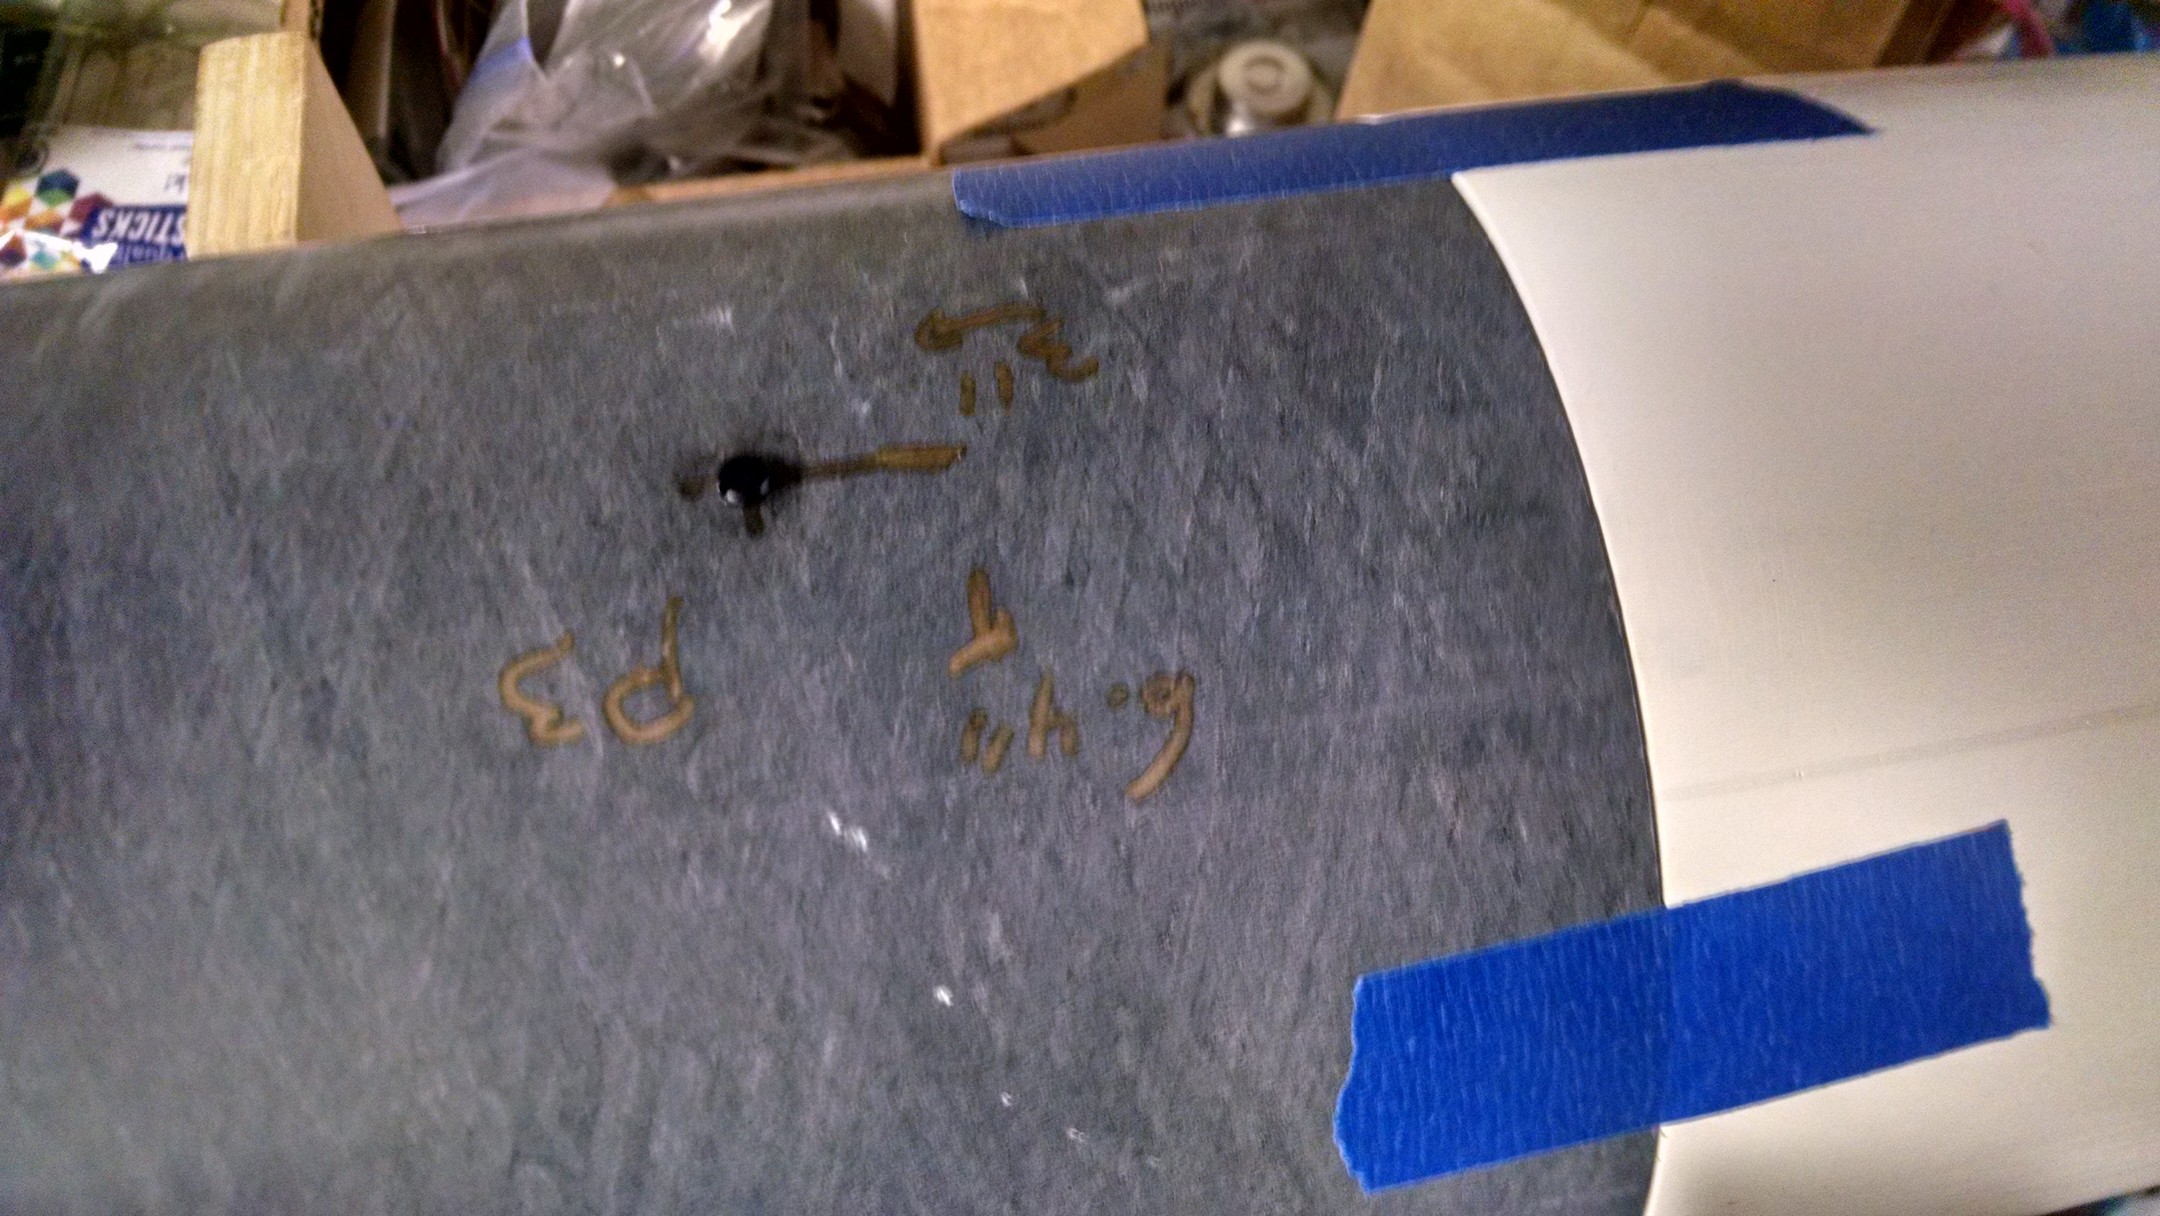
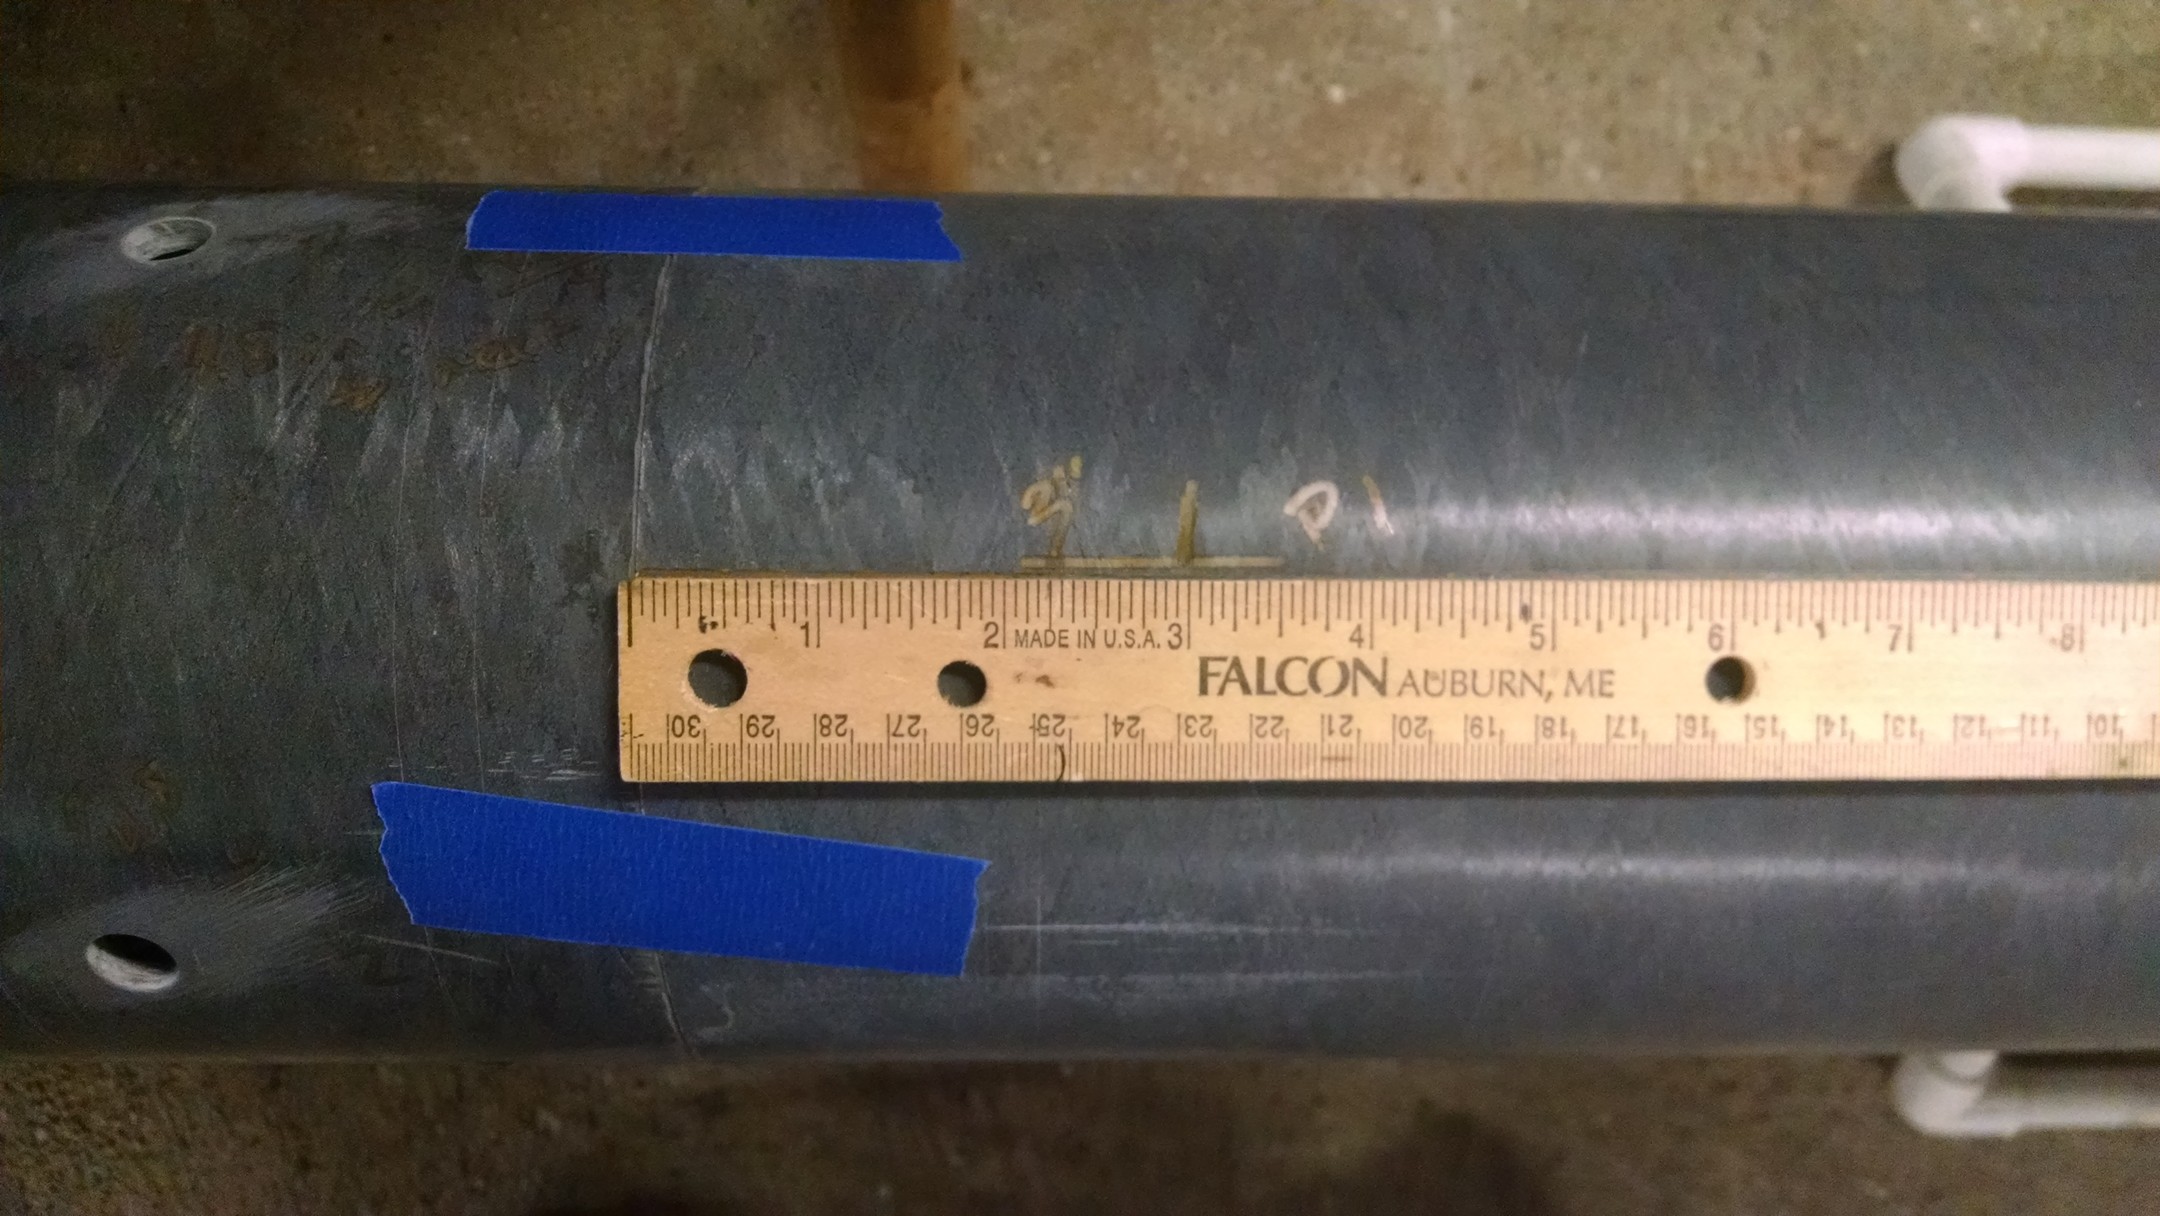
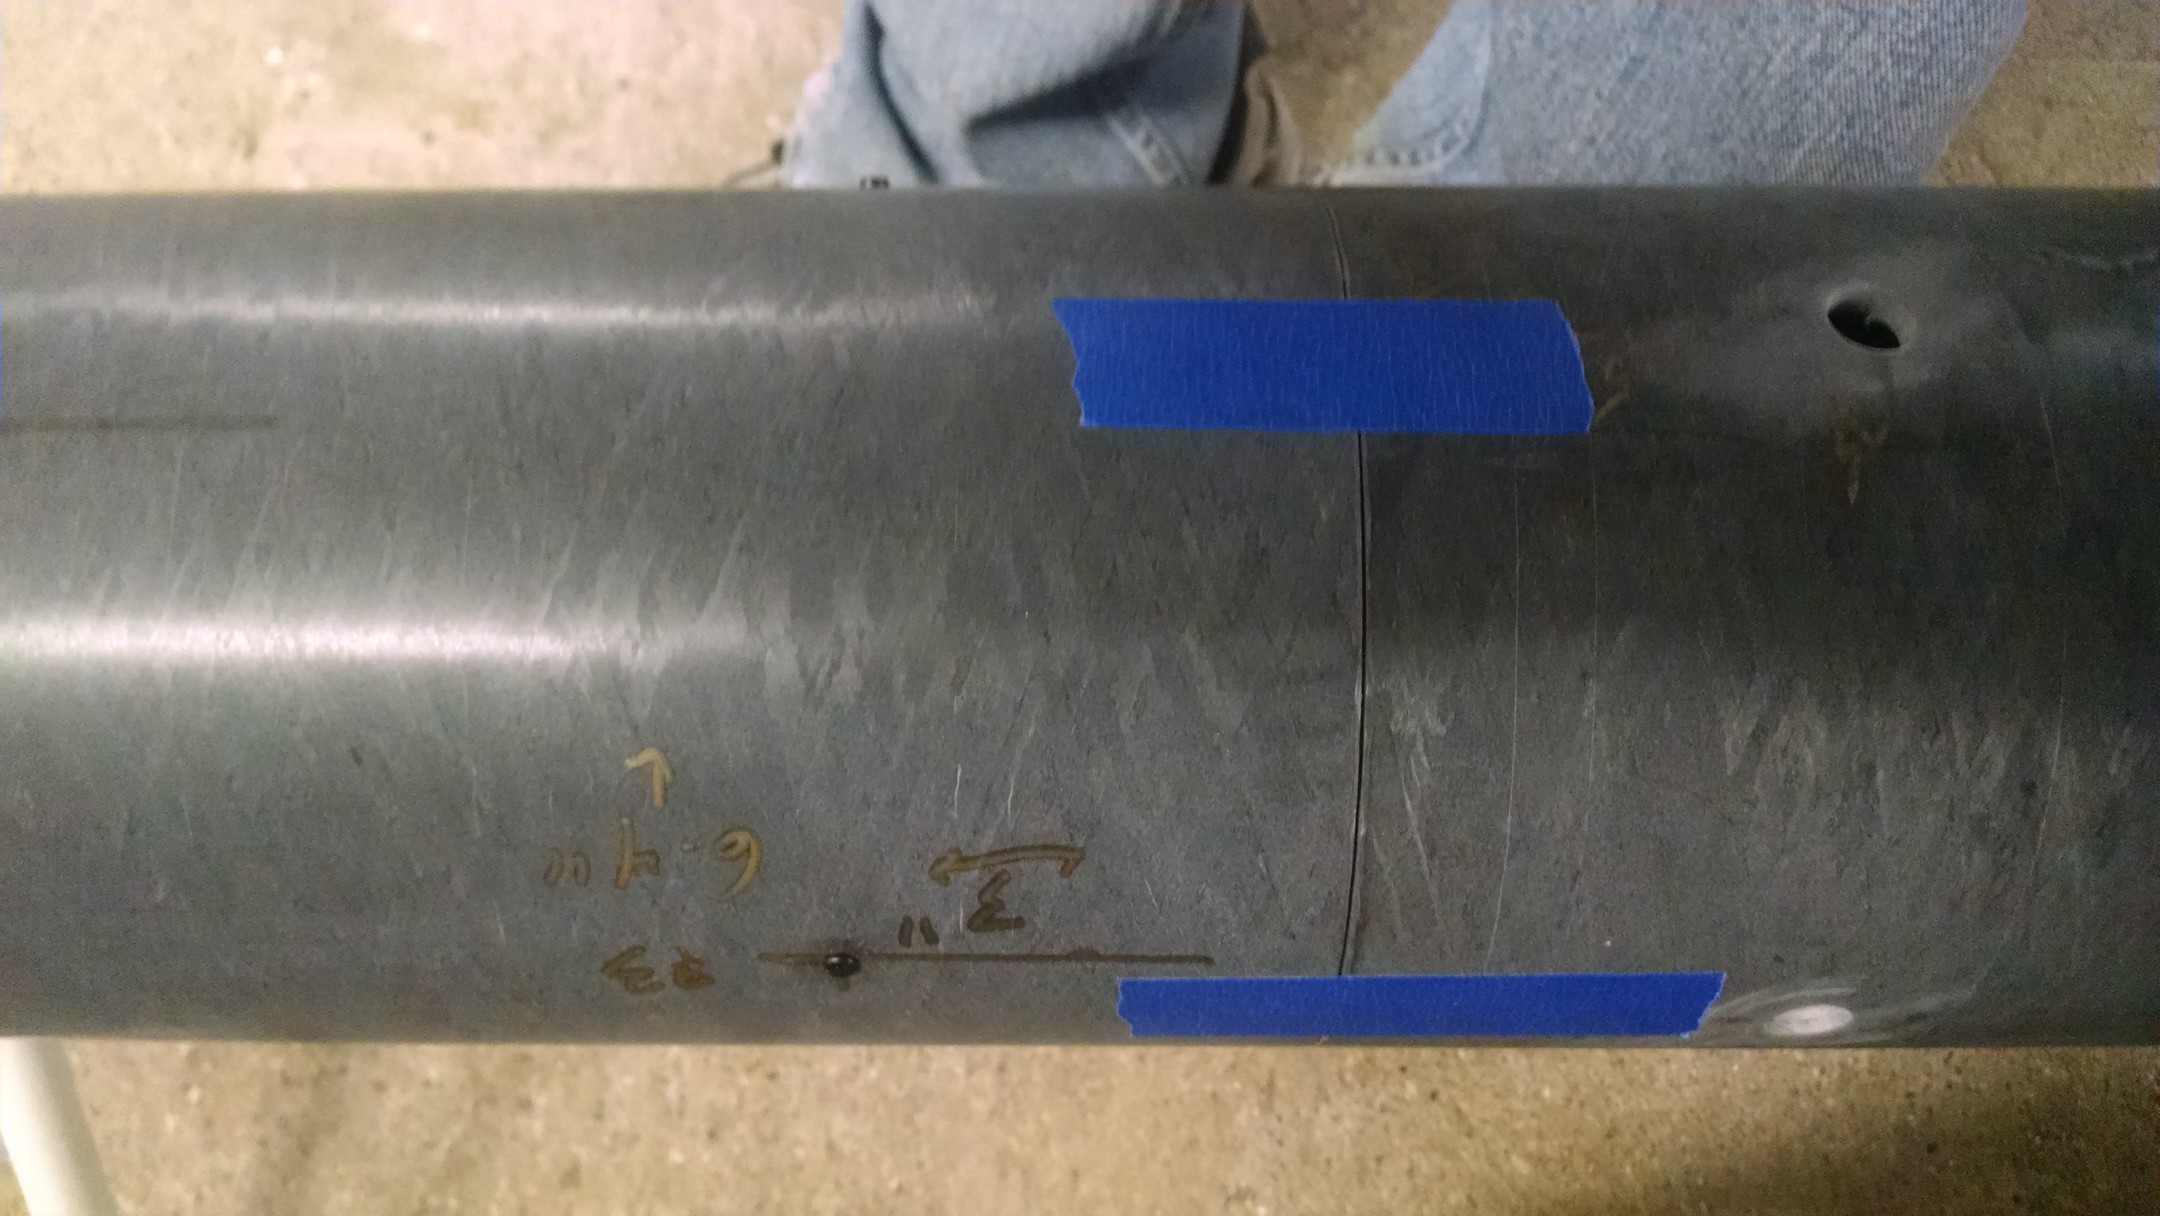
Marks made on the booster tube. Rail guild well mounts 3/8in holes one at 2 inches from bottom and the other at 25in from bottom. Center of pressure is at 30inches from bottom.
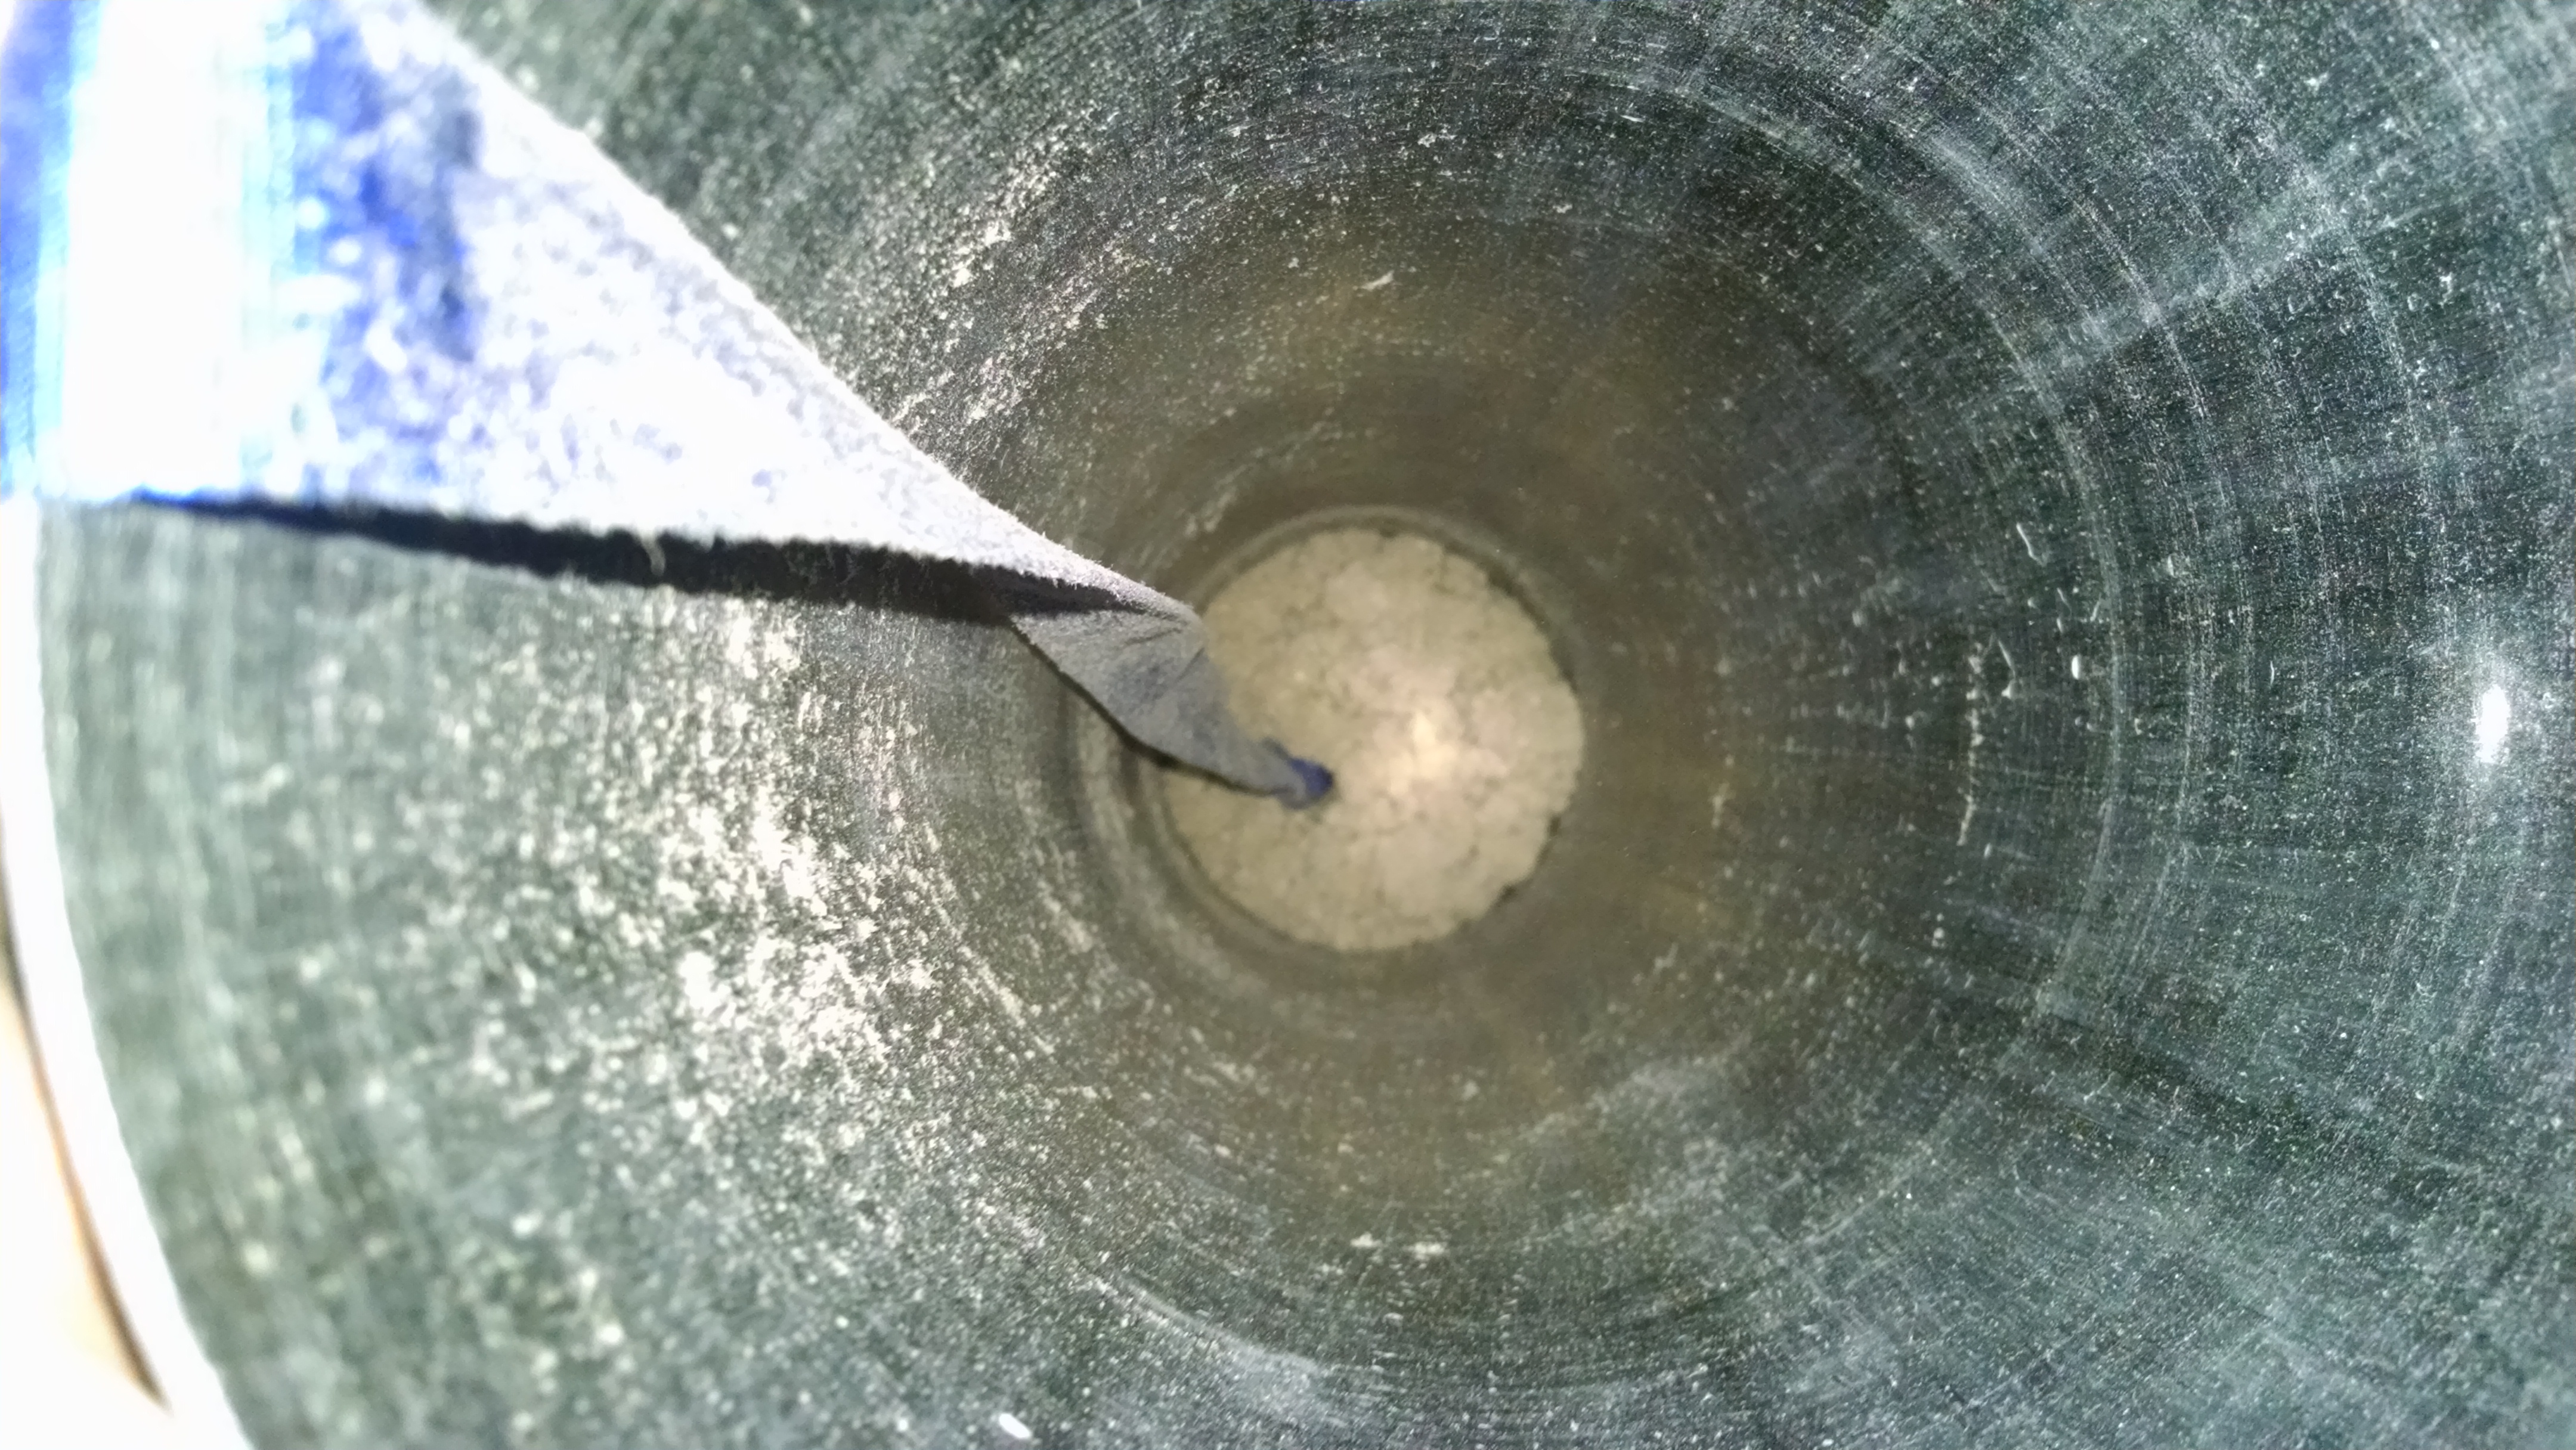
5/32in hole drilled 15inches from top of booster for a pressure vent hole. April 12, 2015
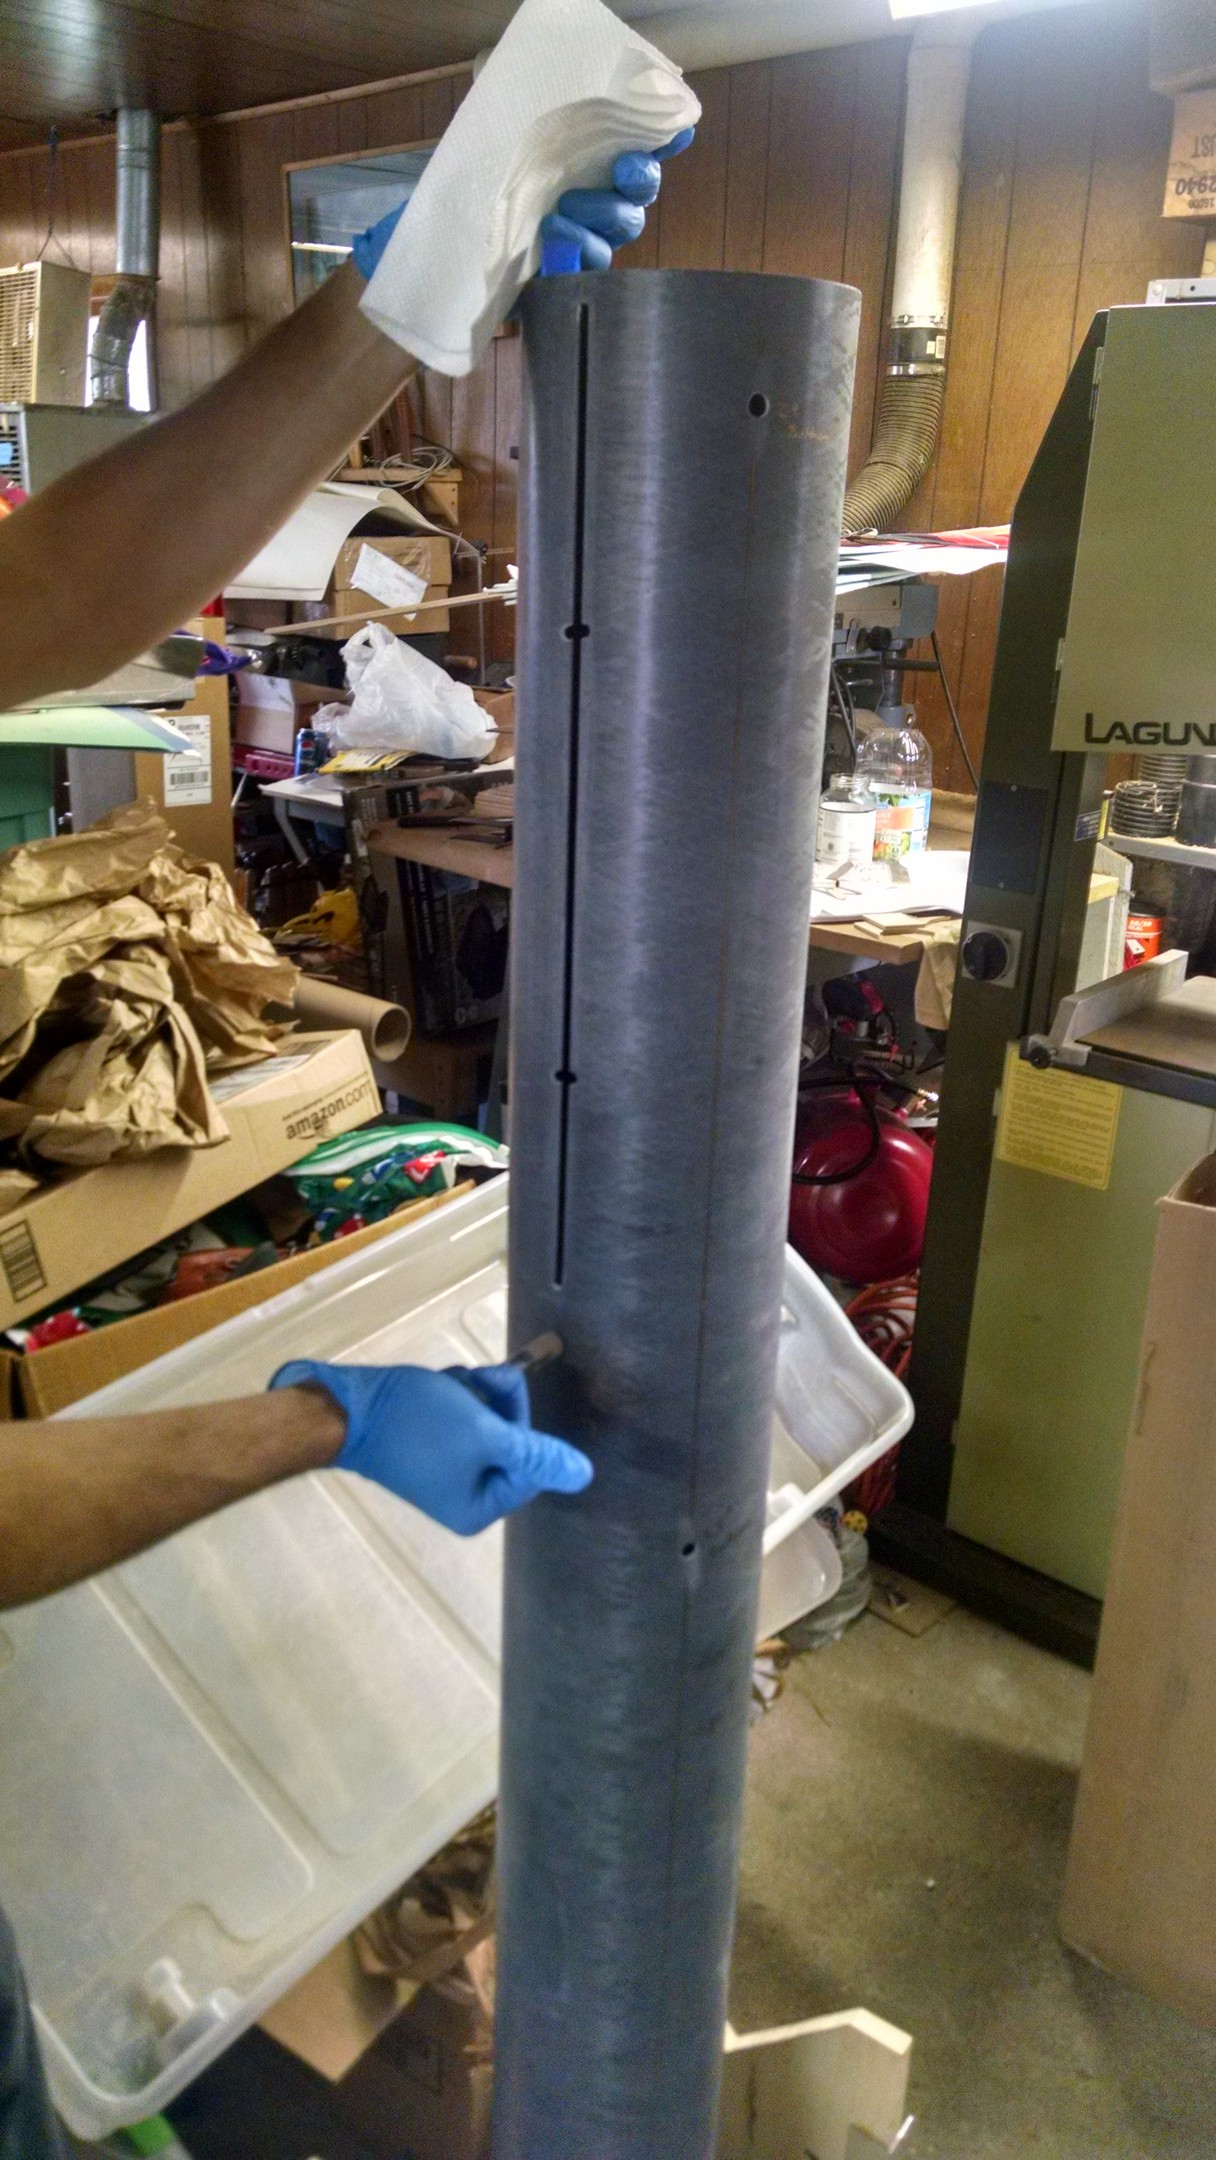
Holes drilled
Motor tube dry fit in booster tube without epoxy on the rear wood centering ring
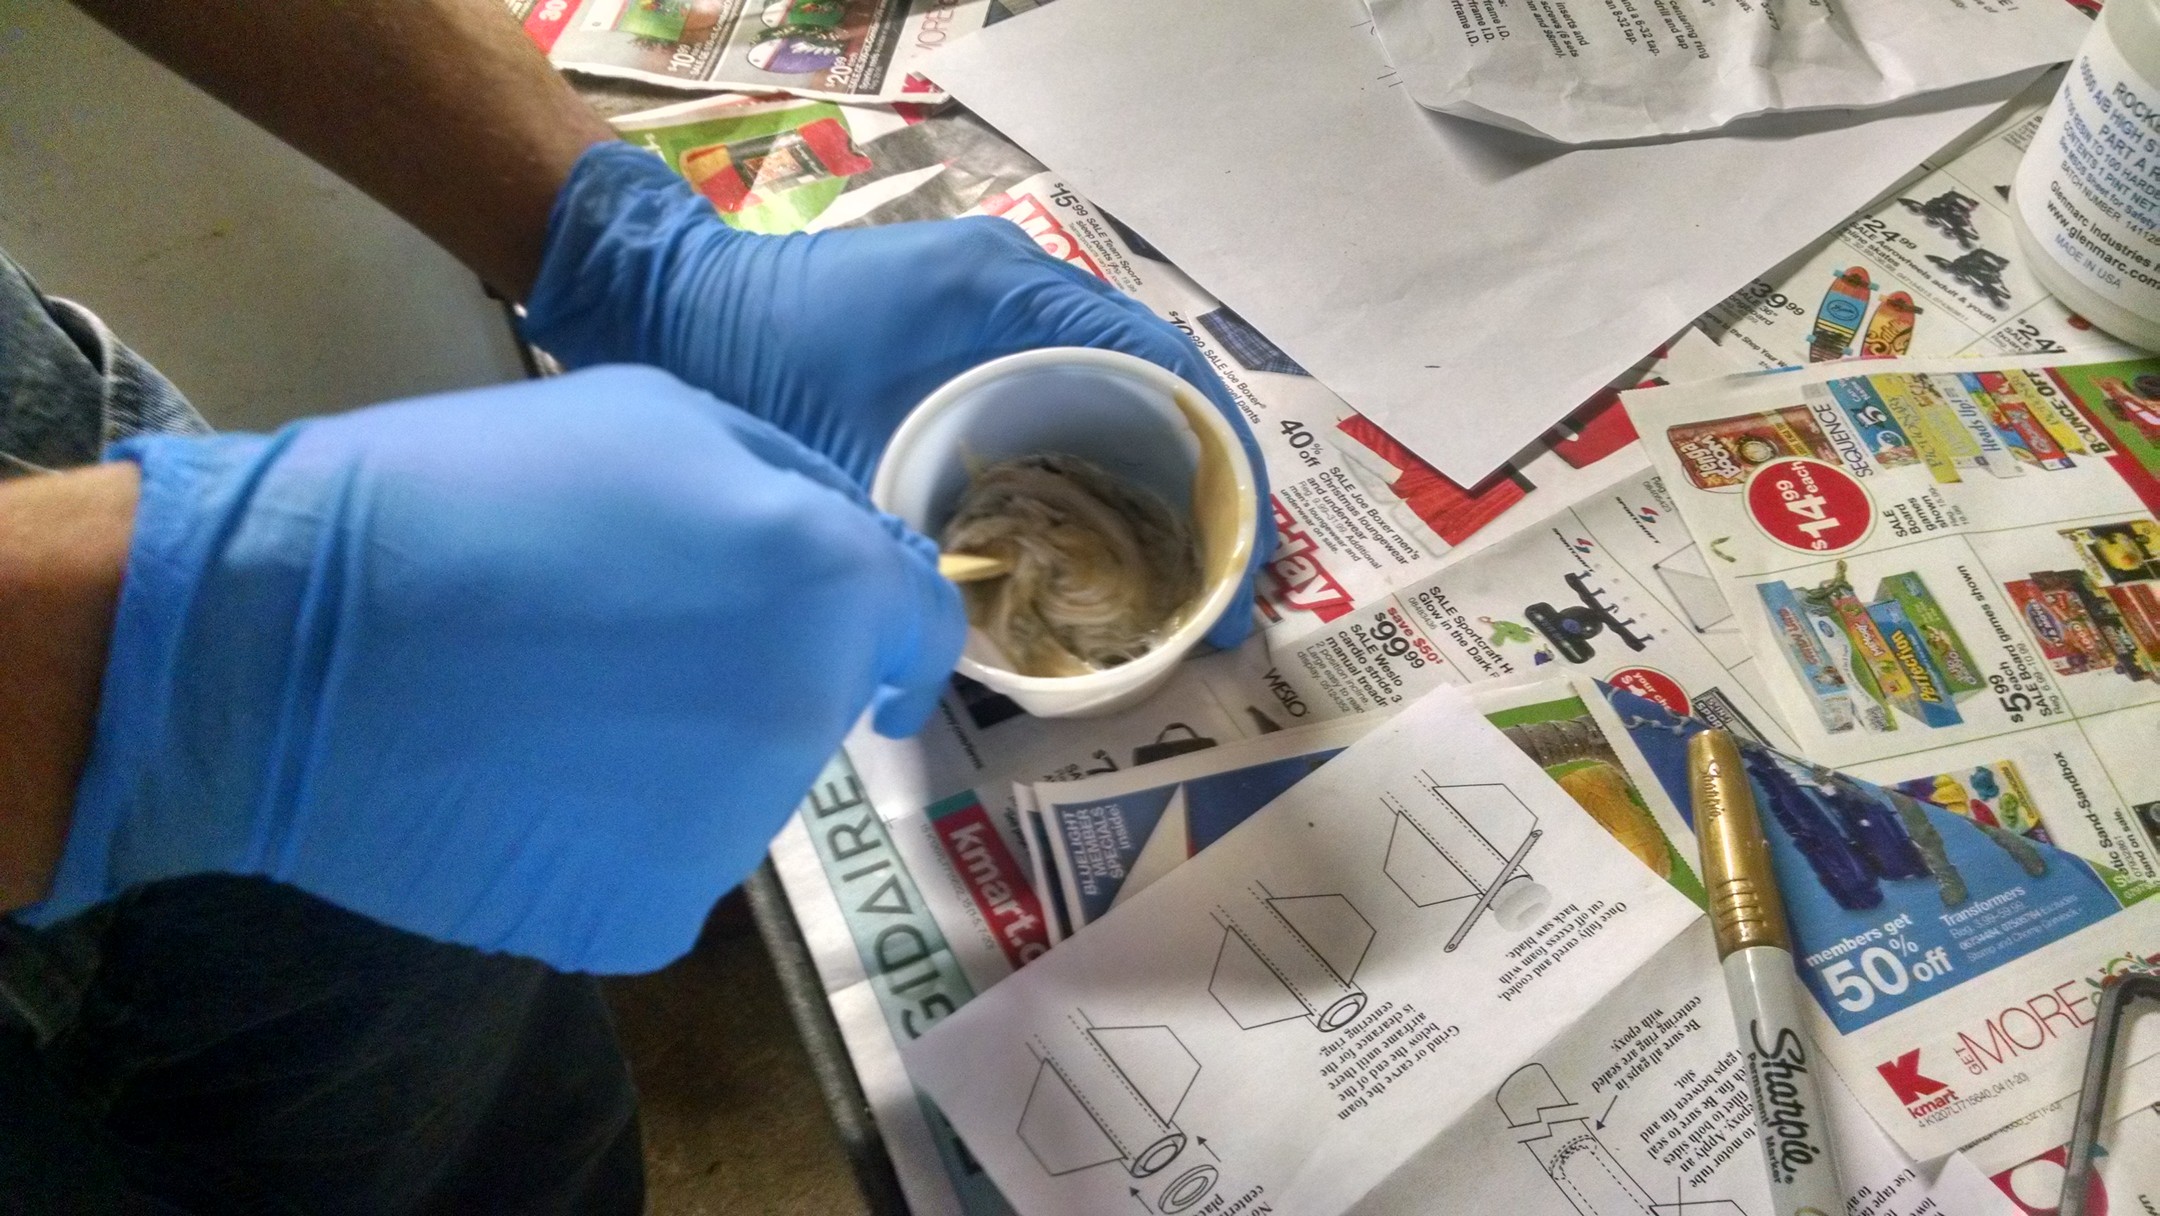
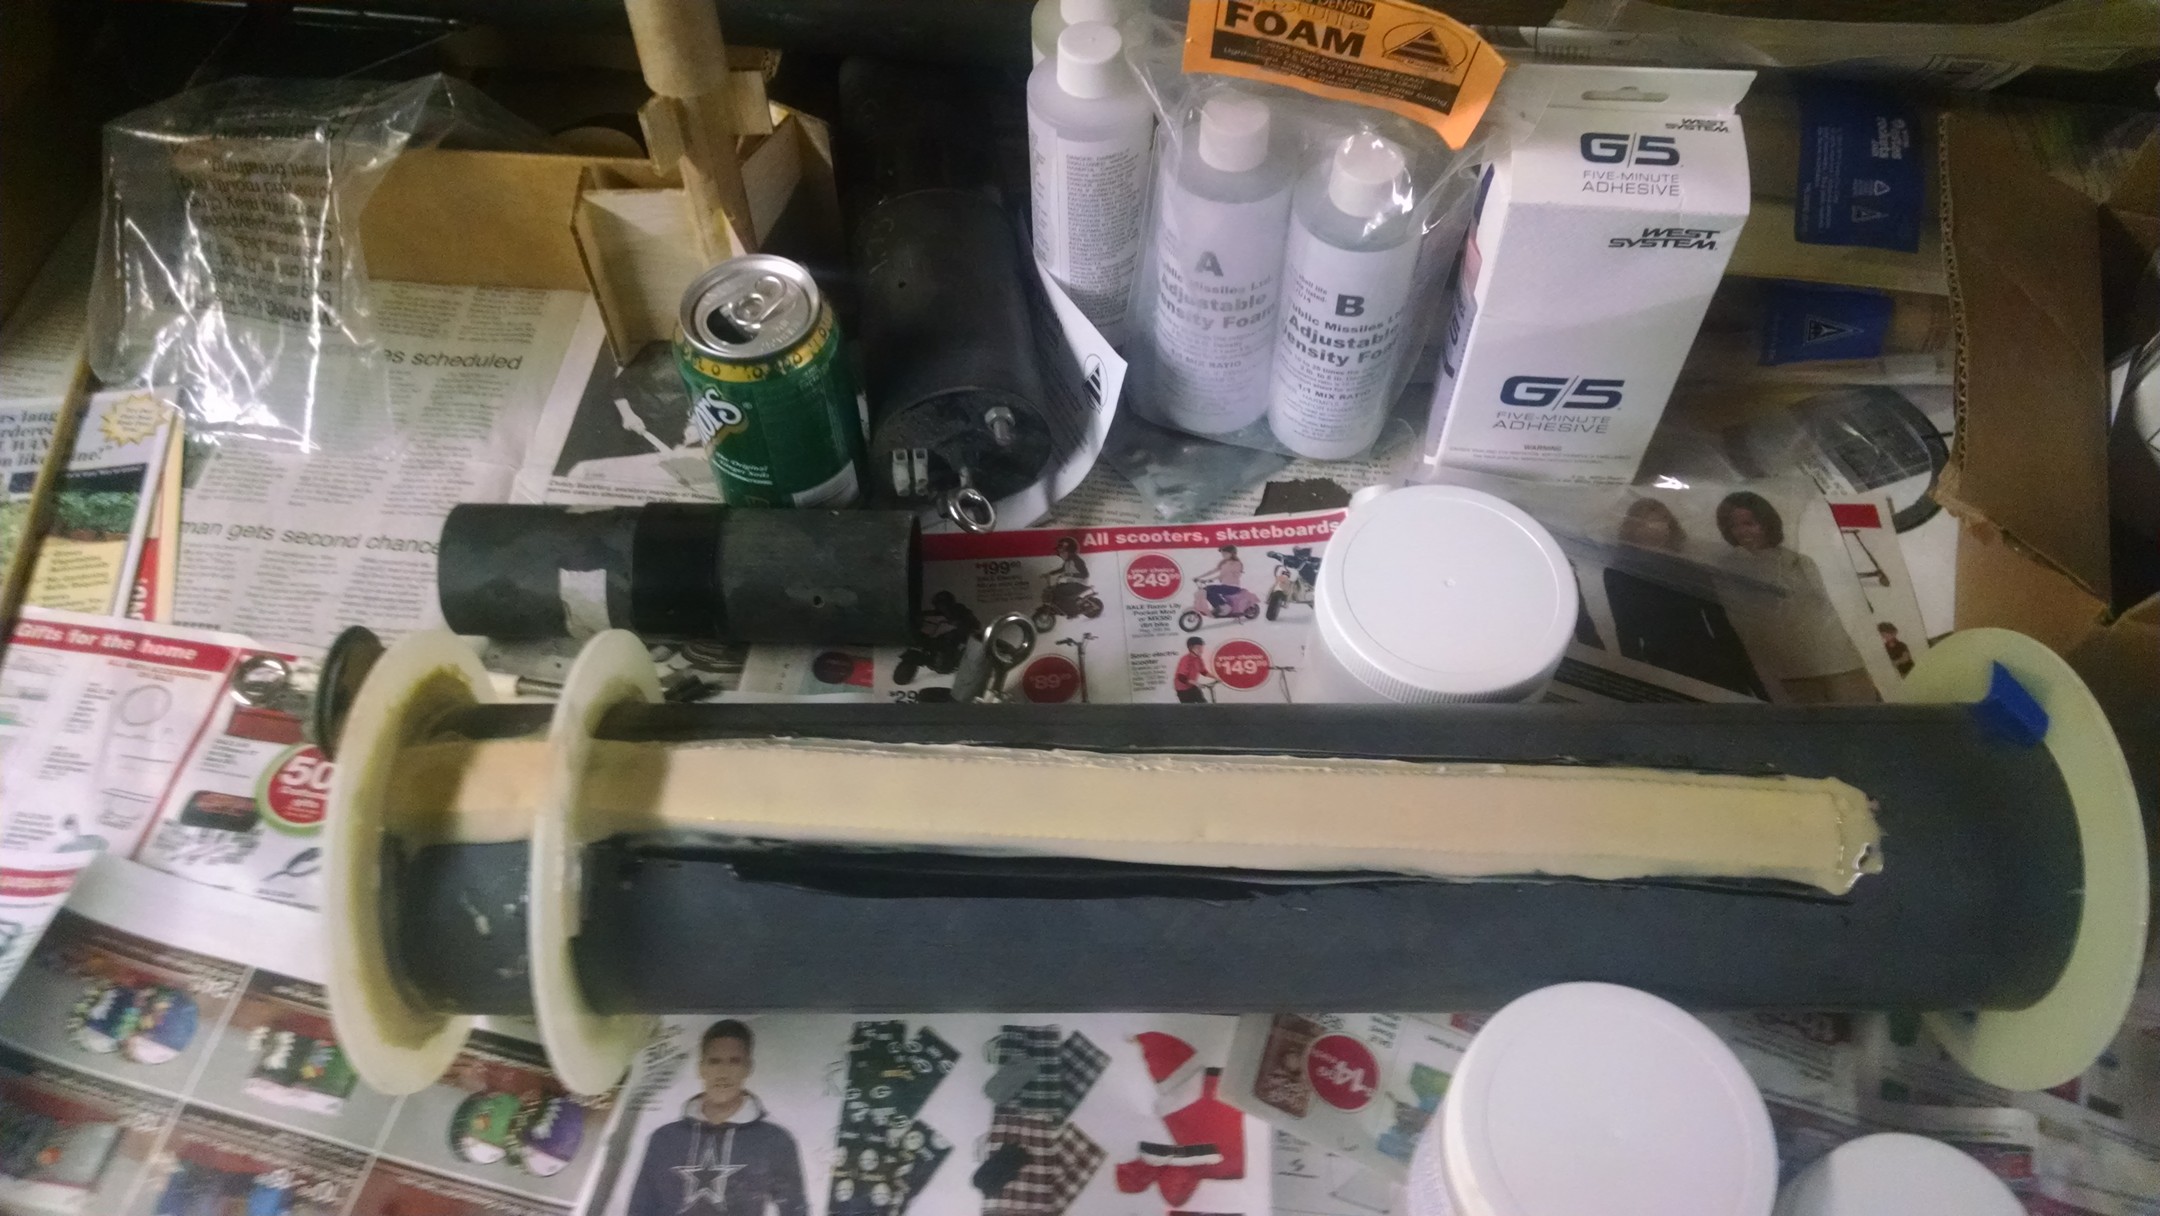
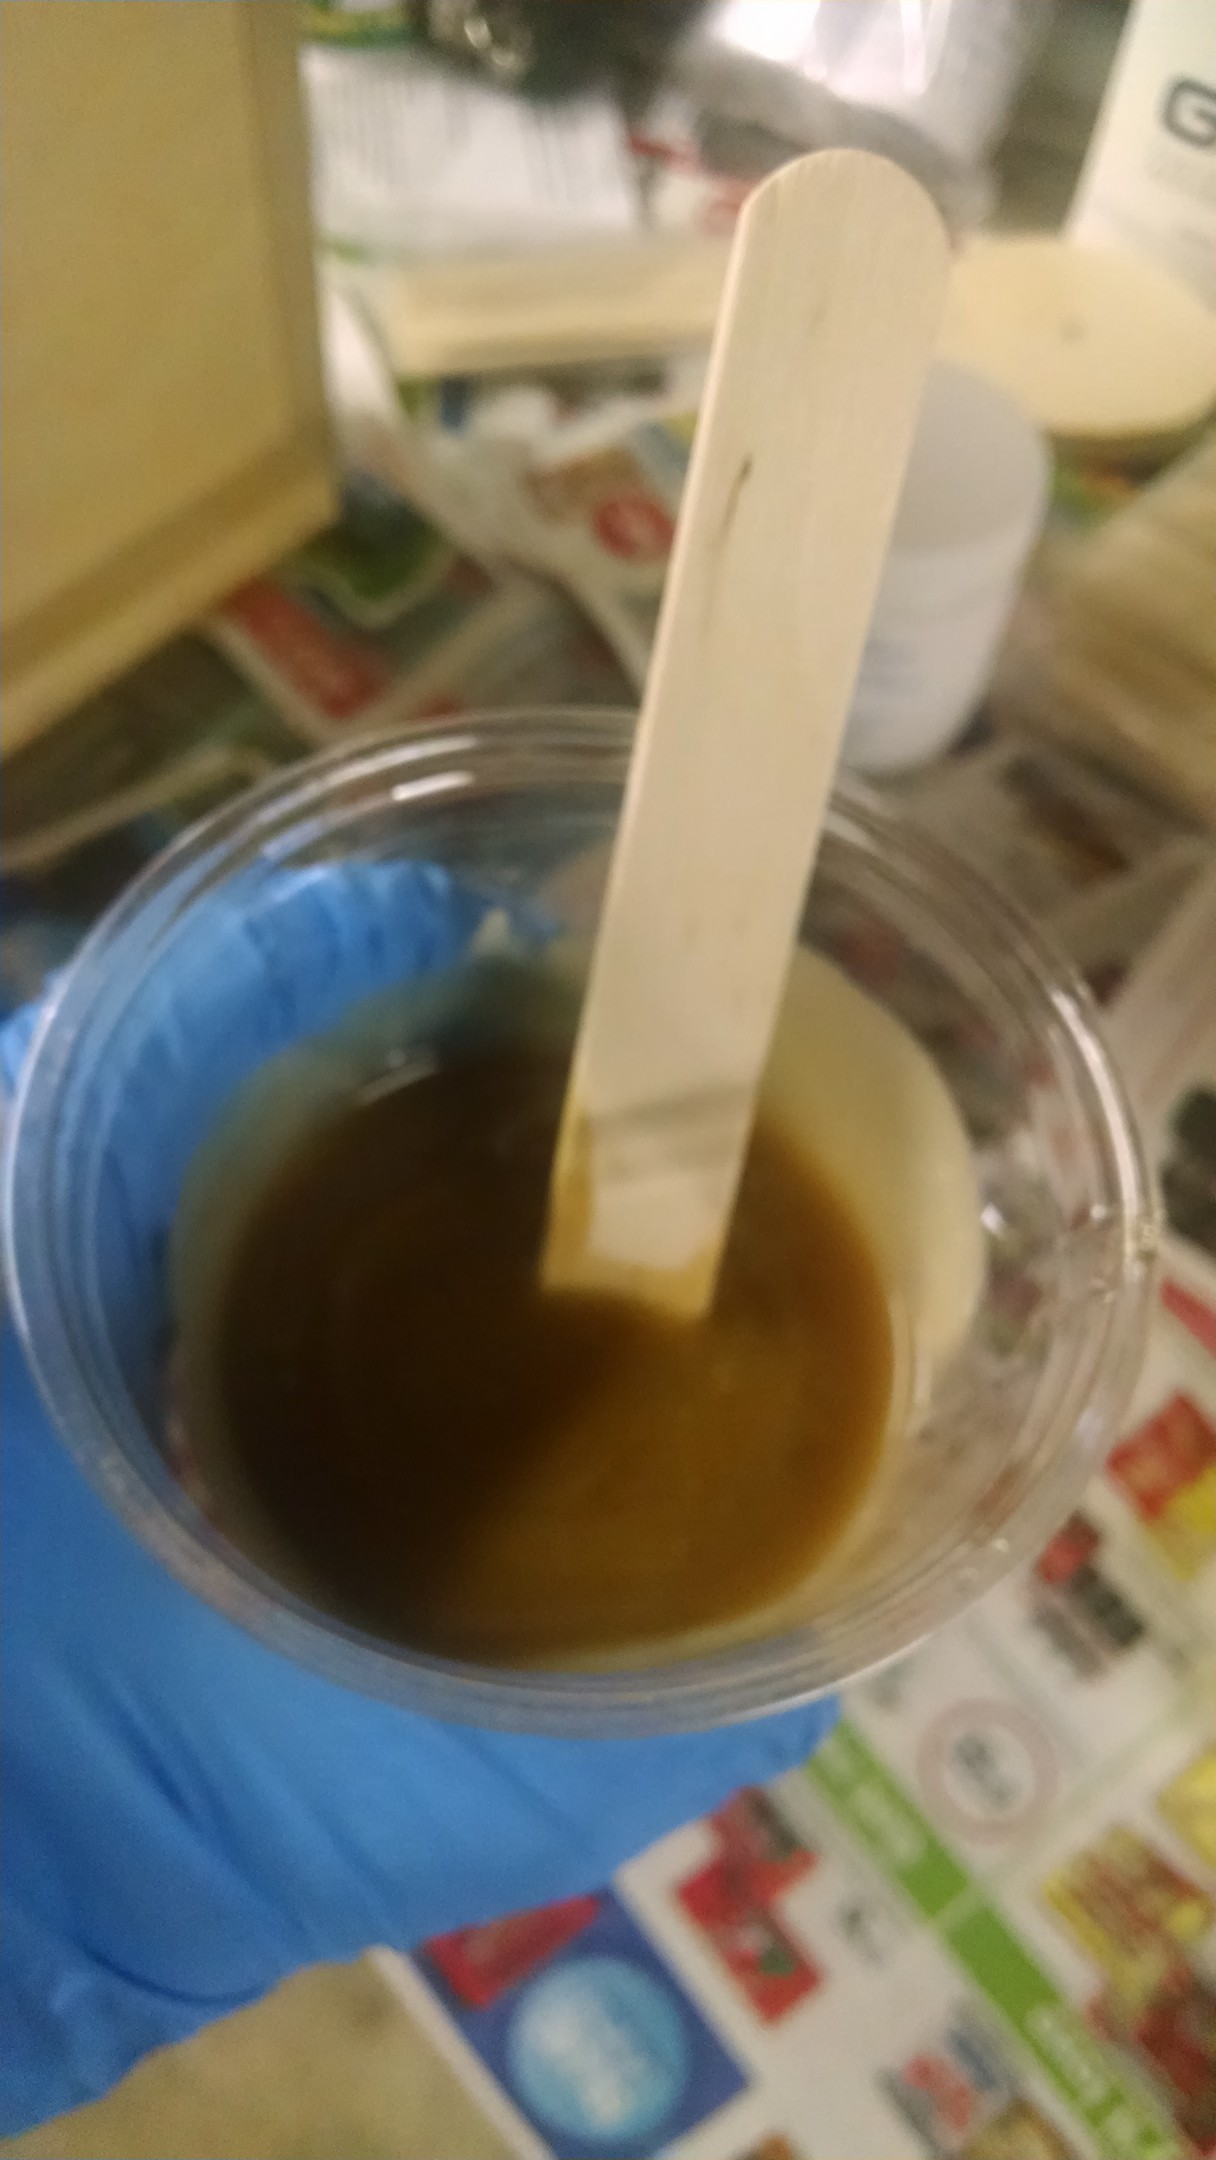
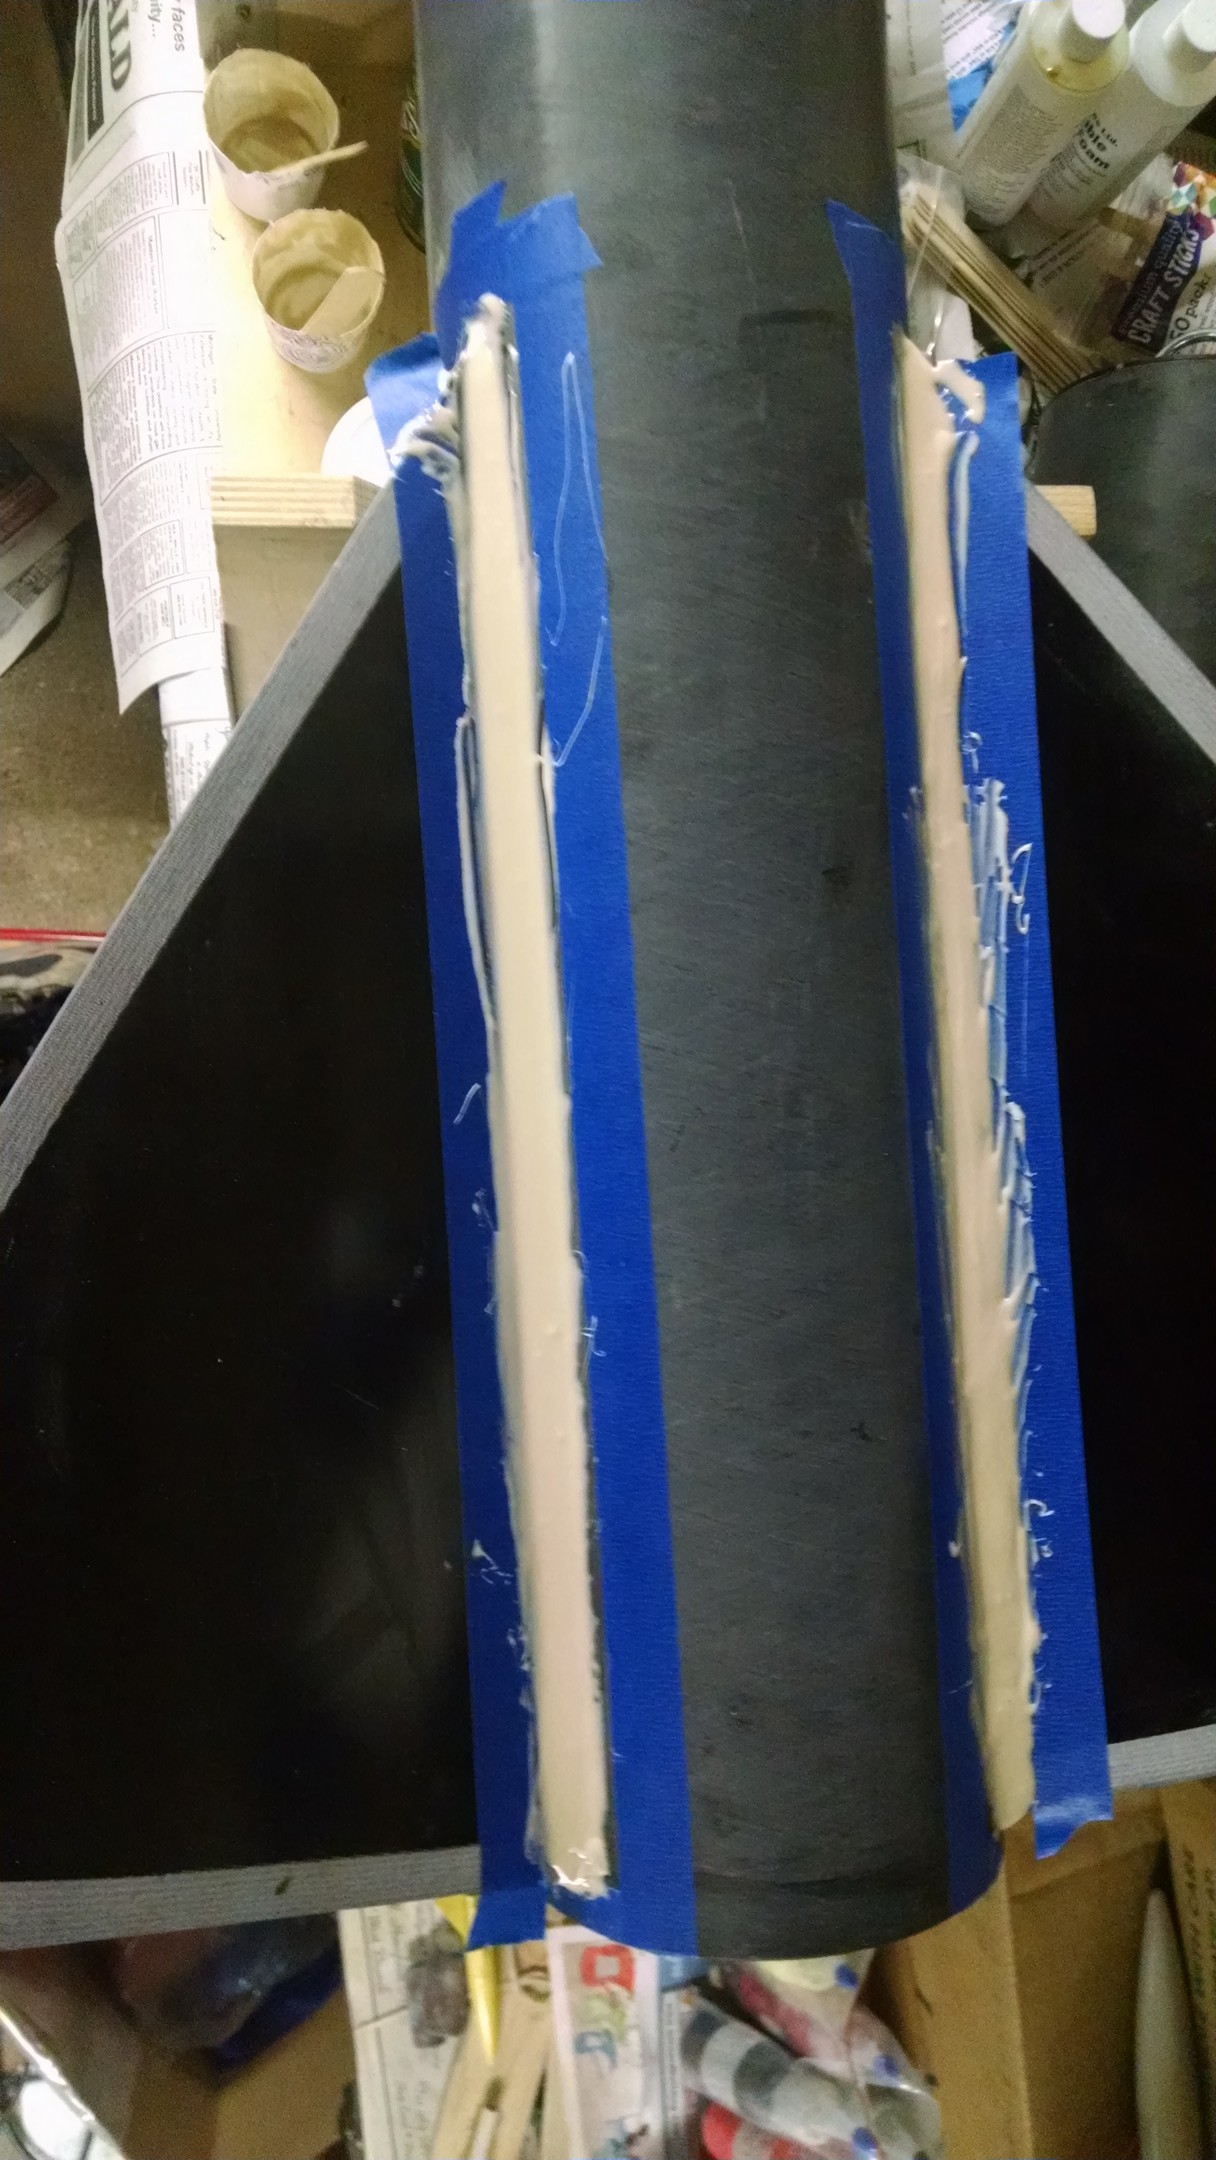
Rock Poxey with chipped carbon fibers for internal fillets April 21, 2015
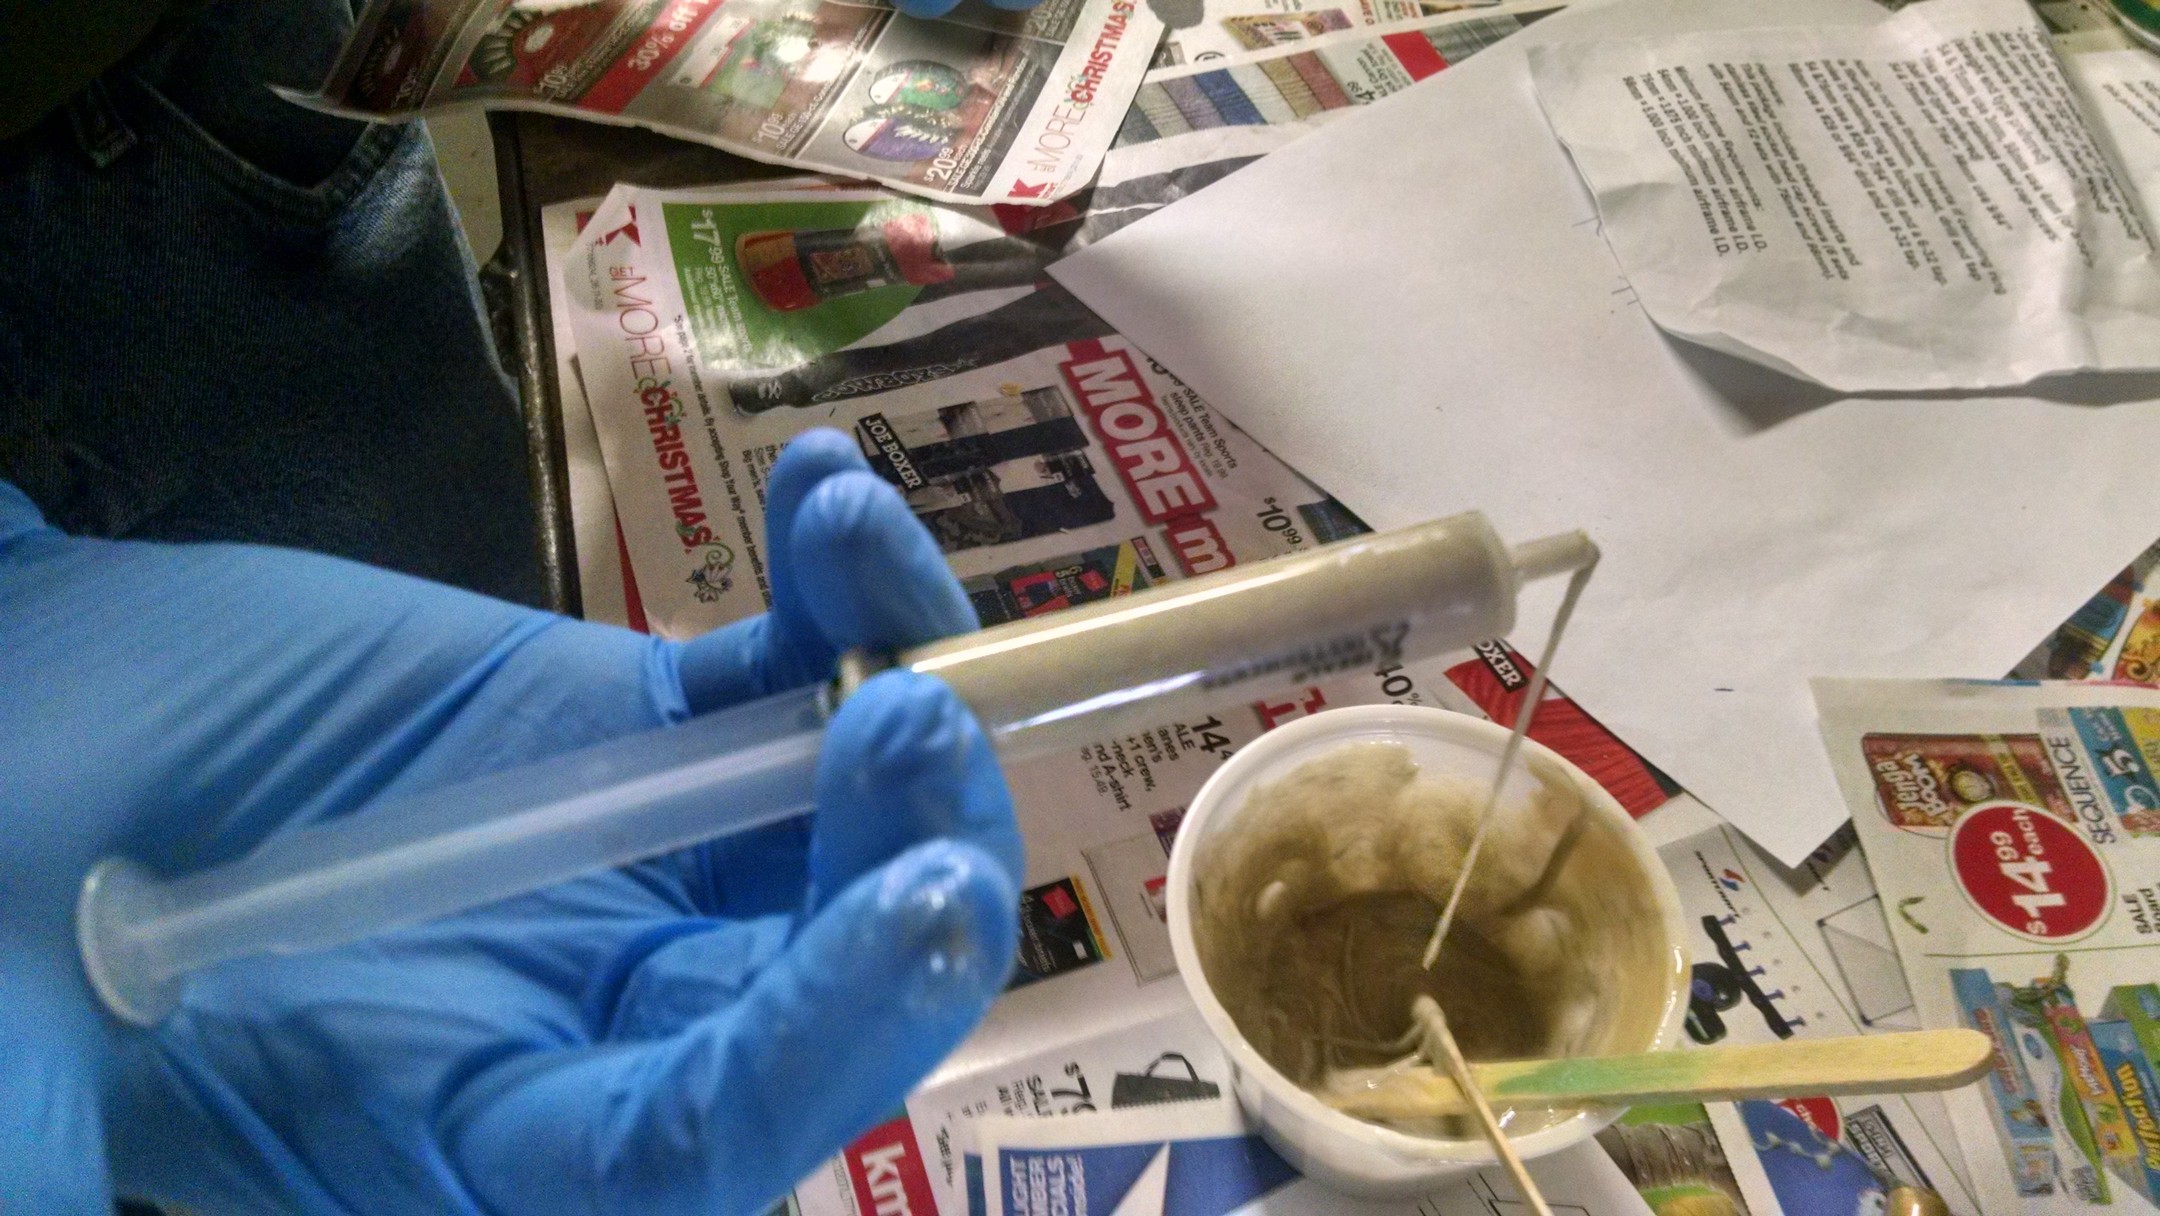
adding 30ml of rockpoxey mix to internal fillet between forward centering rings
Zoomed out view

Getting the first fin tacked on. I use the double peanut butter way of putting the rock-poxy down. So you put a good lay on the root of the fin, put it into the rocket then pull it out, re-apply then re-insert it into the rocket. When it’s in then I use an alignment tool to get it in the right spot. May 18, 2015
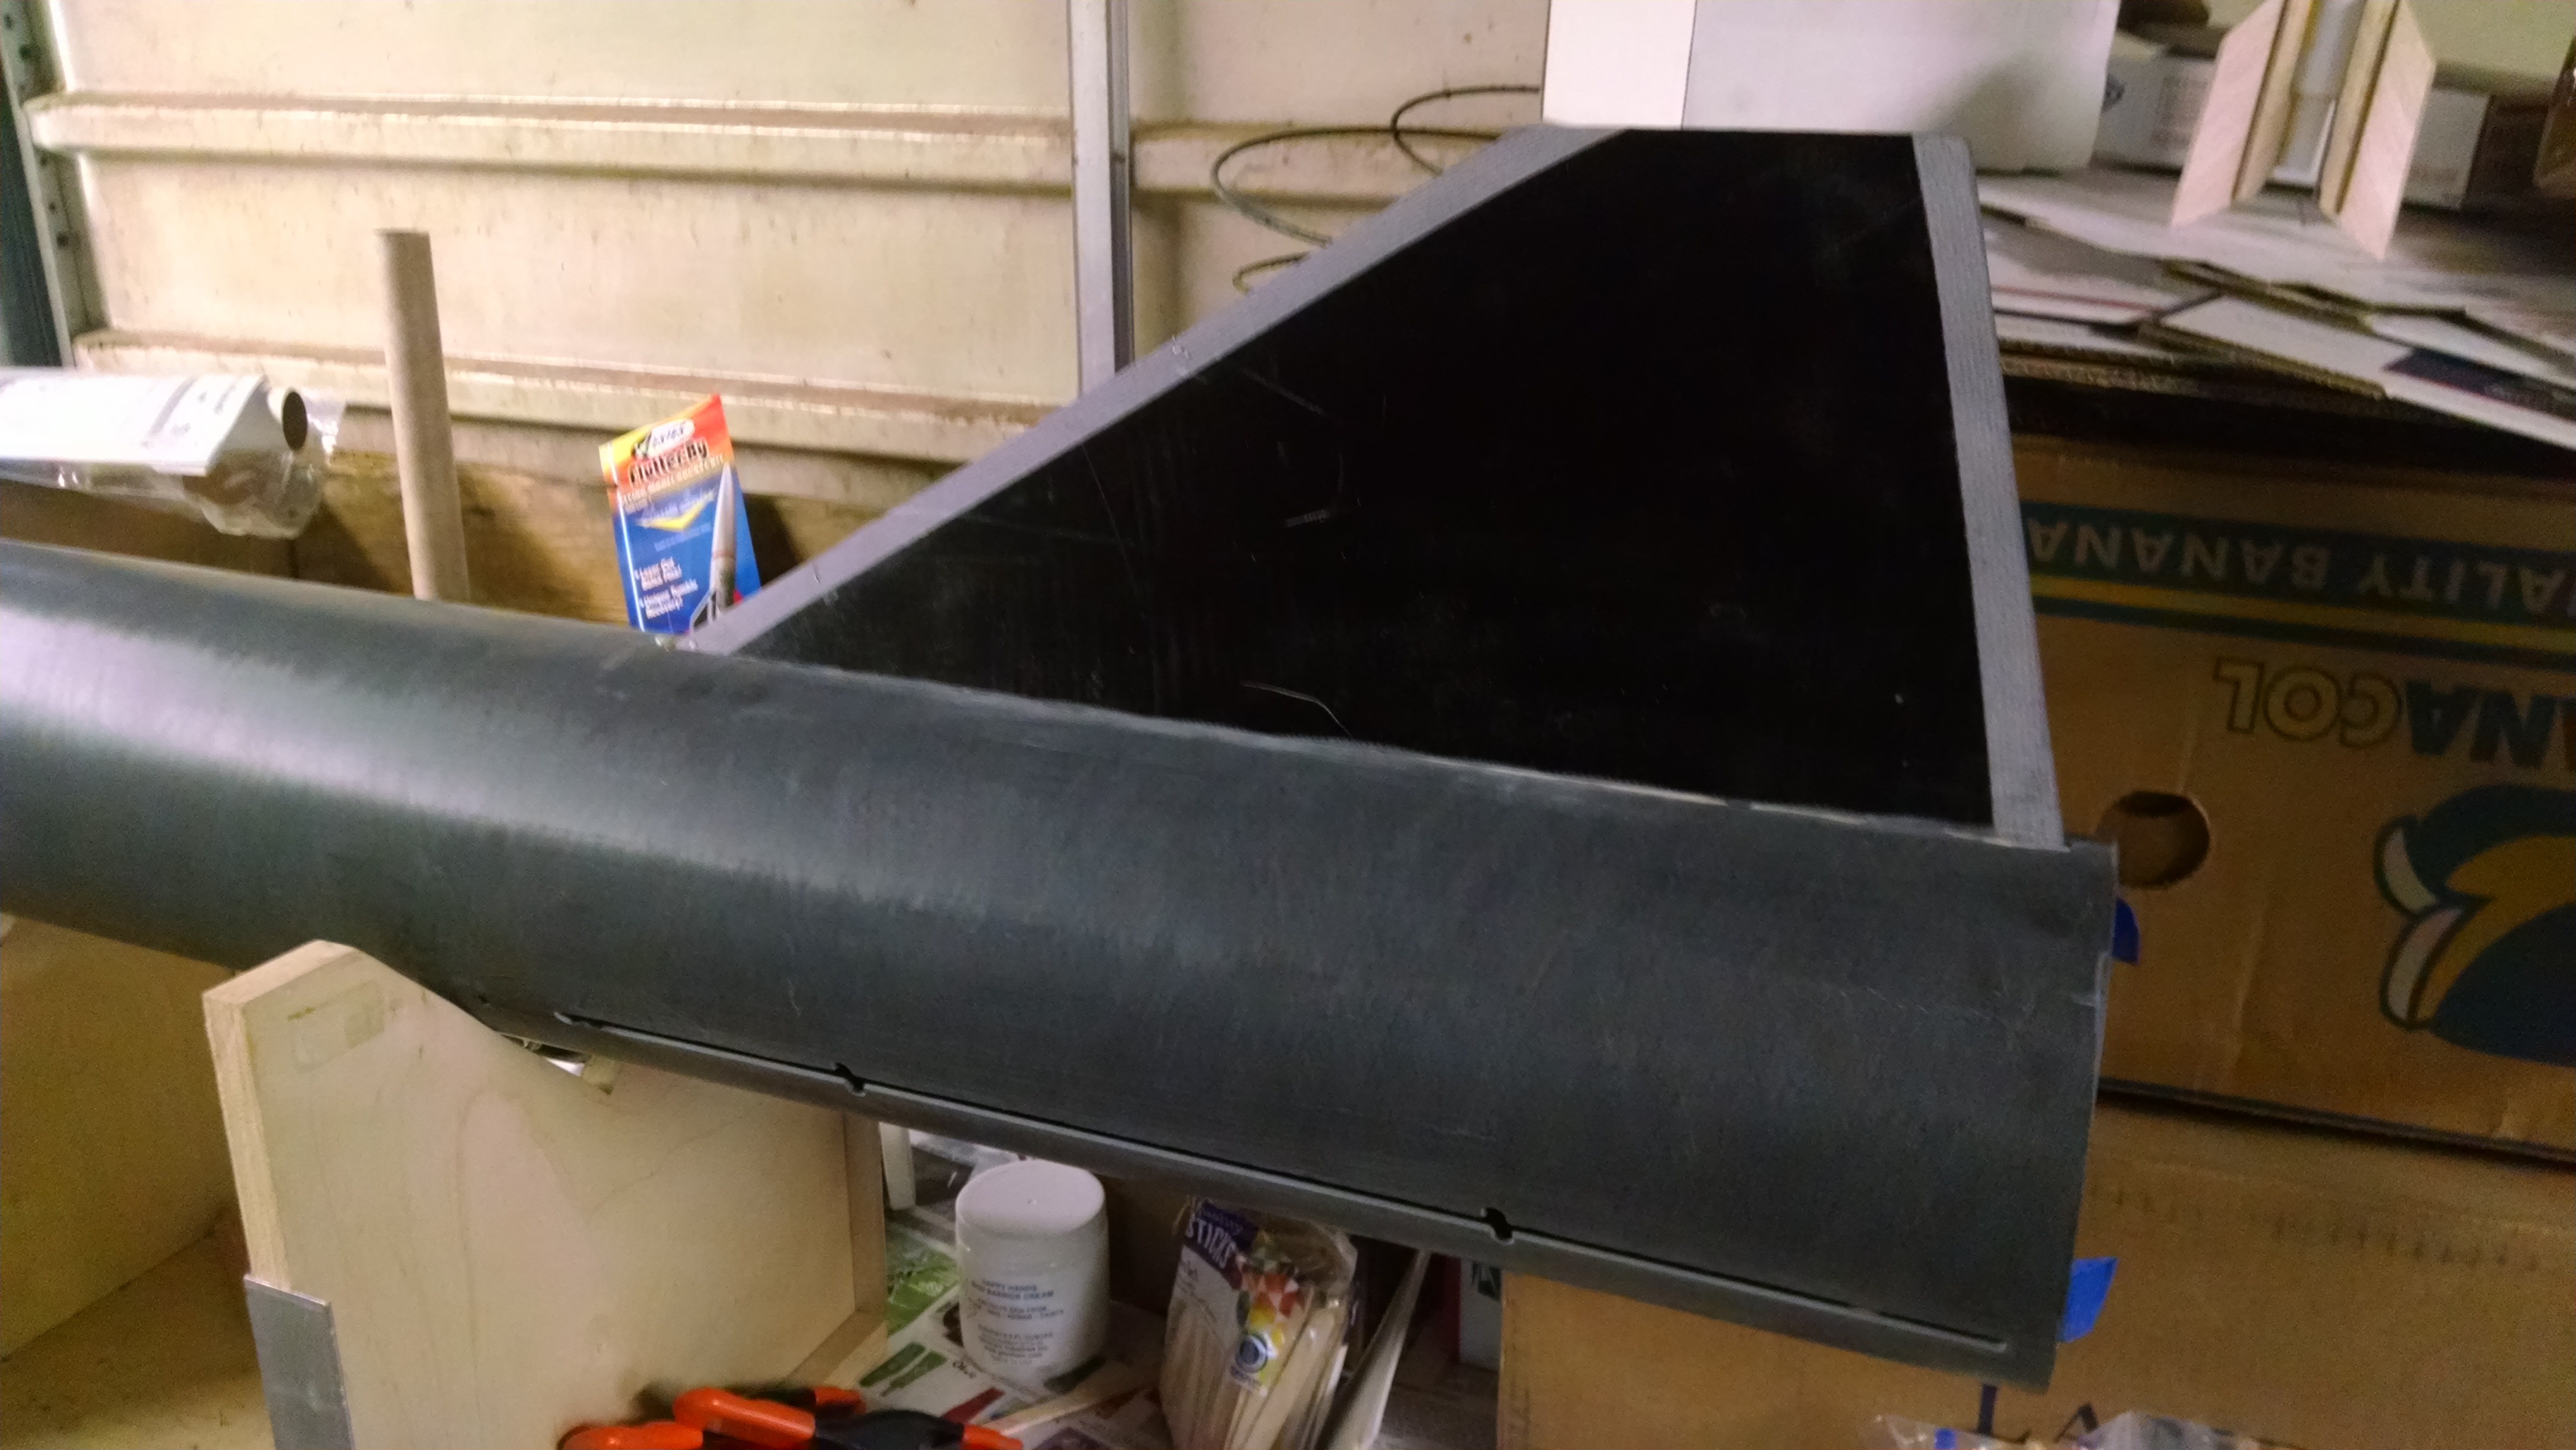
first fin in
fin aligned
fin #2 buttered up May 19, 2015
Fin #2 aligned
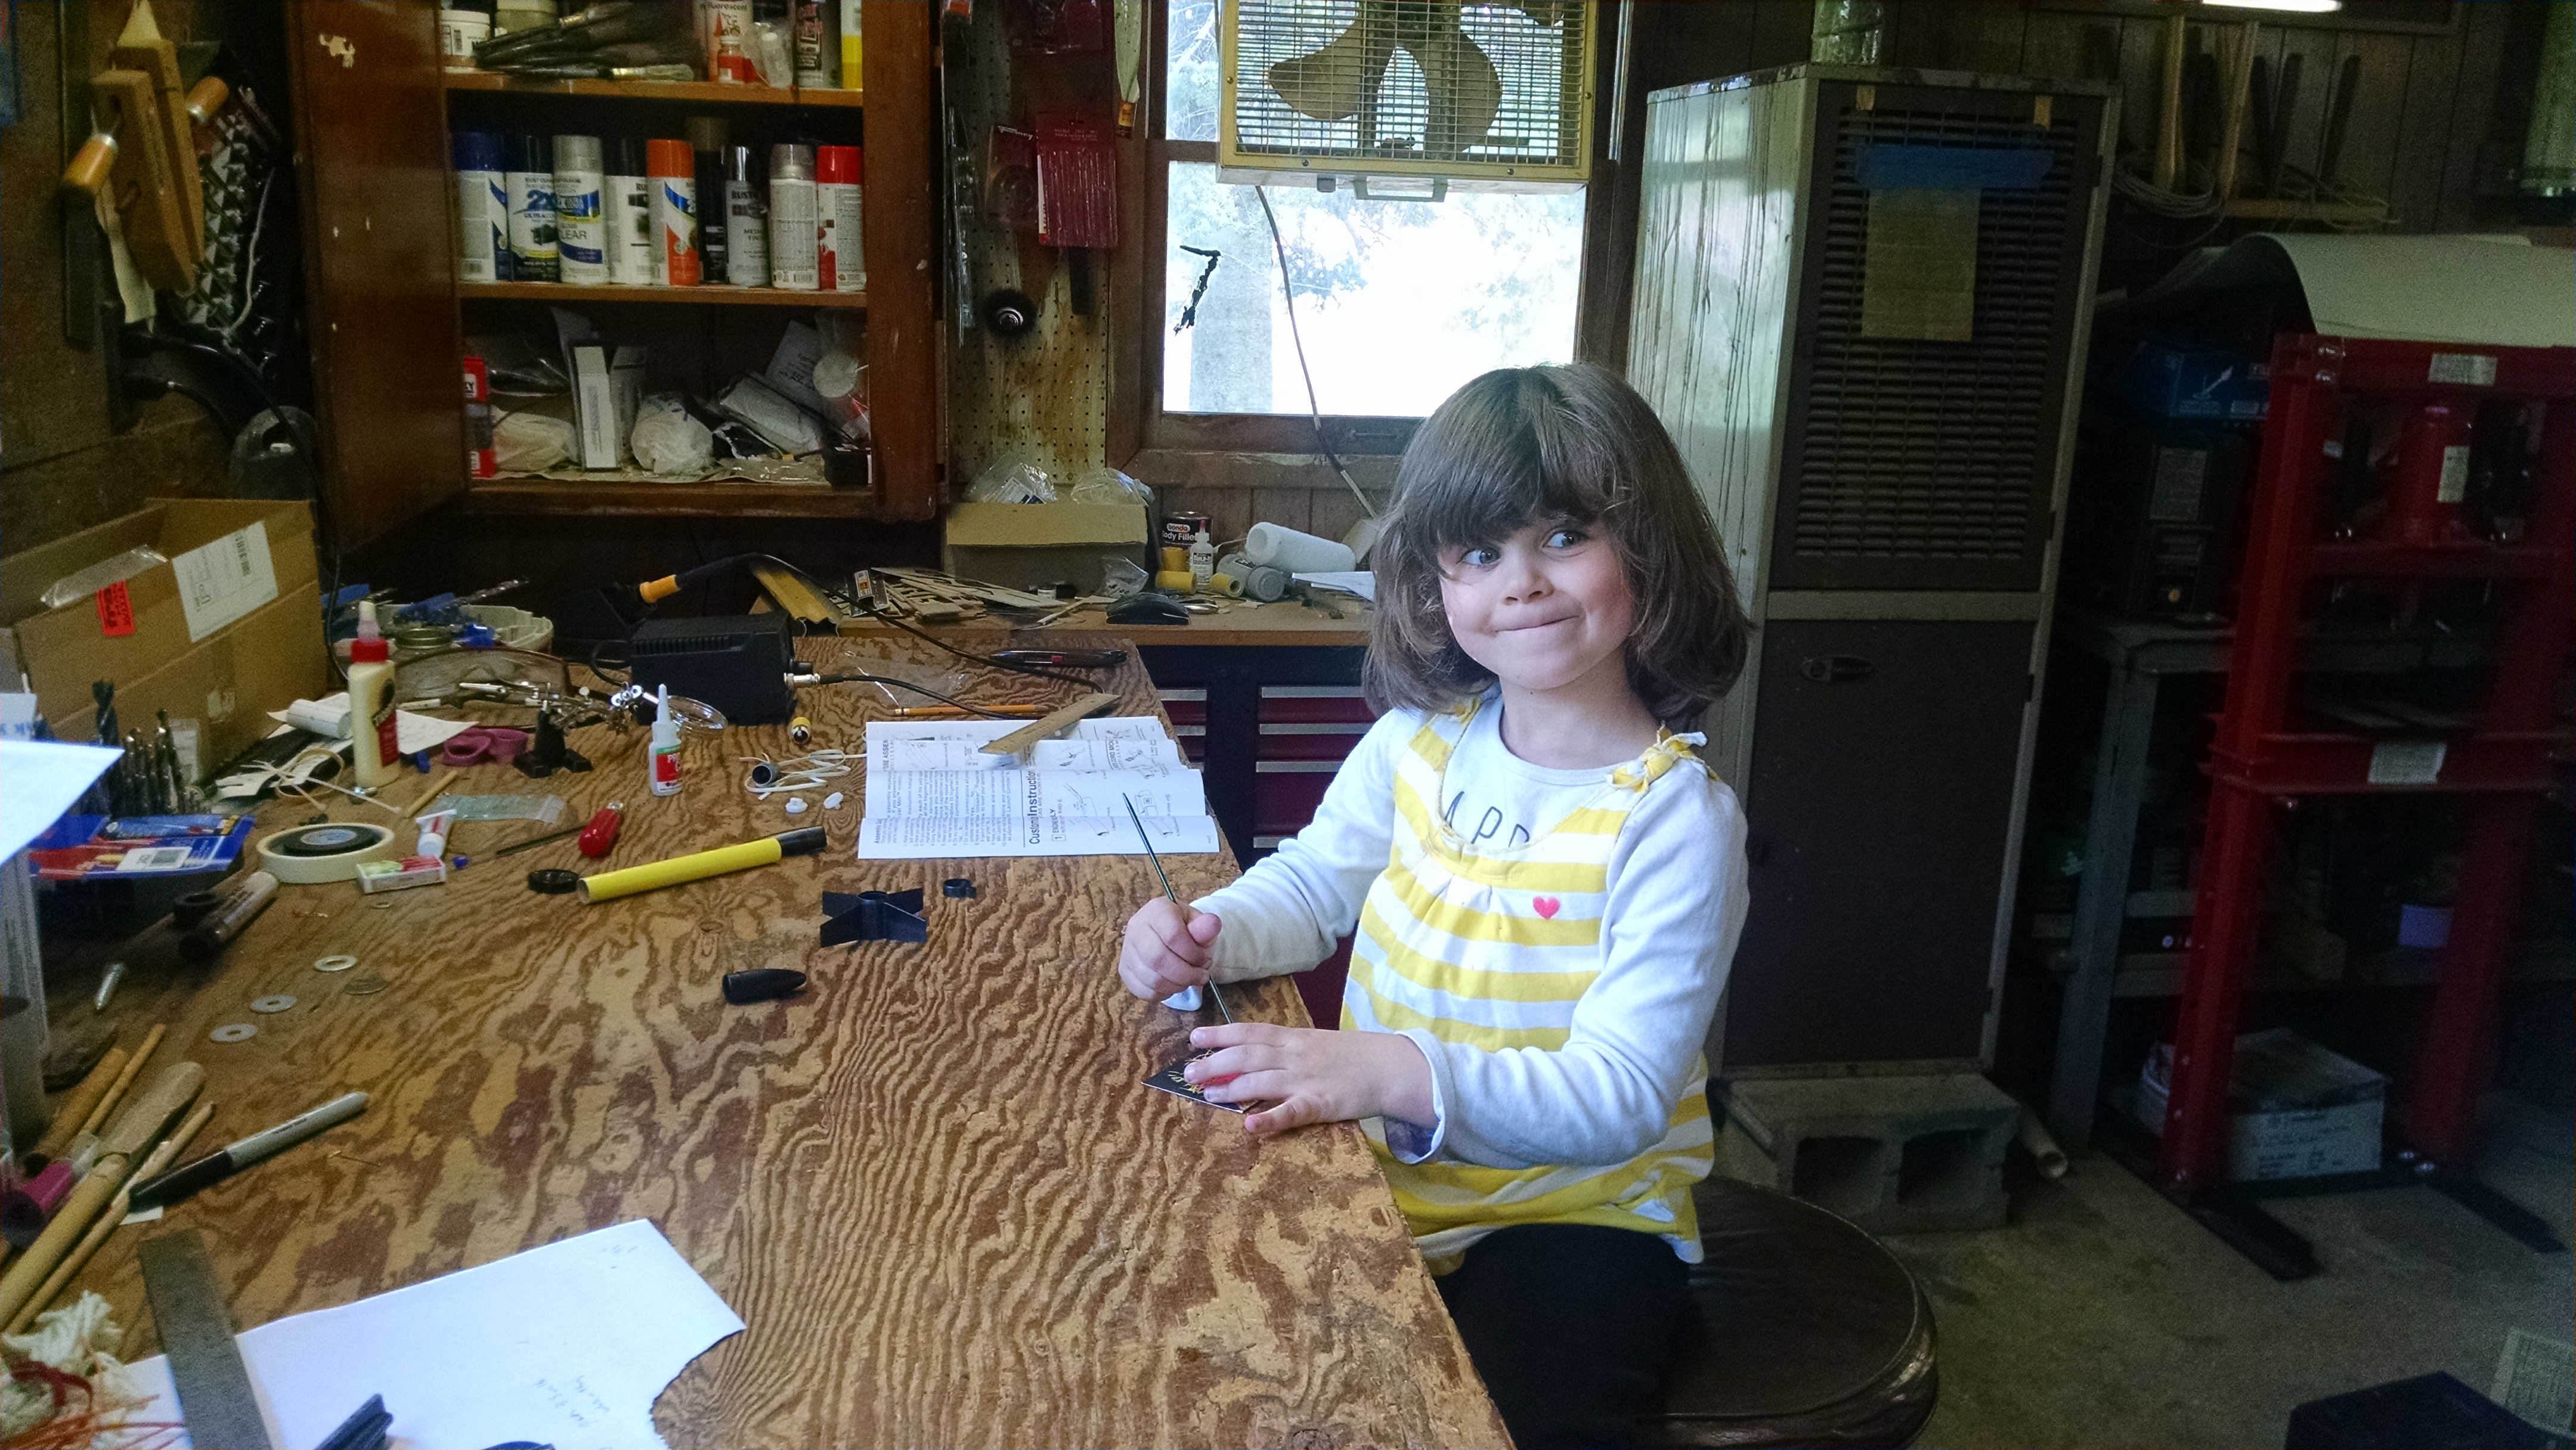
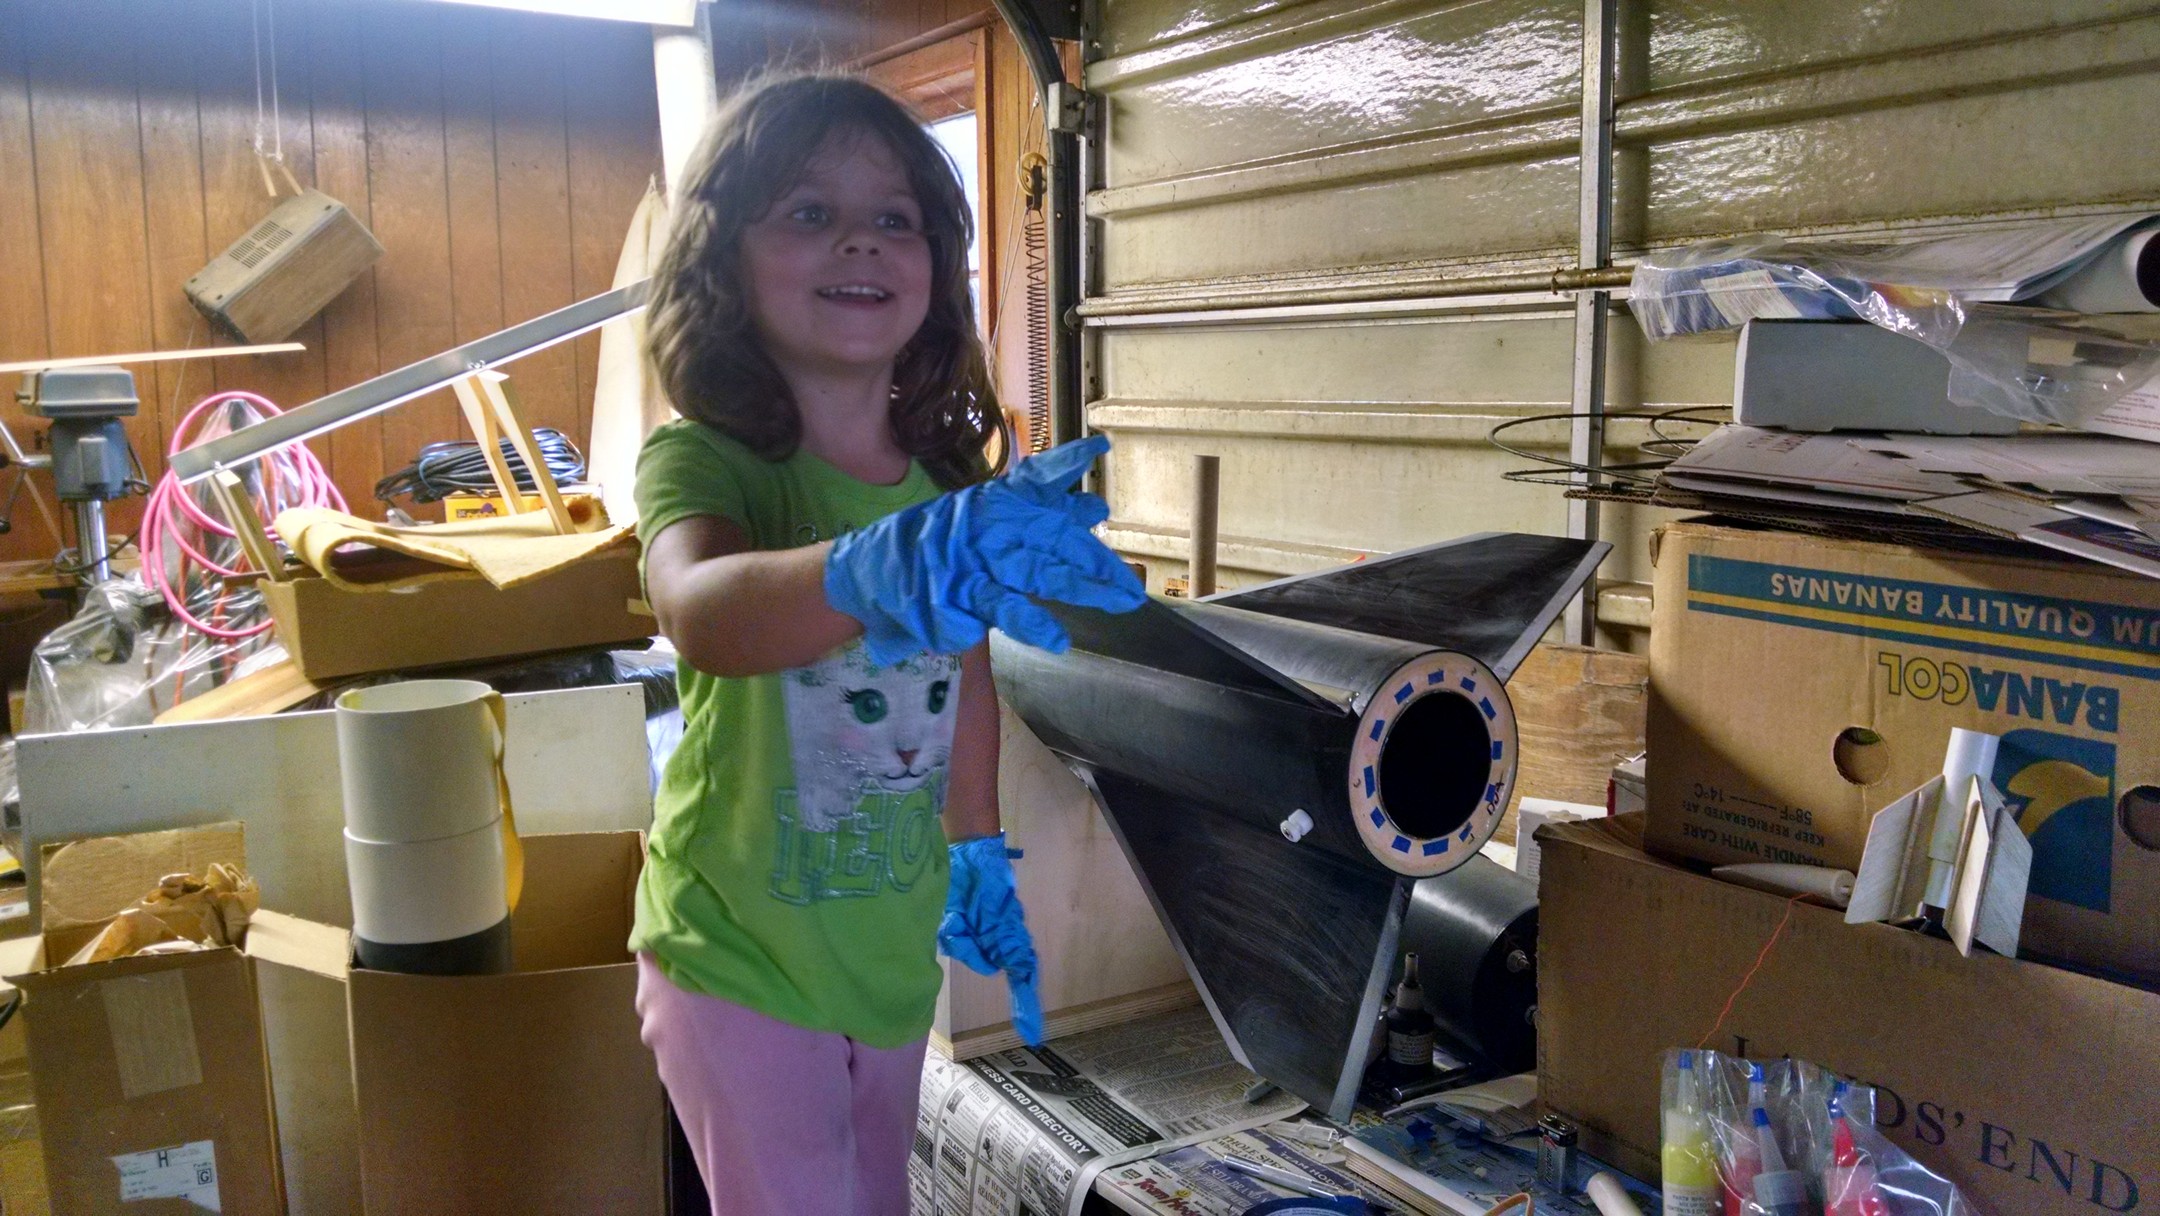
Sammie supervising the project. May 19, 2015

Fin #3 tacked down and aligned up May 20, 2105
Adding internal fillets to the bottom of the centering ring. 12ml per hole.. should give me 24ml between each fin set. May 24, 2015.

let it set over night
Inserted 15ml of epoxy mix with chipped carbon fiber on each side June 5 2015
Sanding the inside on the nose cone June 5 2015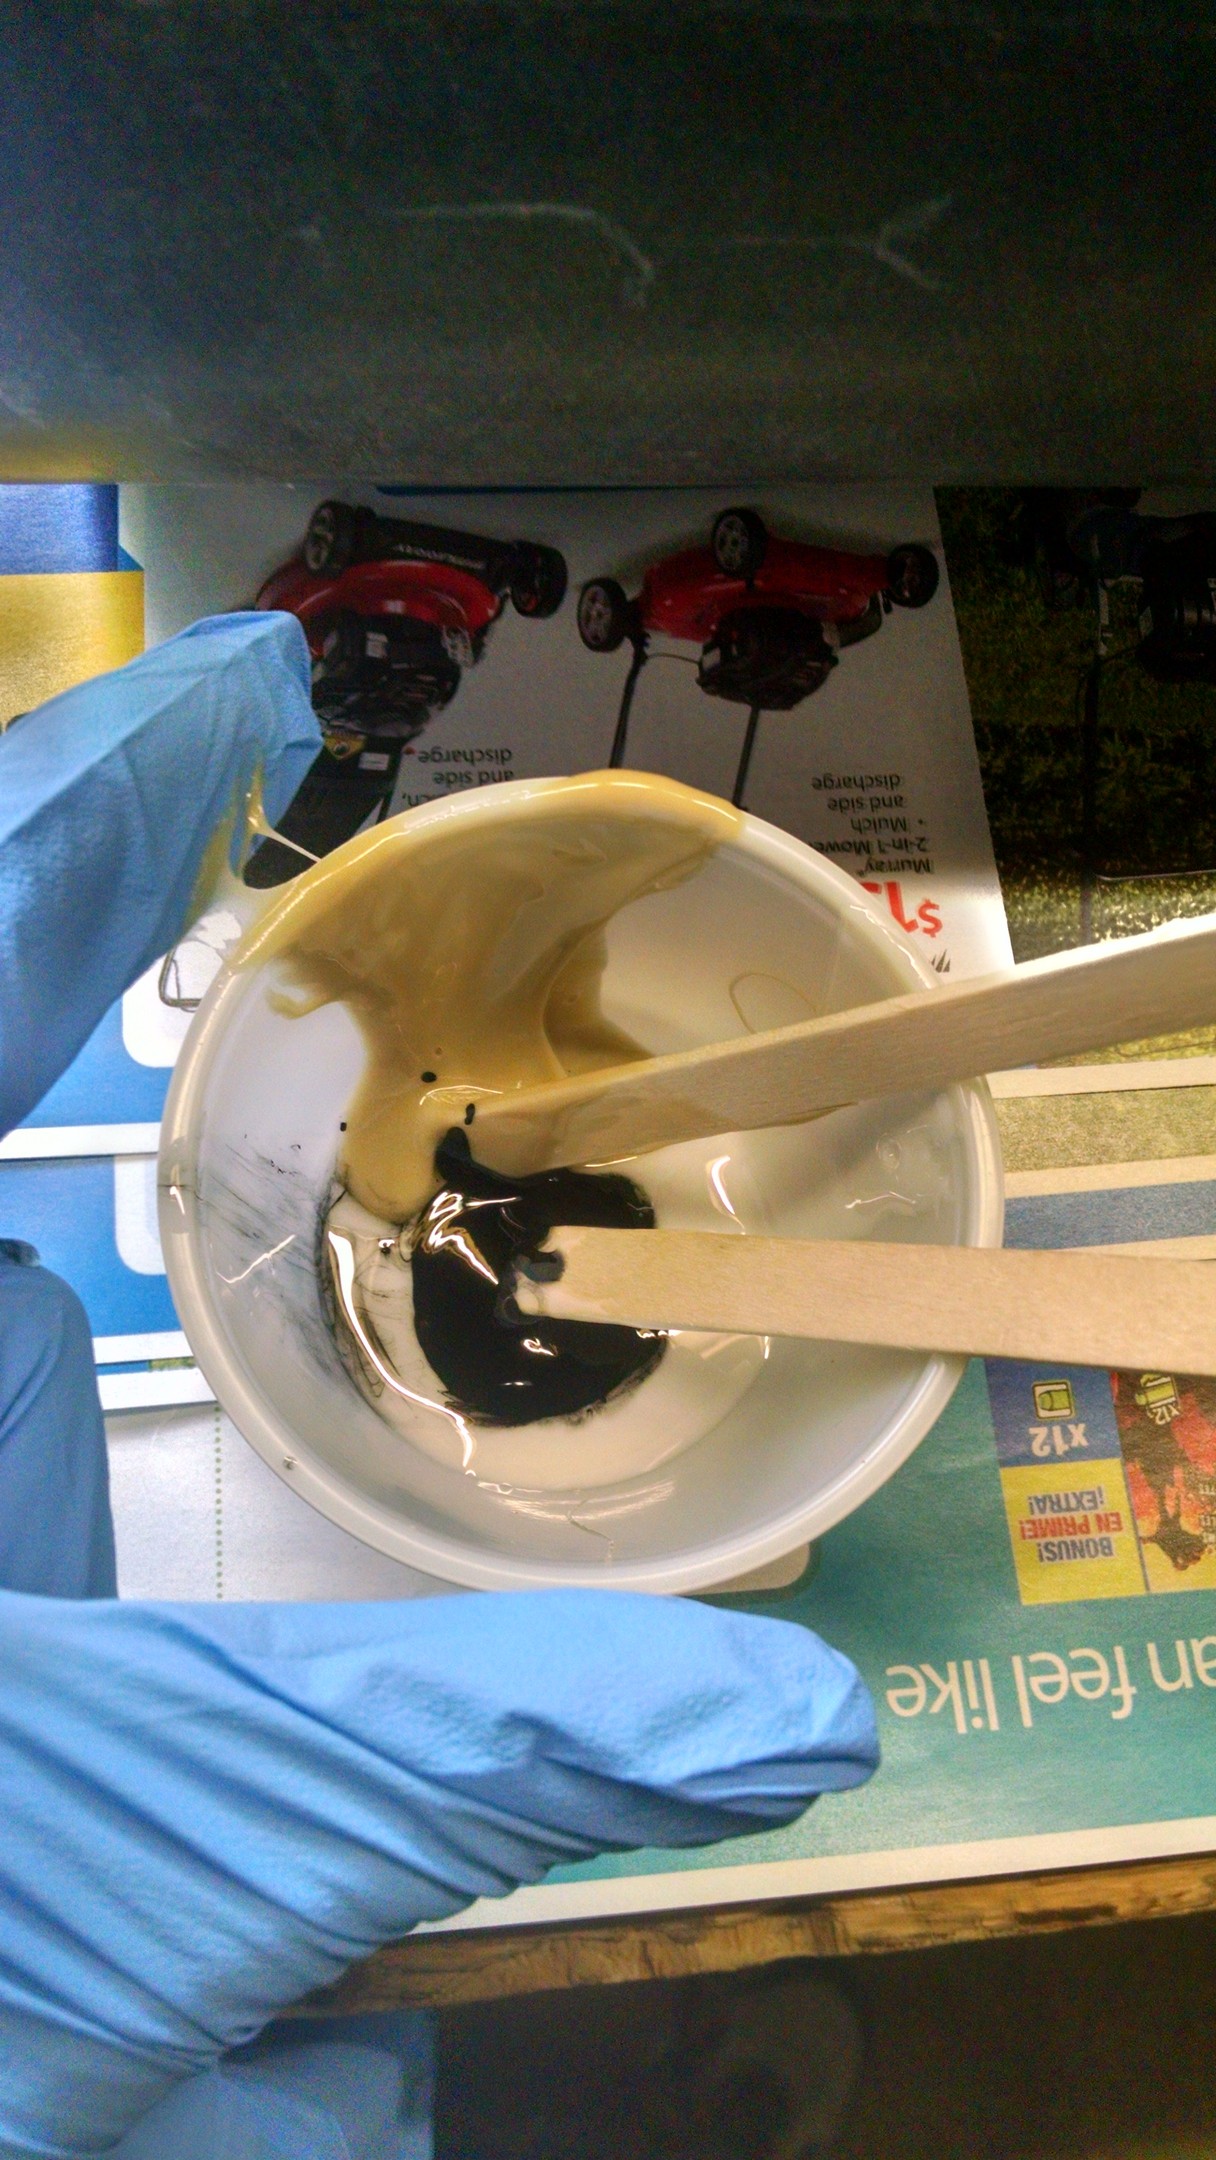
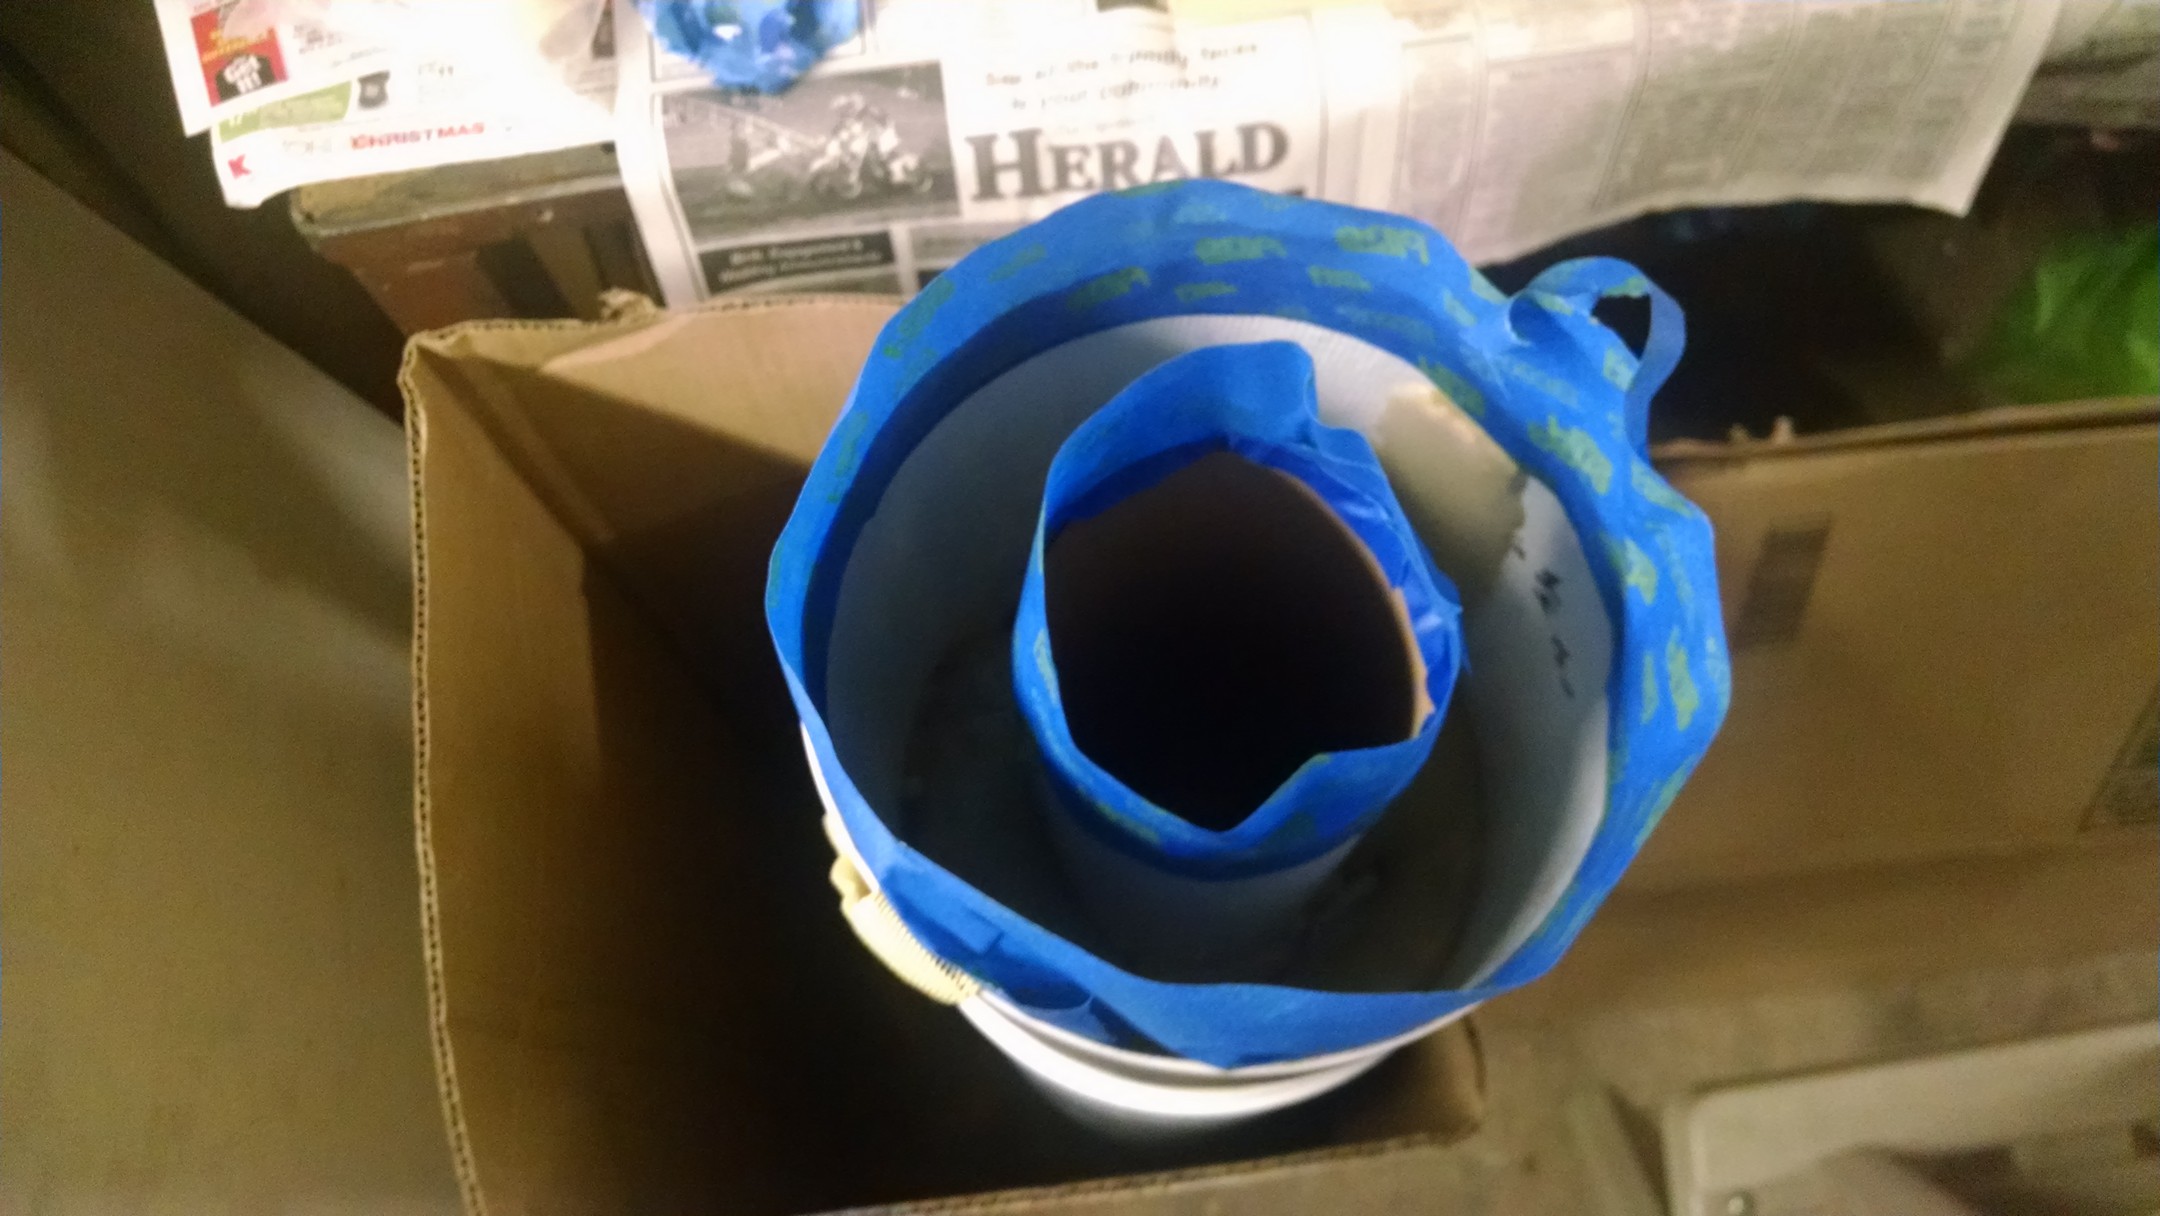
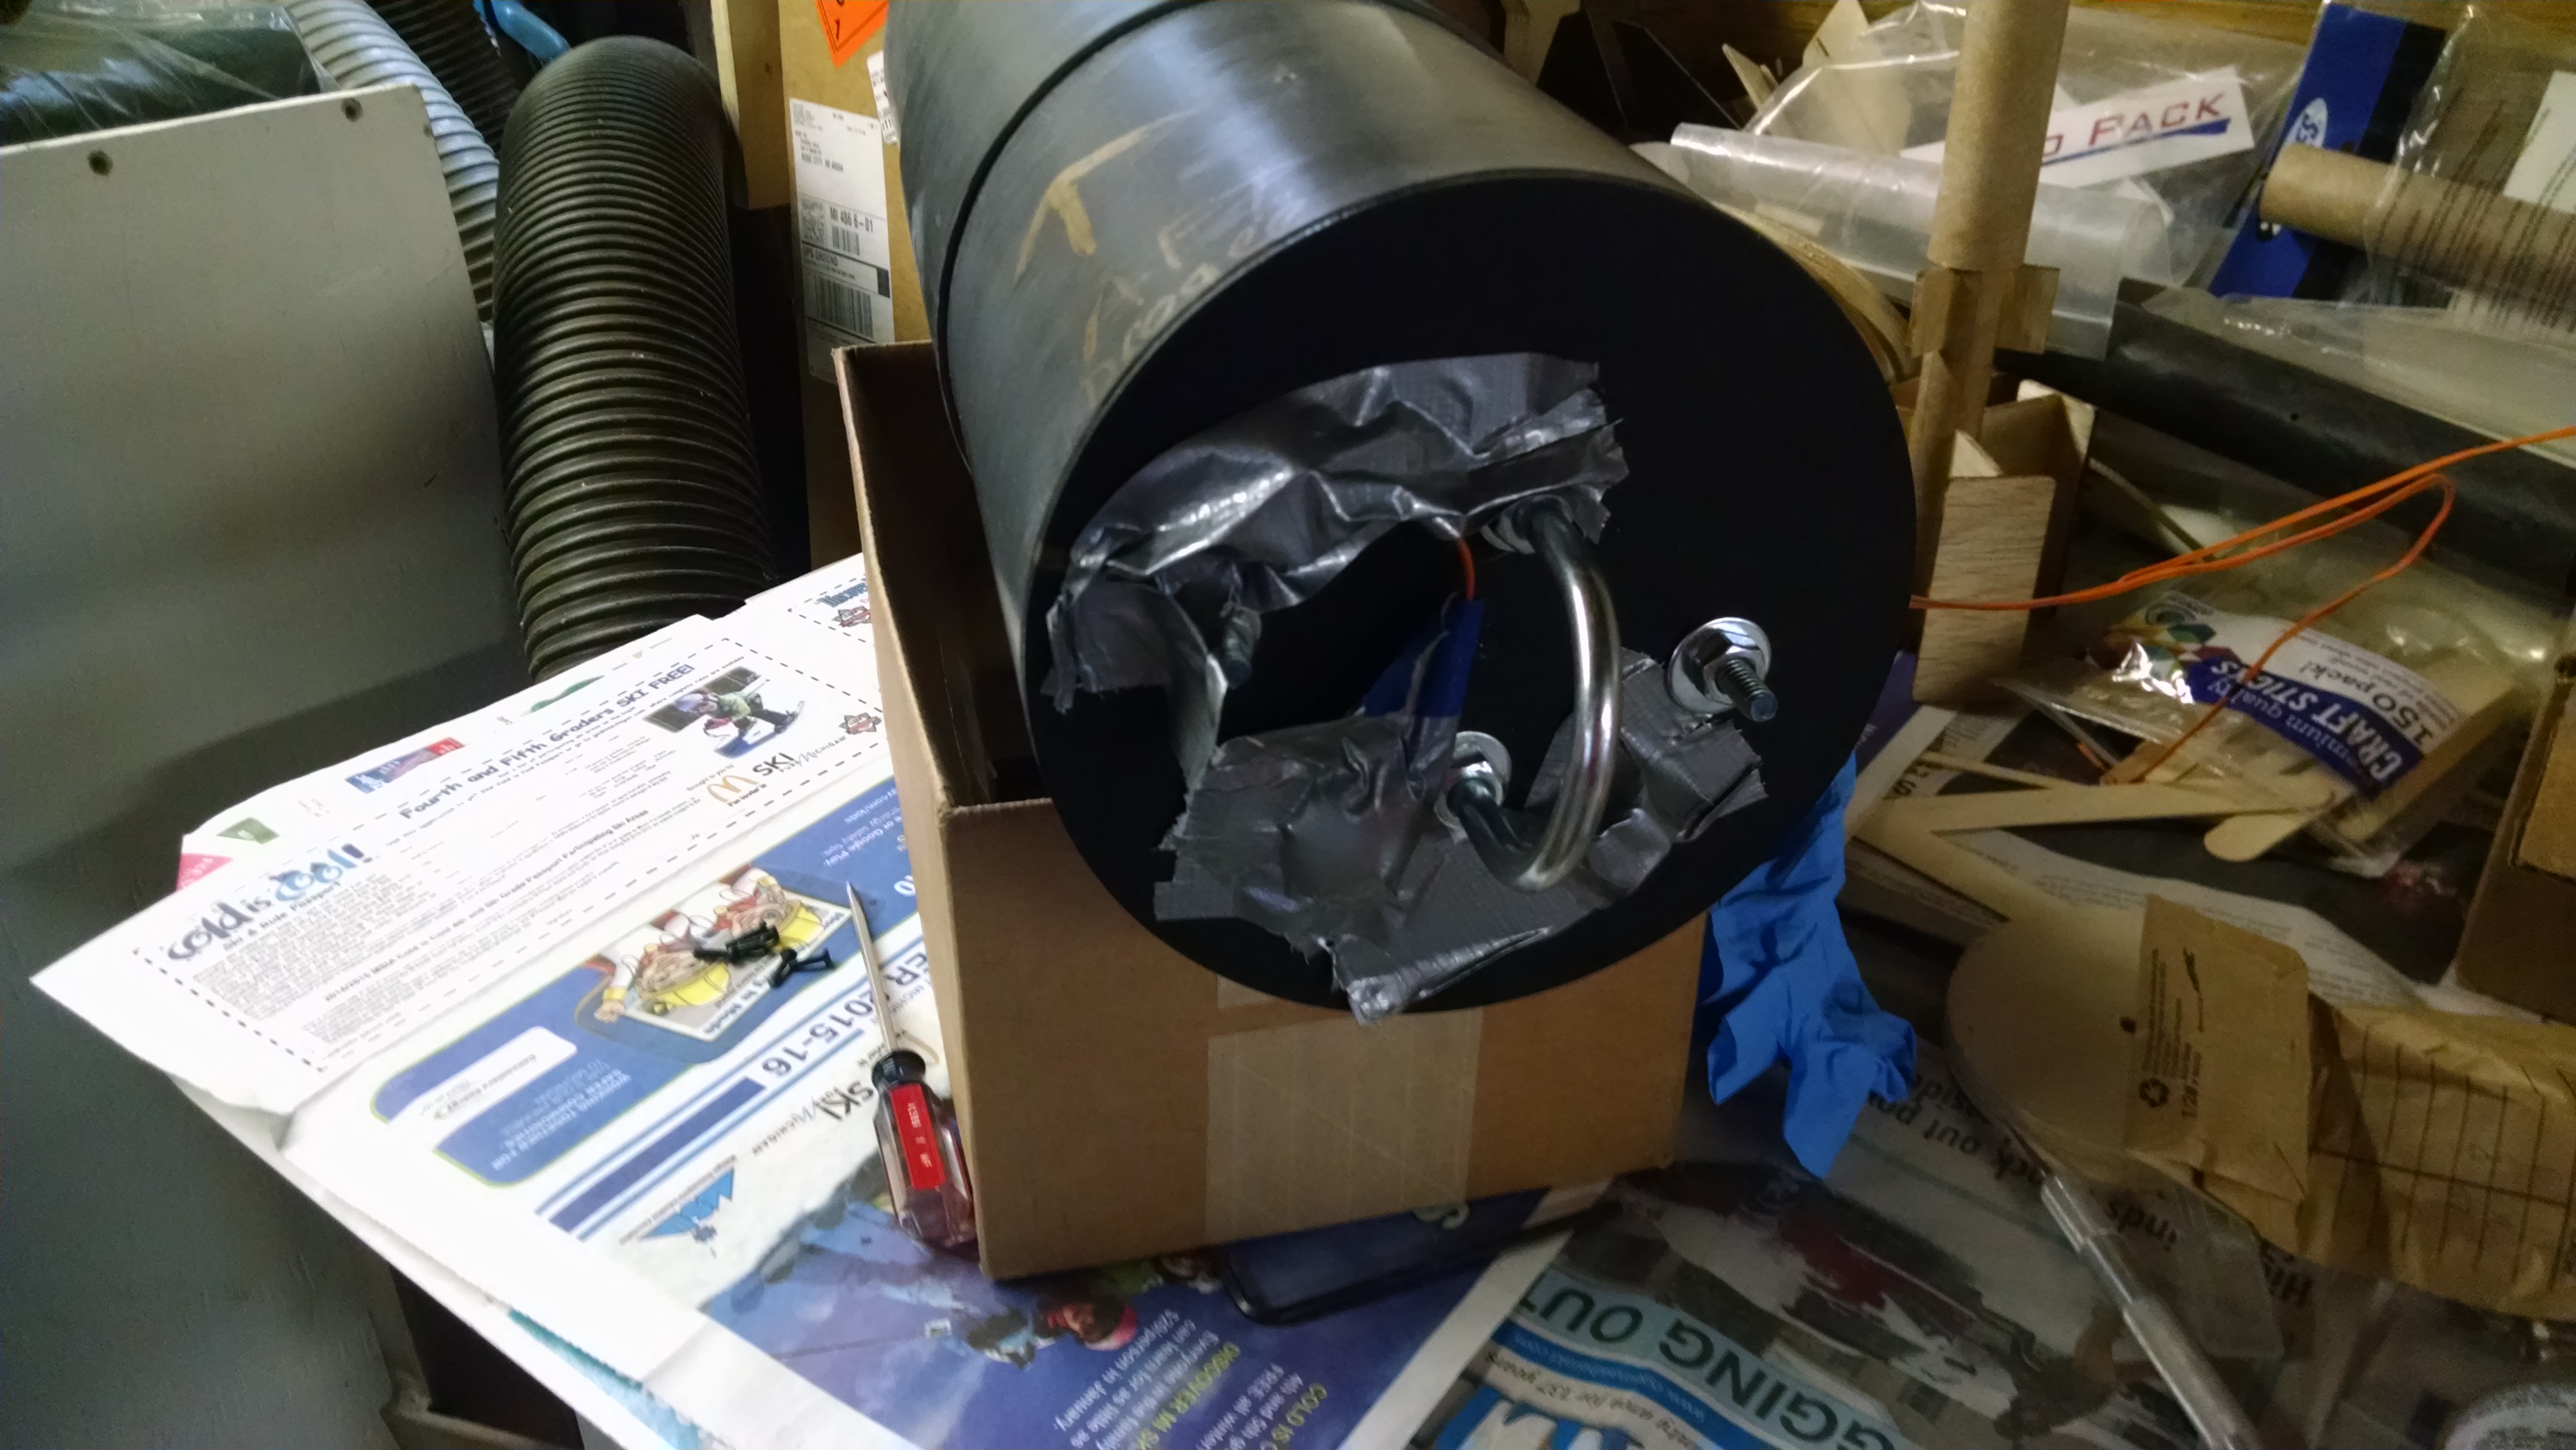
Mix up the rockpoxy with black die for the ebay
Making a mess with the ebay
Getting the switch band into the right spot.. and making a mess
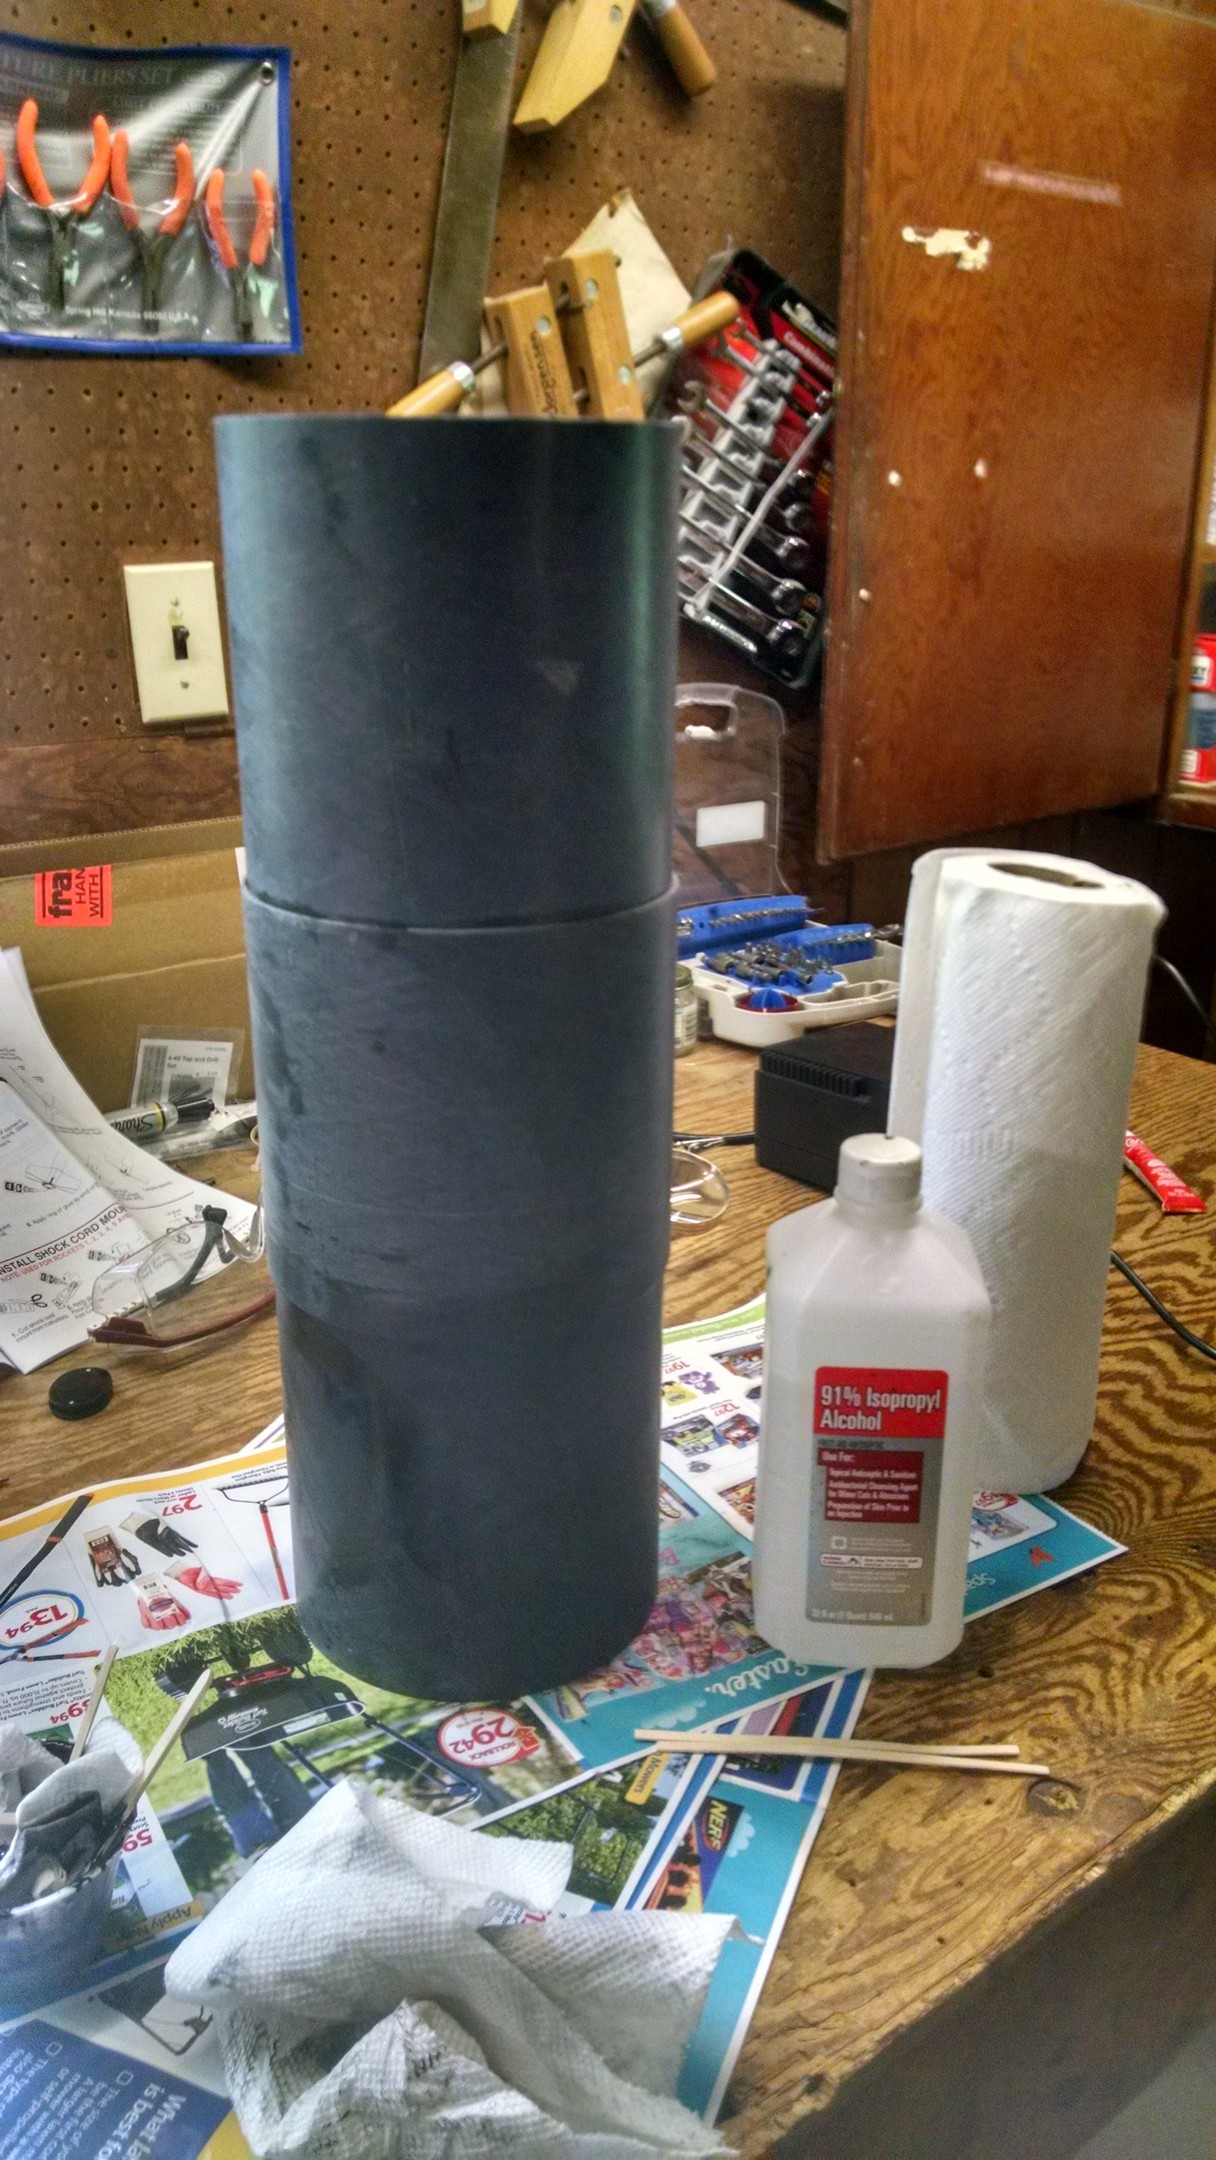
Rubbing alcohol and paper towel is great for cleaning a mess…
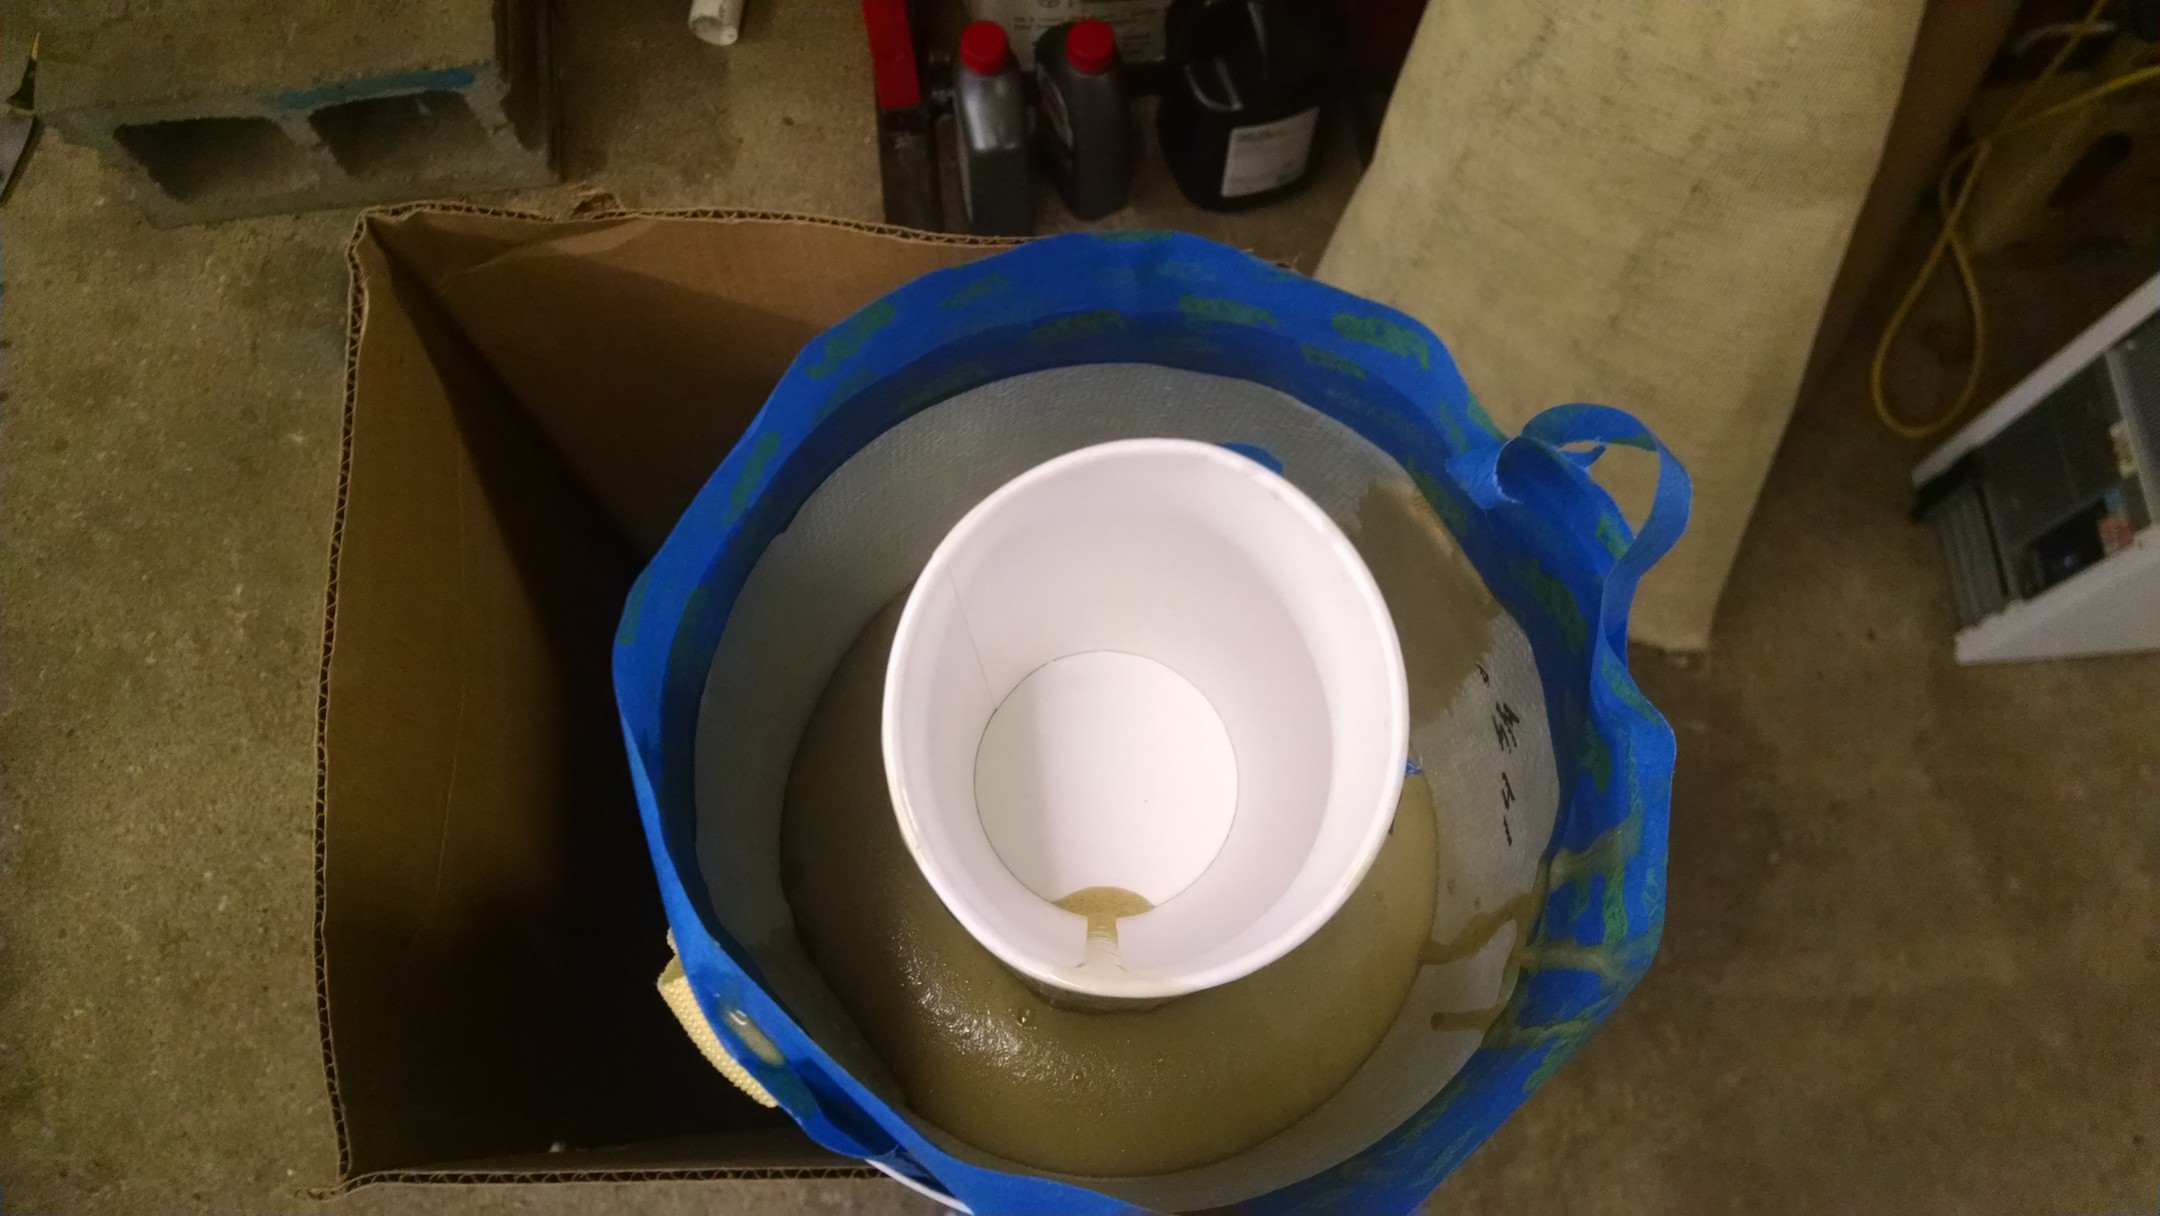
6 inches both ways.. with a 6 inch switch band. makes 18 inches

Top side of the ebay.
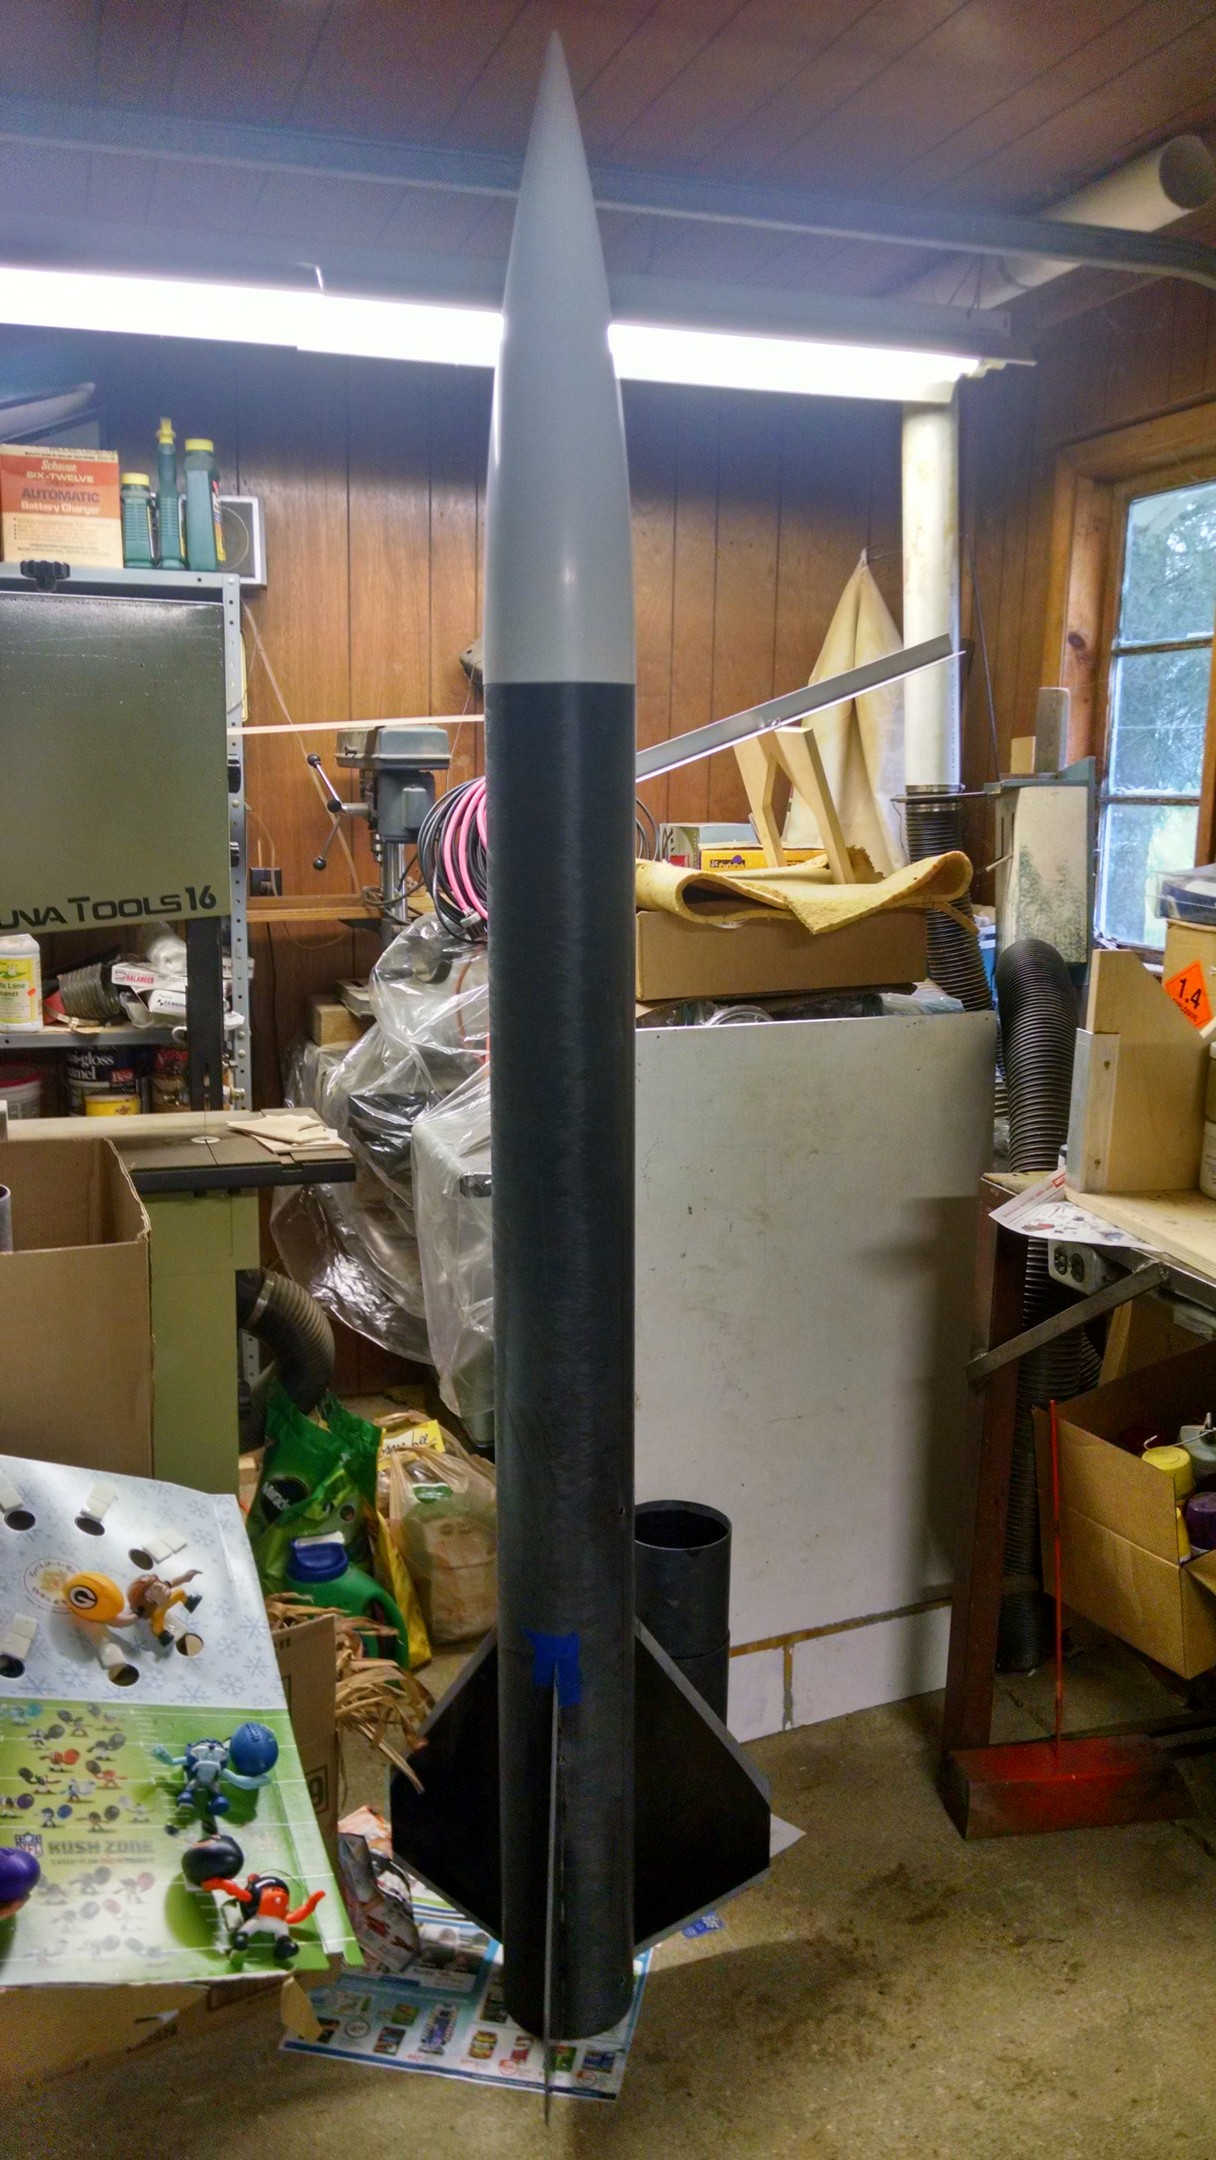
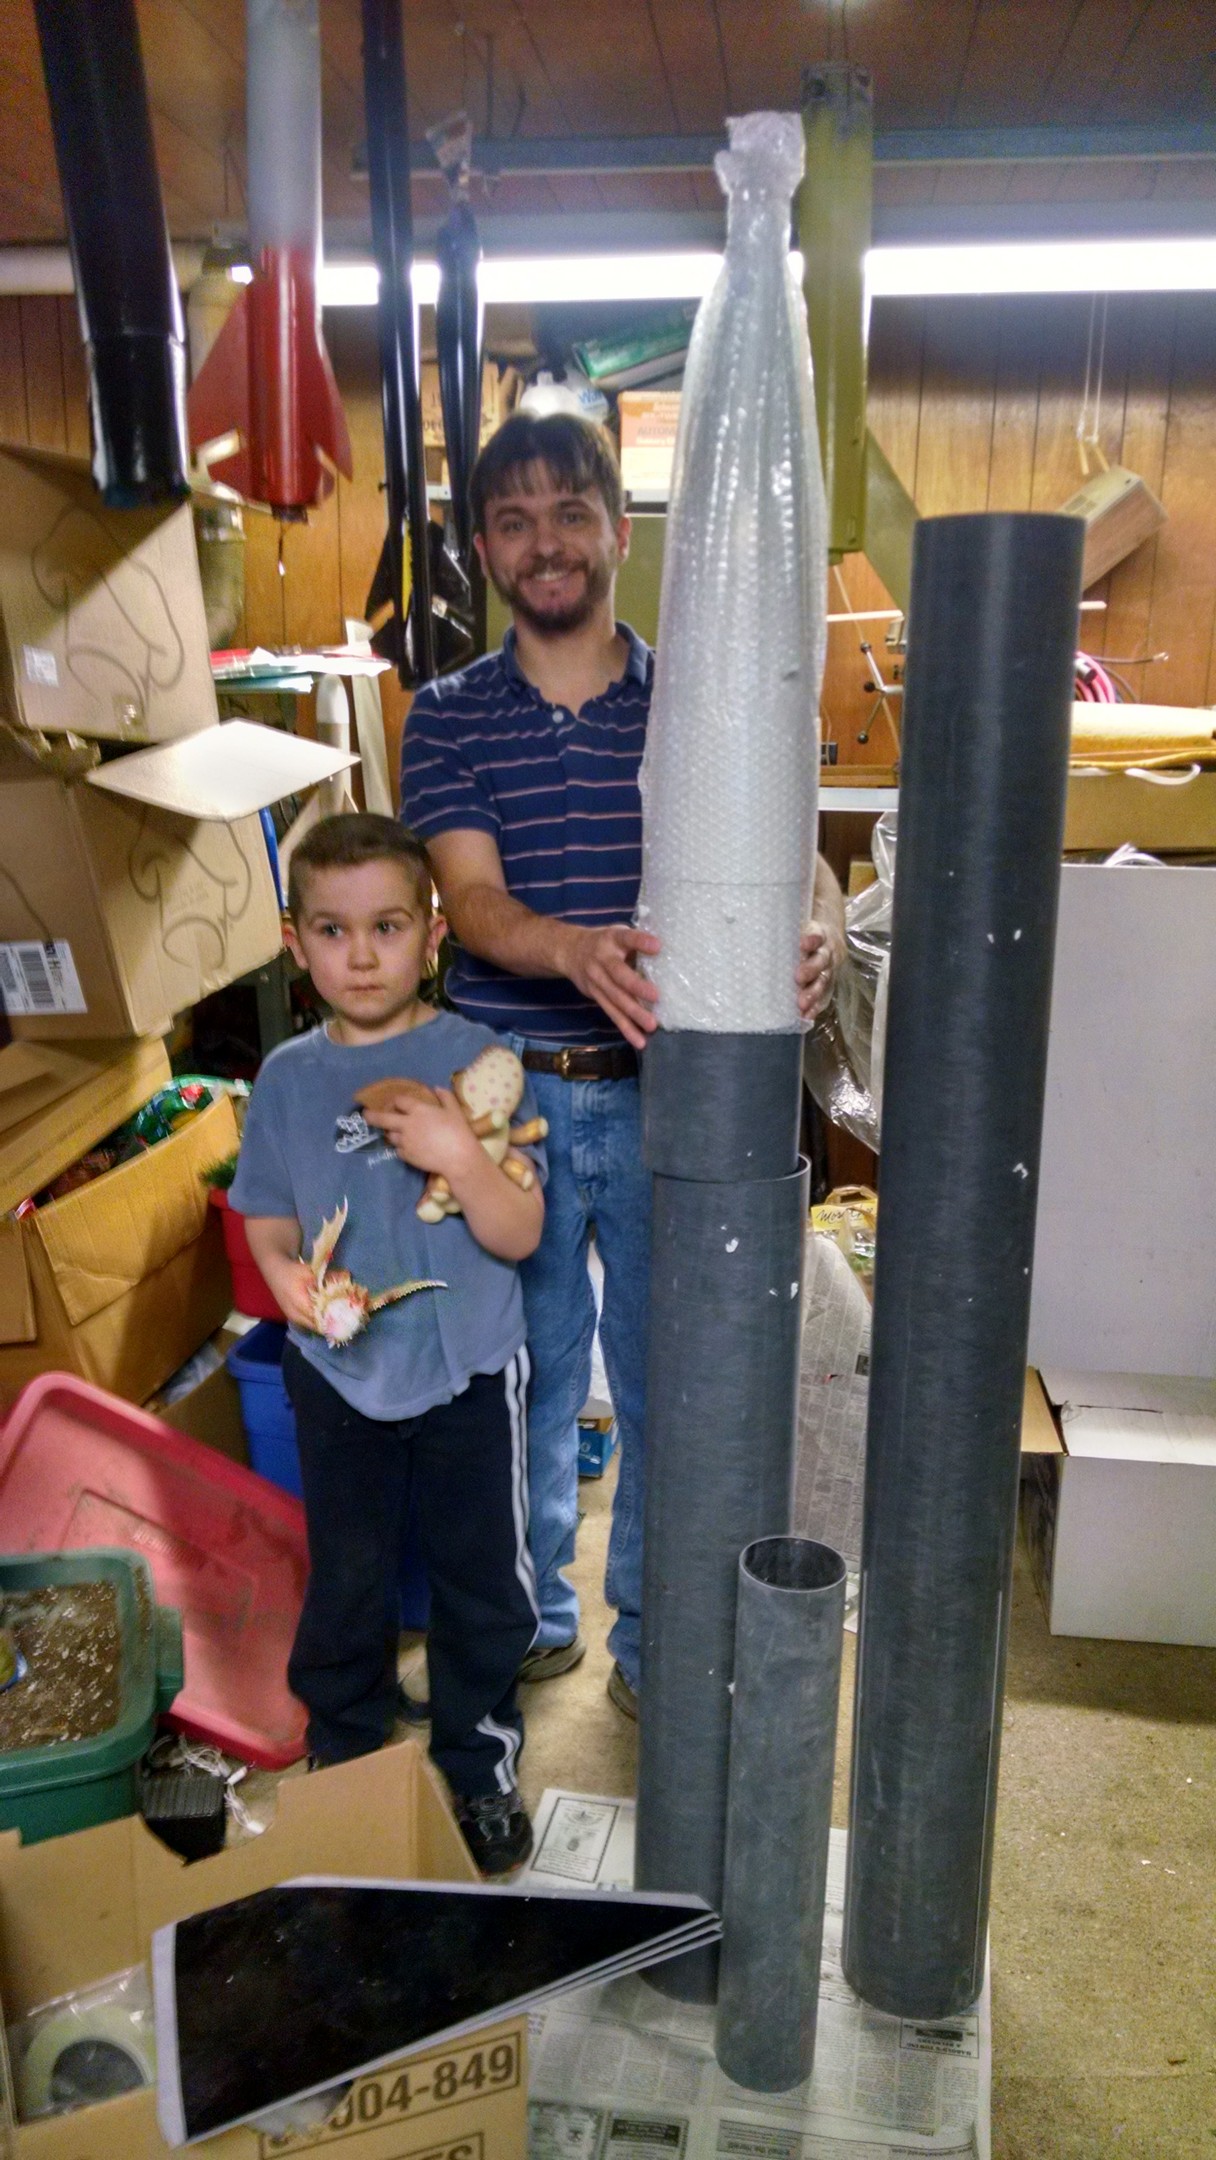
just messing around to see what a short stack looks like June 7 2015

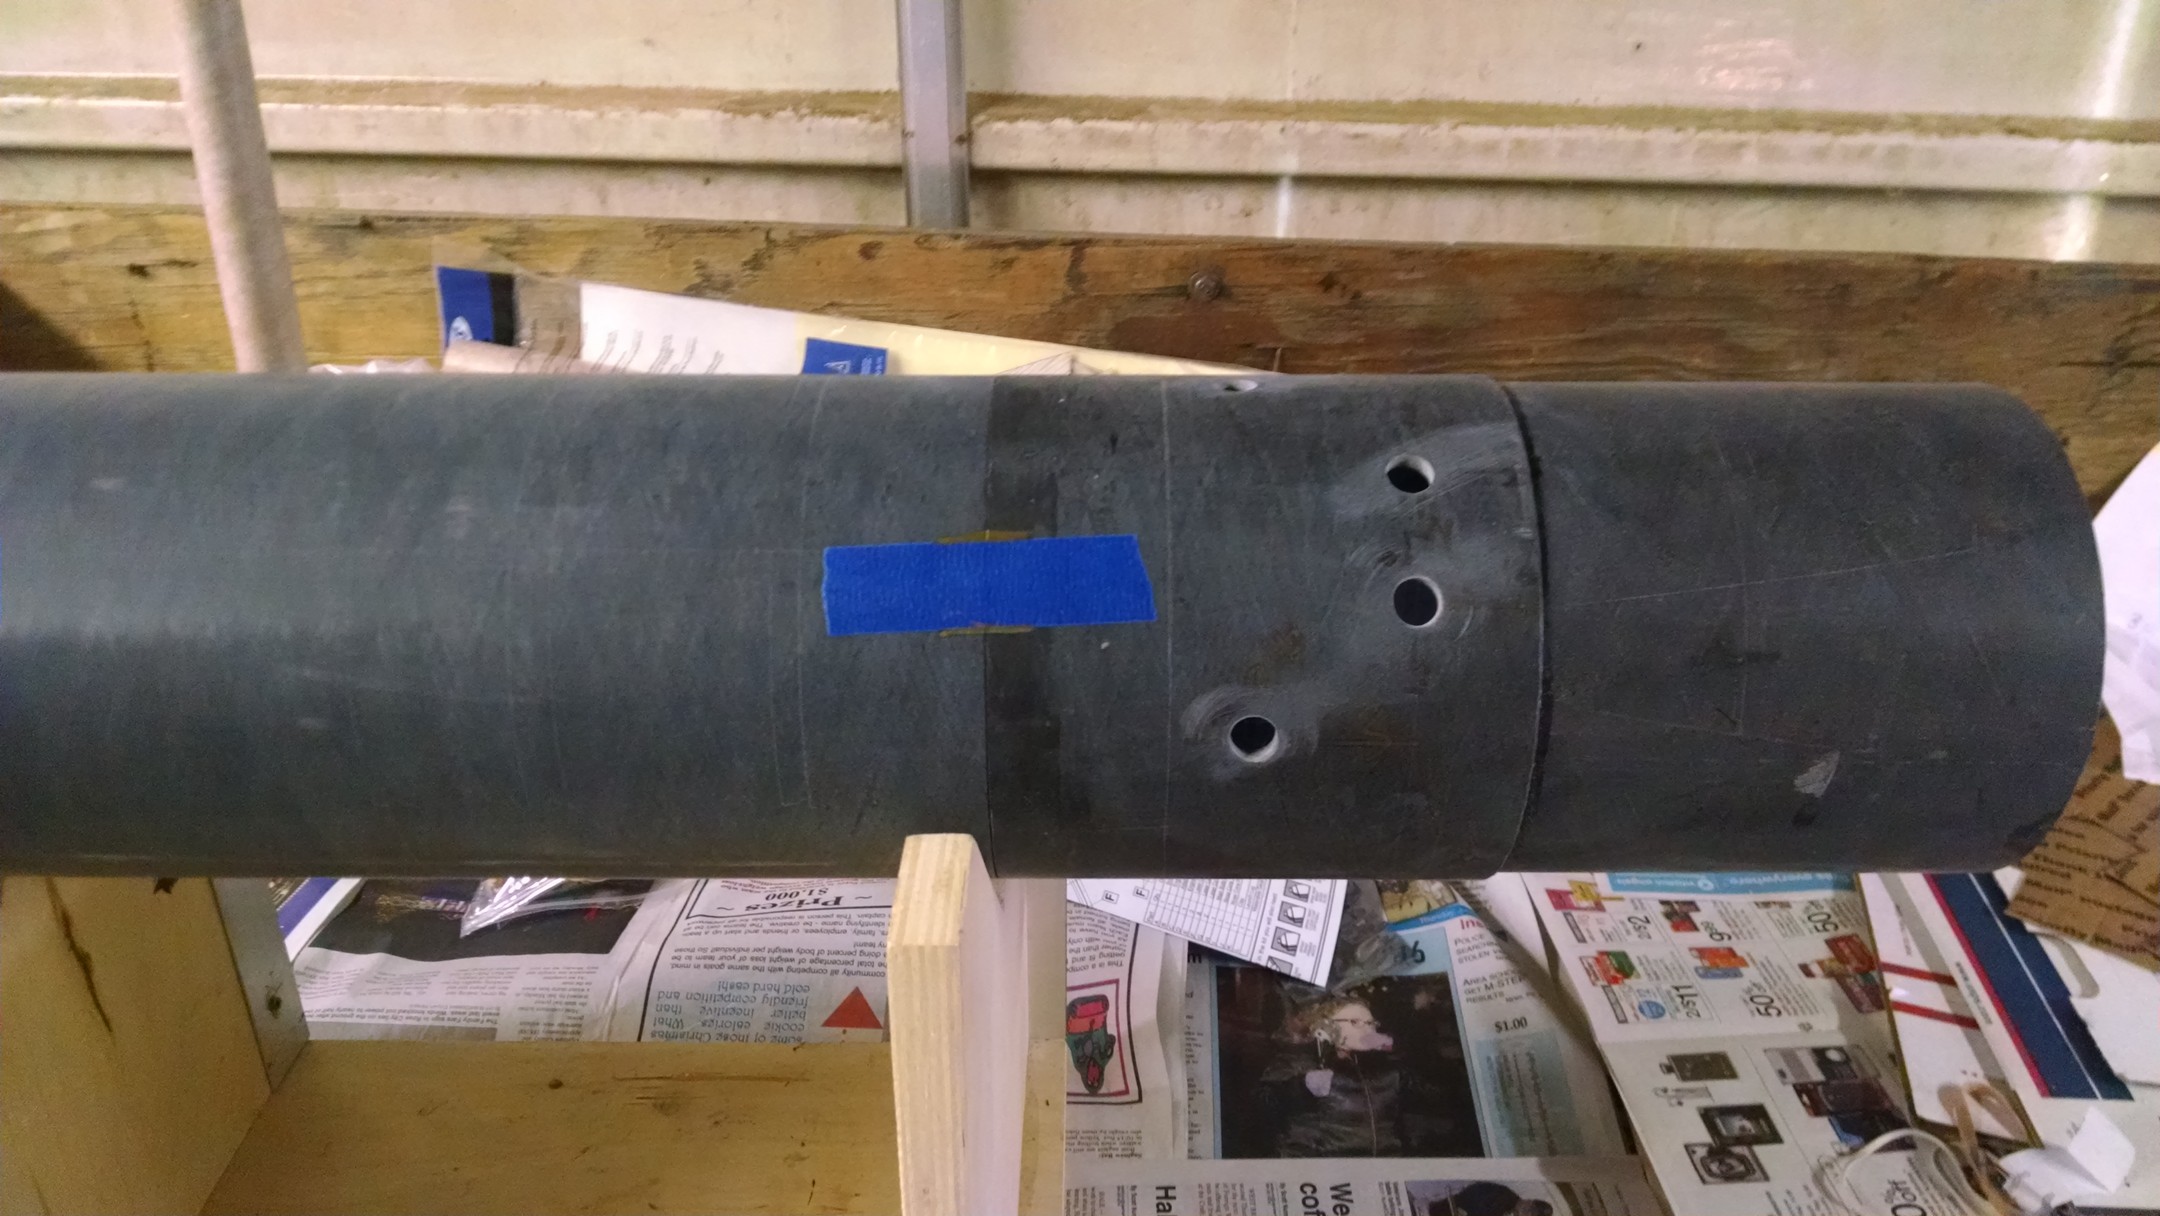
put the rear rail guide June 17 2105
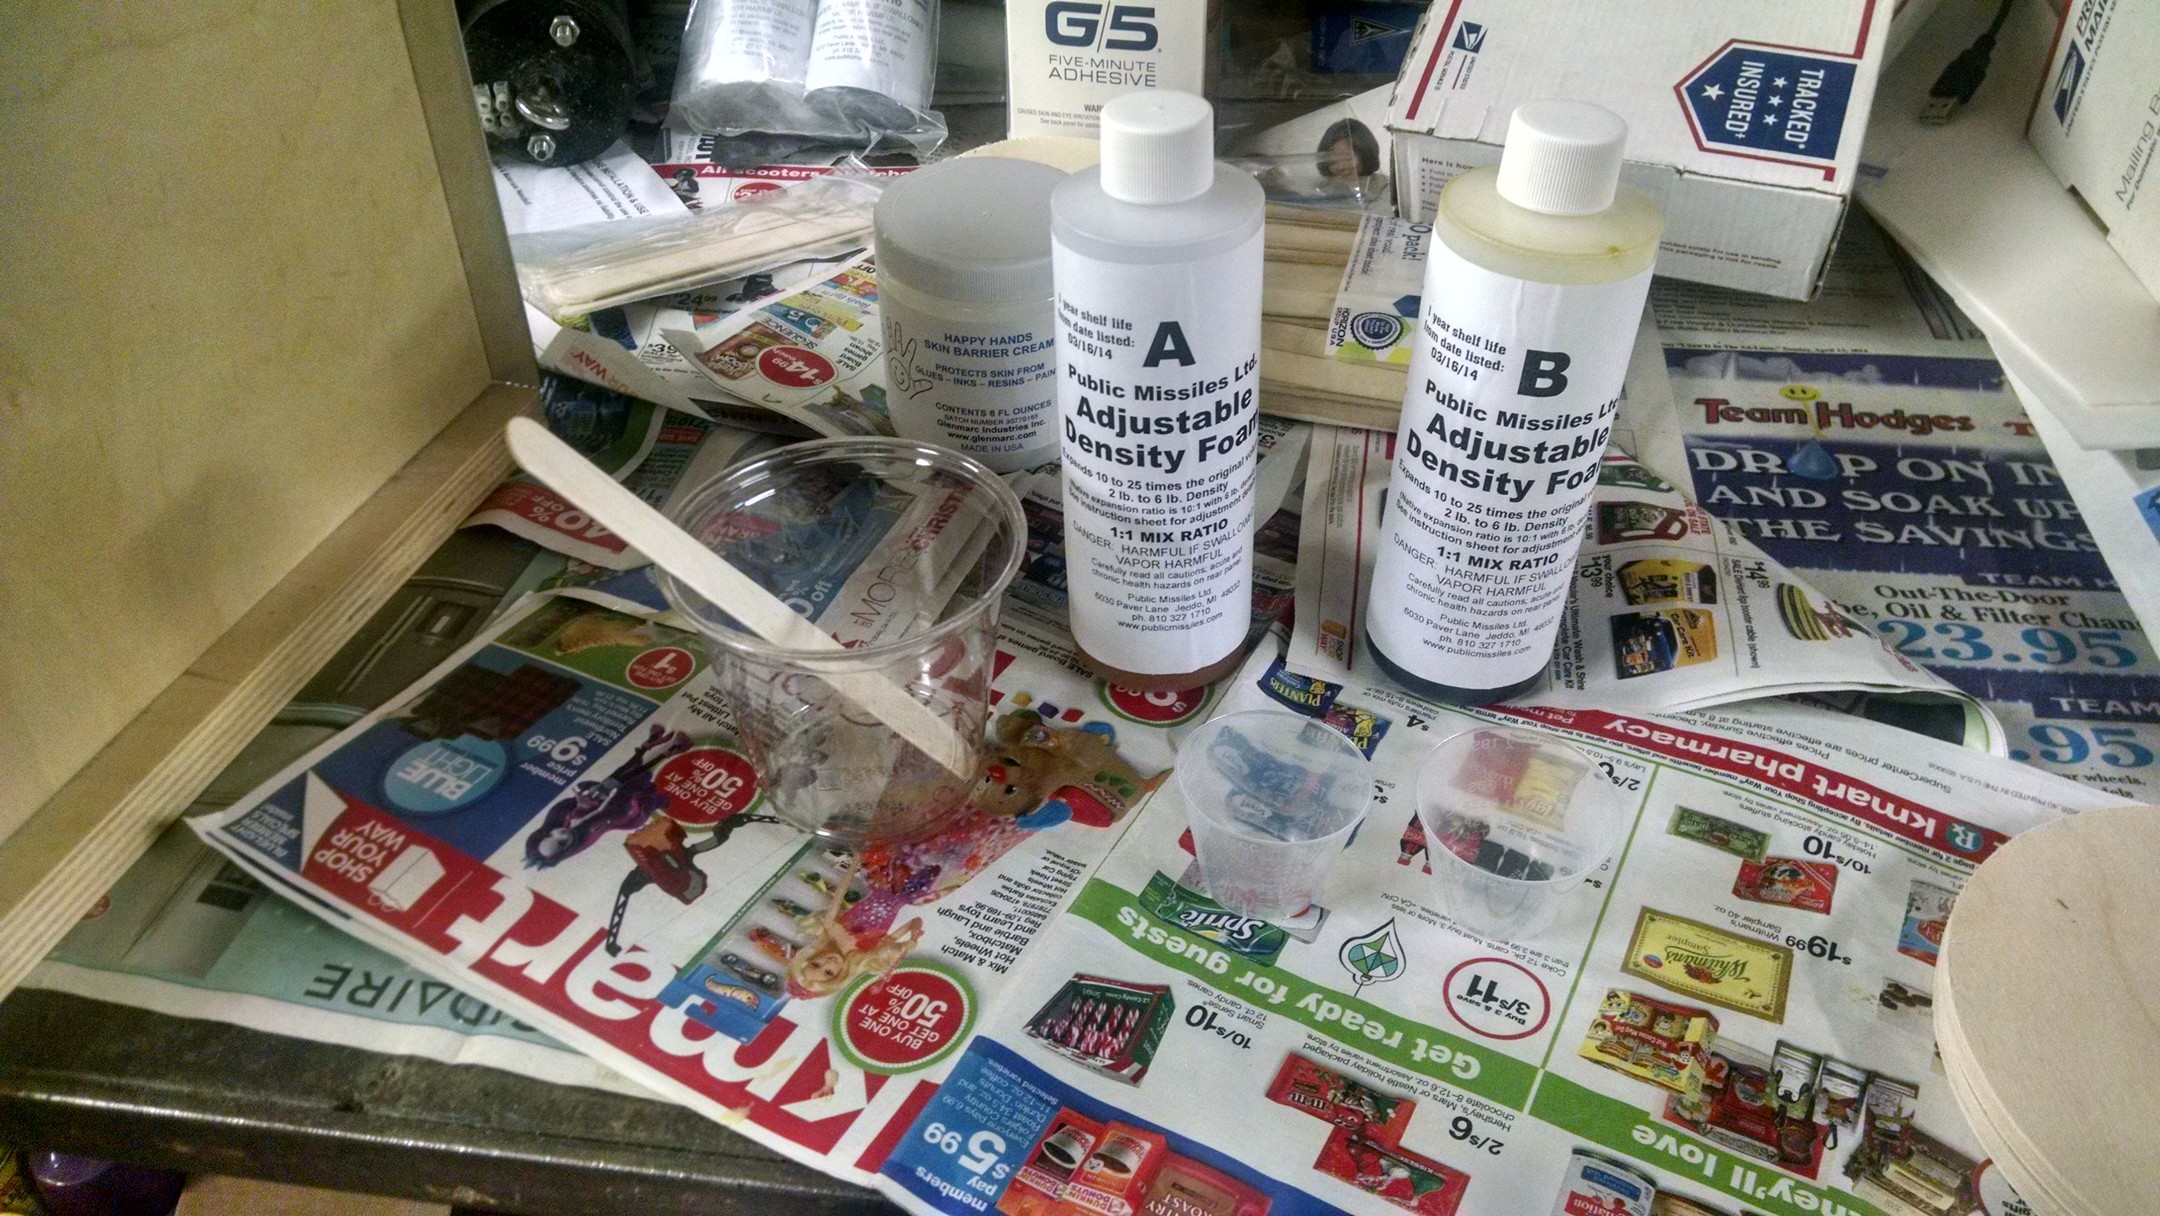
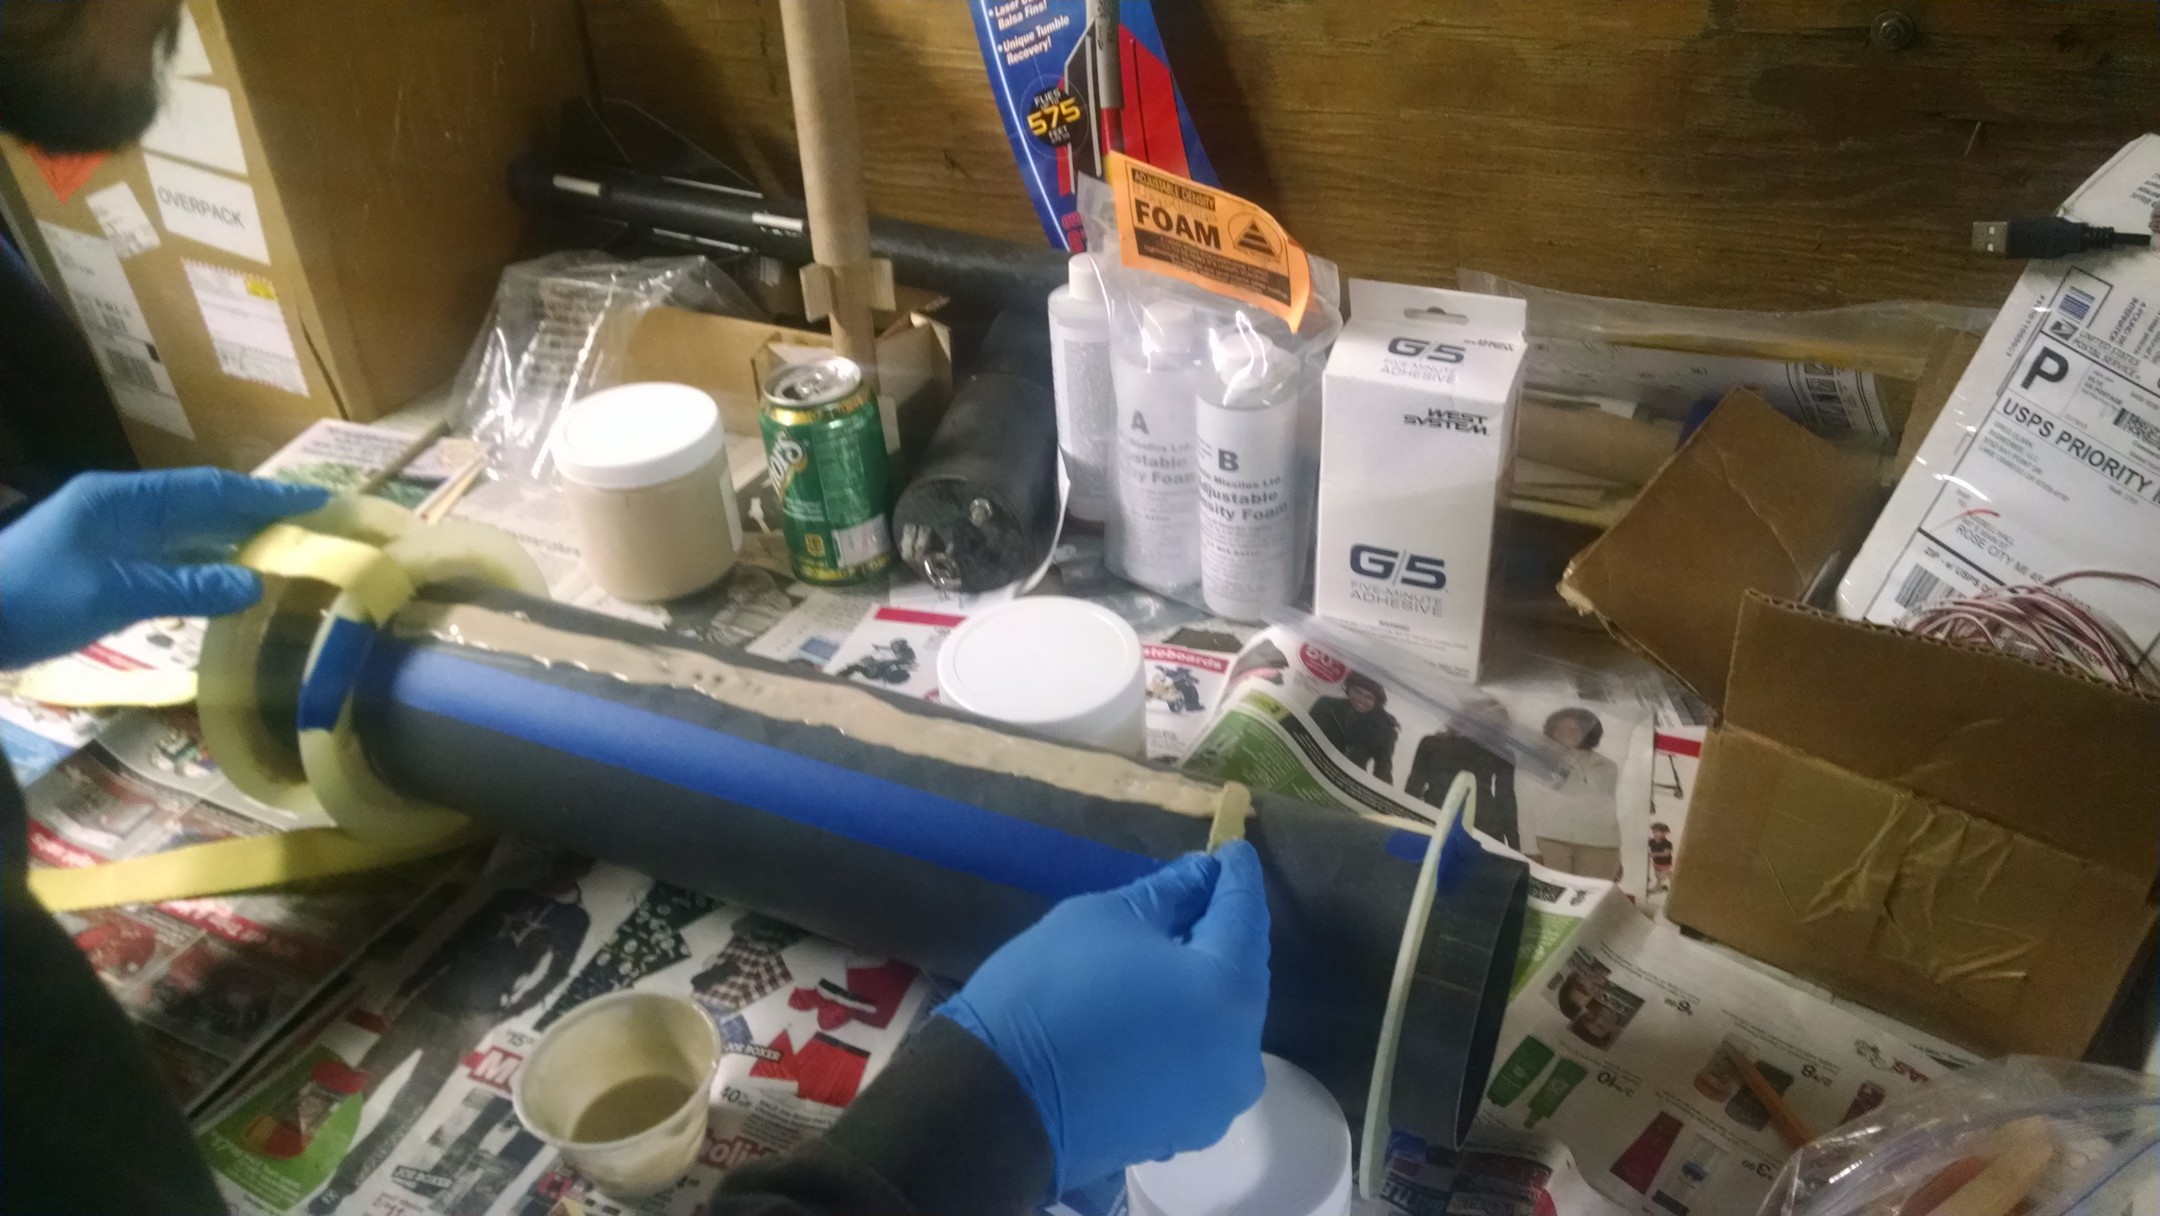
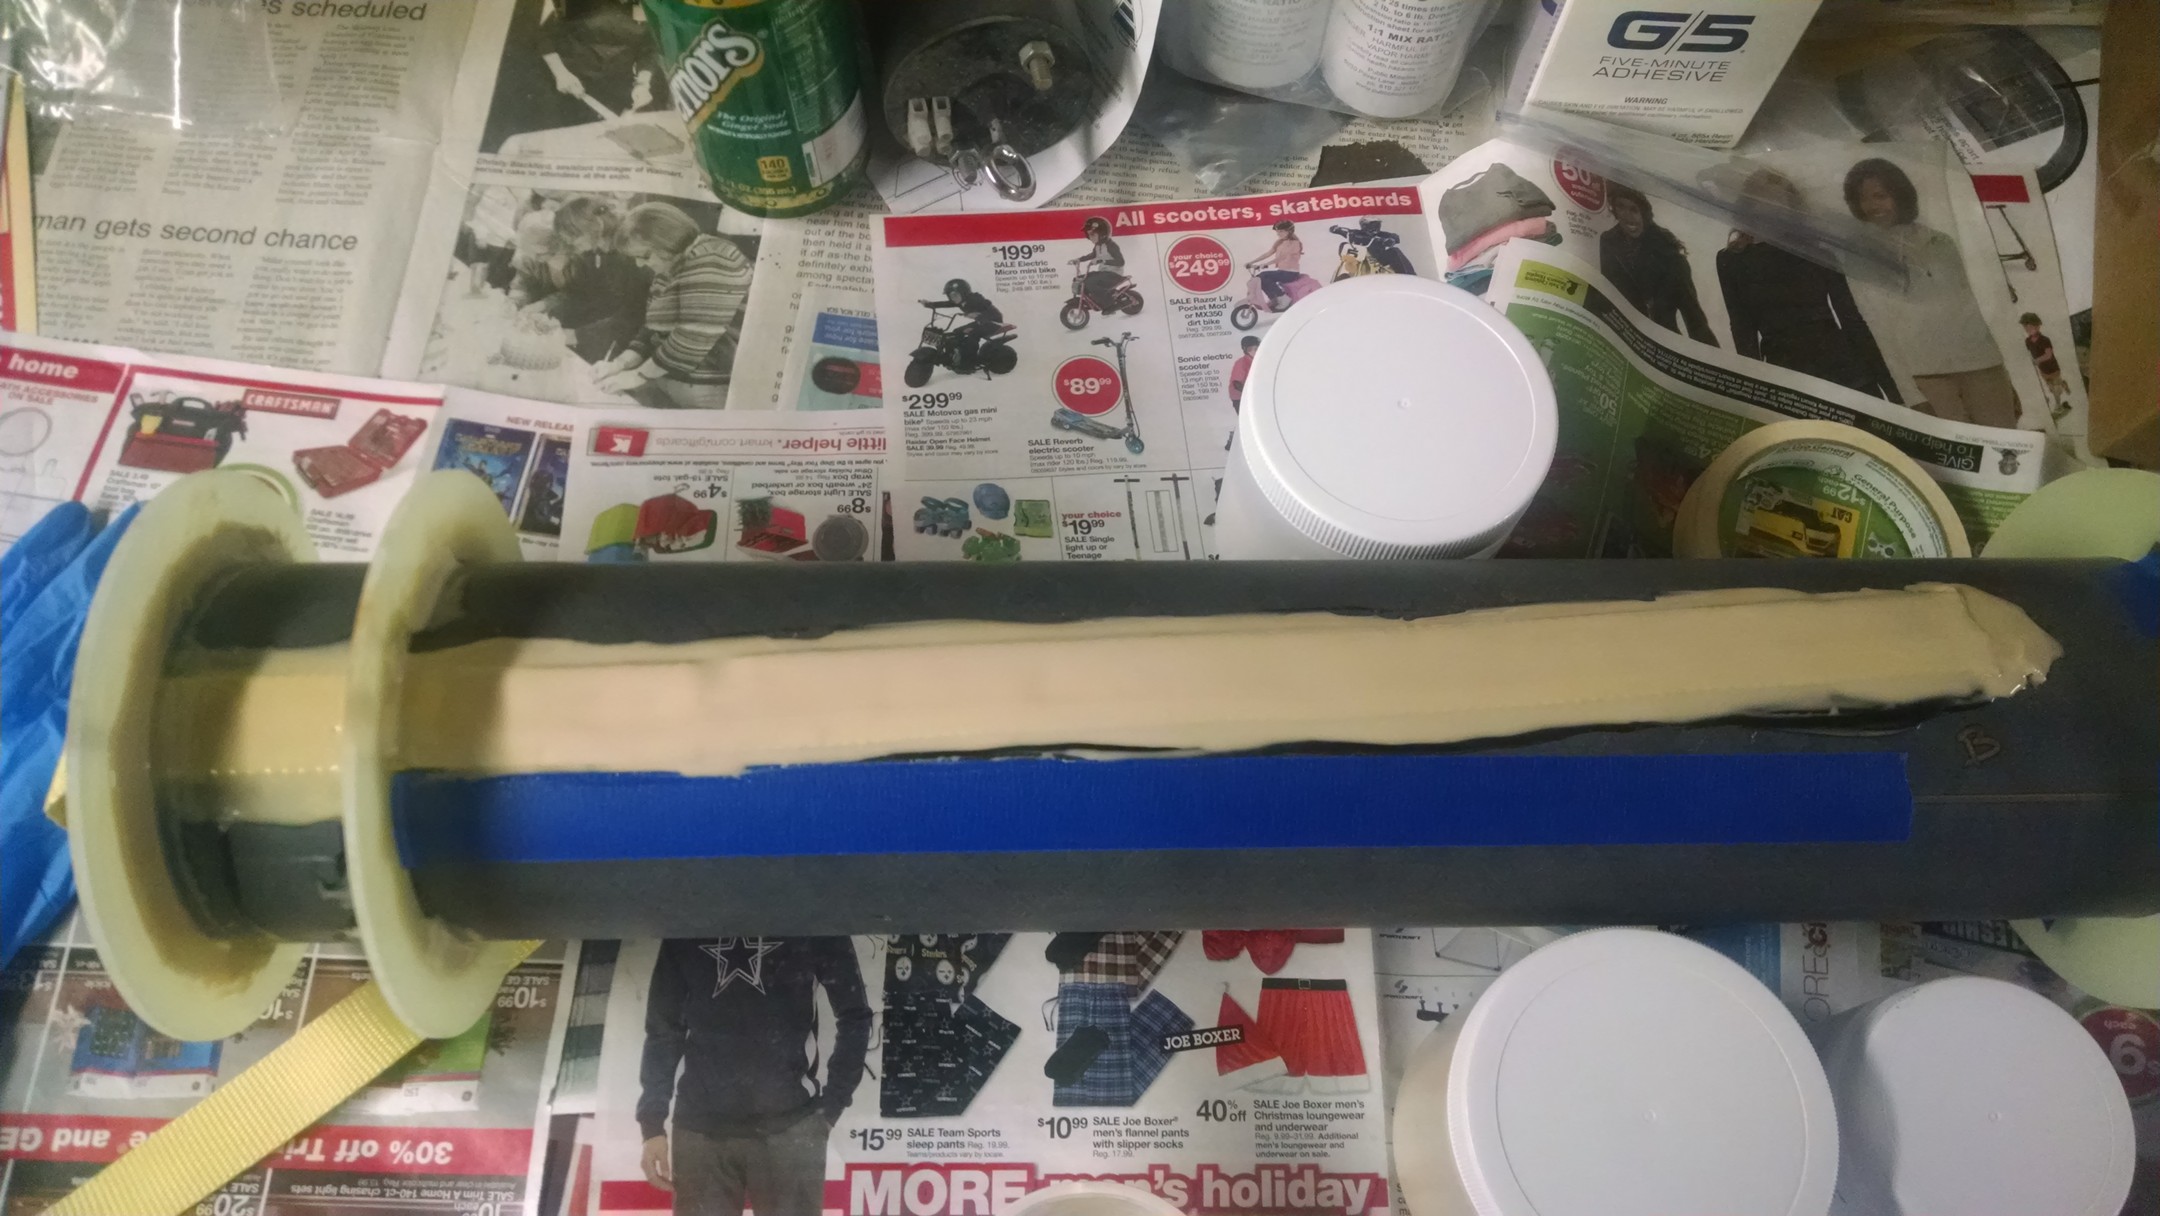
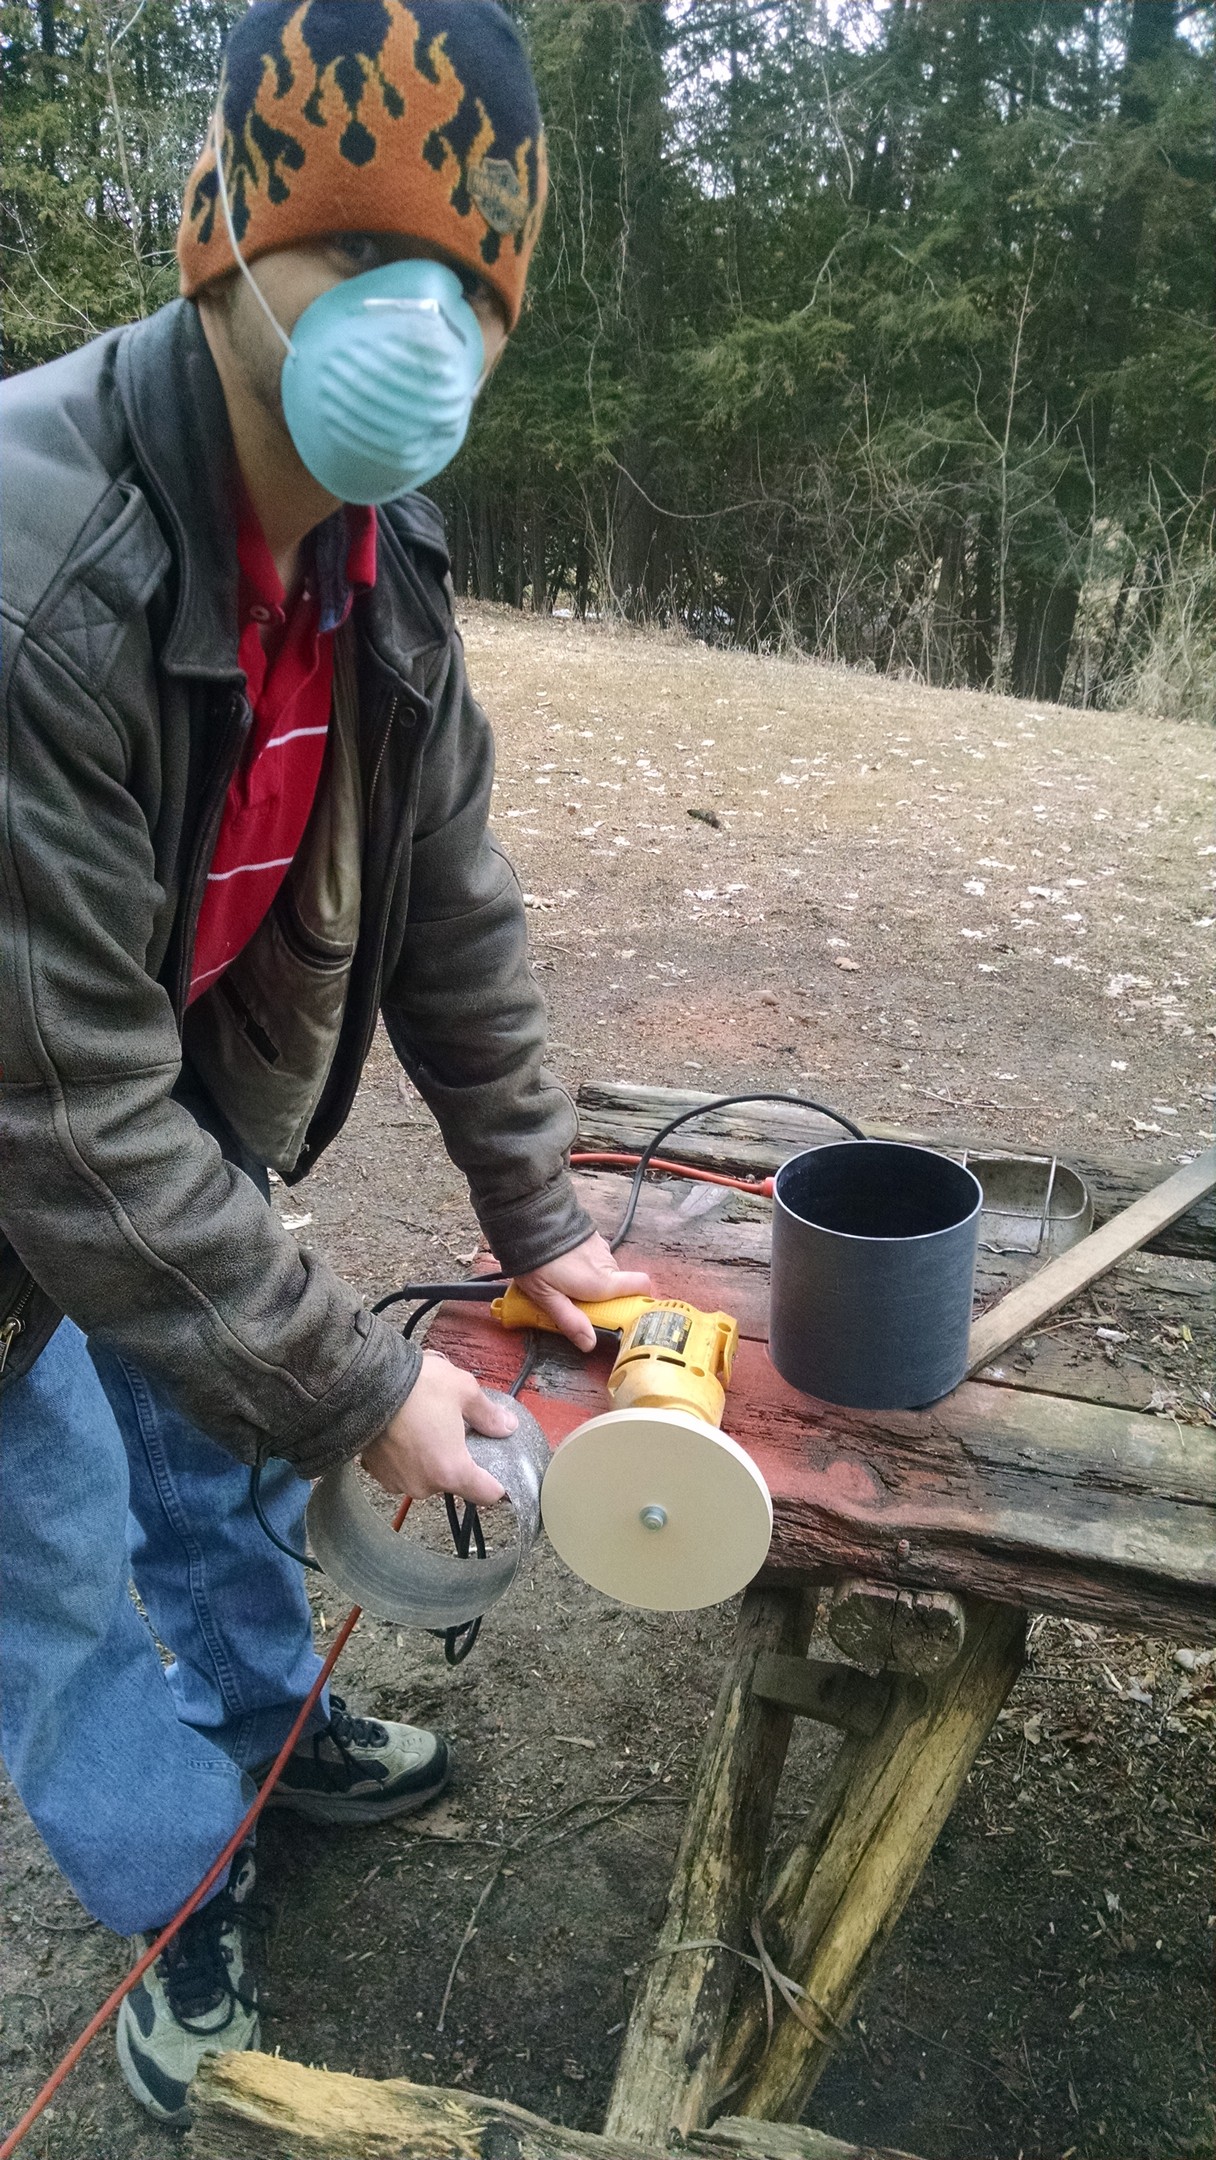
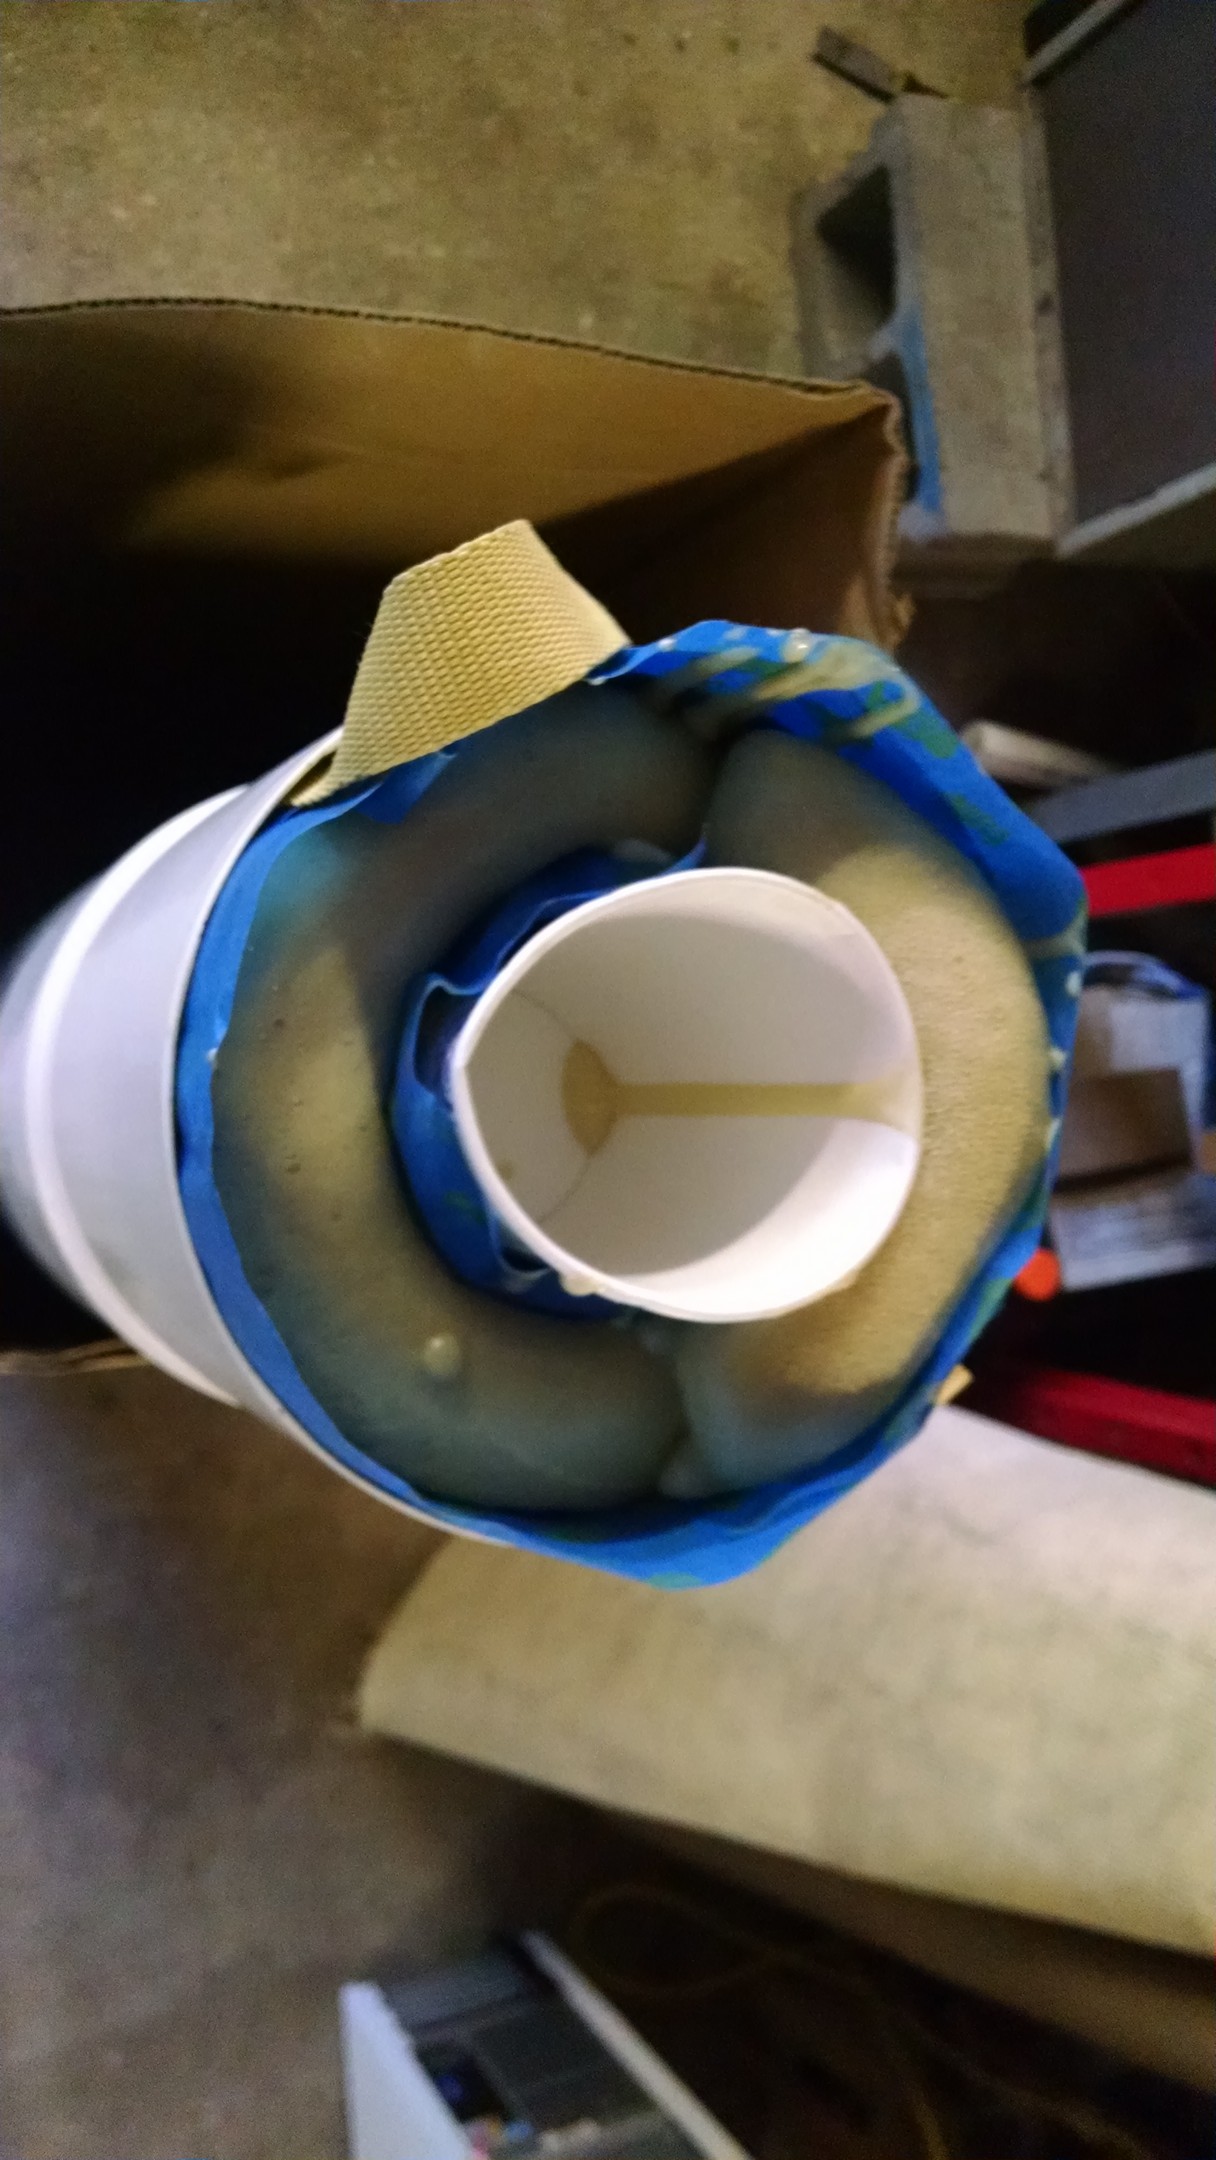
getting my foam on.. 4oz of each was need in each fin space for a total of 8oz
mix the foam up..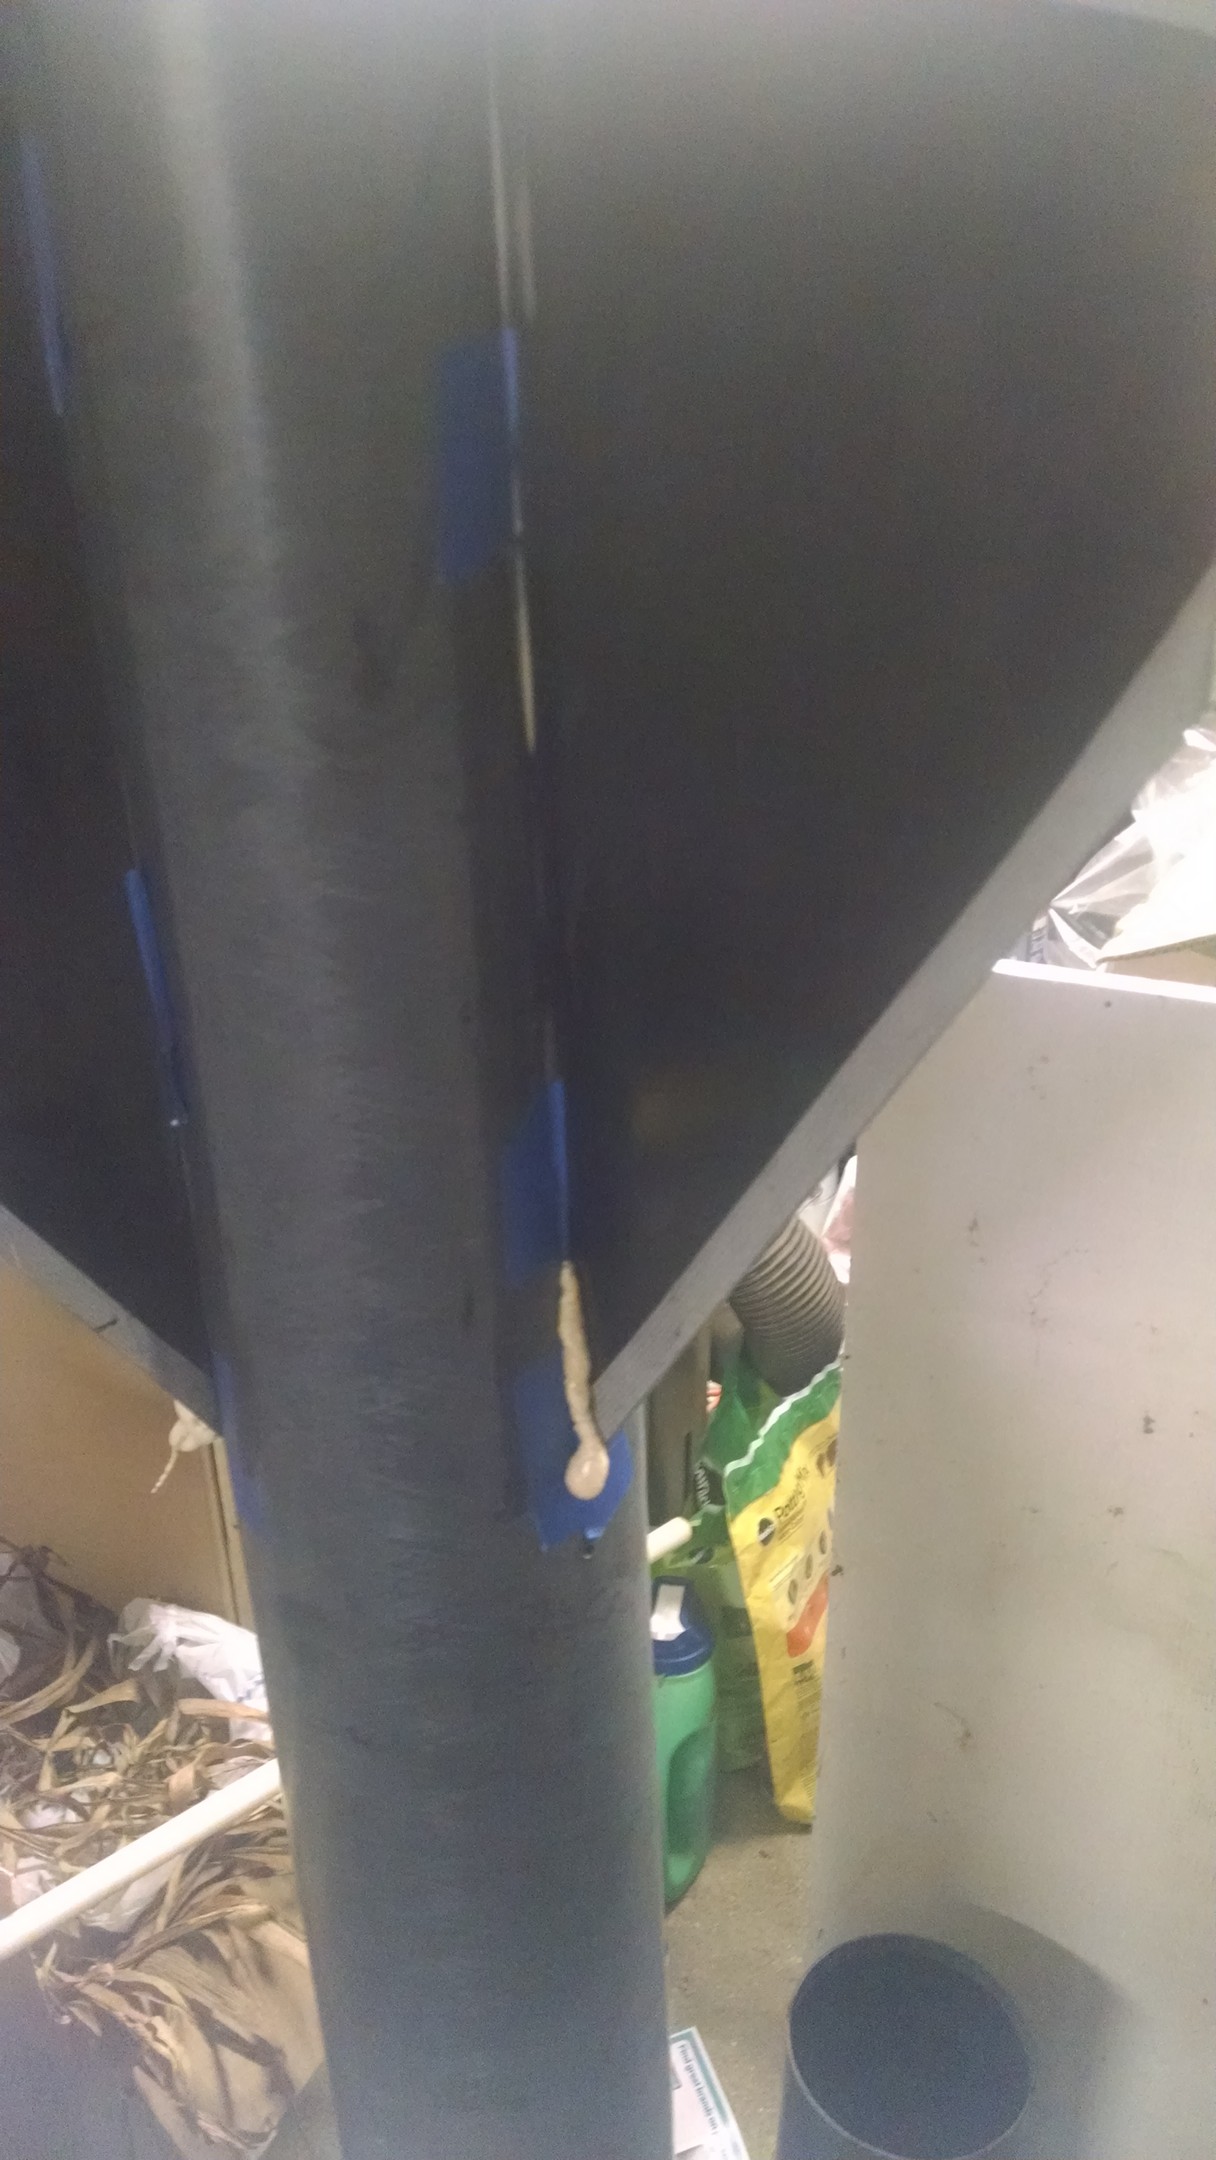 Needed more tape 🙁
more tape needed again

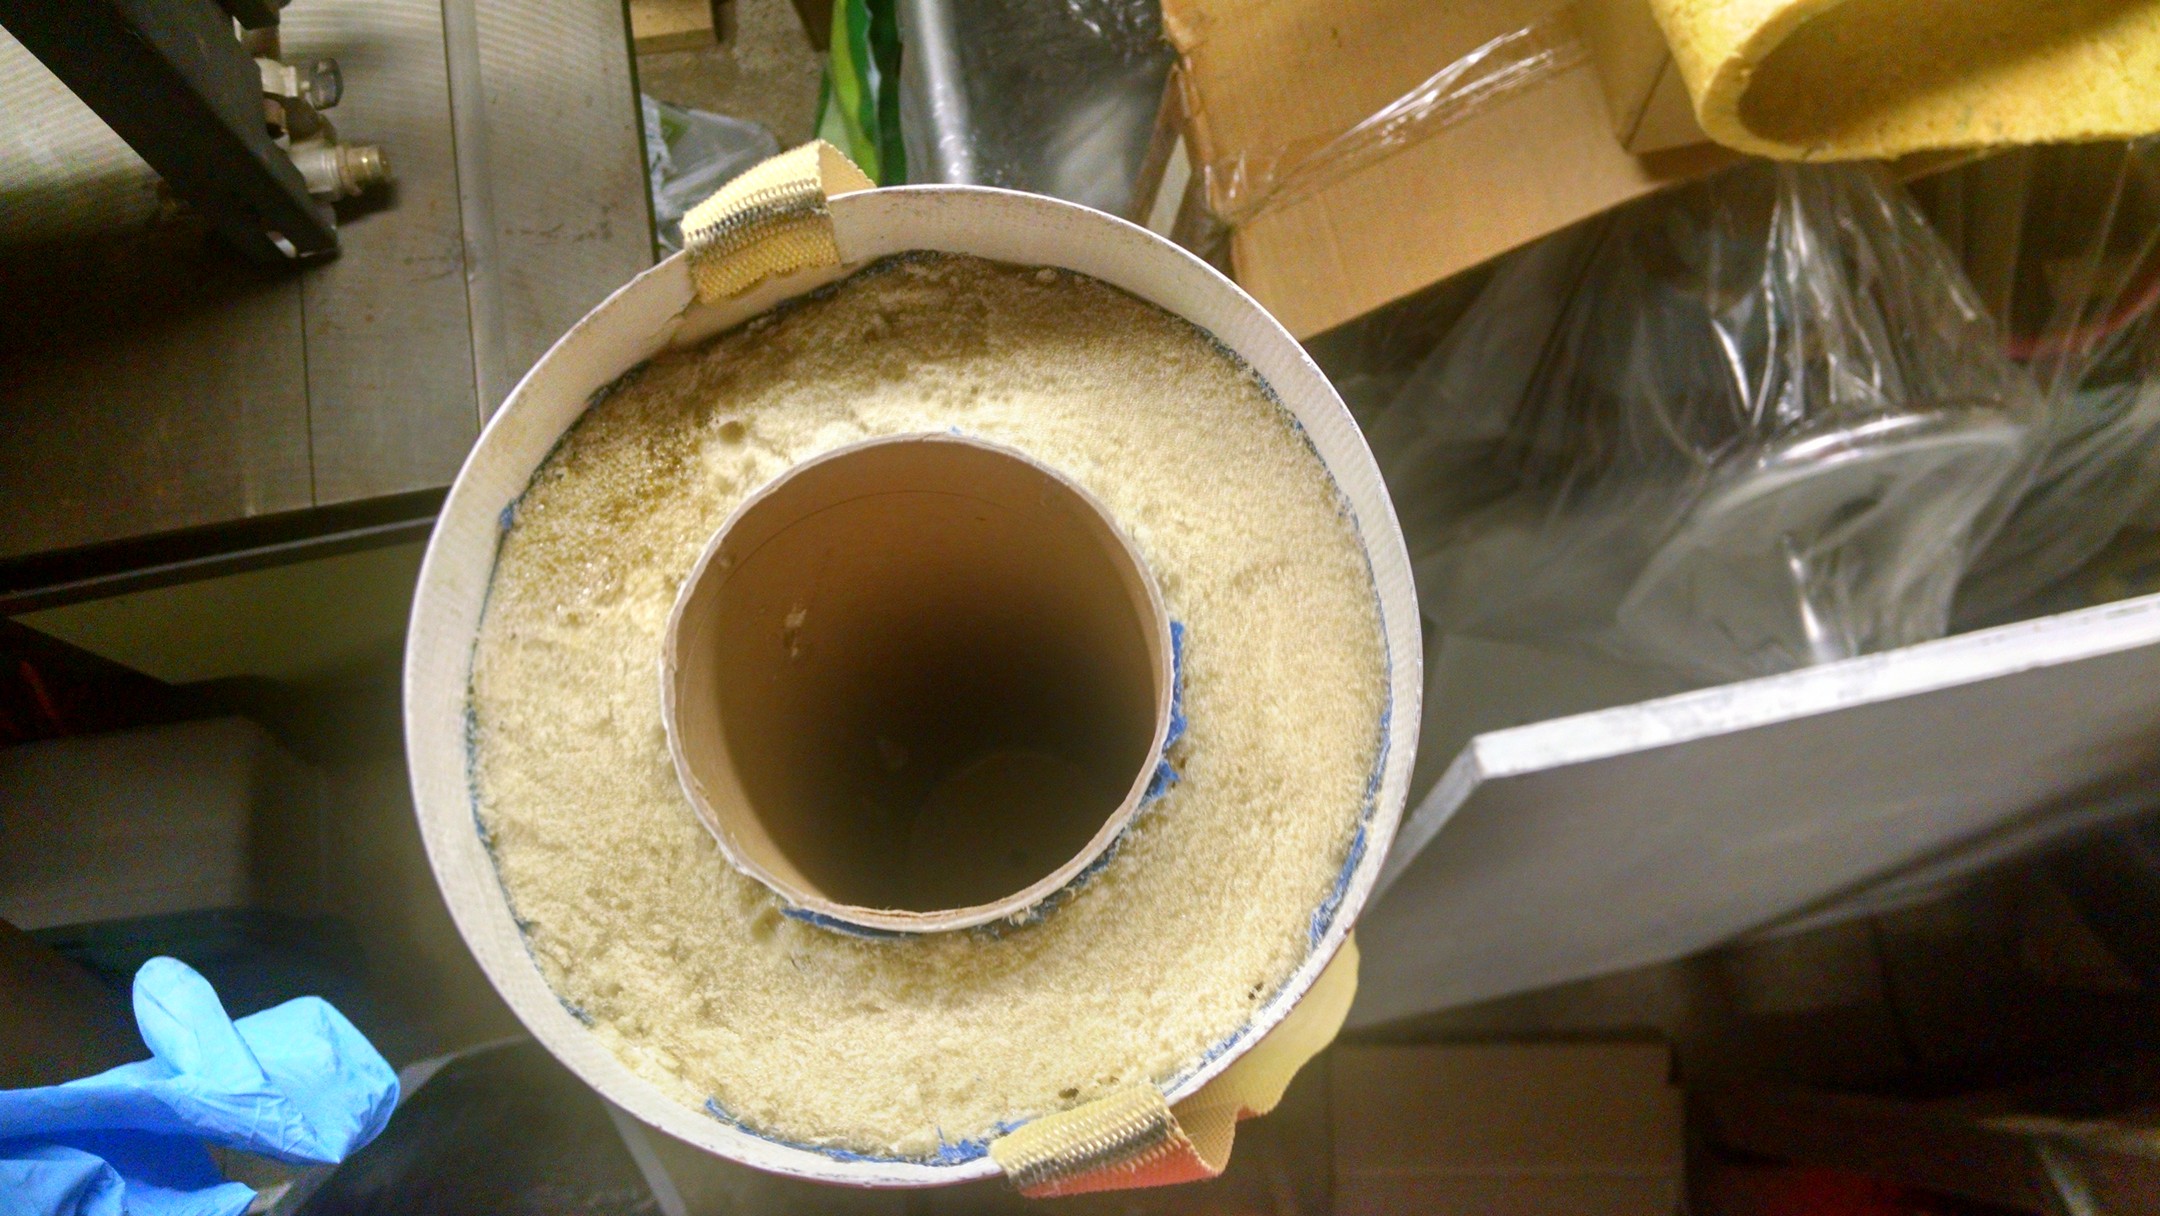
Clean up time.. Acetone to loose up the foam that came out. August 16, 2105
It cleaned up well with some sanding
An other side
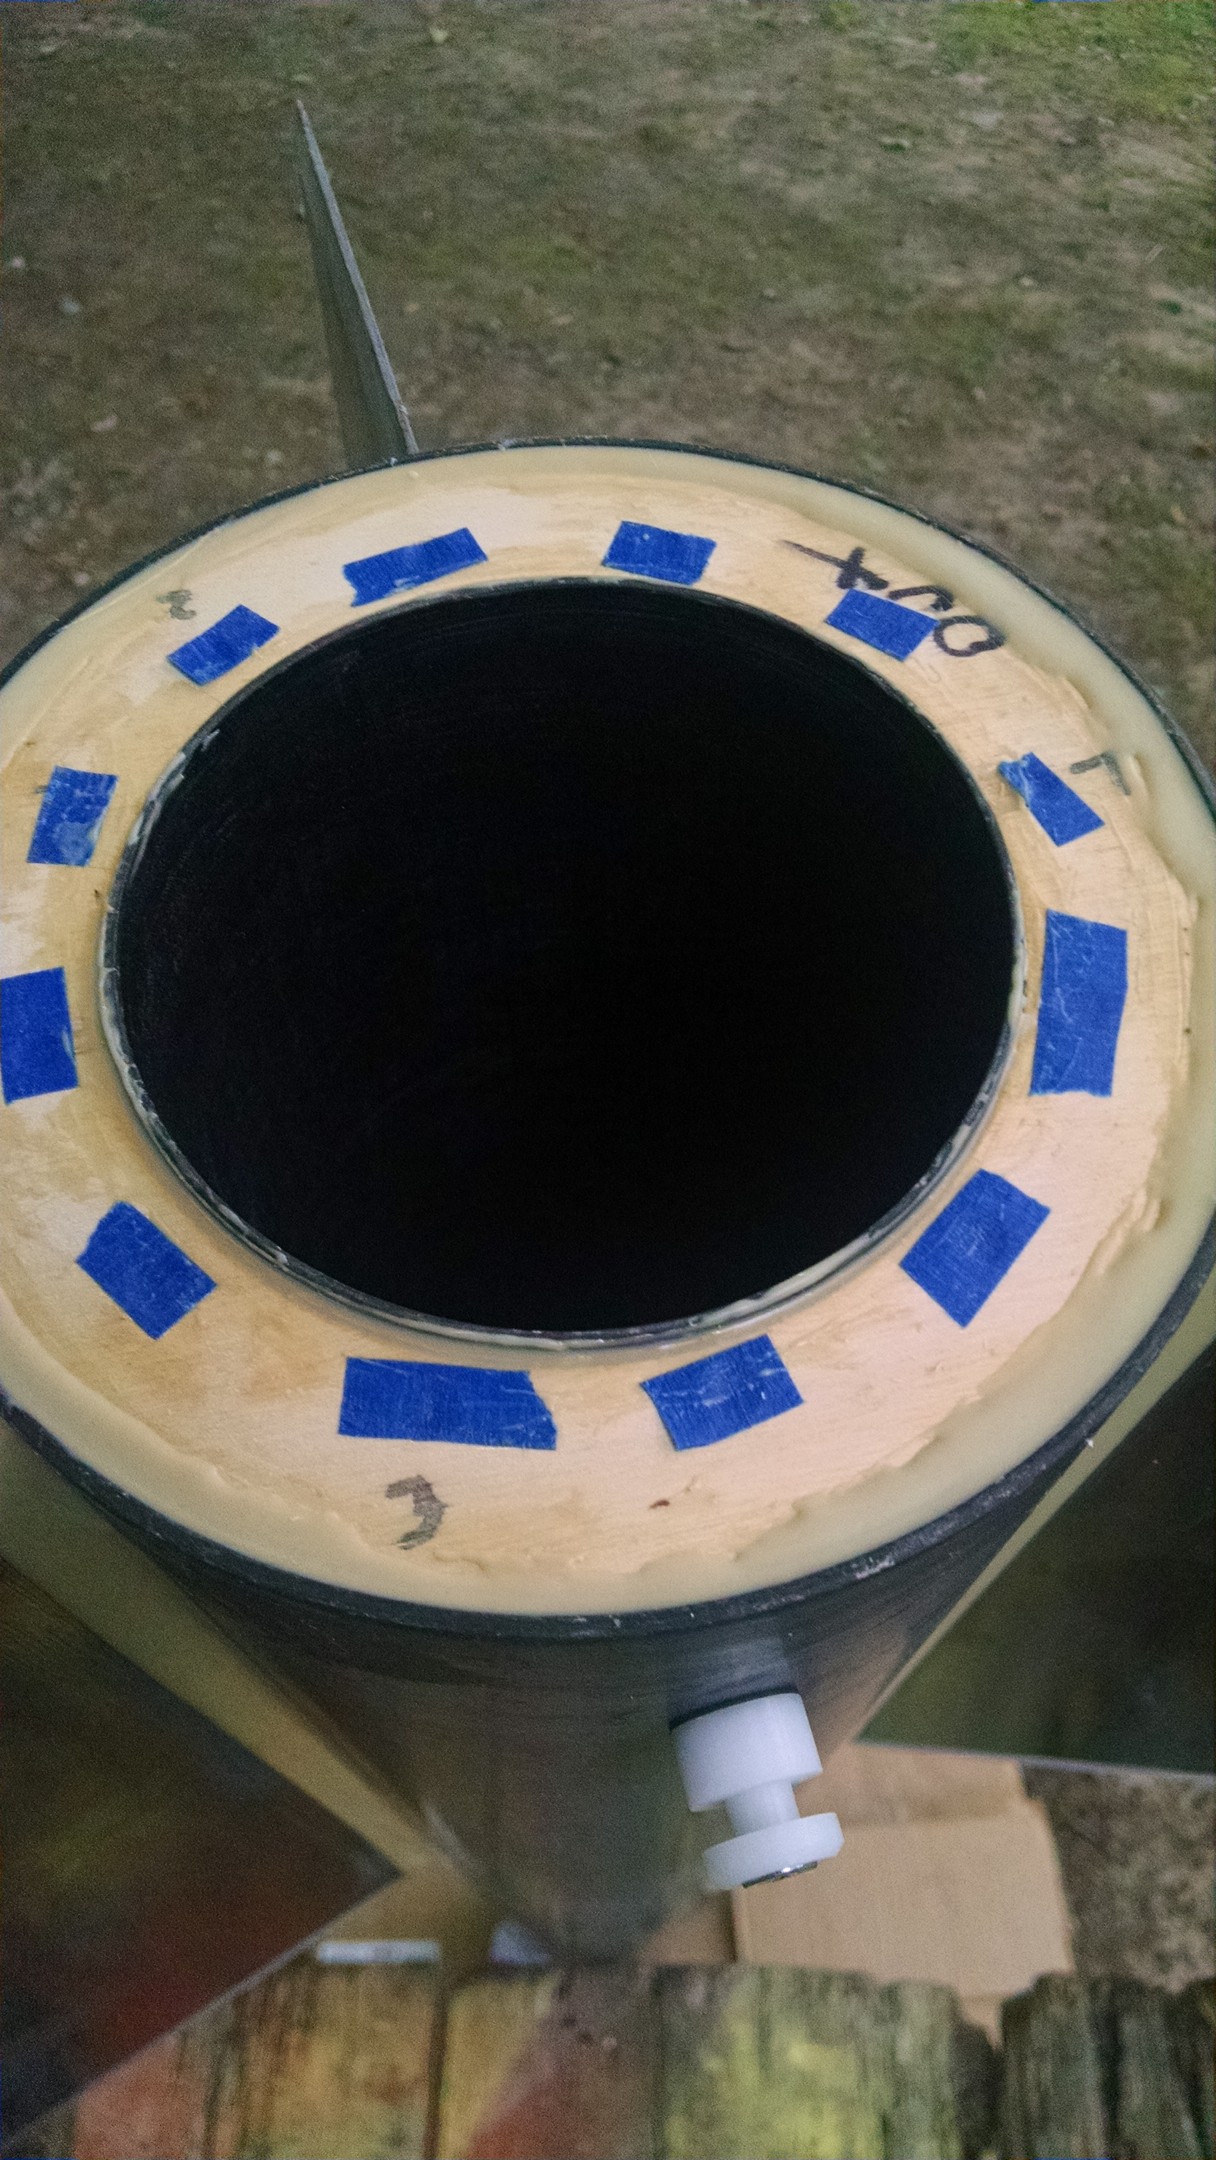
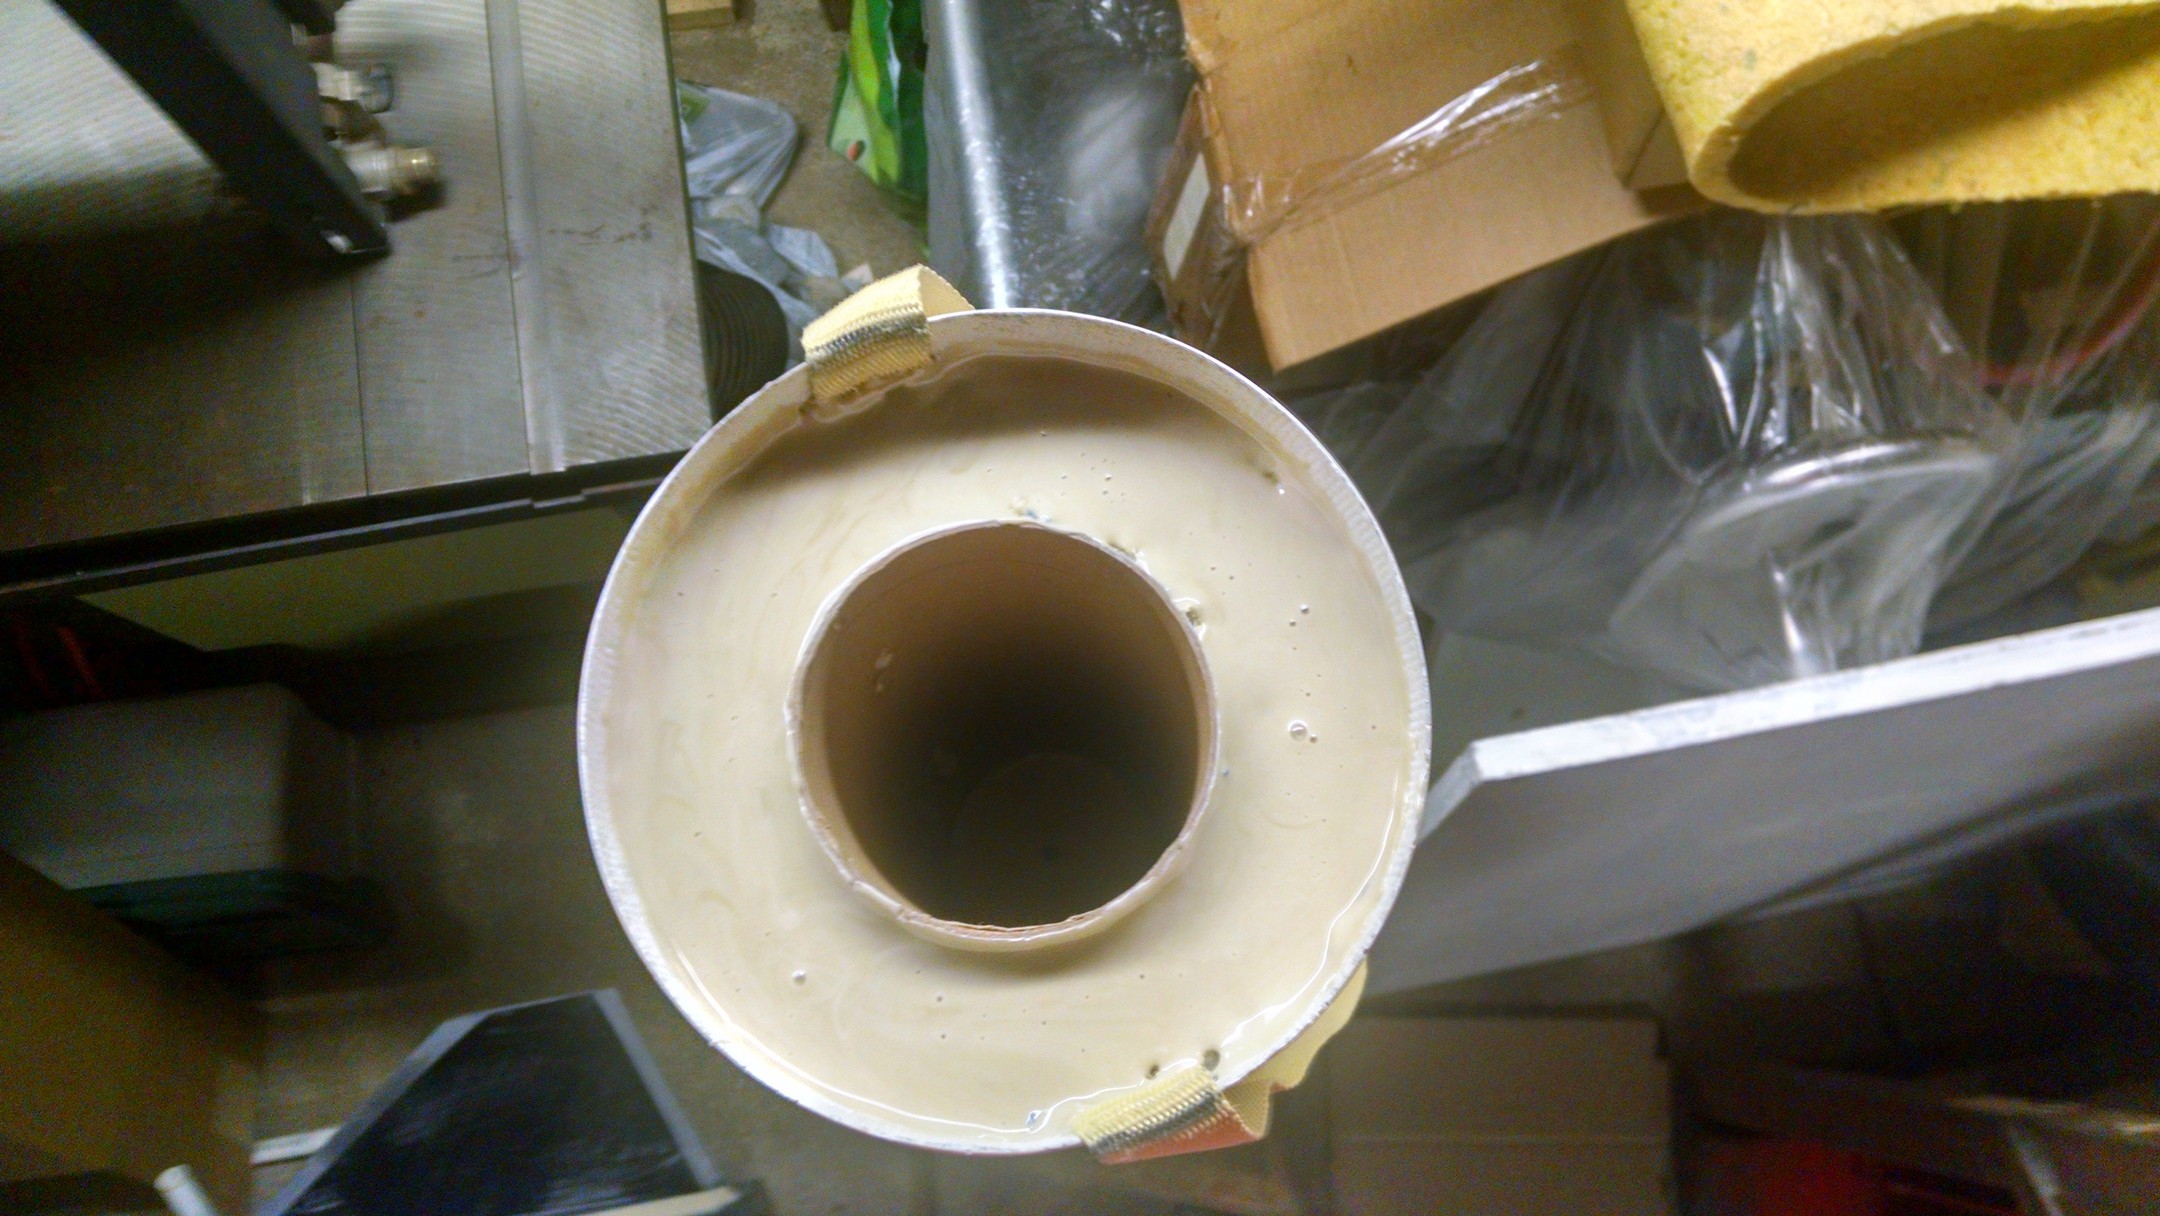
Taped up the holes with the tapes for the retainer, to keep the epoxy out, August 18 2015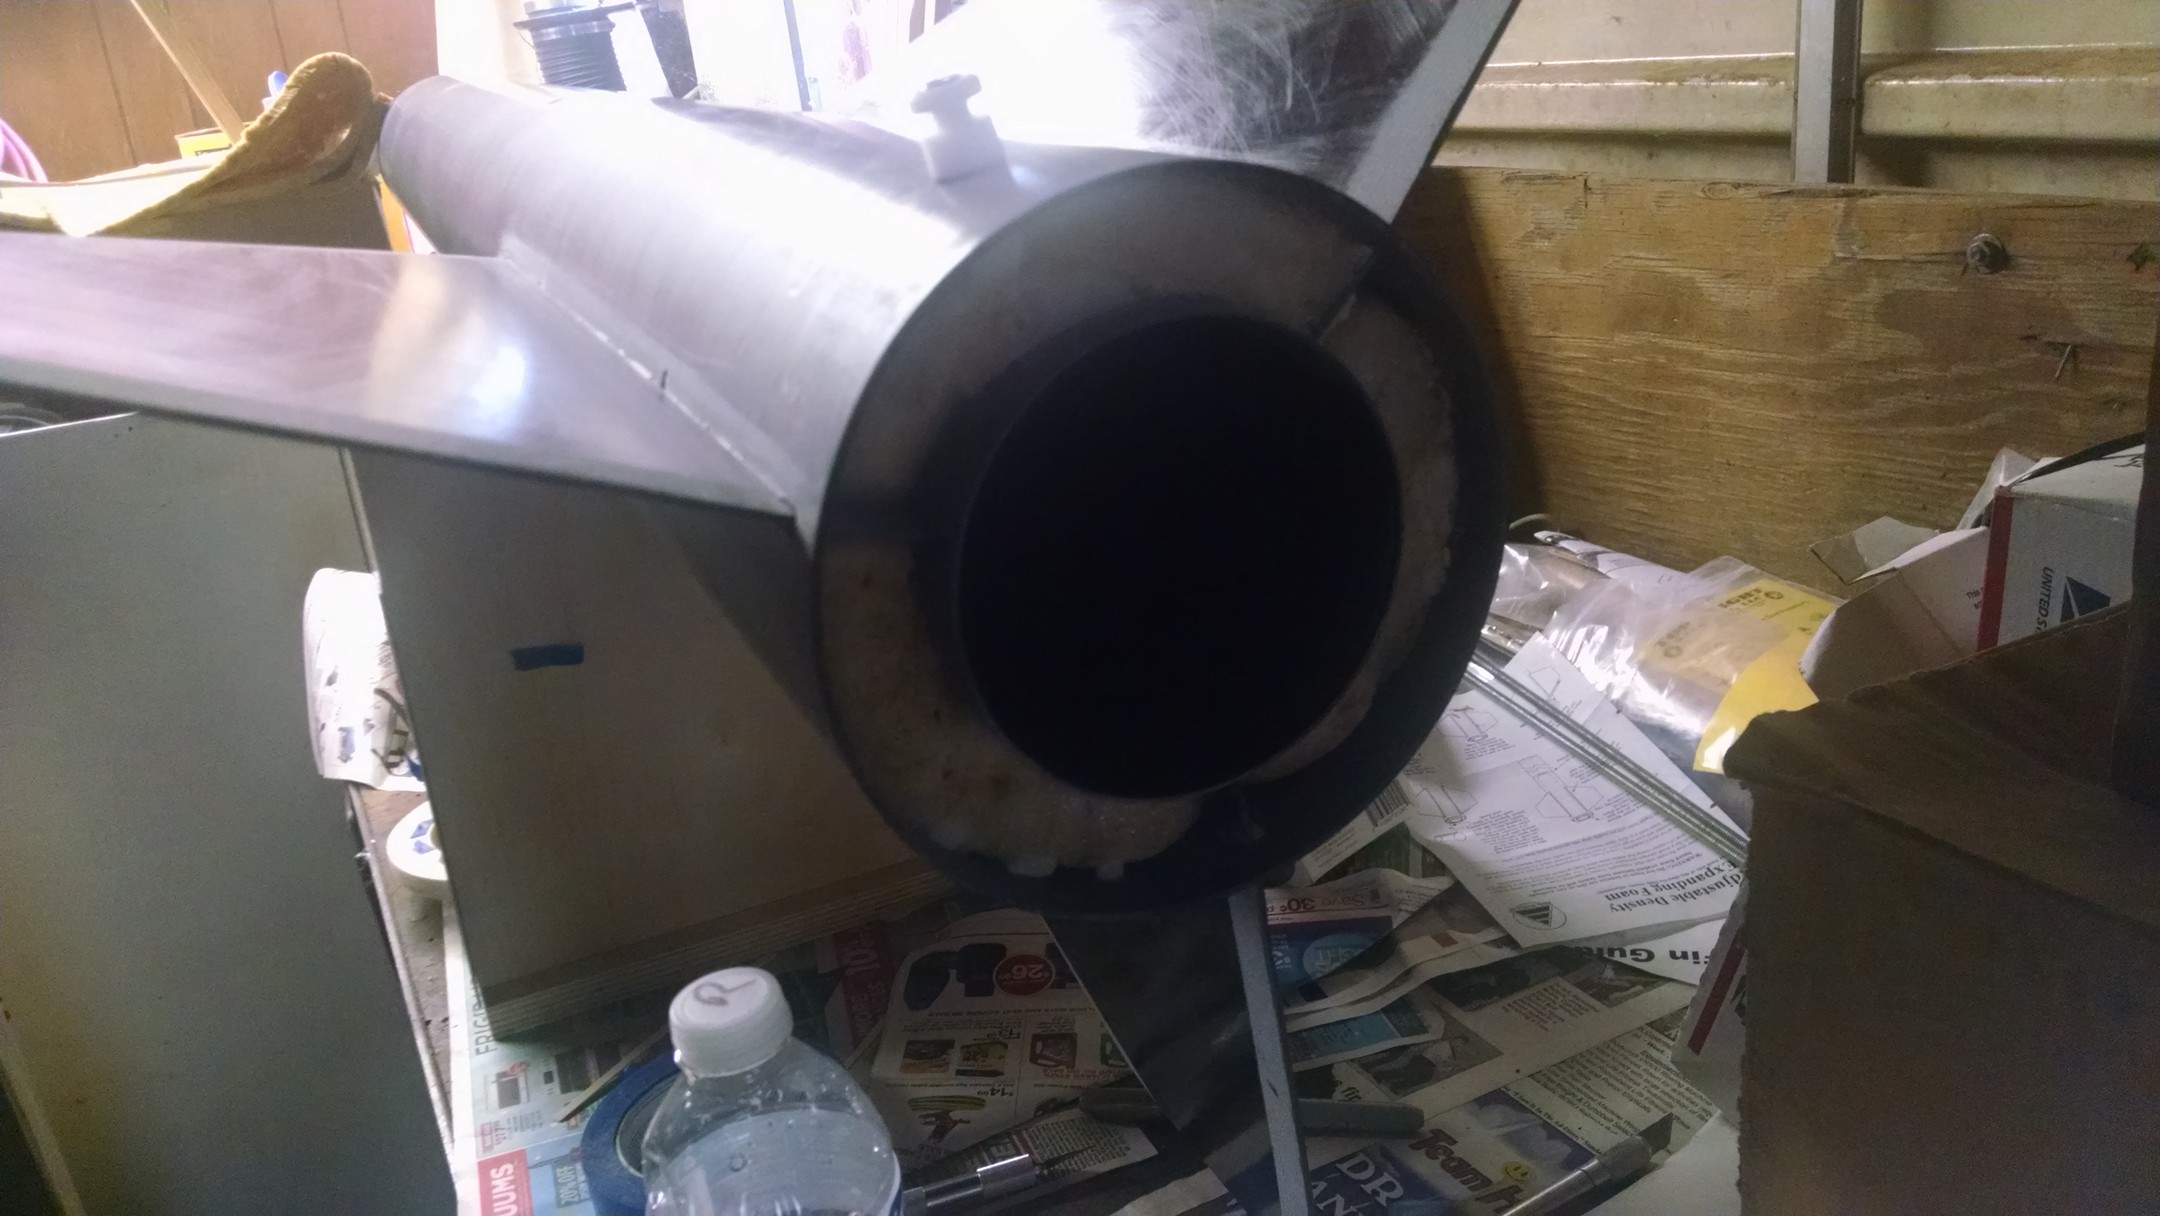
rear end of the fin can before rear centering ring with retainer screws was installed.. lots of foam.
rear centering ring epoxied in.
let it sit over nights.
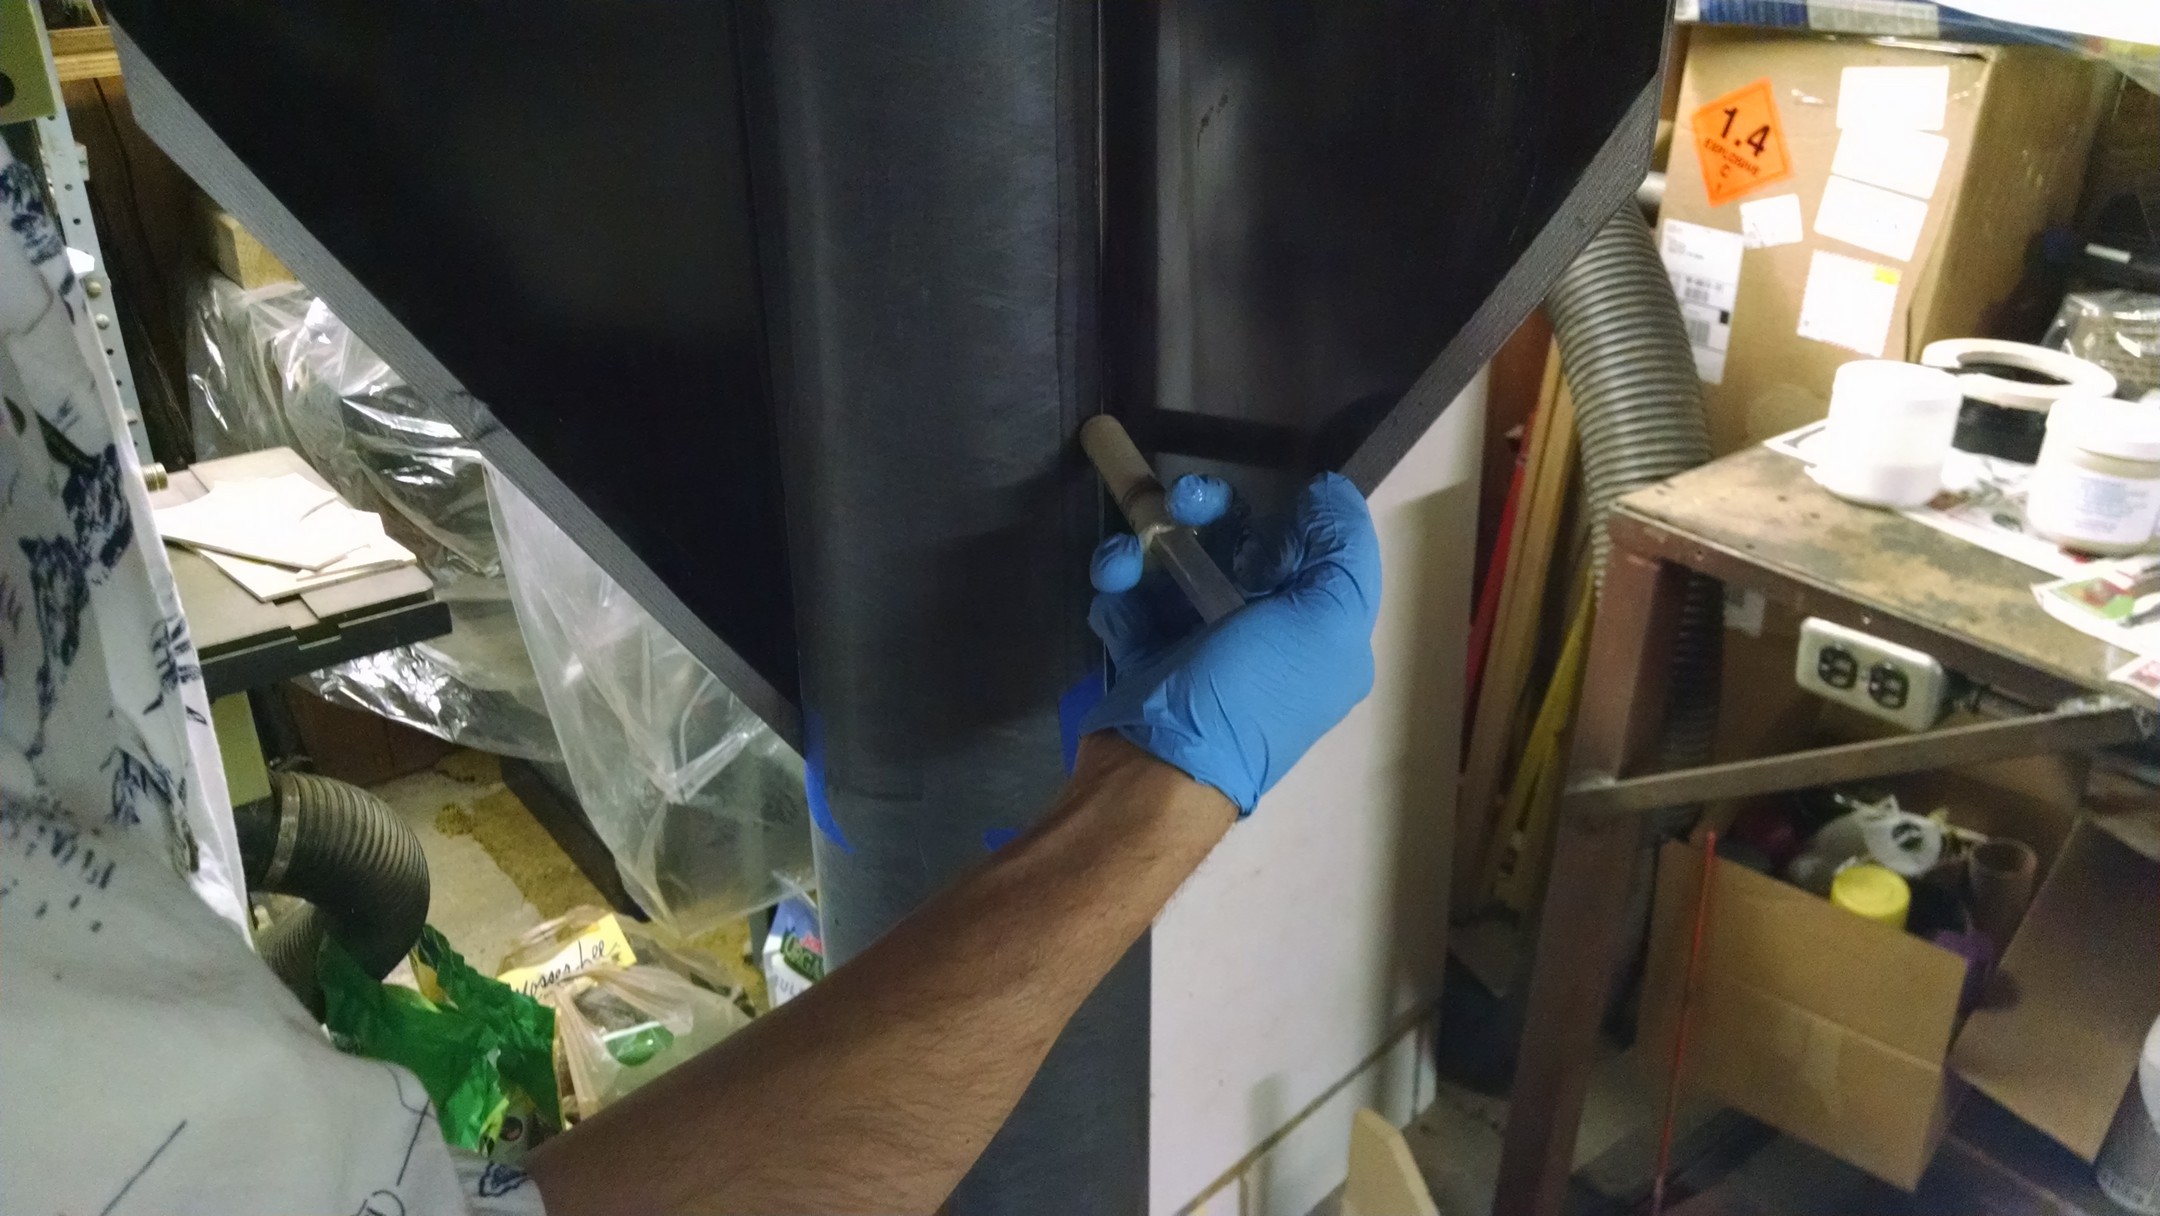
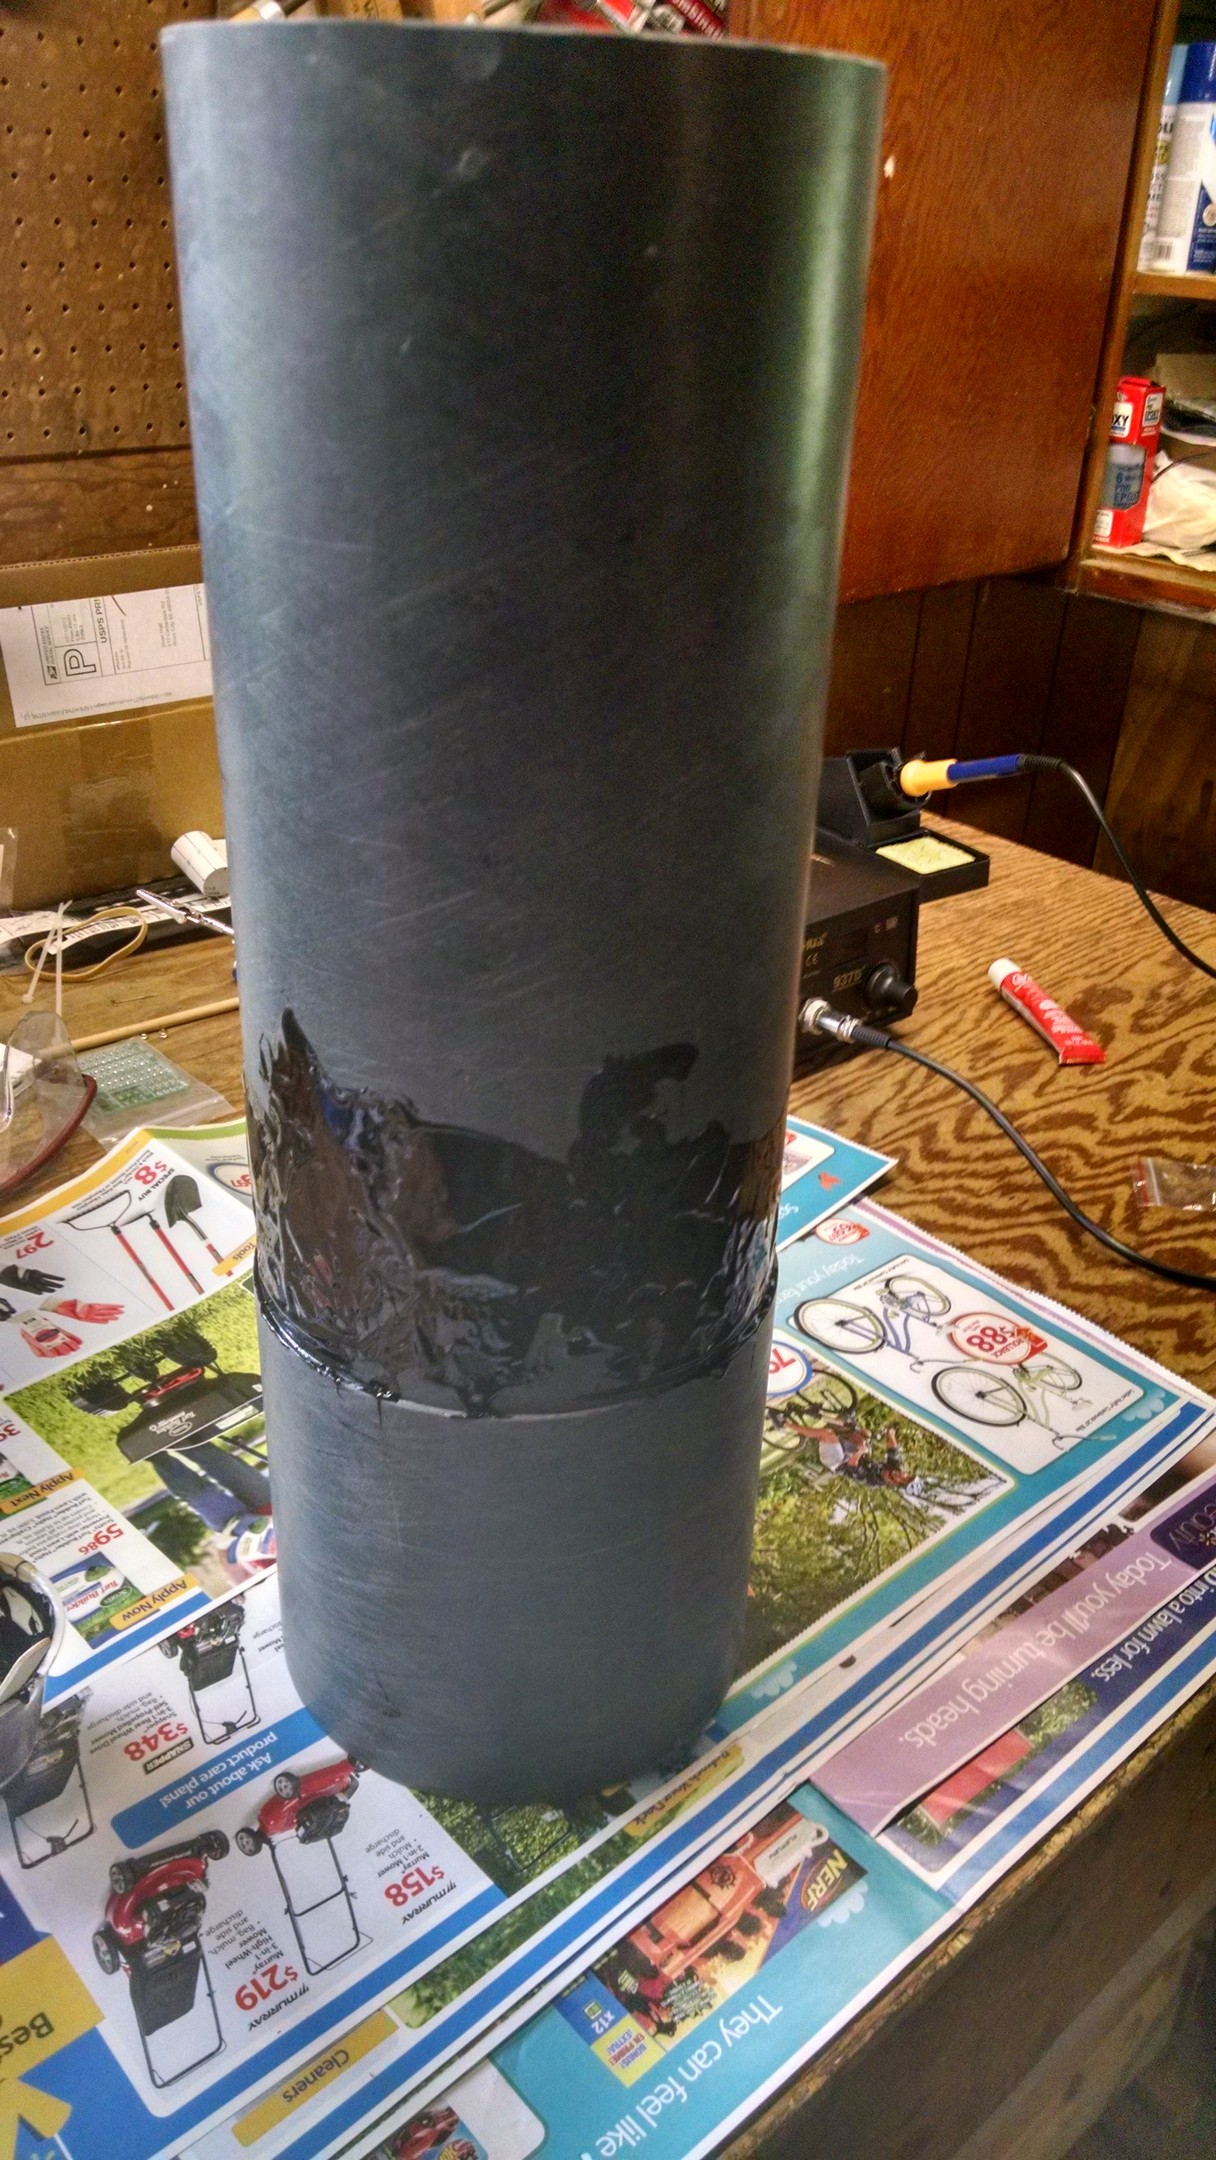
Fillet around the rear center ring on the outside.. I will need to sand down the motor tube to match the ring. August 22, 2105

Measured out 14.5 inches of 1 inch kelver bridle
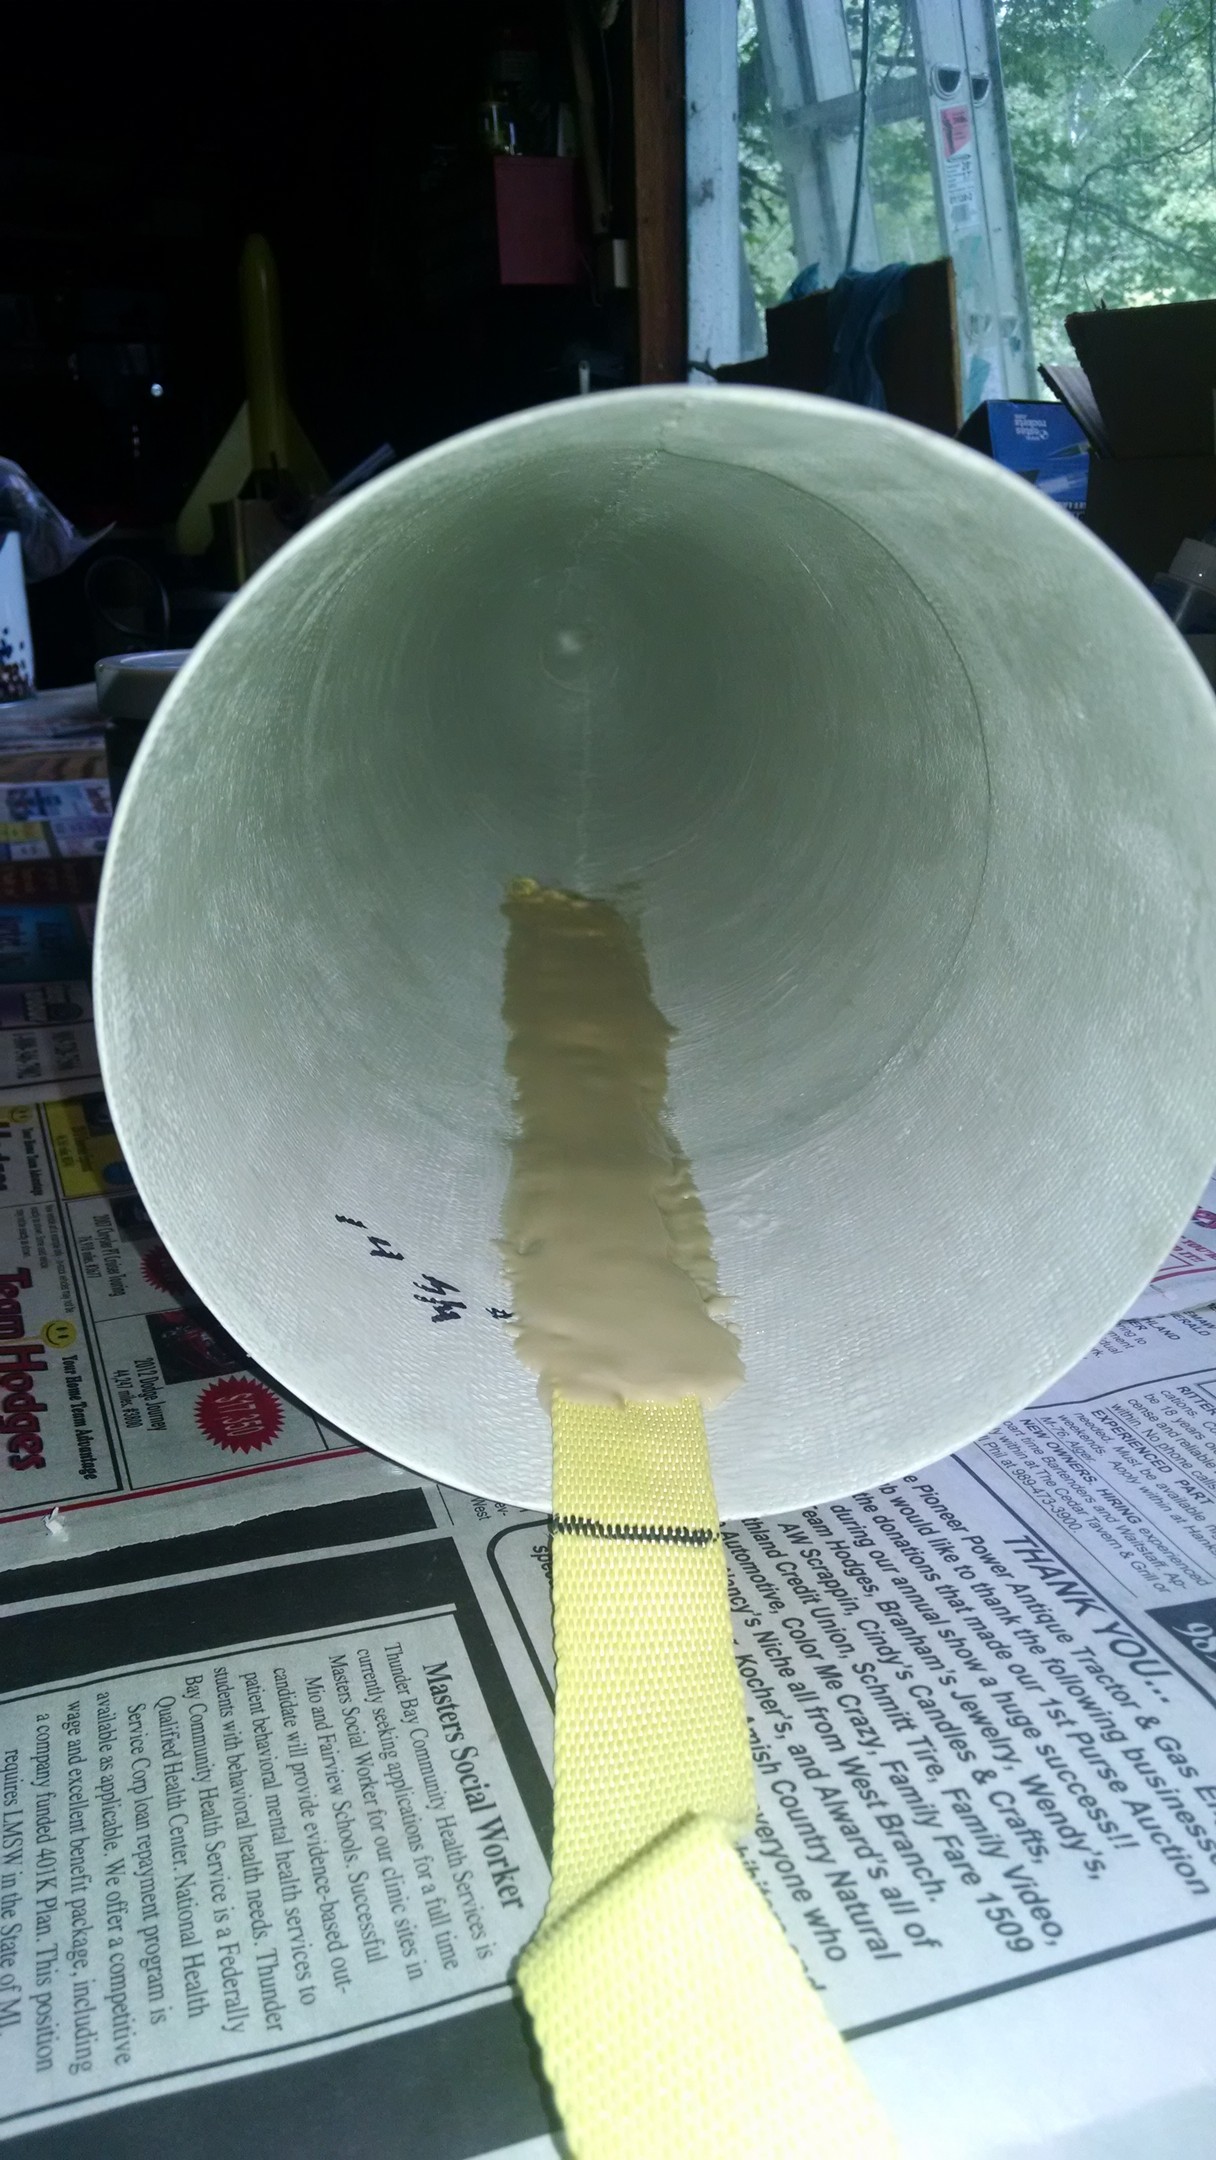
kelver bridle epoxied down on the seam of the fiberglass nose cone
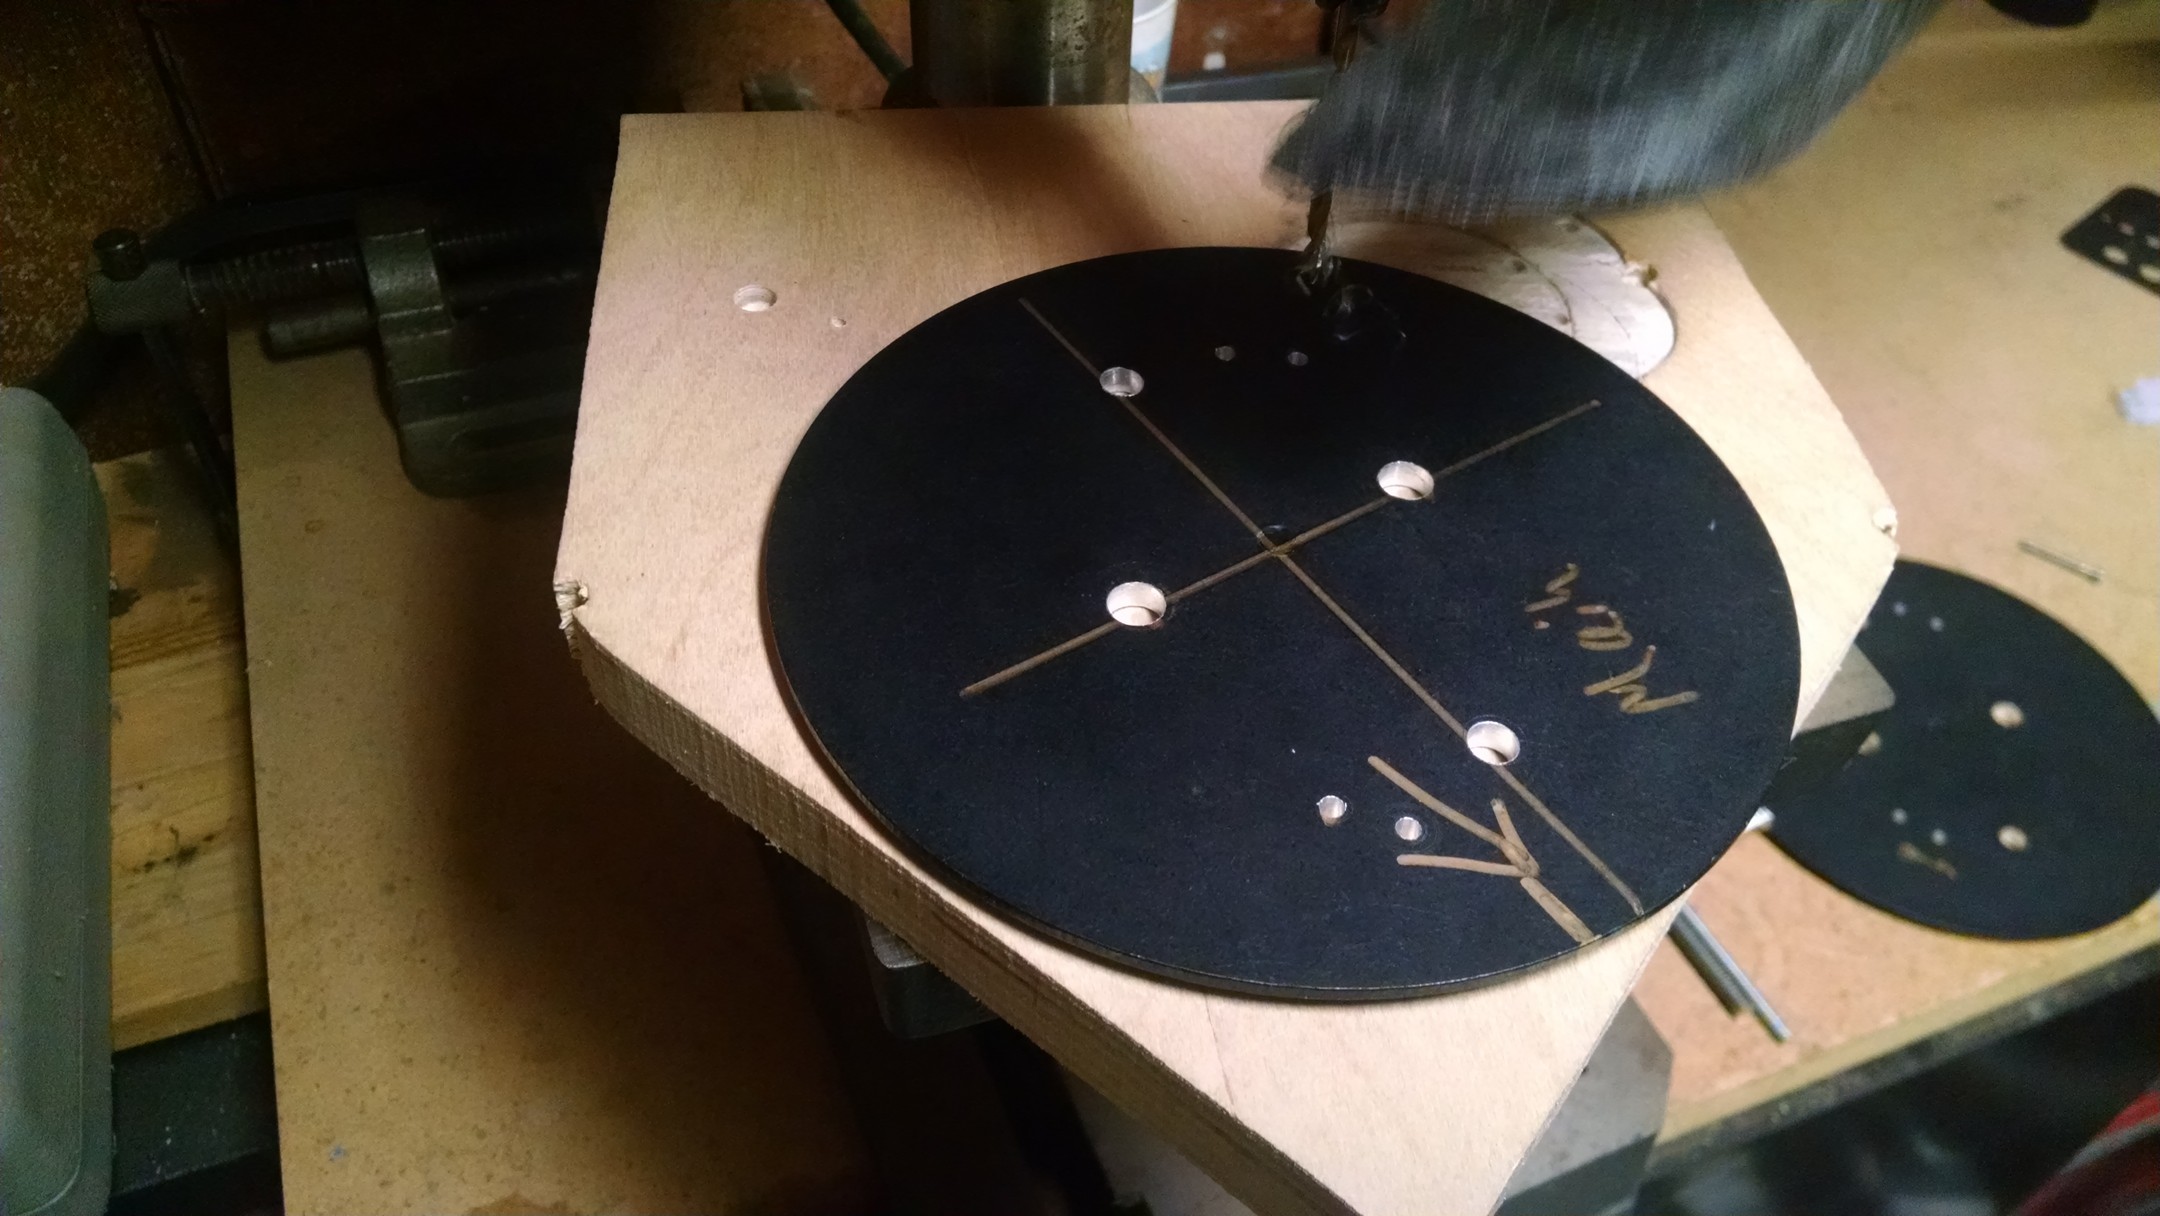
Time to work on the ebay bulkheads.. these are punched for the 5/16 ubolt
pilot hole drilled
up sizing the hole
Finished holes with hardware installed
other side done
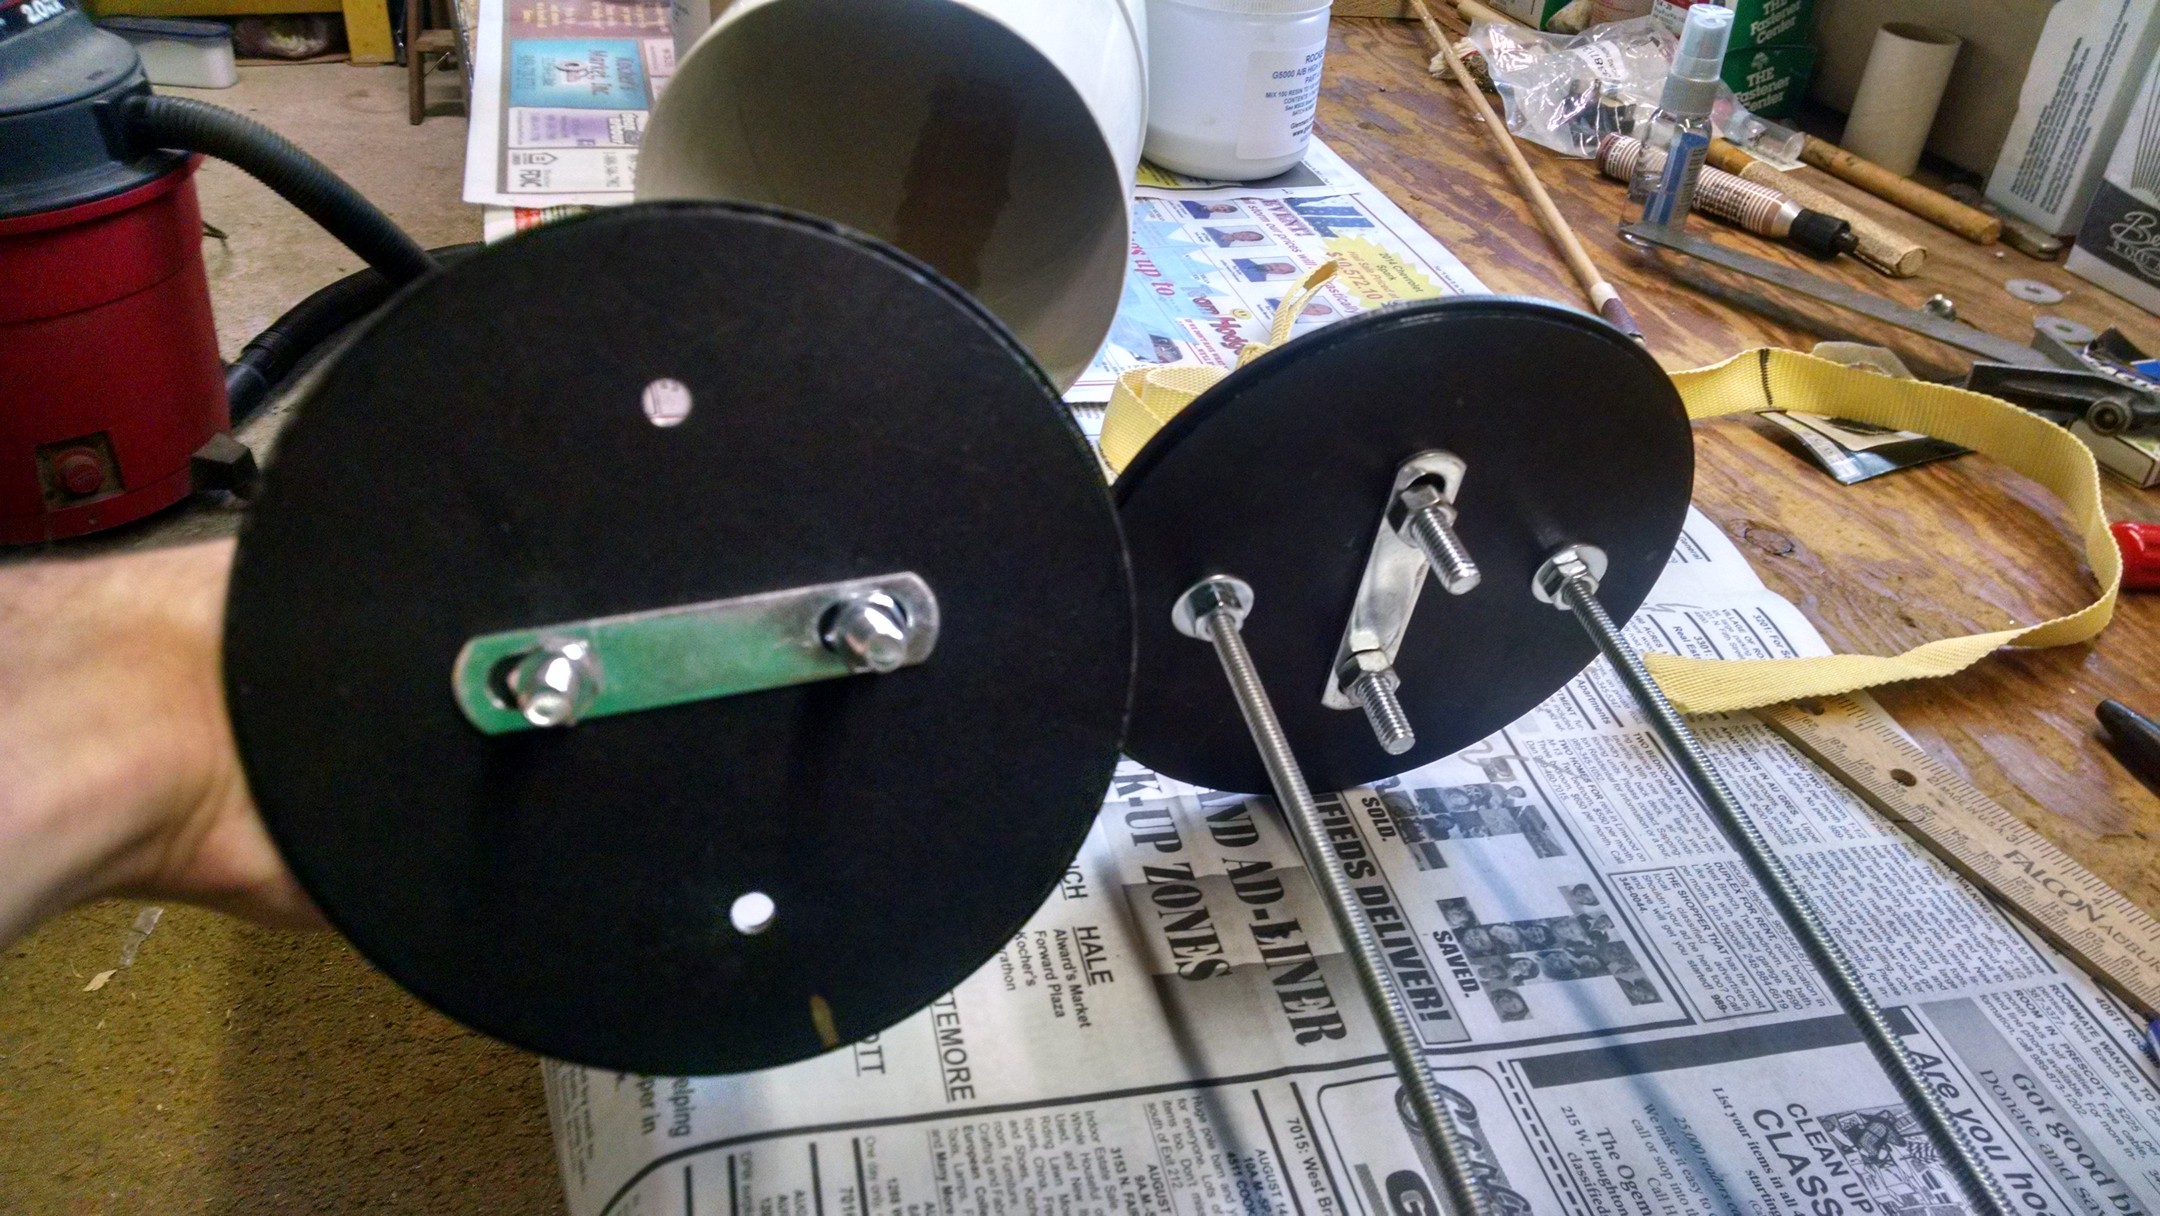
back side of both.. they need some epoxy on the nuts to protect them and keep them from coming off.
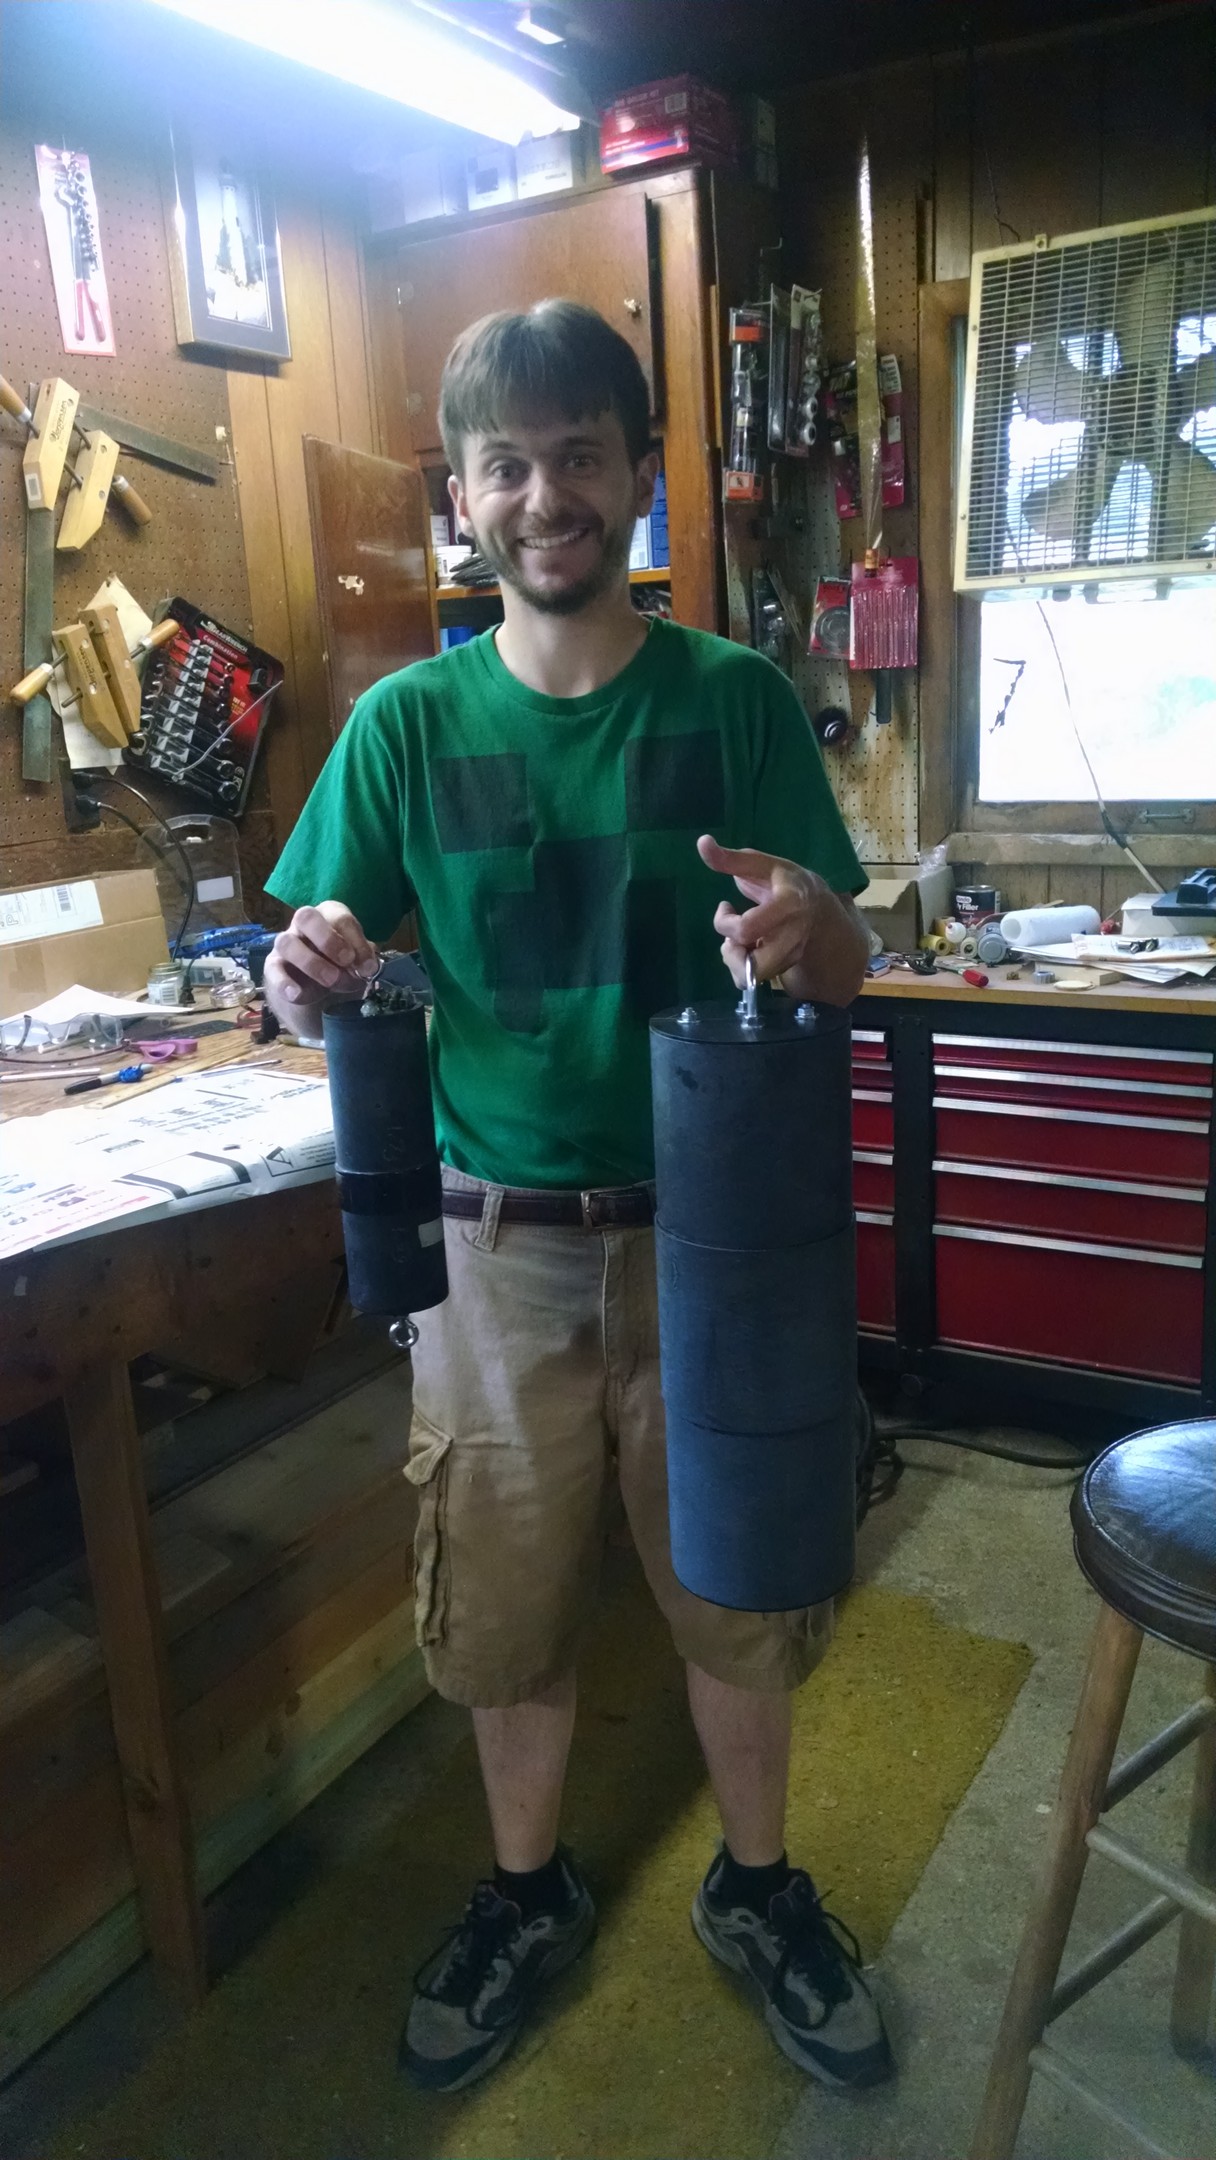
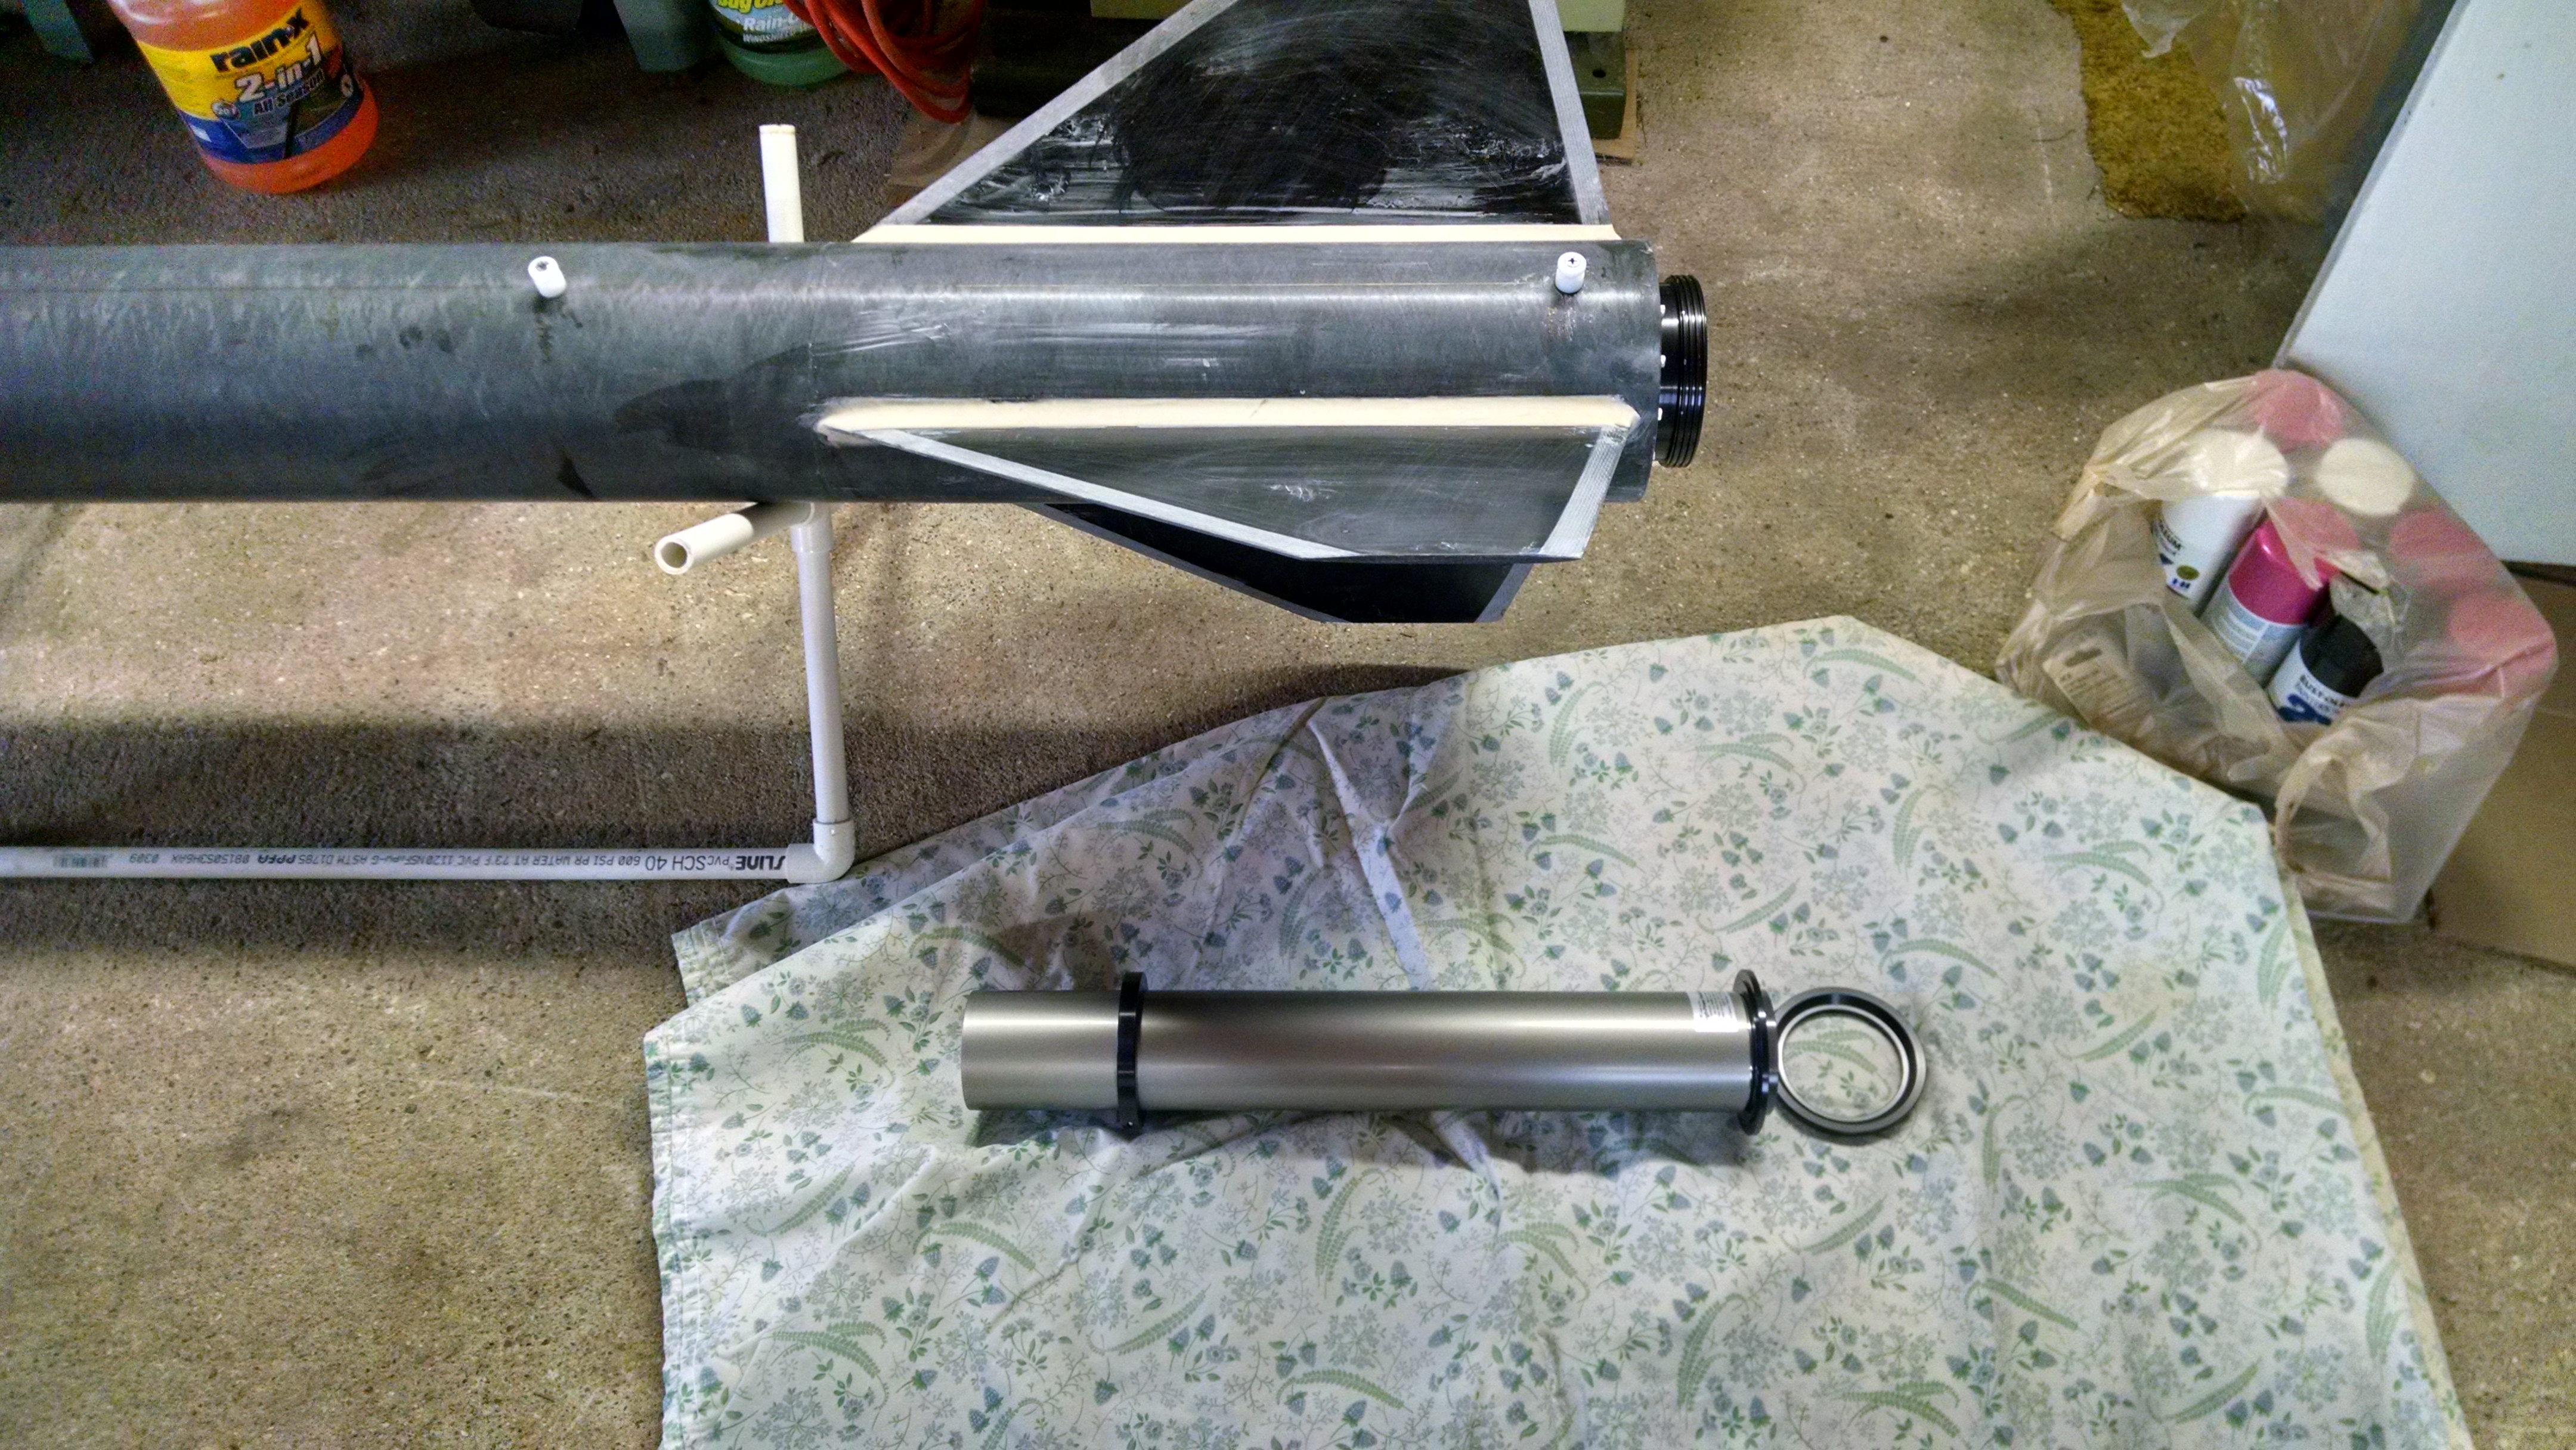
comparing the 3in ebay to the 6in ebay 🙂 I like it!
Second kelver bridle epoxied in. August 23, 2015
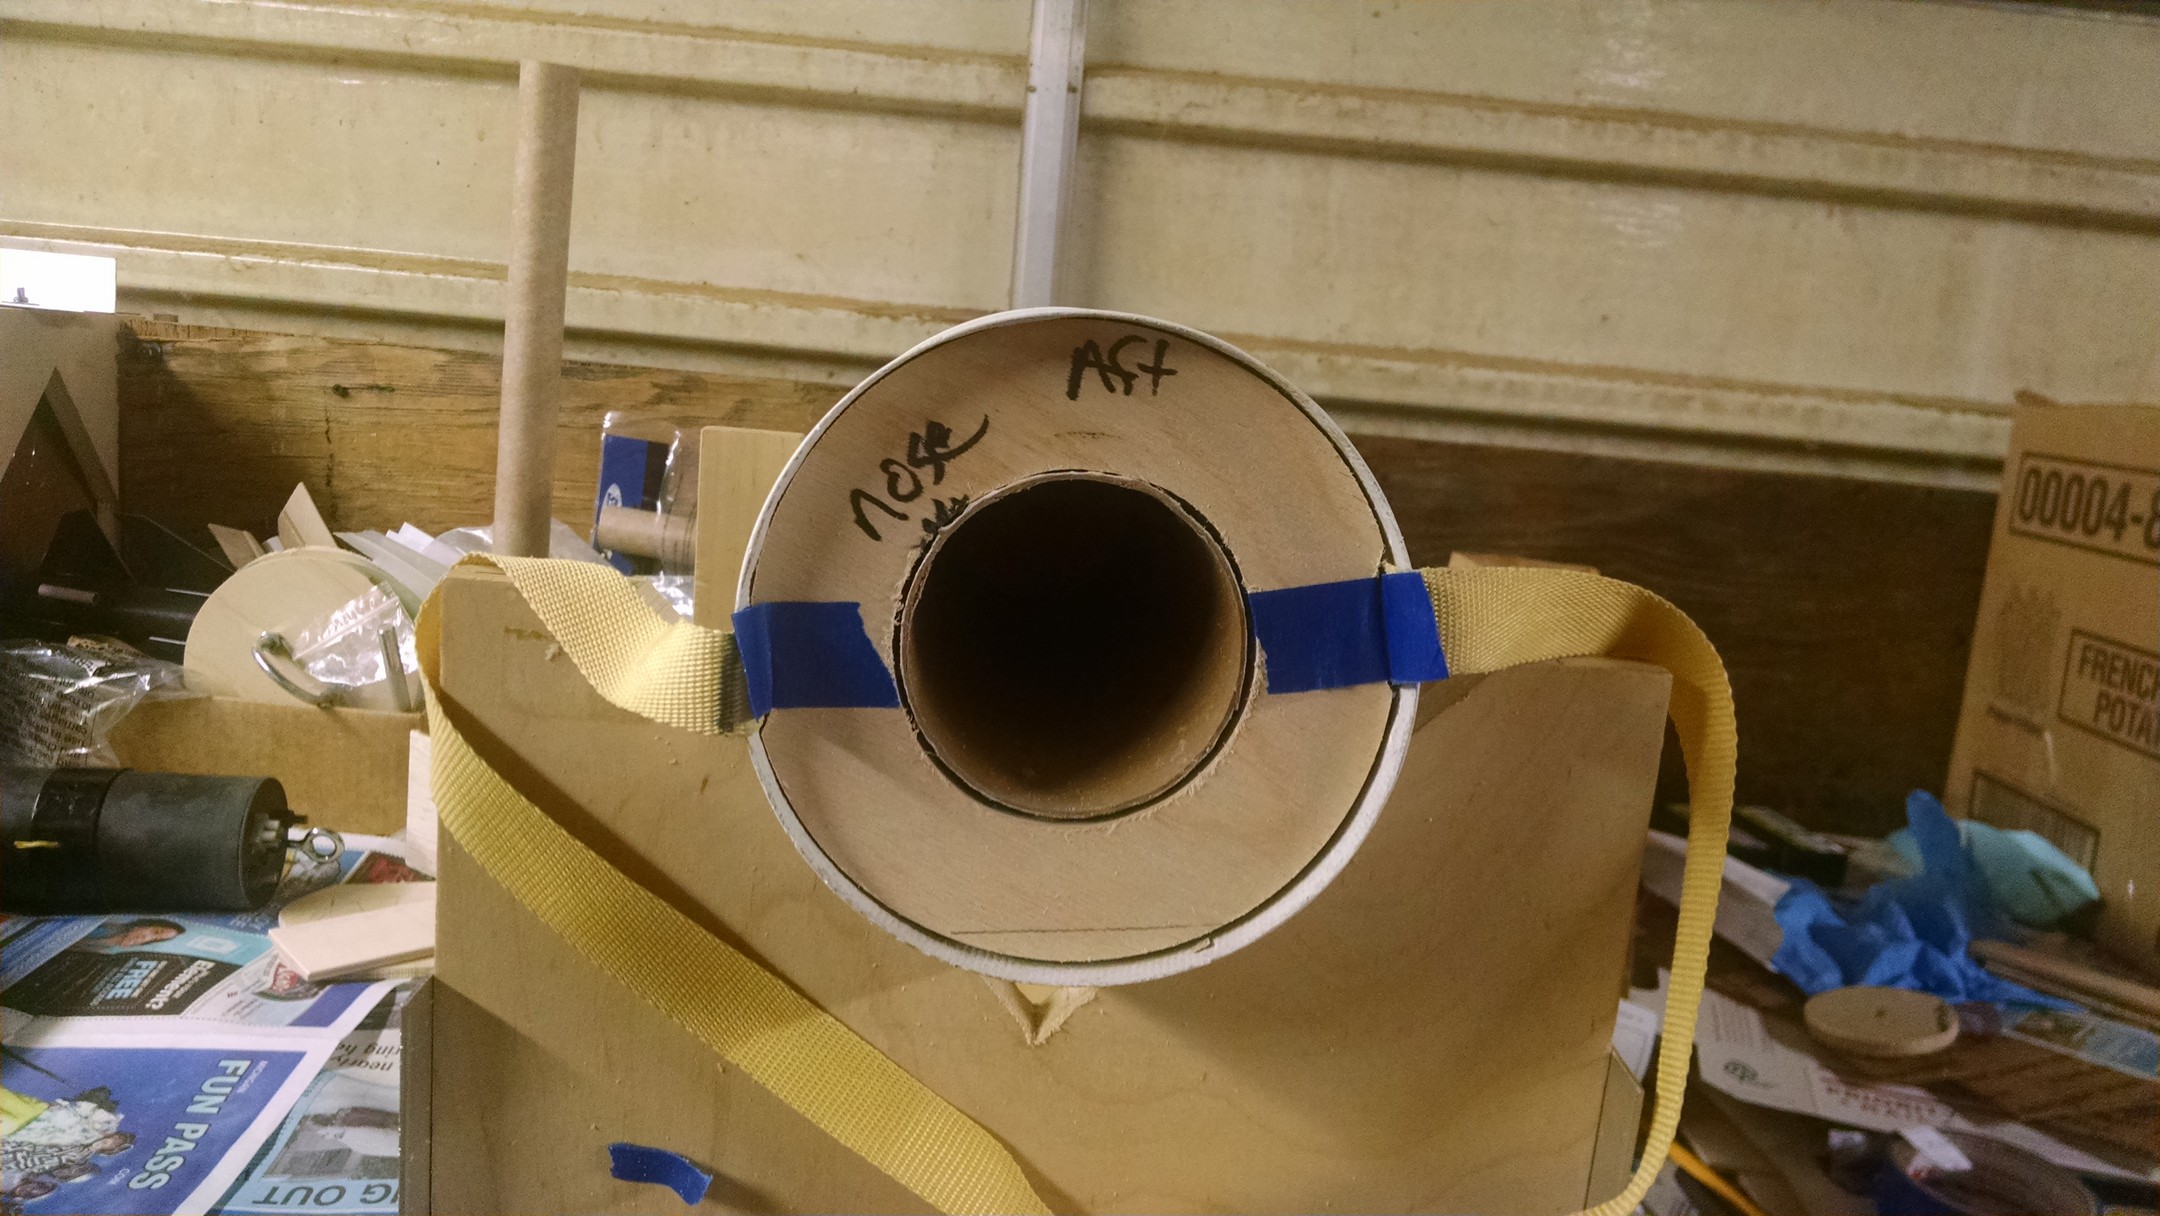
Moded the nose cone rings so they will fix in with the strips in the nose cone.. next to the tube that is going in for a tracking bay. August 27, 2015

holes added to the forward centering nose cone ring for the 2part foam to get to the top of the nose cone.
nose cone ring epoxied in and installed.
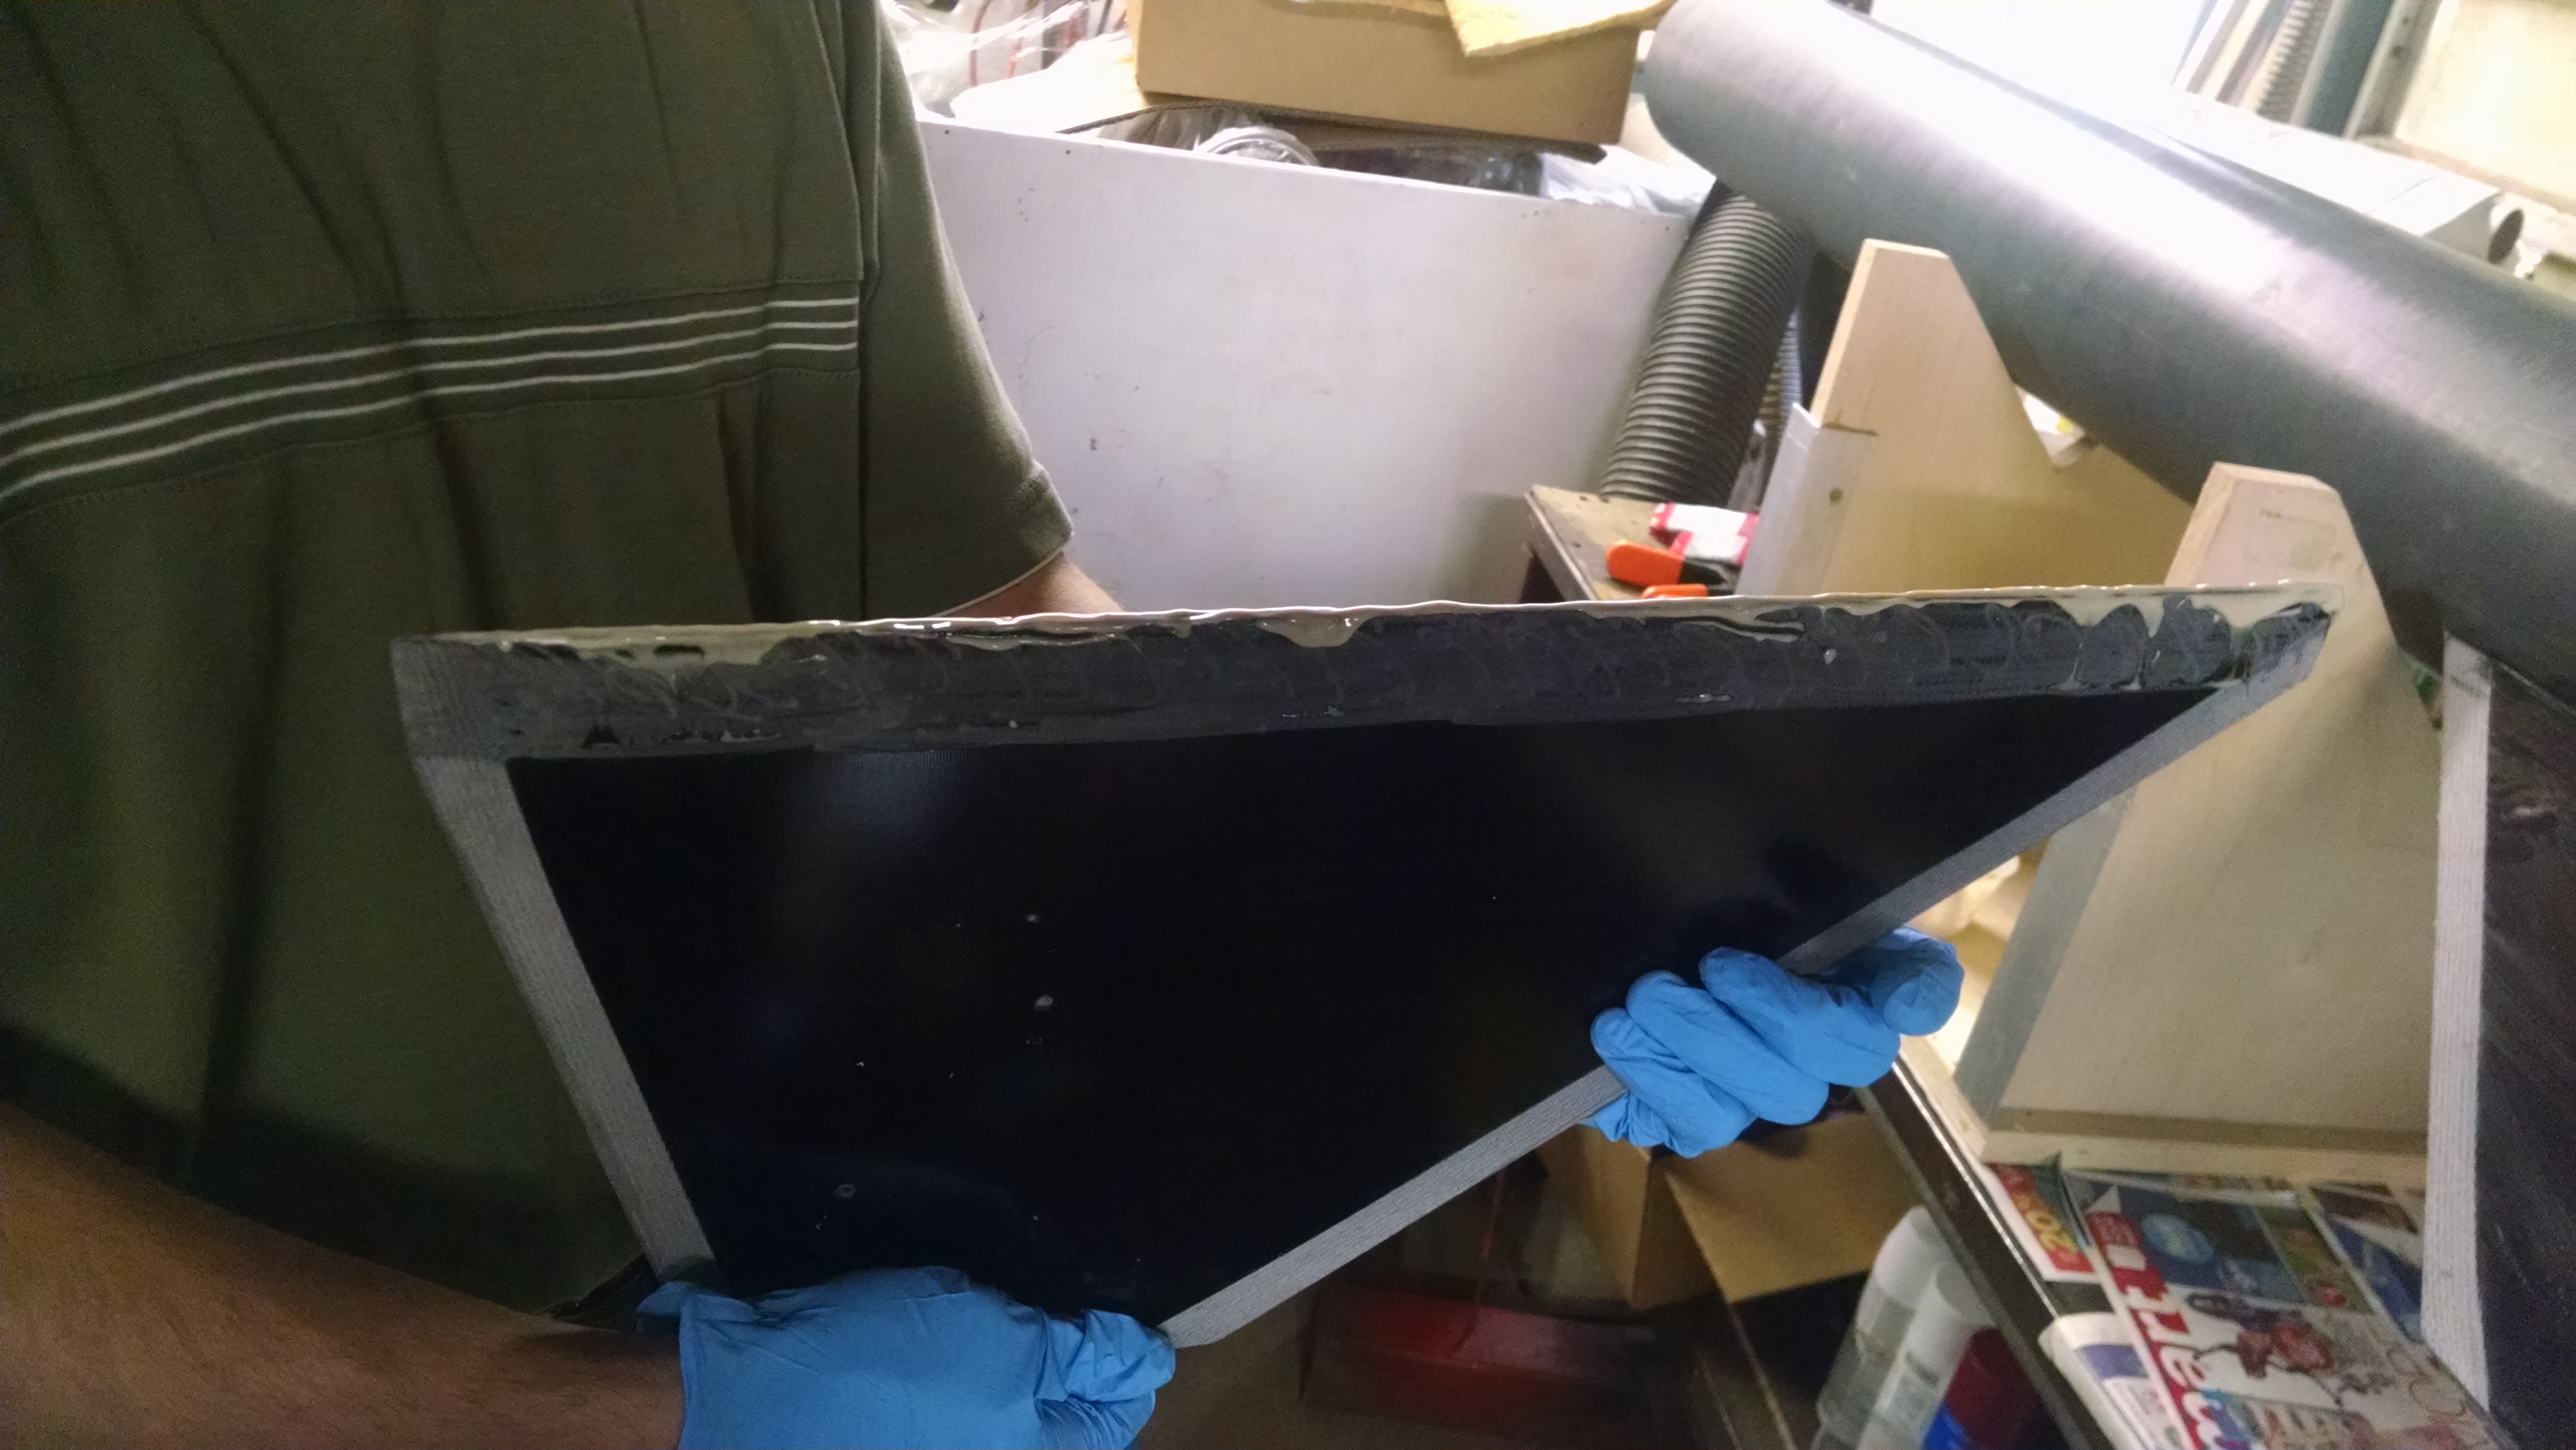
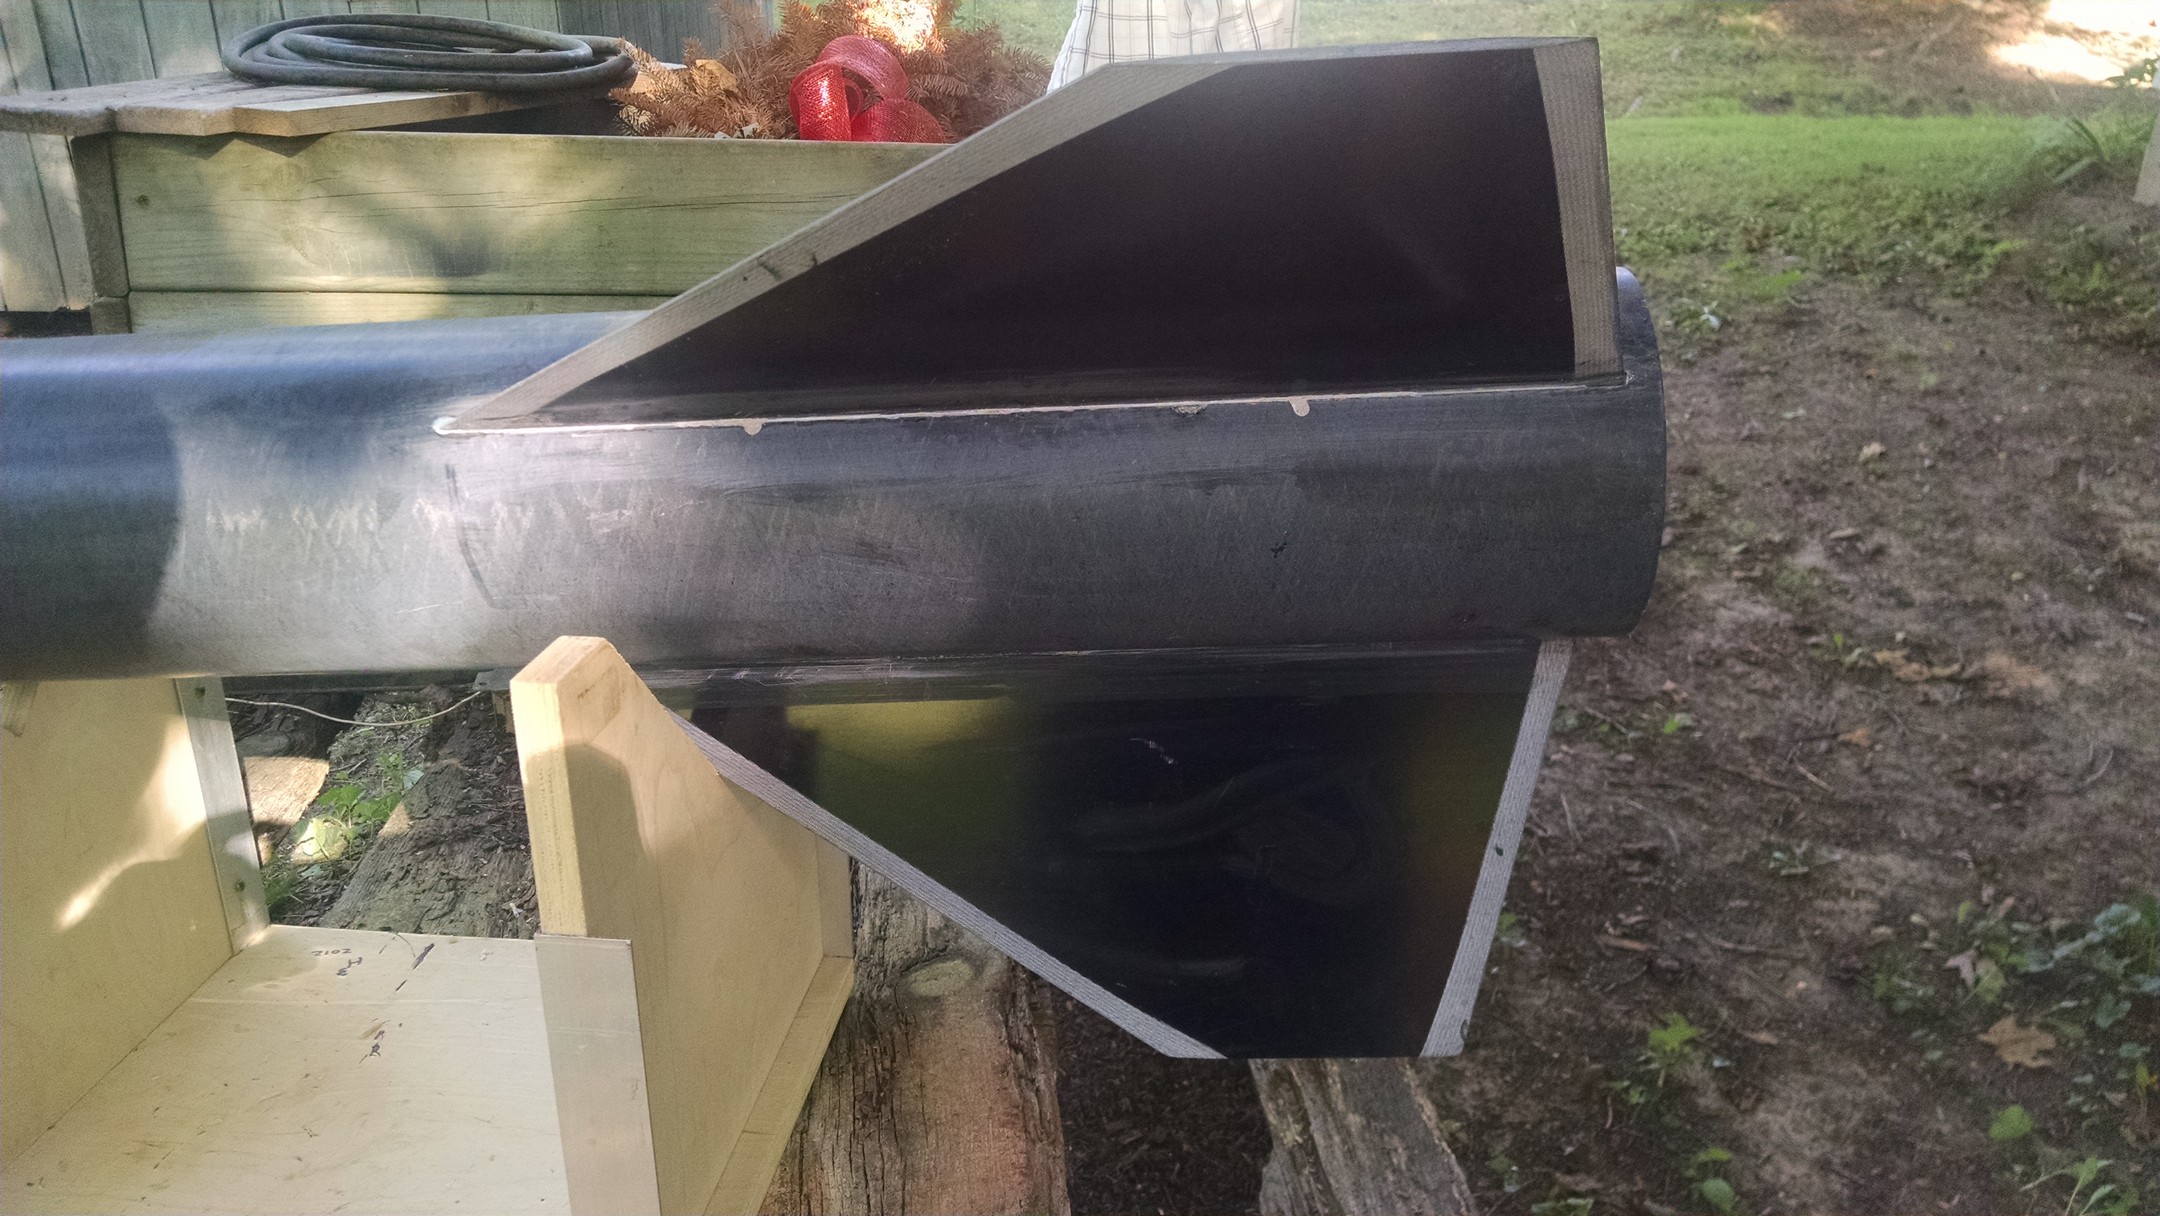
prepping the first set of external fillets.. making a mess!
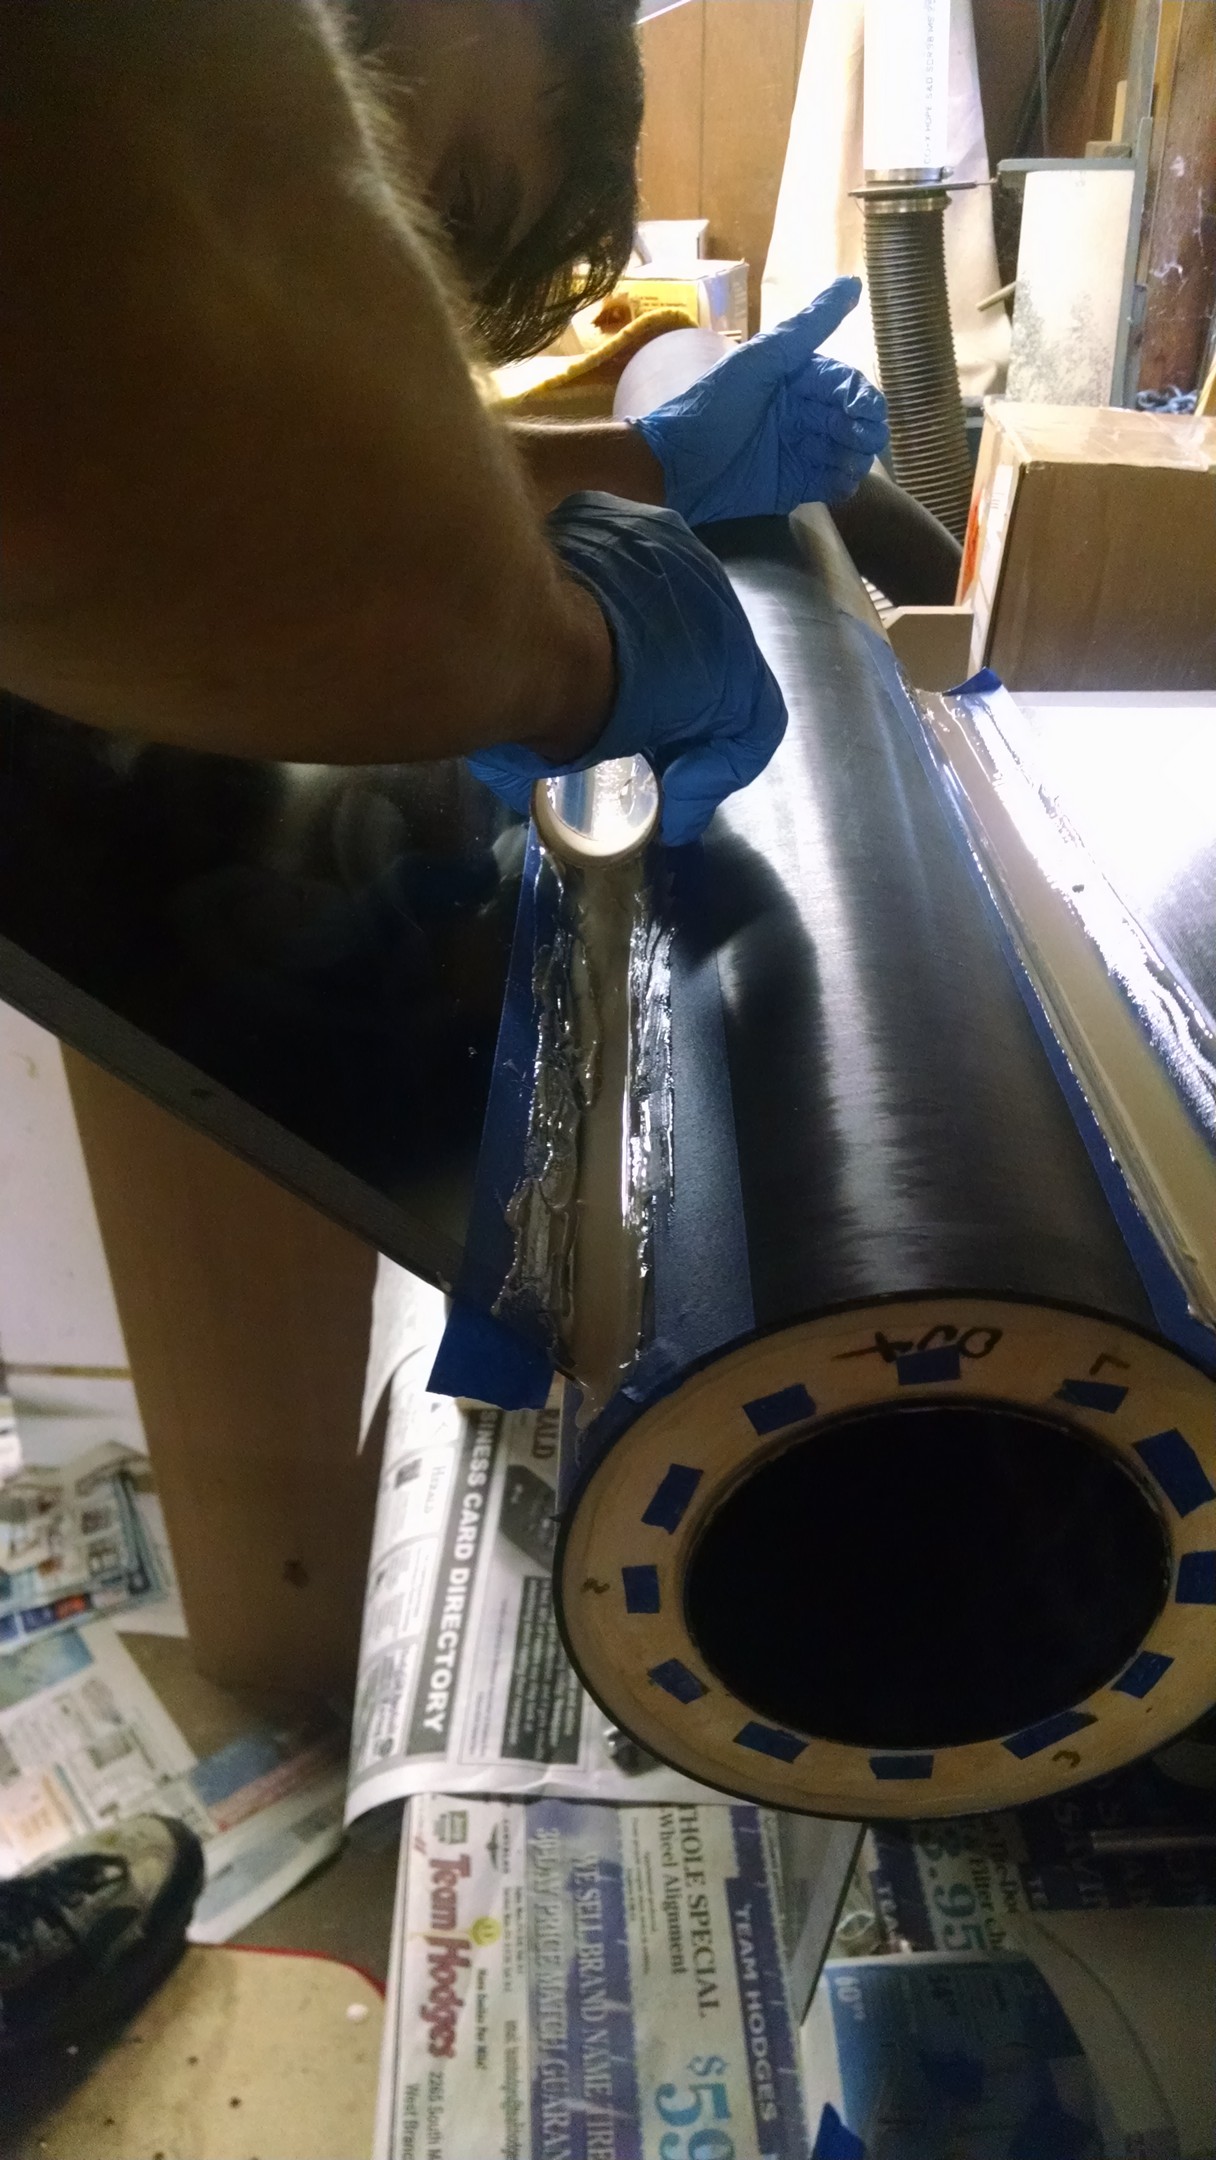
I used a 38mm motor tube to make the fillets look pretty!!
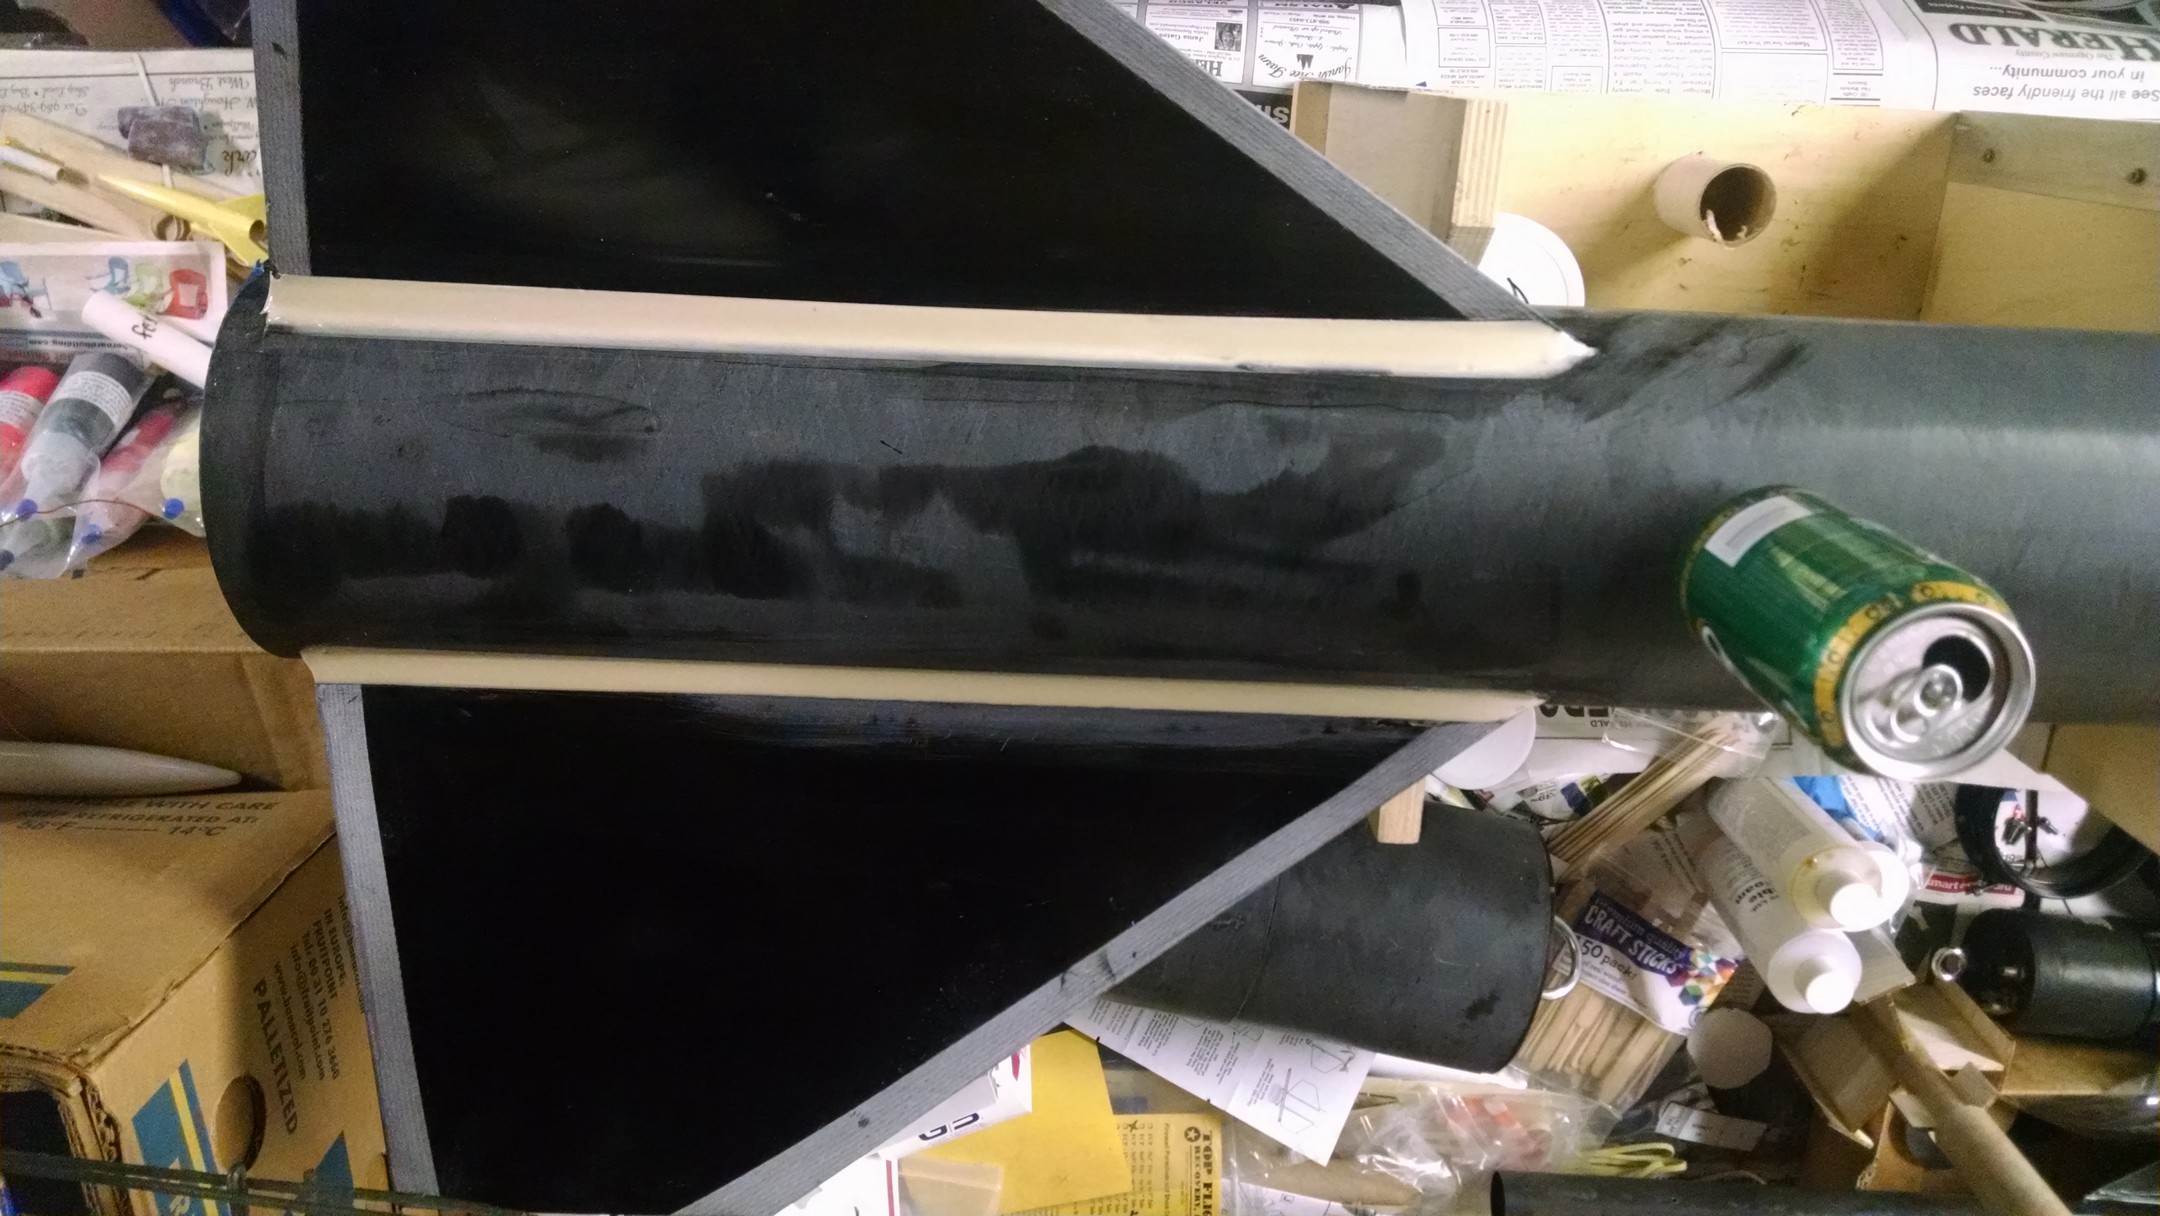
First side done
And looking good!!
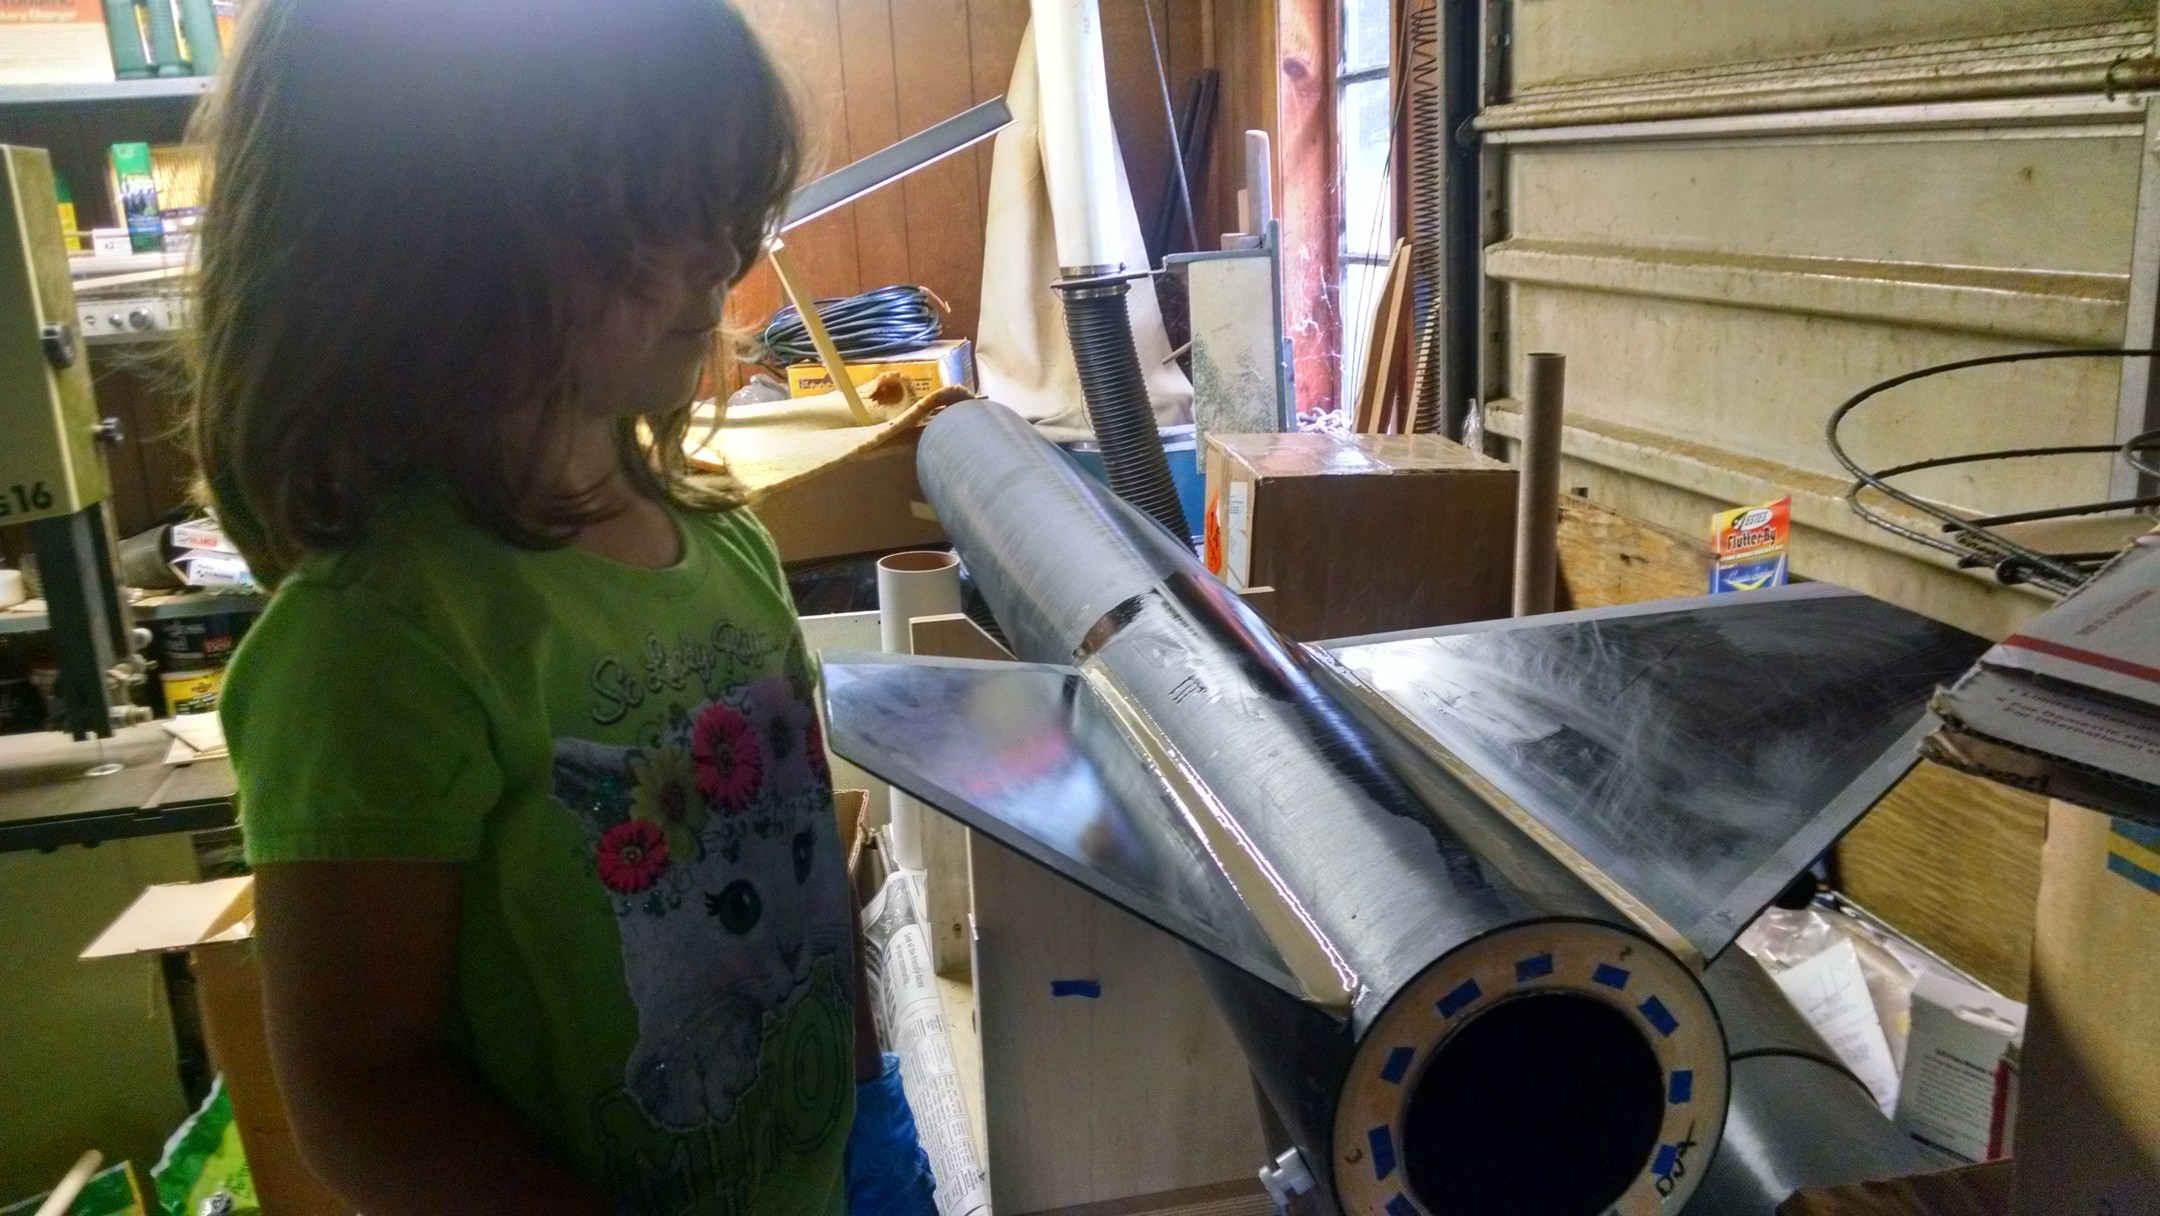
Sammie inspecting the second side of external fillets September 5 2015
She got distracted with the cats out side…

Second side done
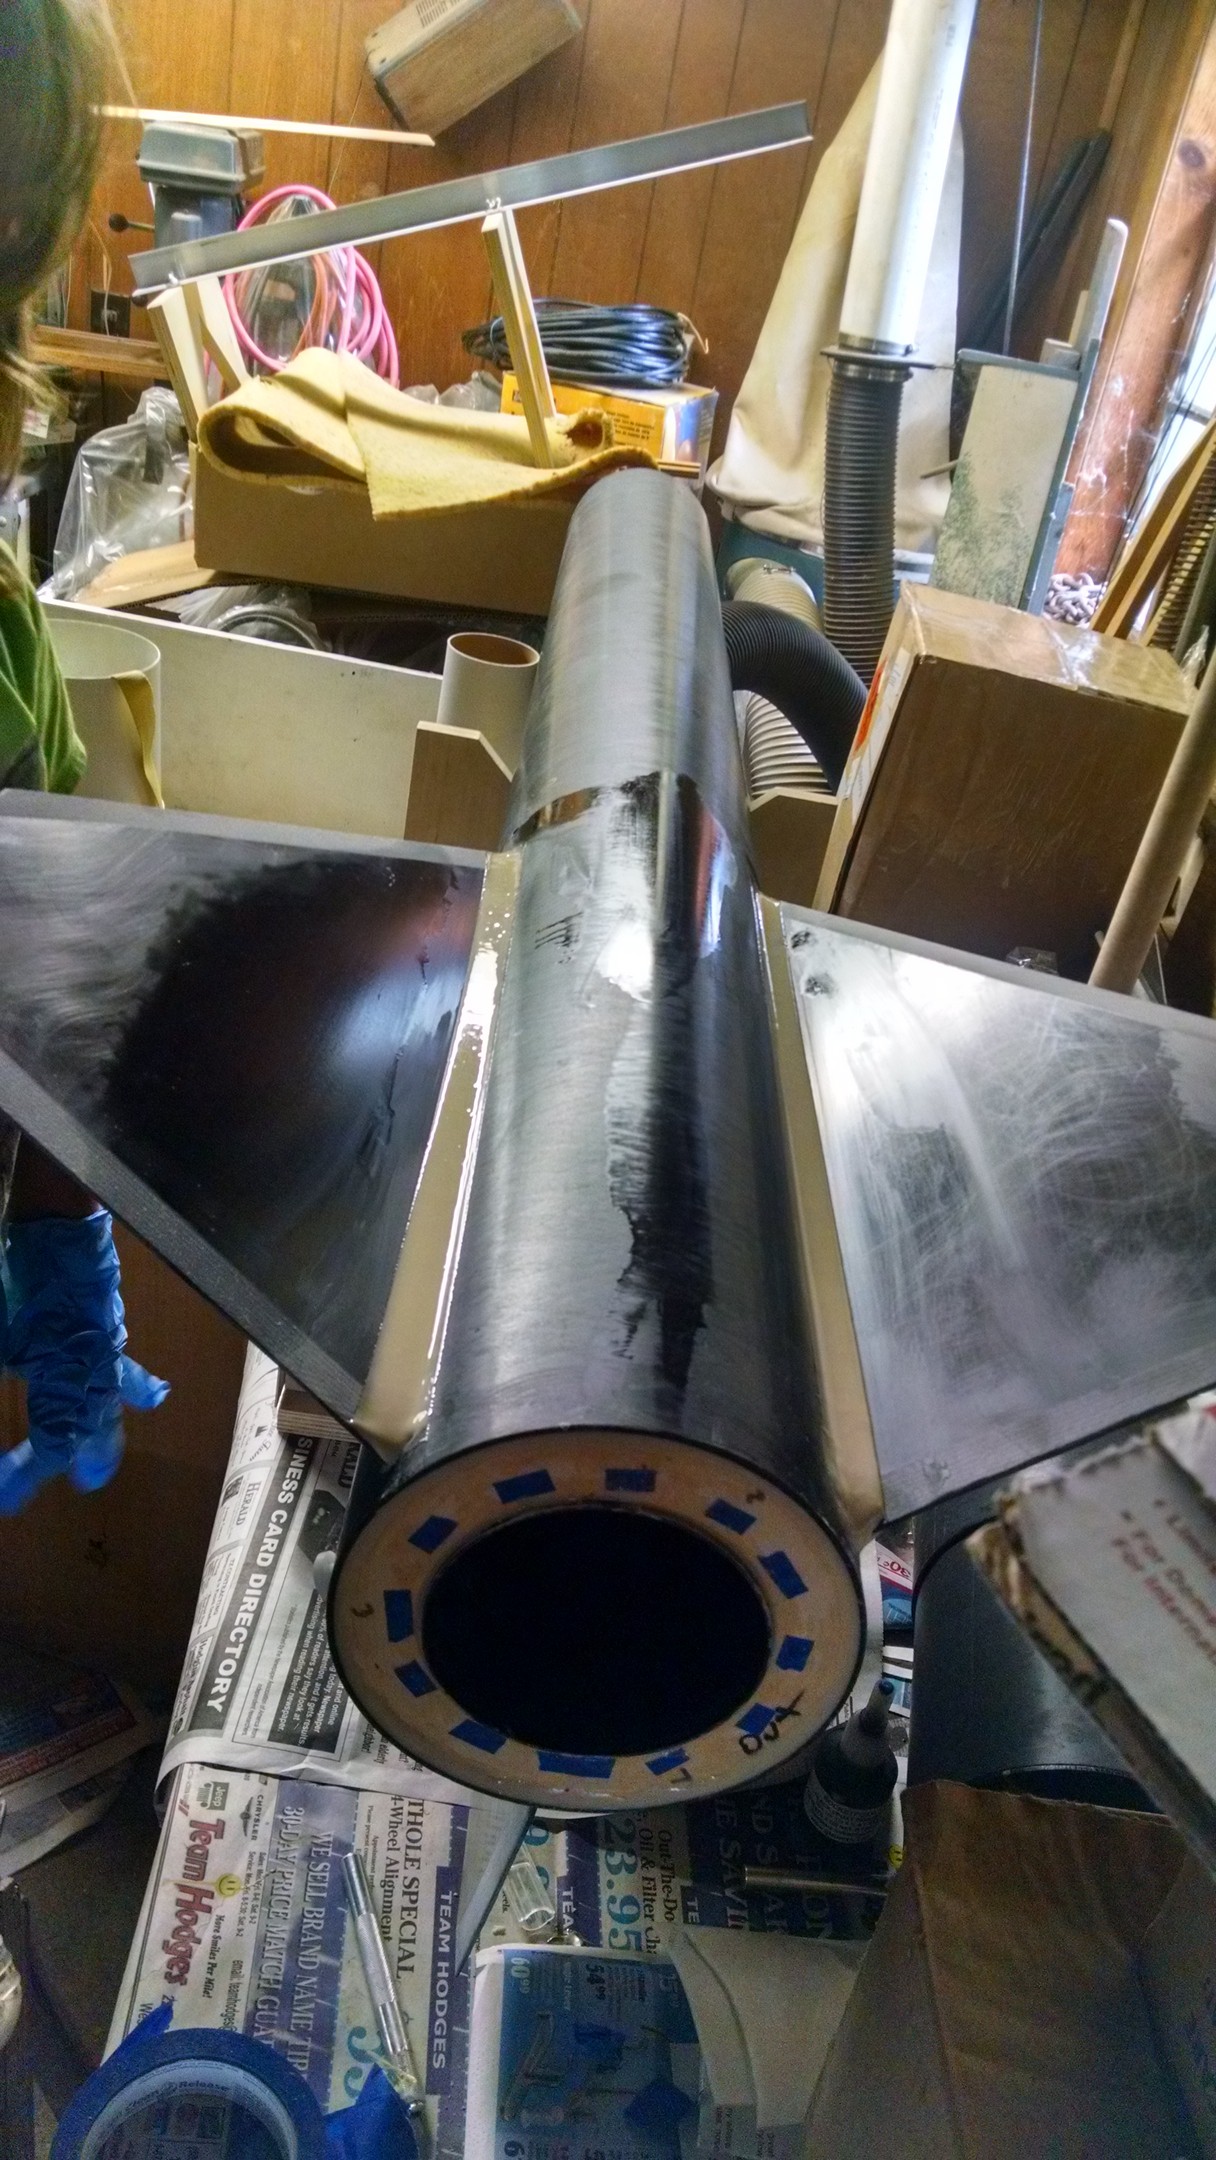
I like it.. second side from the back.
Third and final fin fillet Sep 9, 2015
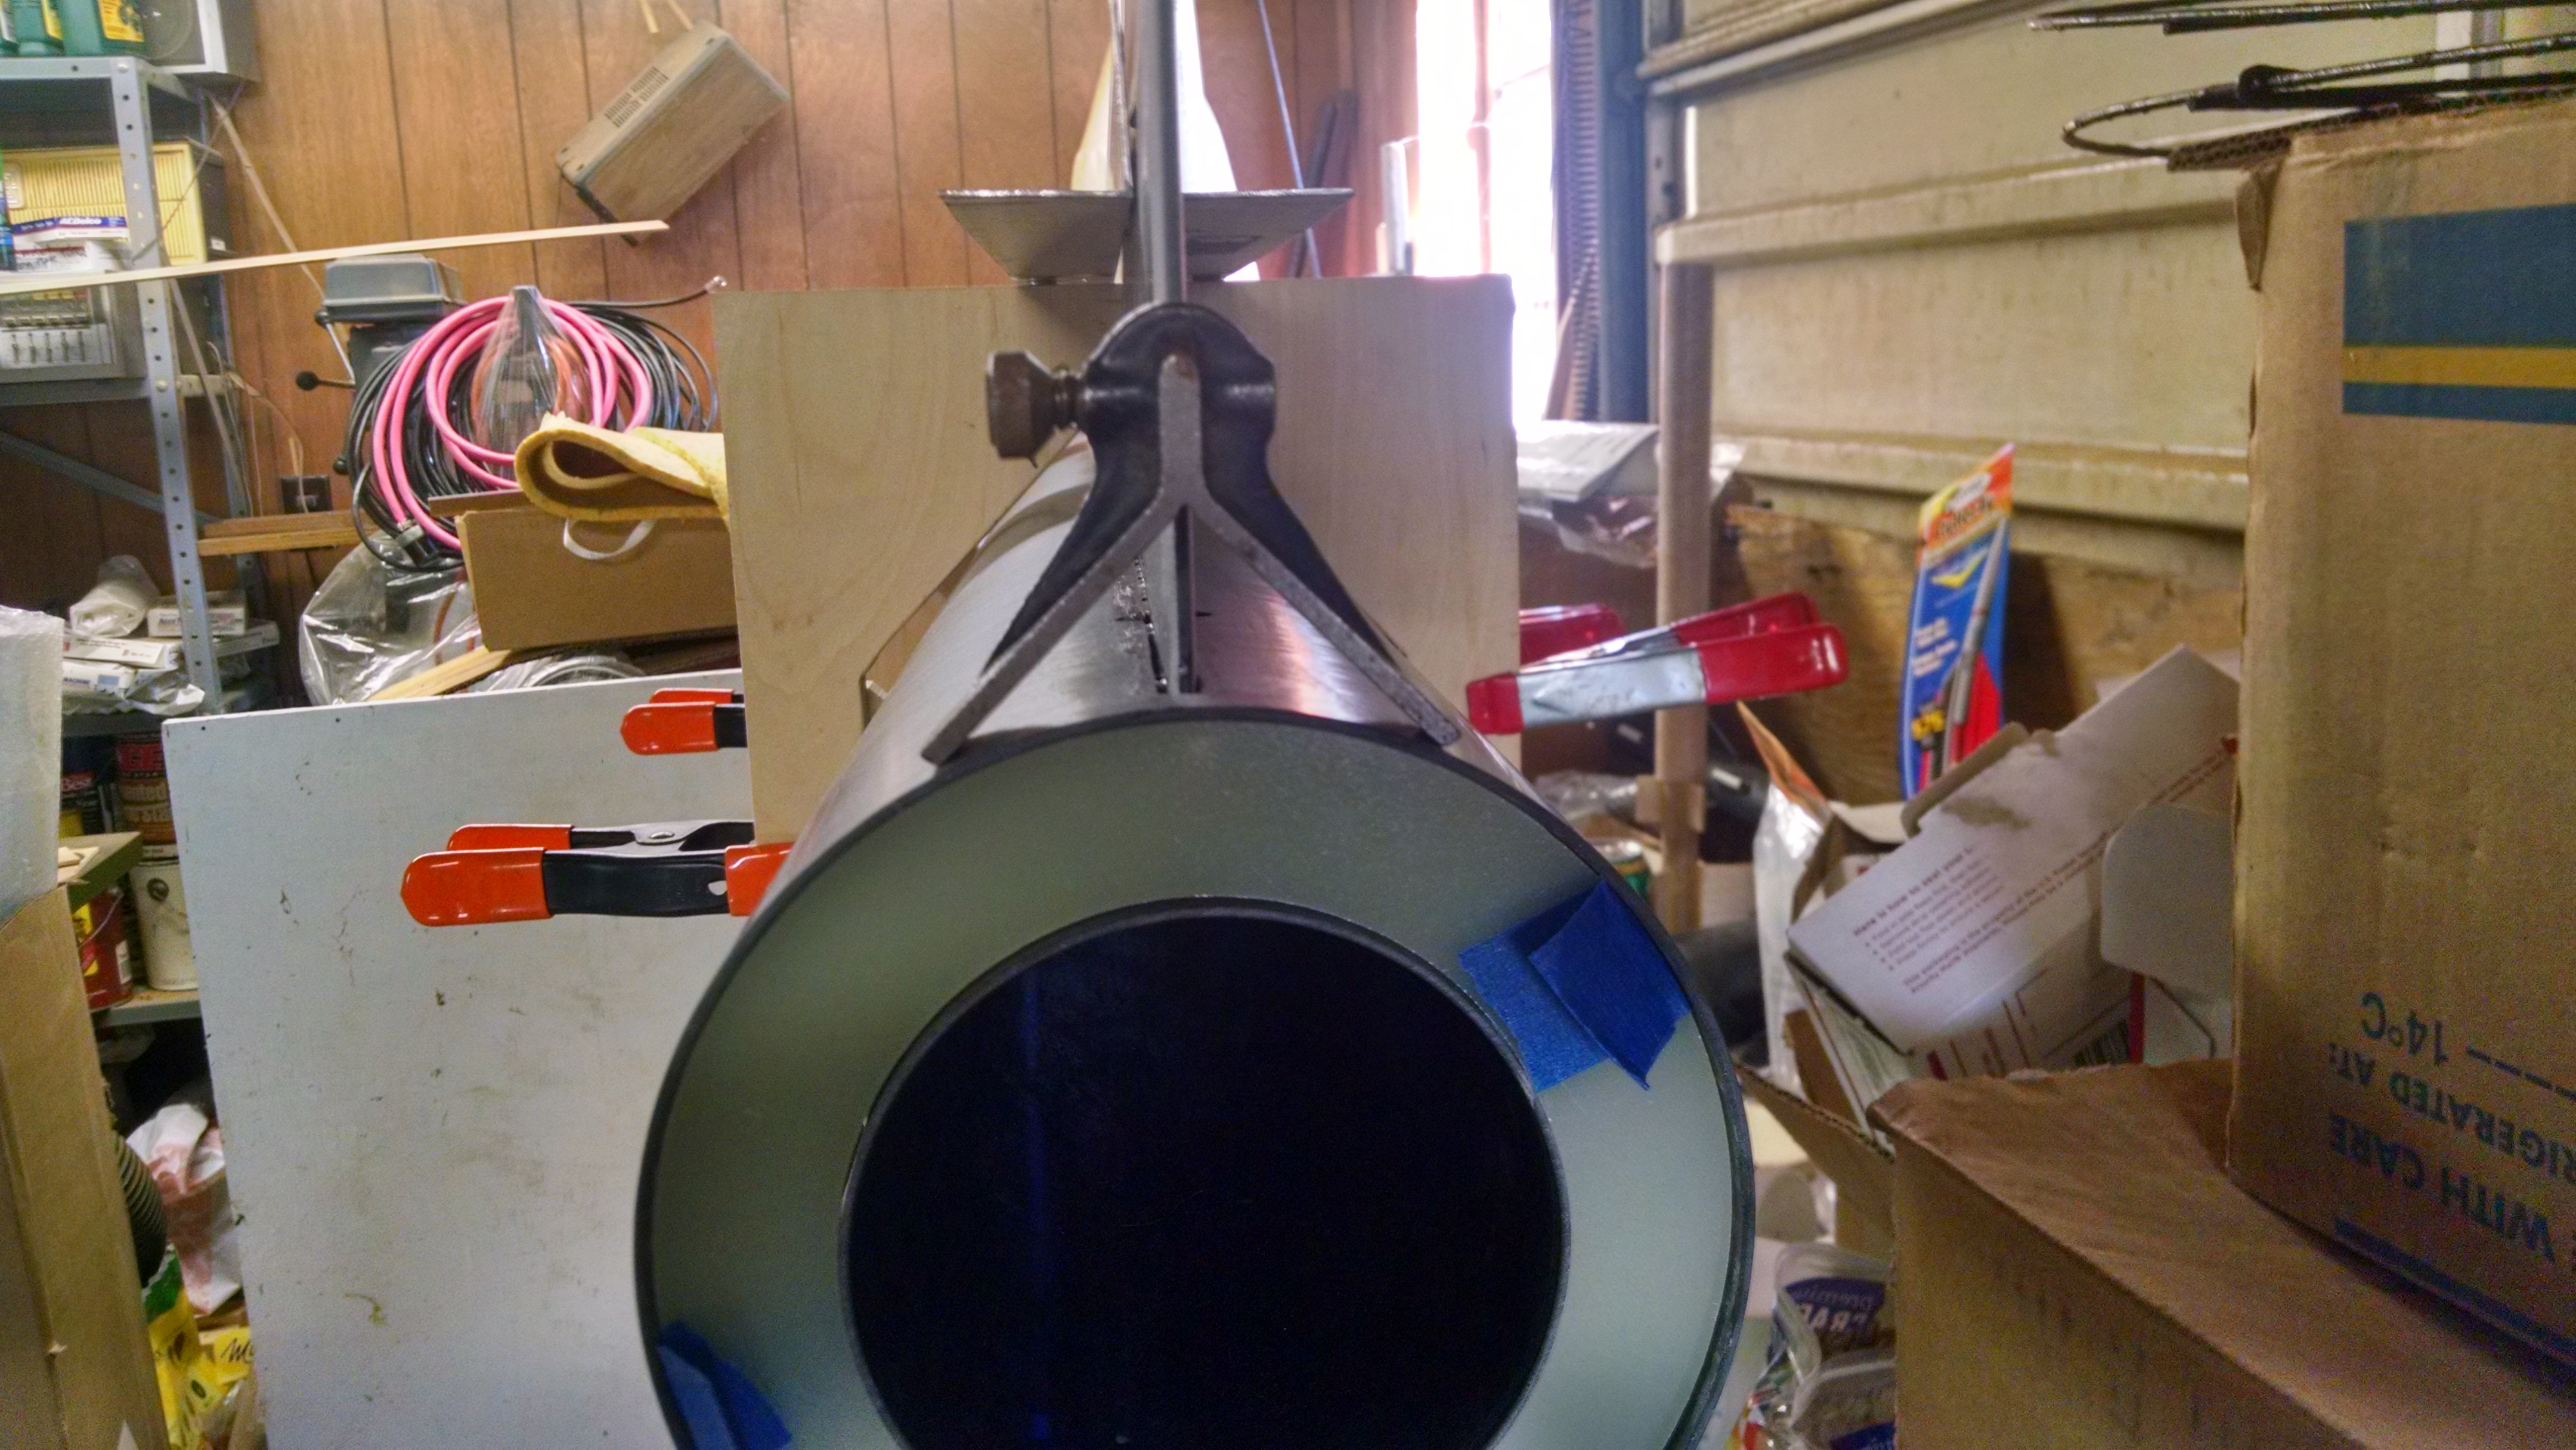
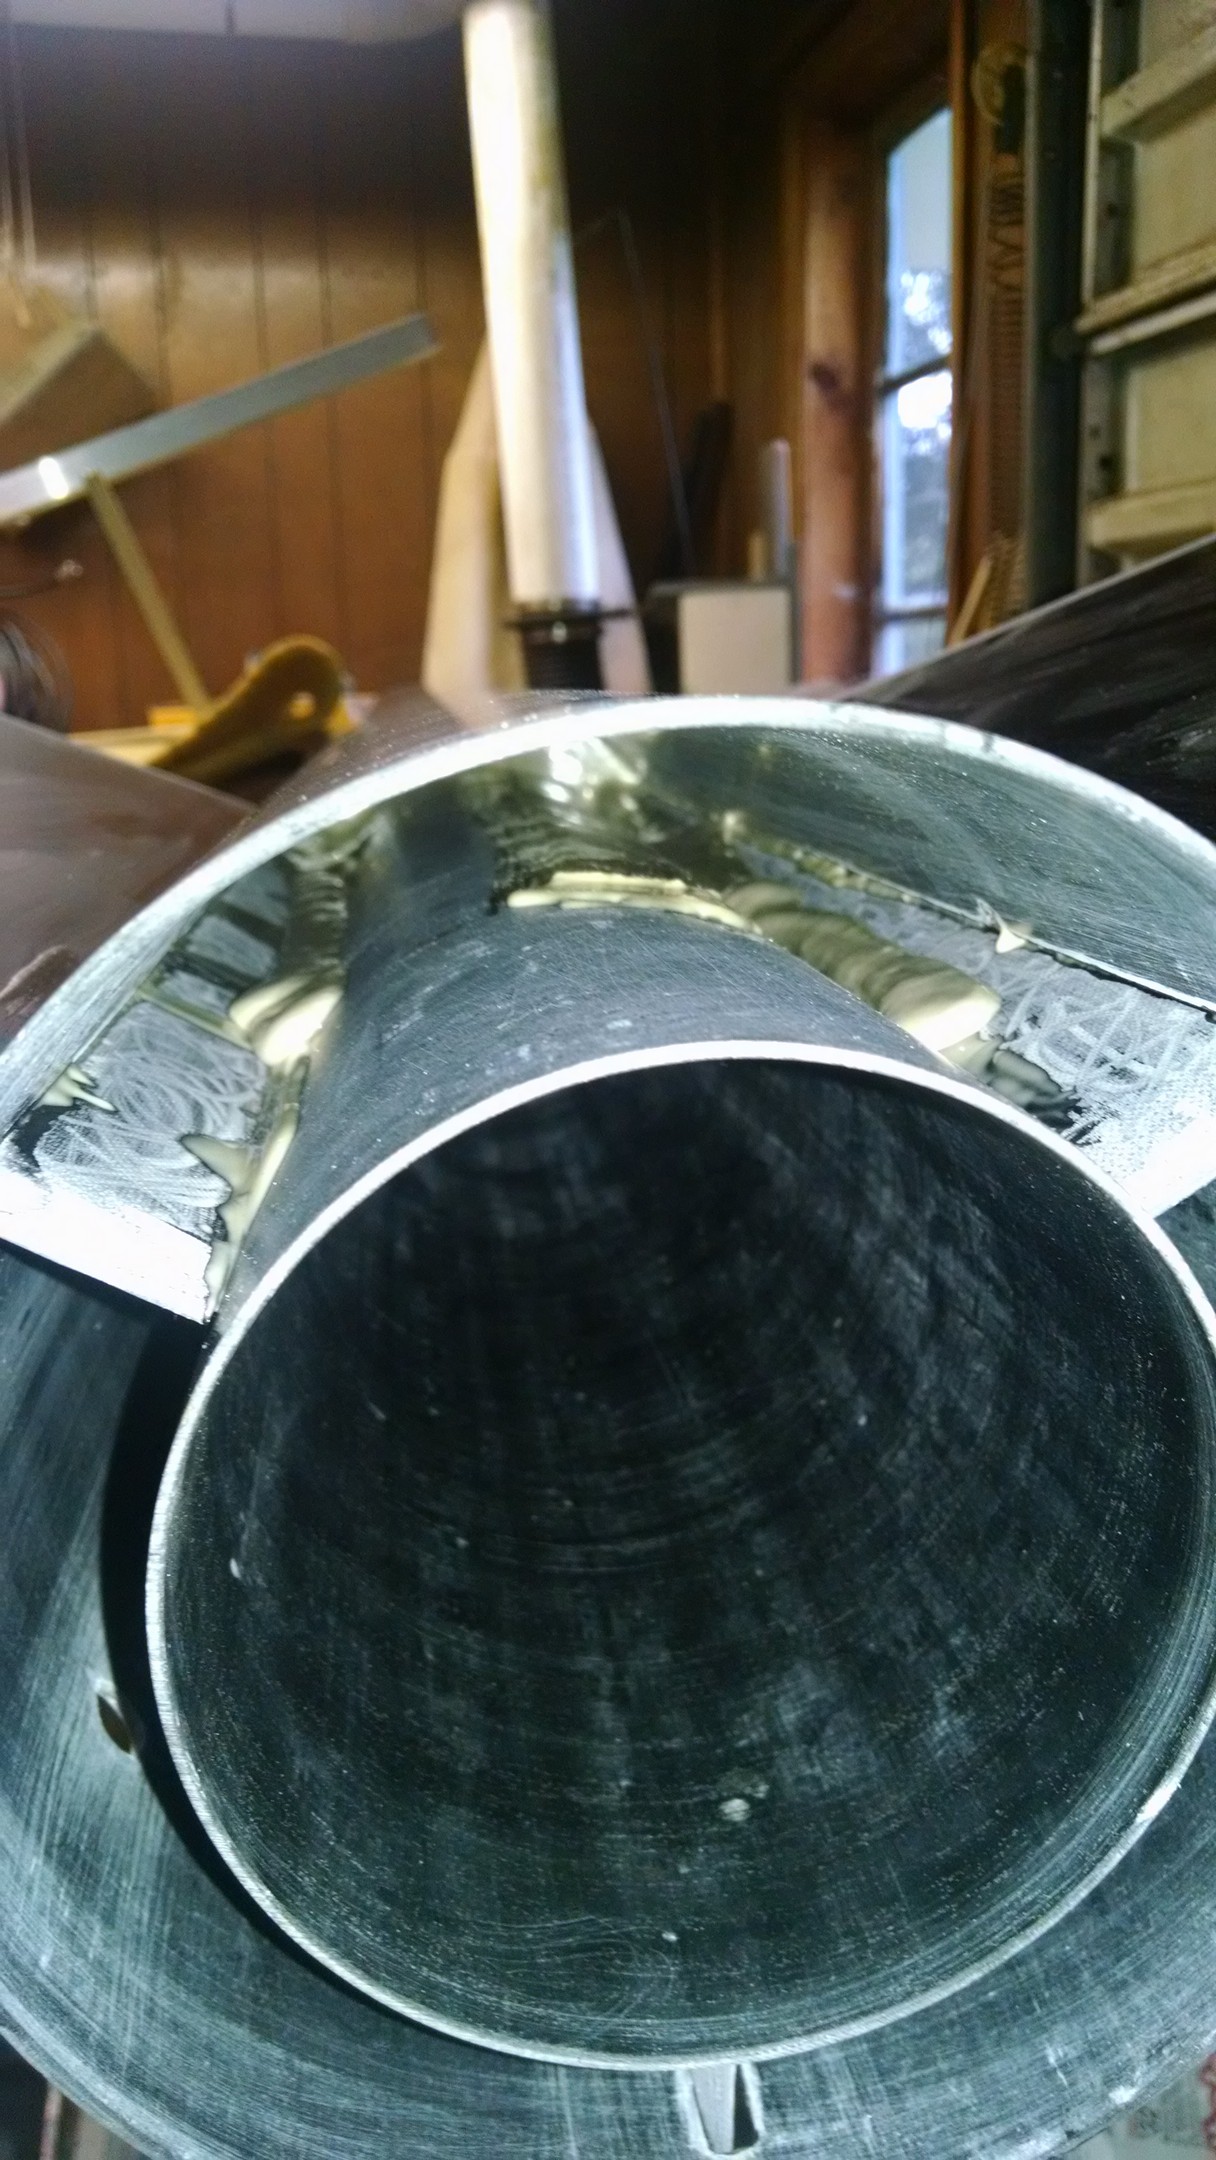
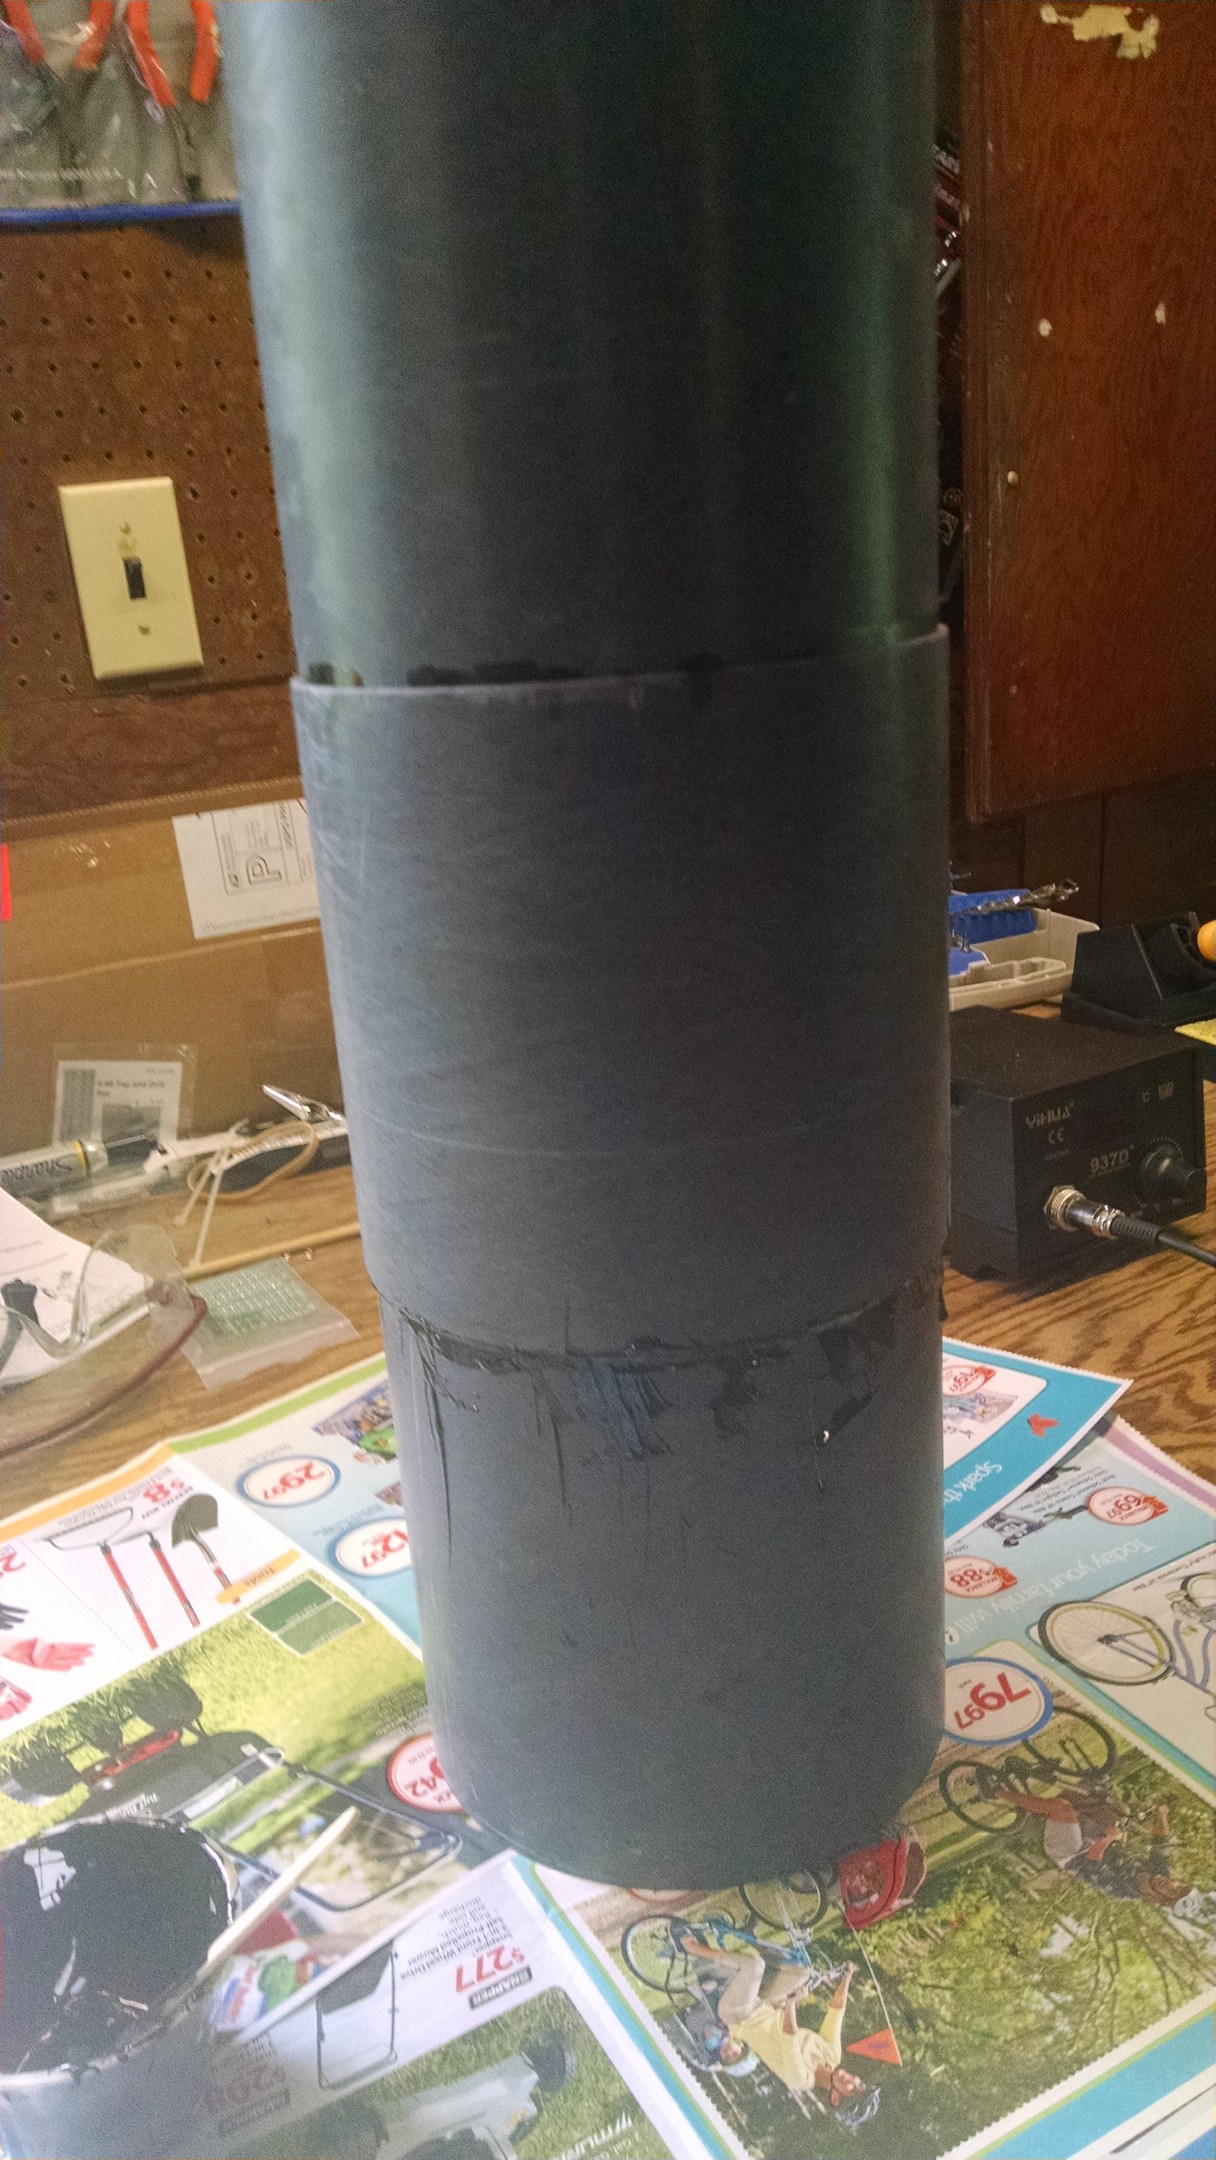
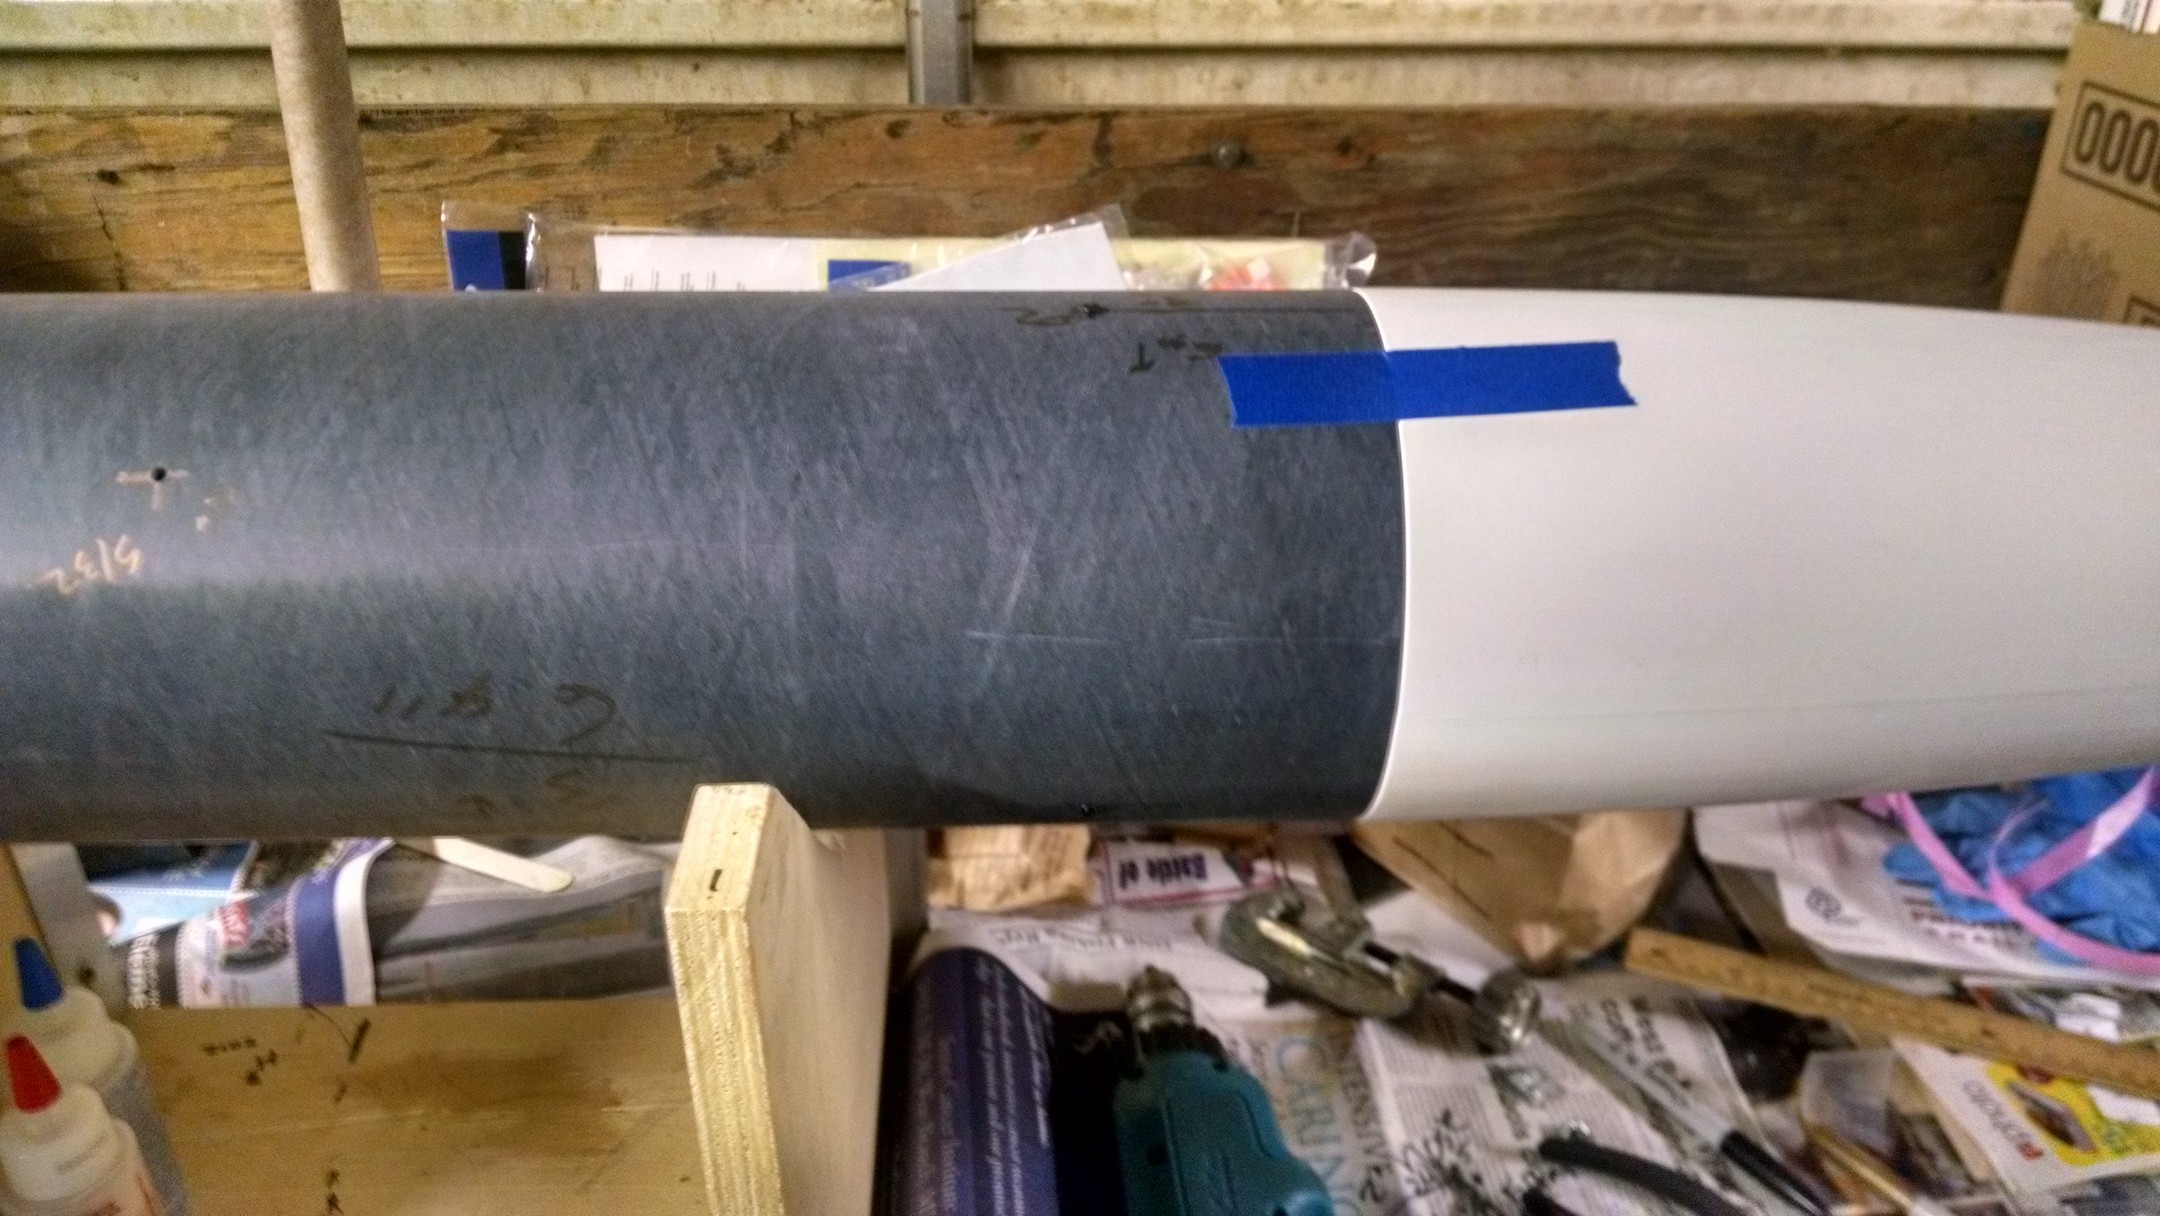
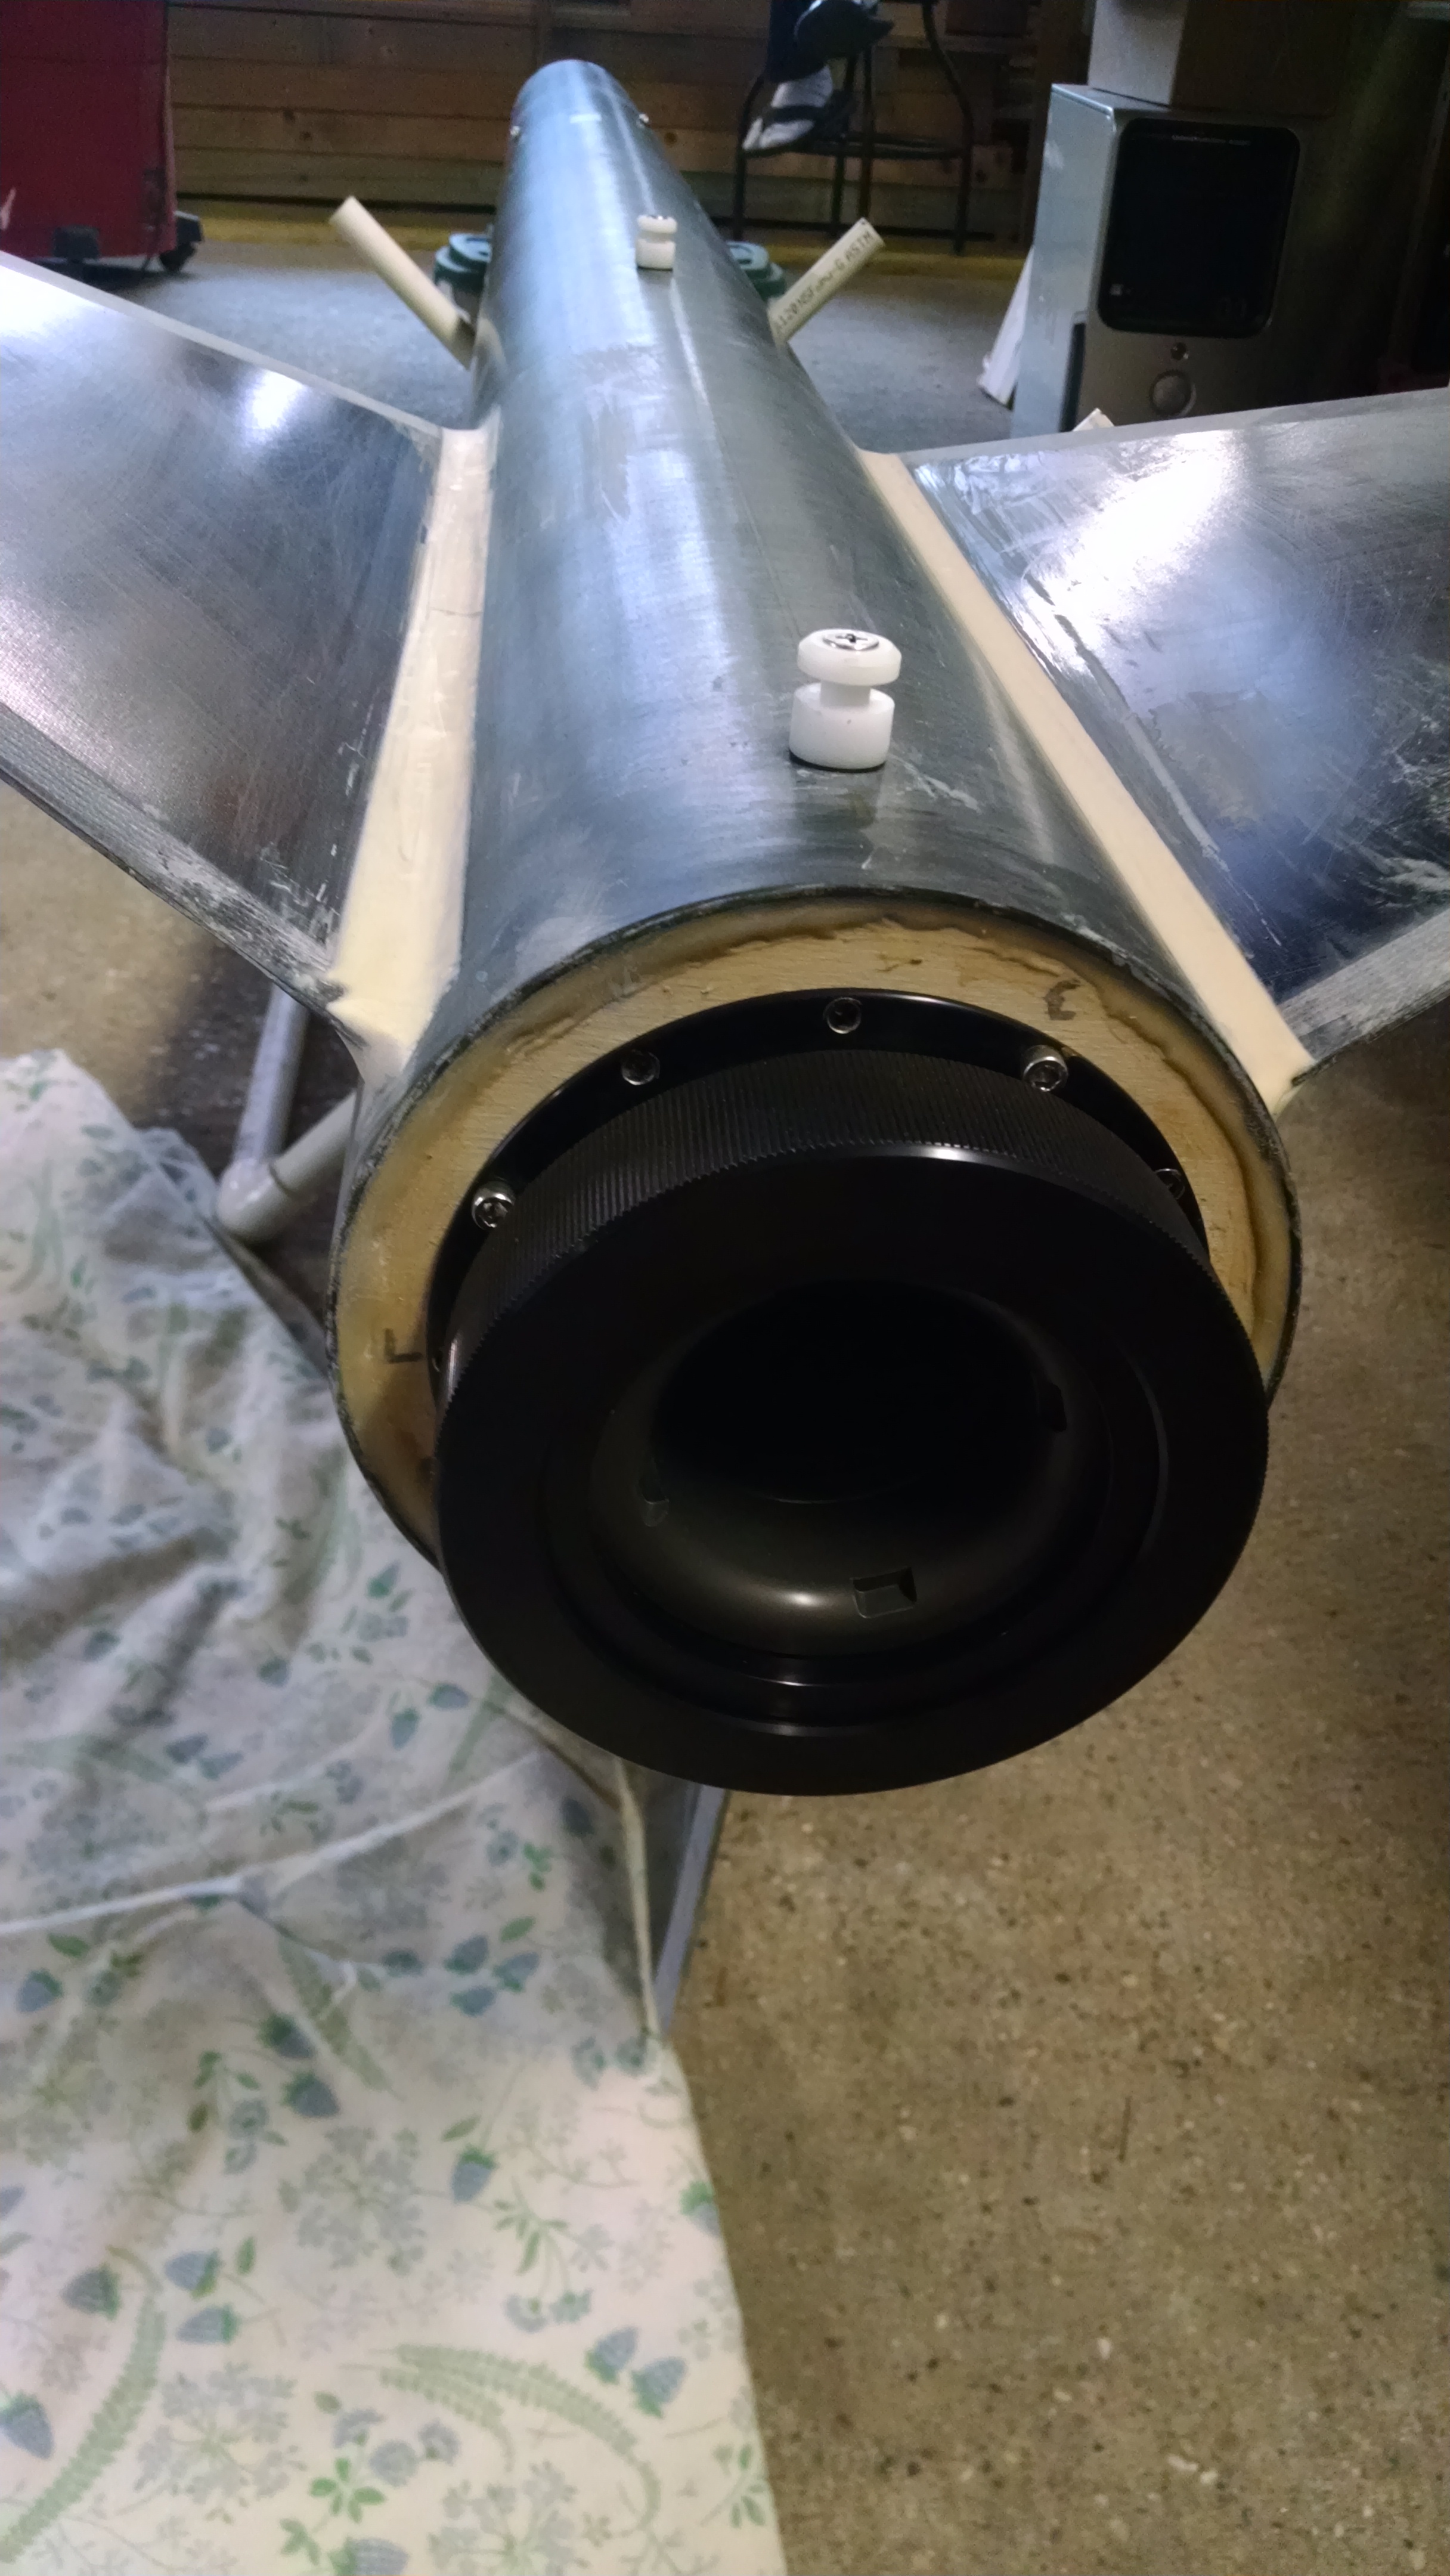
I need to sand down the motor tube, just a little bit so the motor retainer can sit flush. Sep 12, 2015
All done…
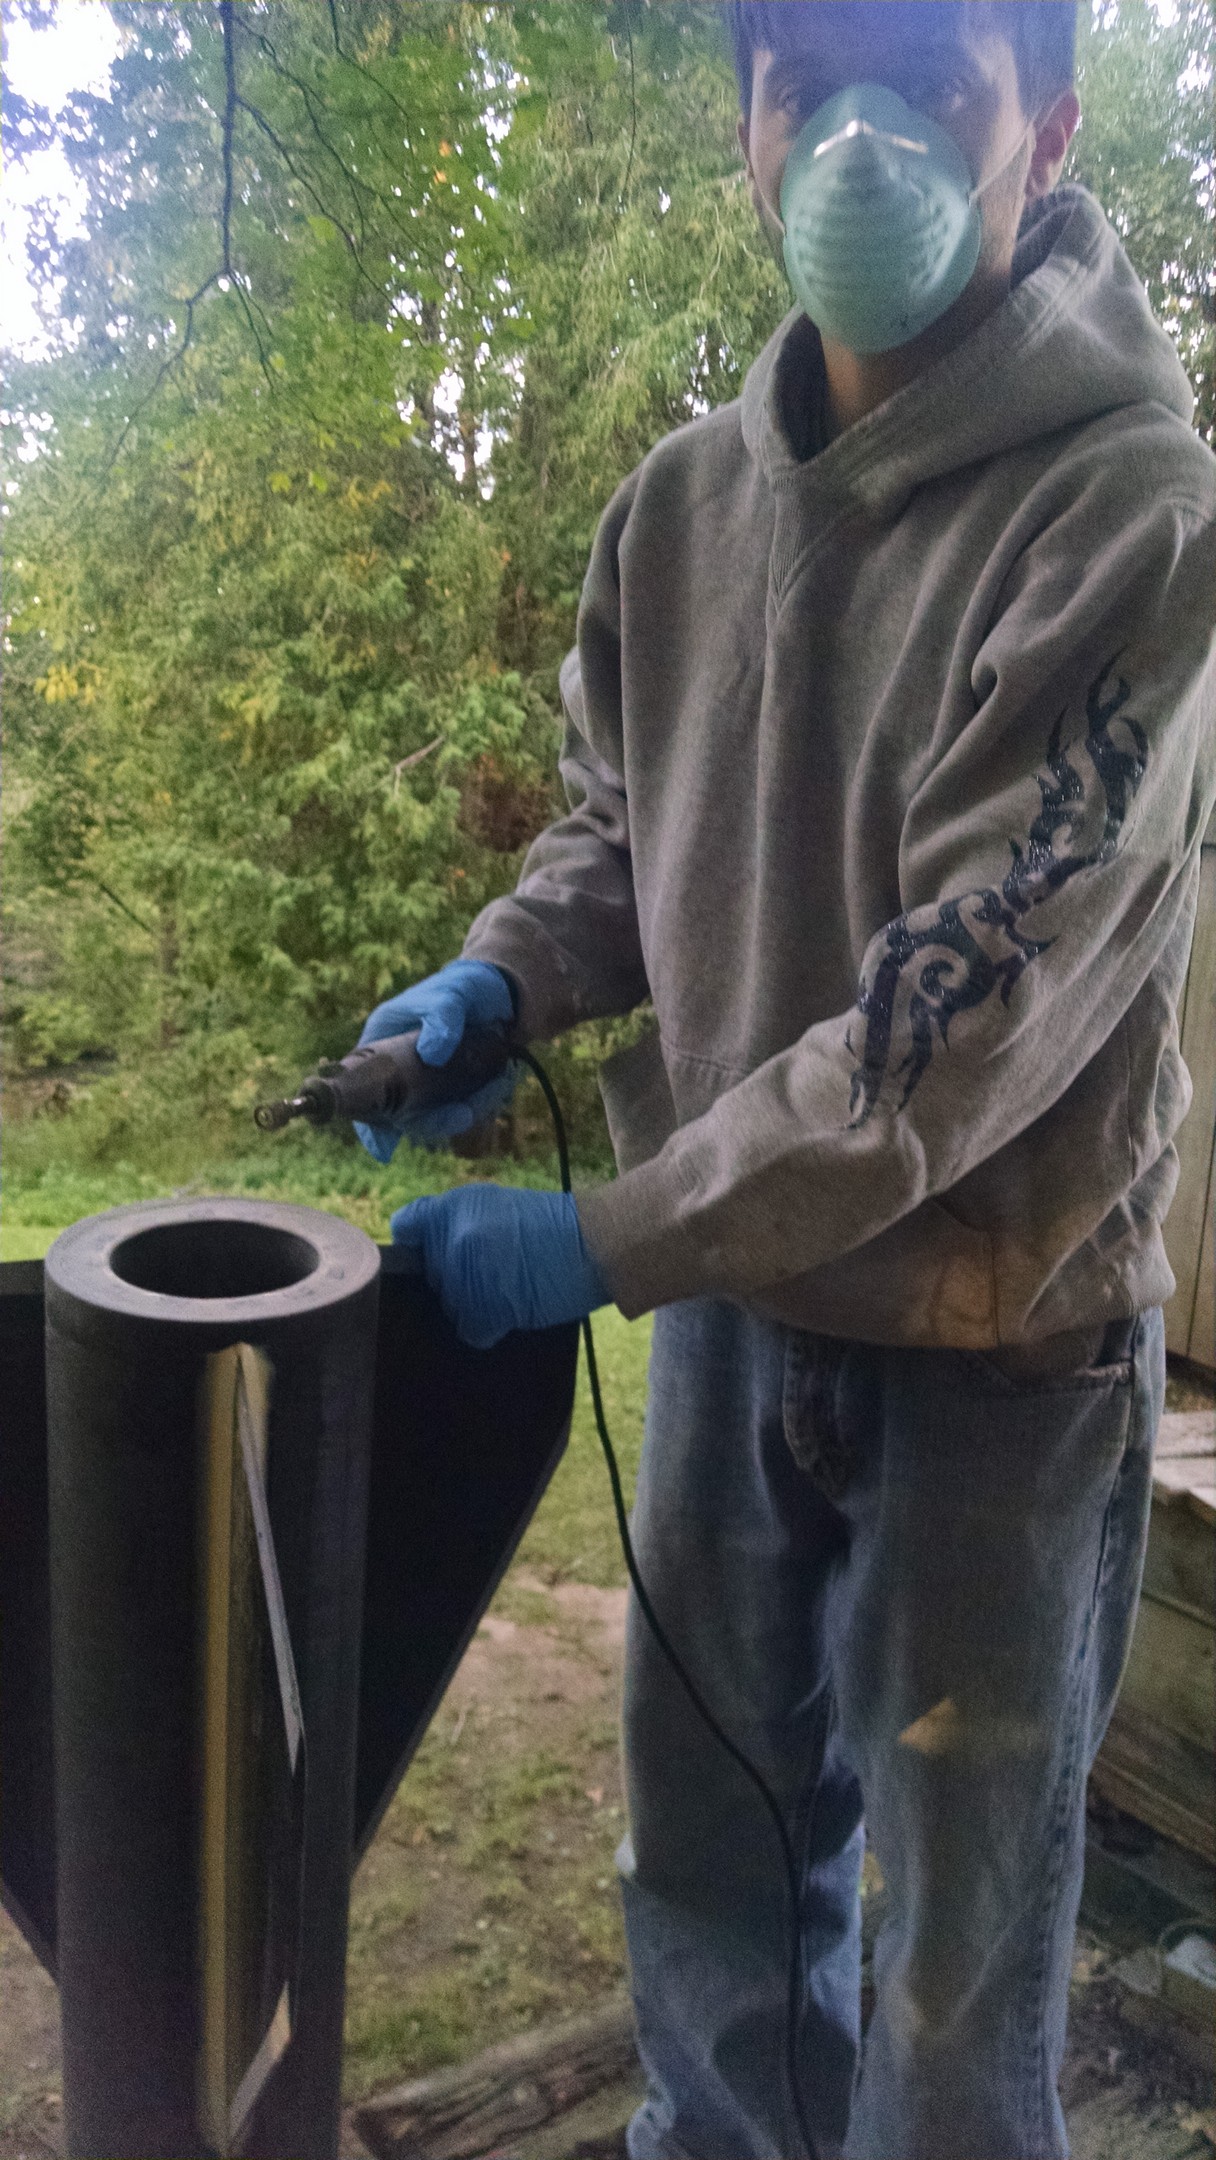
it’s a dirty job, but someone has got to do it.
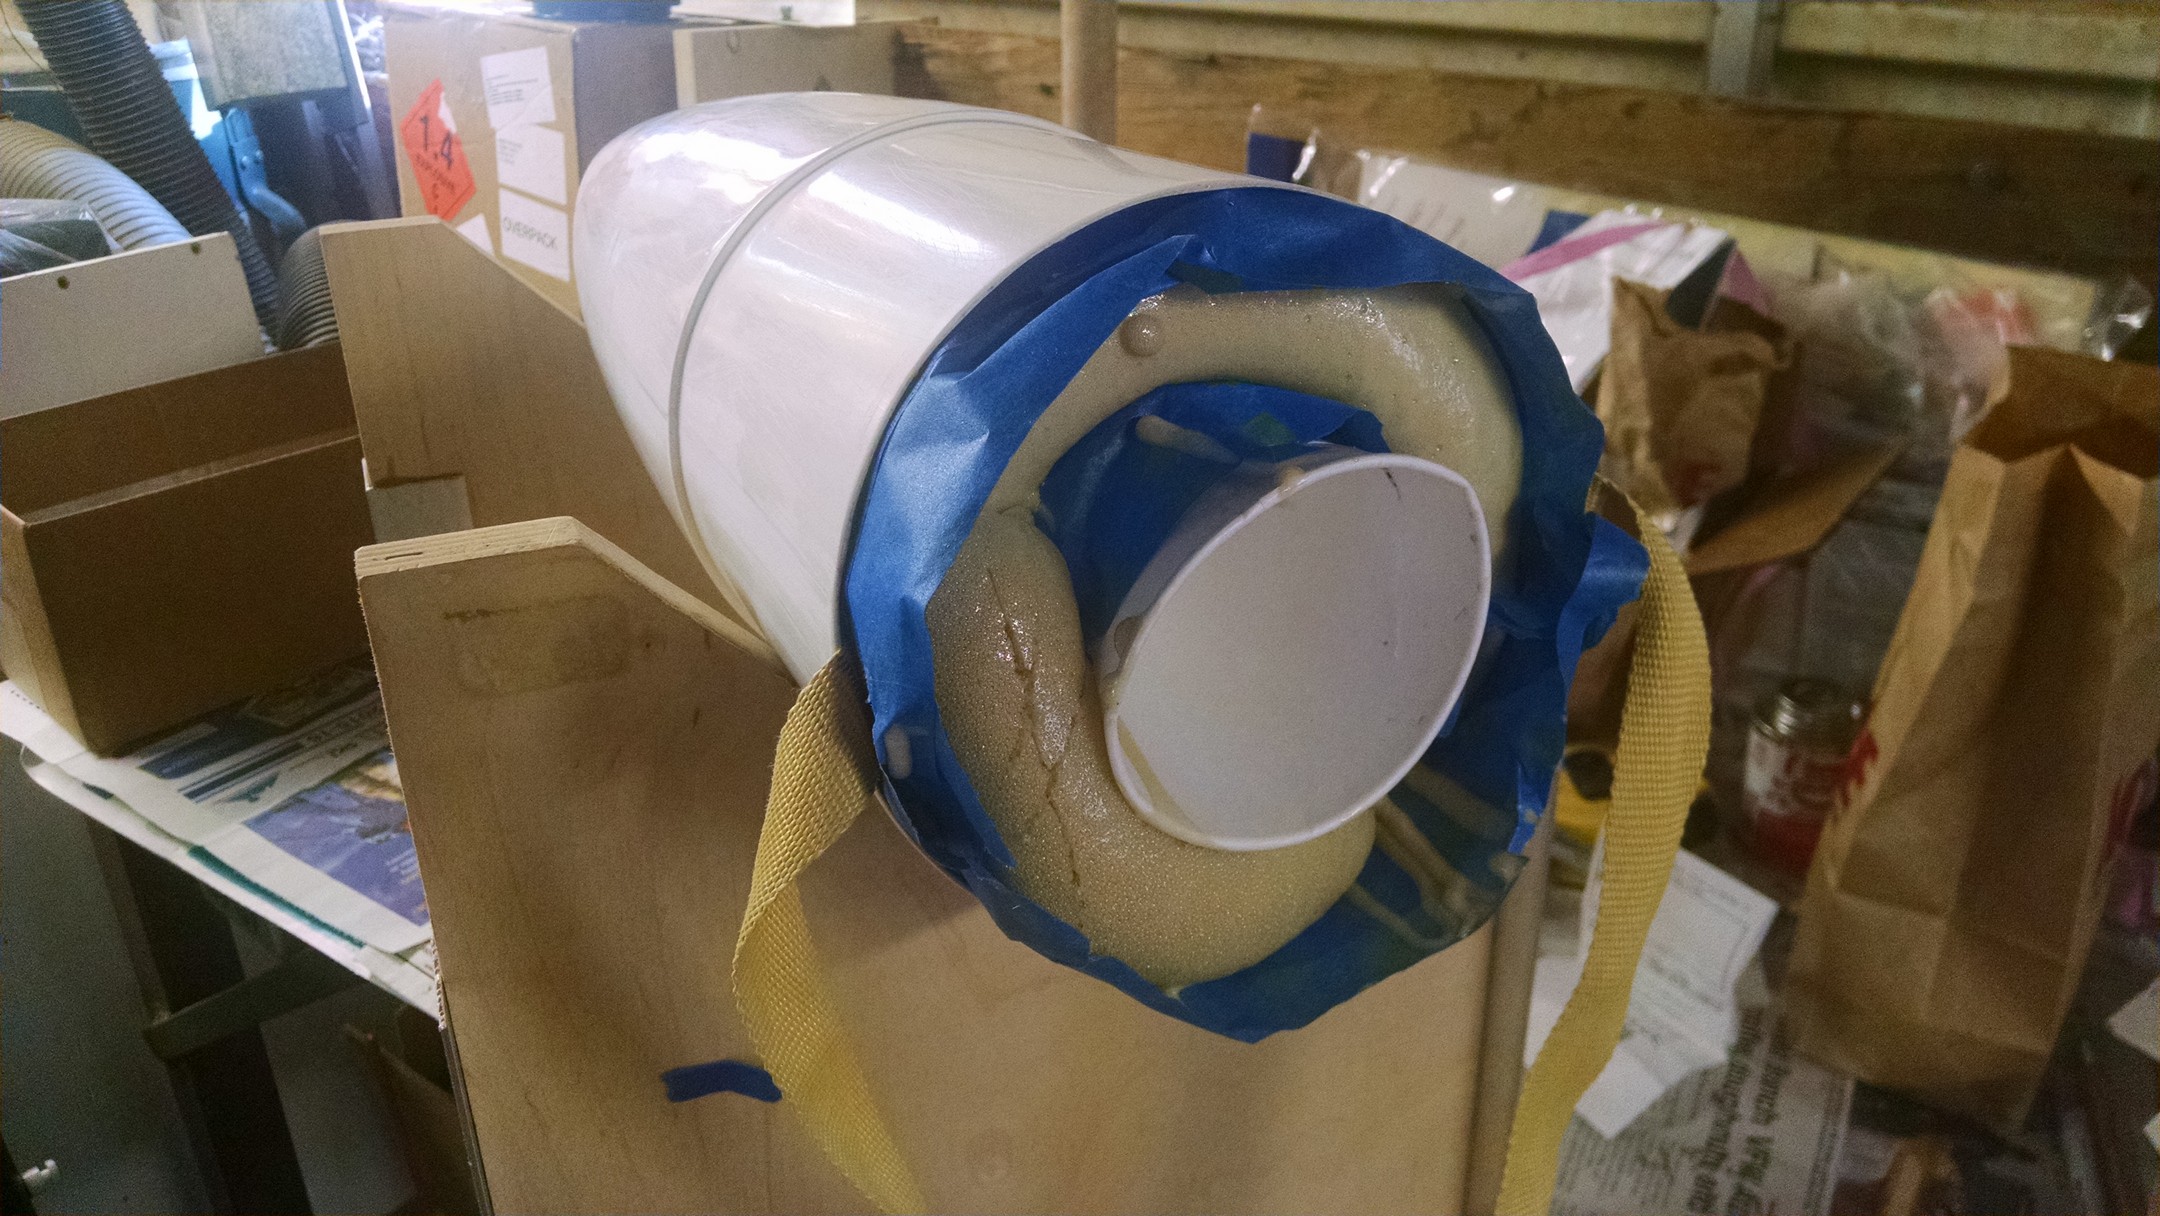
Lets get more work done on the nose cone, drop some expanding foam in the tip of the cone. Sep 22, 2105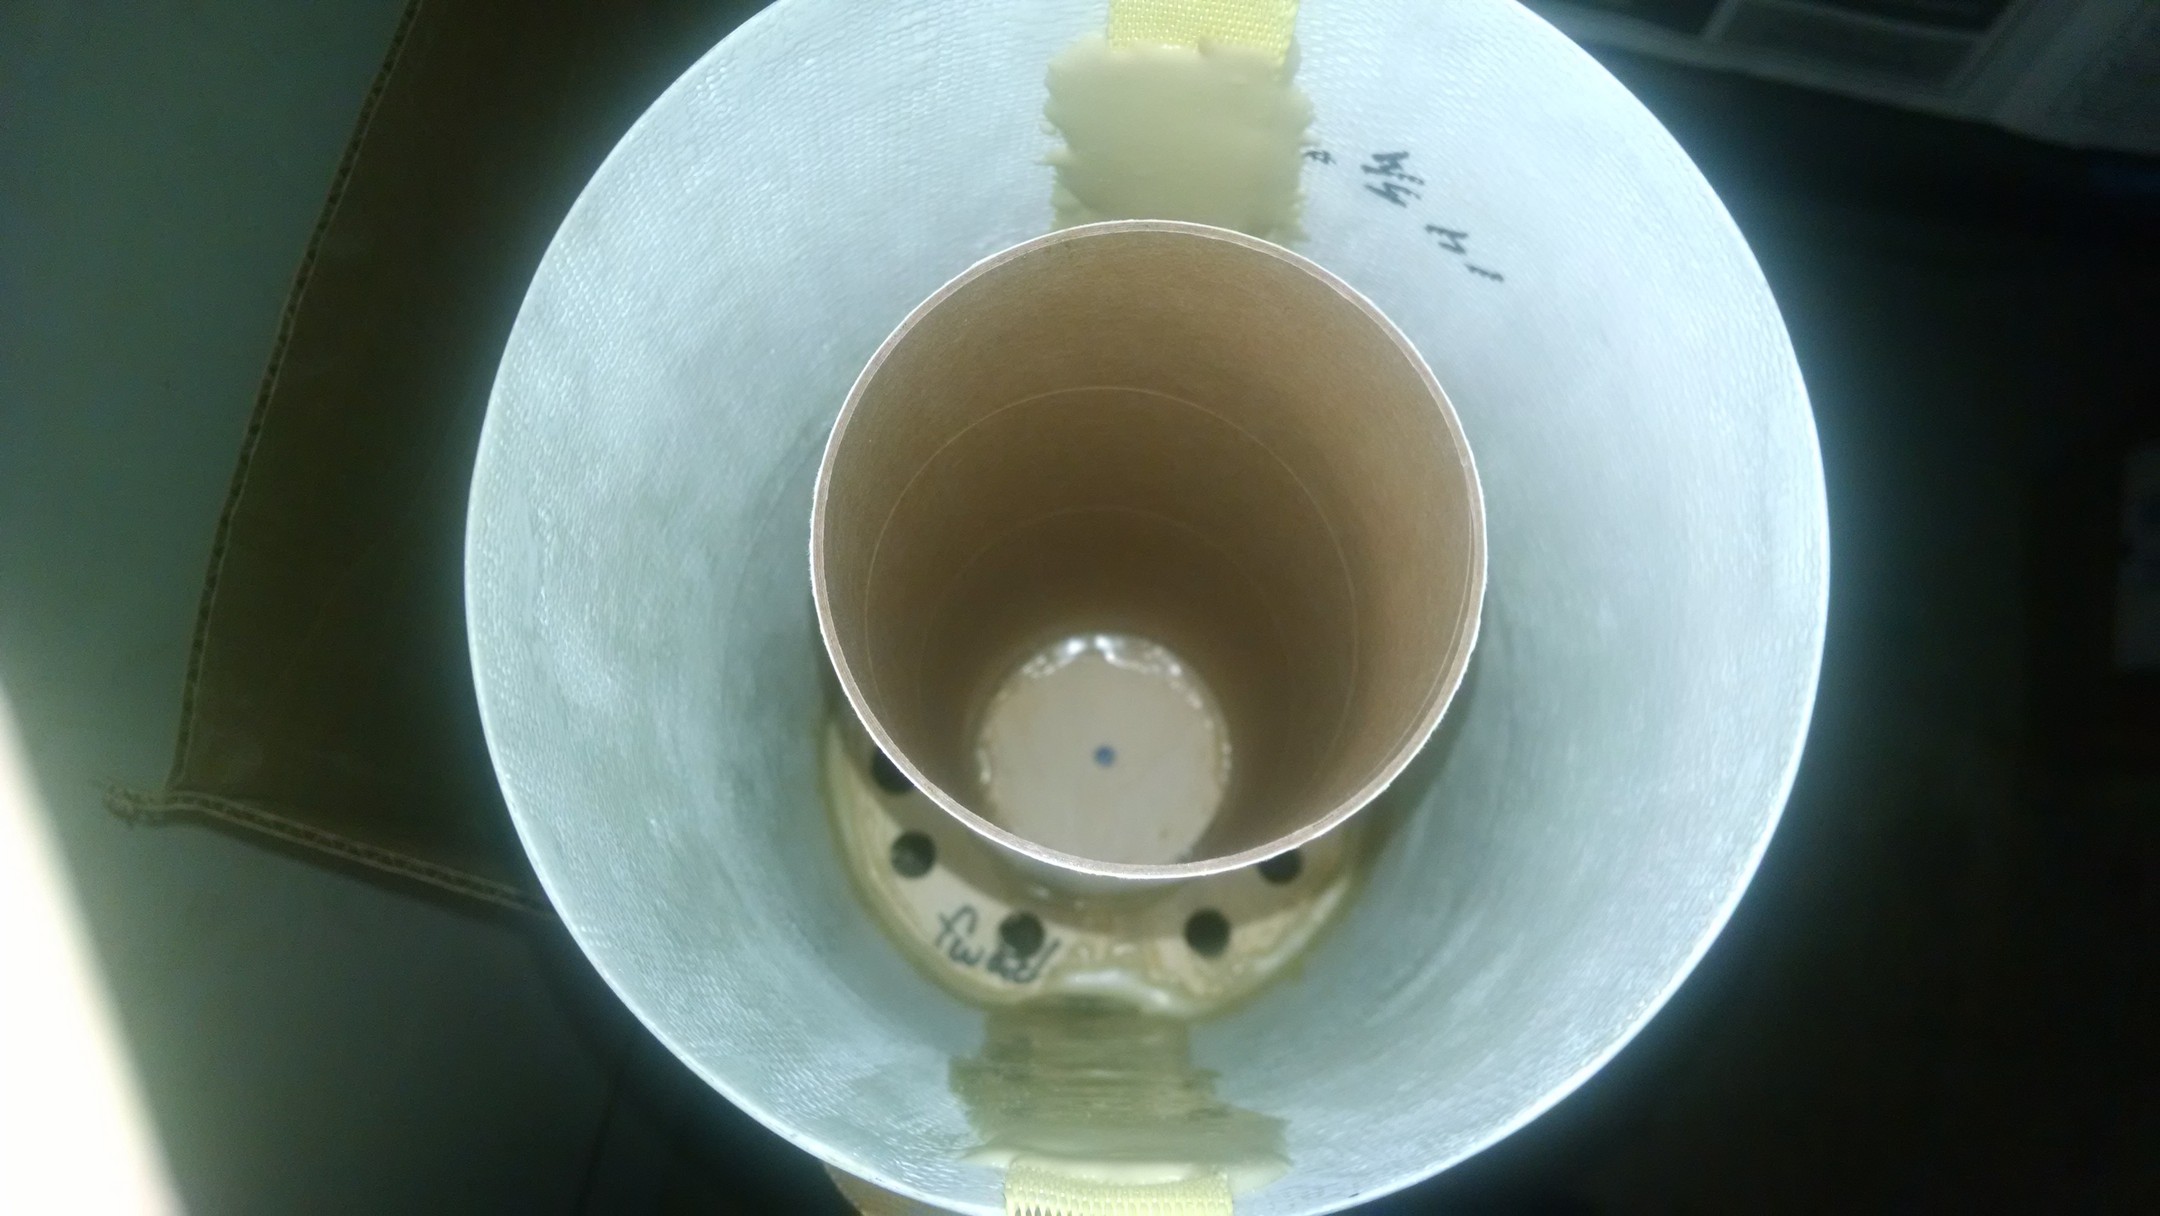
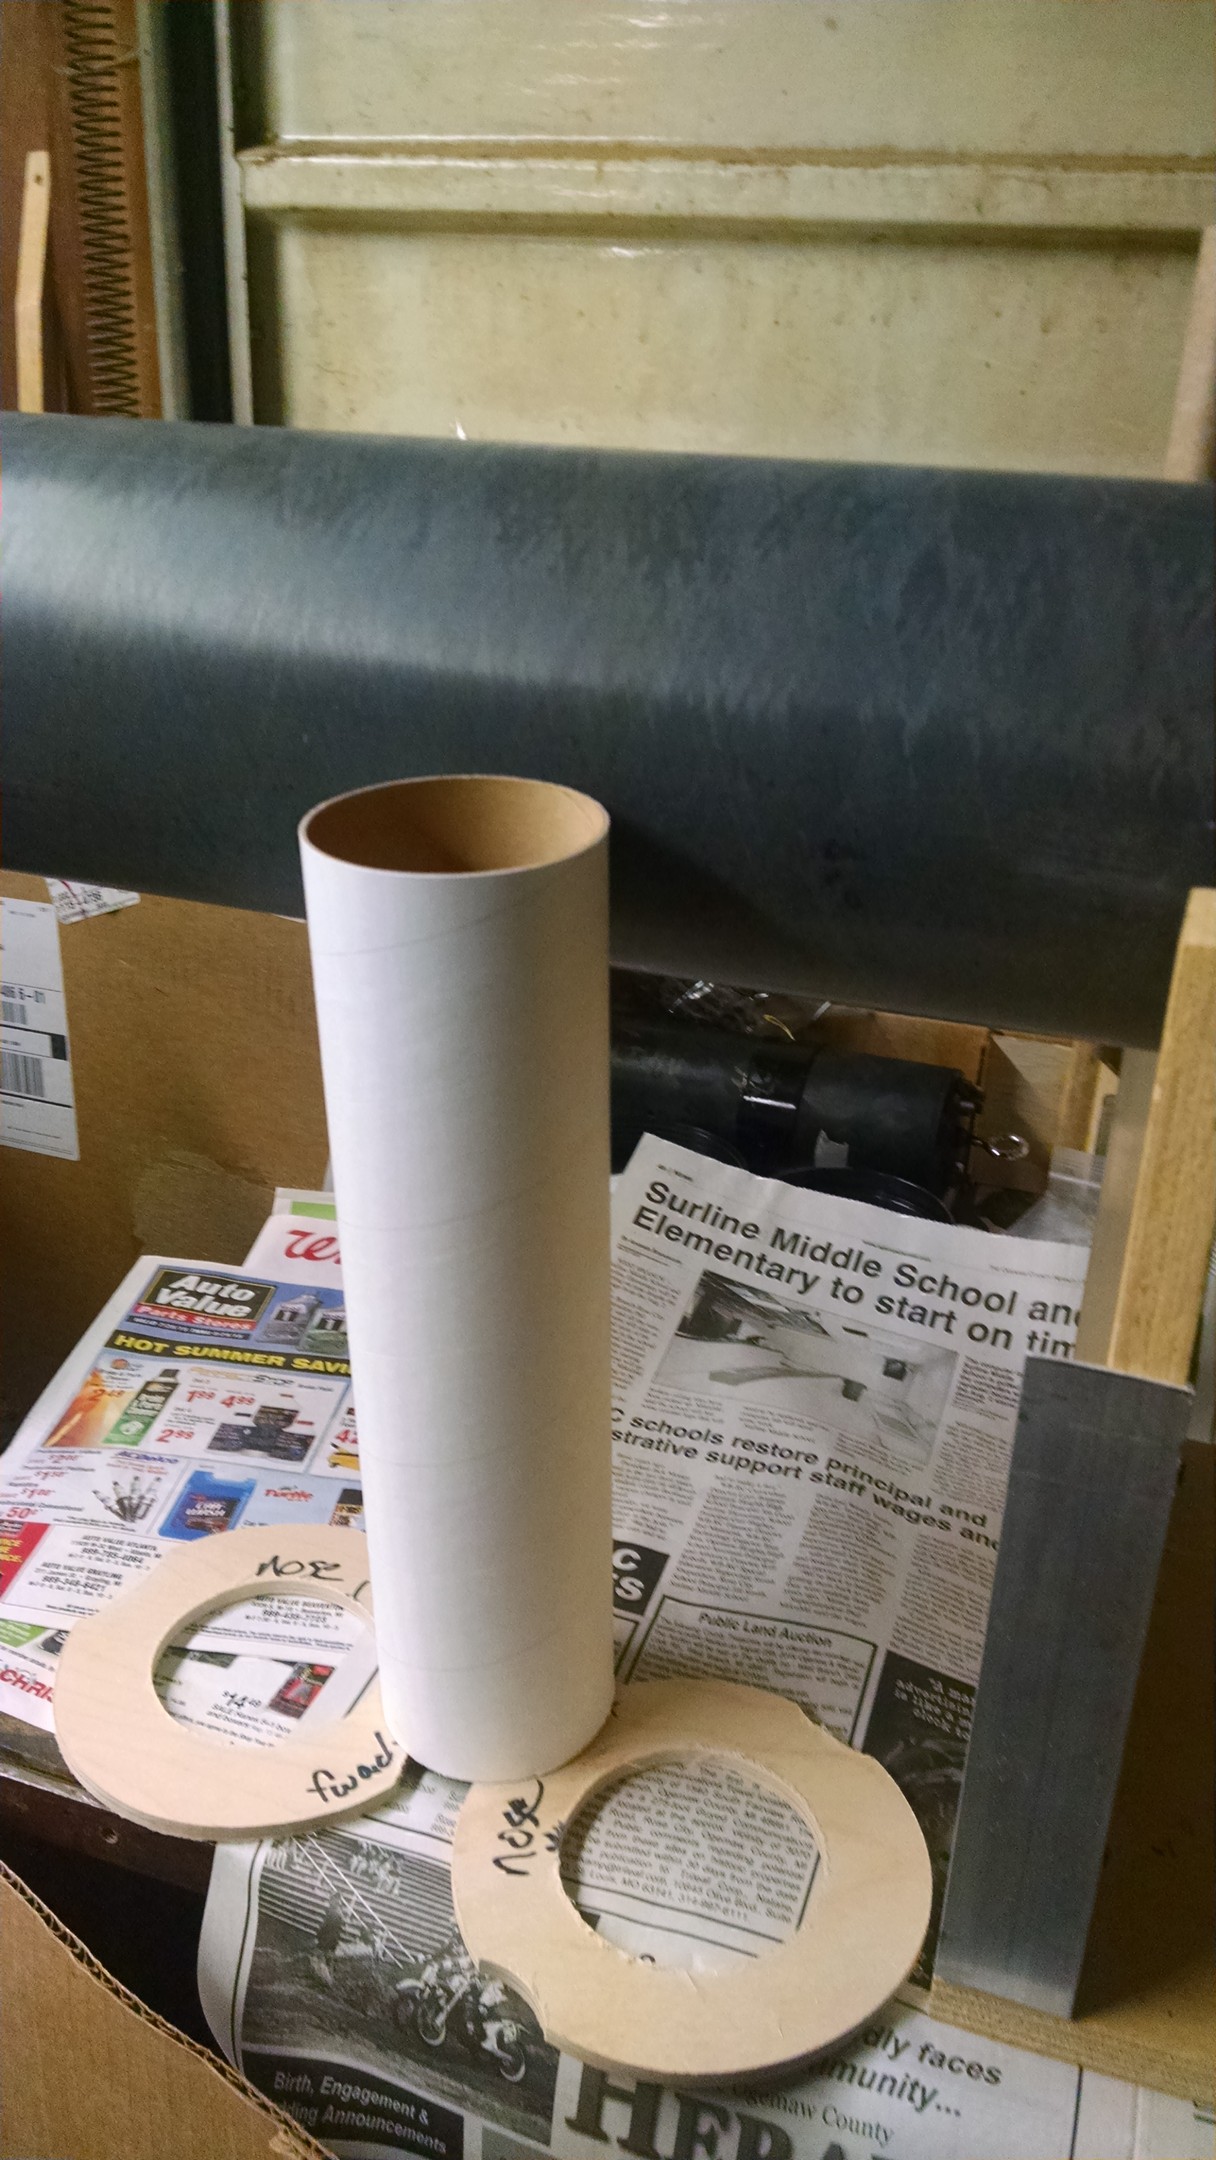
Insert 3in tube for tracking bay in the nose cone, epoxied the tube in place.

Add some more foam and watch it grow . Sep 23, 2015
So, the holidays are here… now we take some time off…
I added some tape around the edge, less mess this way.. Jan 20, 2016
let it grow 🙂
All full now, time to let it set and then start hacking out the extra. Jan 23, 2016
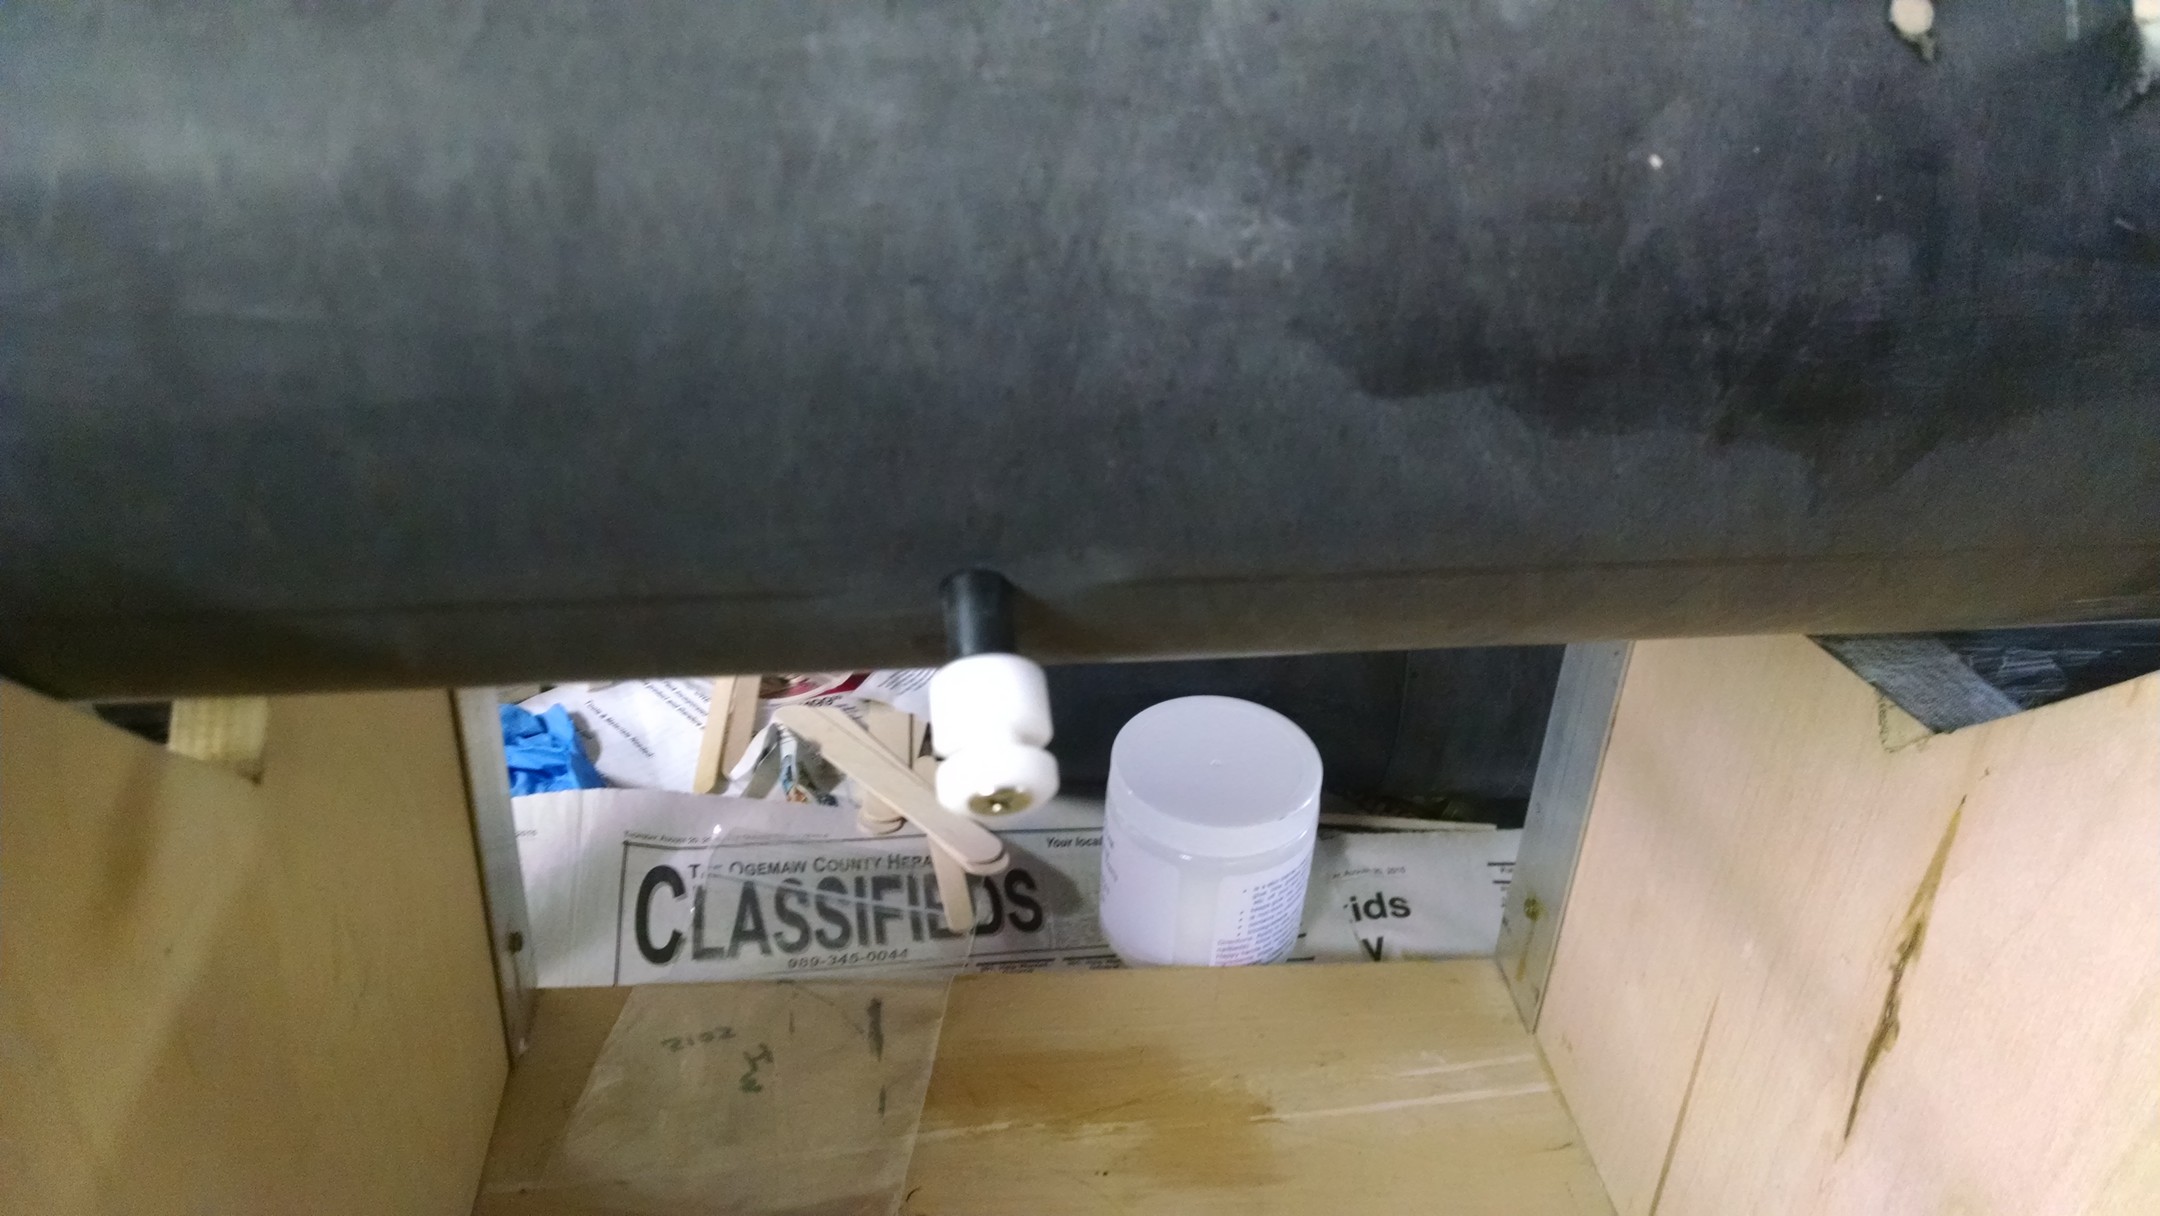
Insert rail guide in the hole
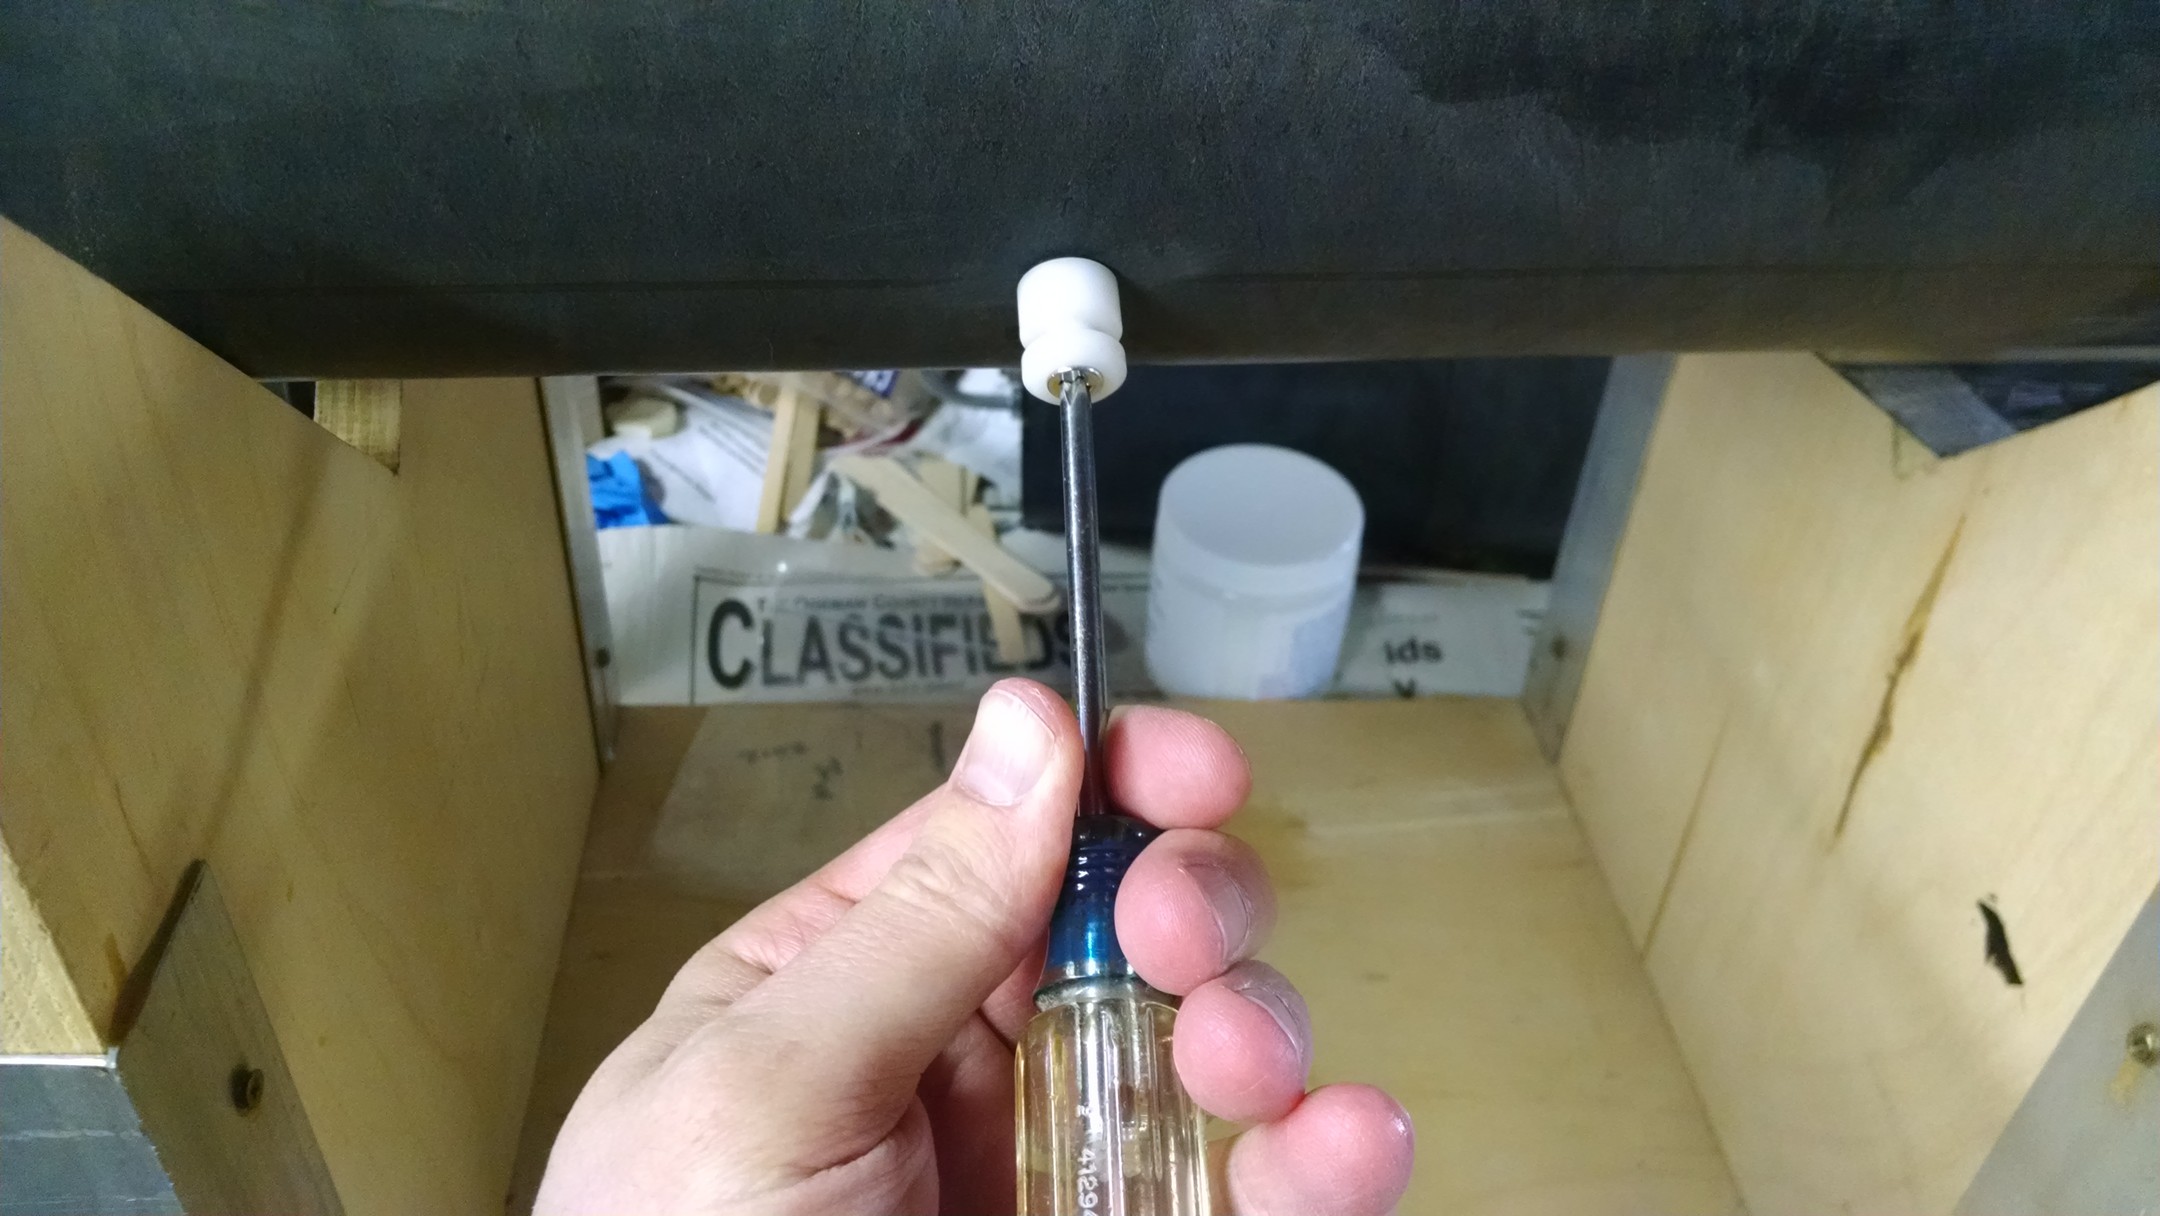
and screw it in, this will pull the nut and the rubber down and that will secure it down.
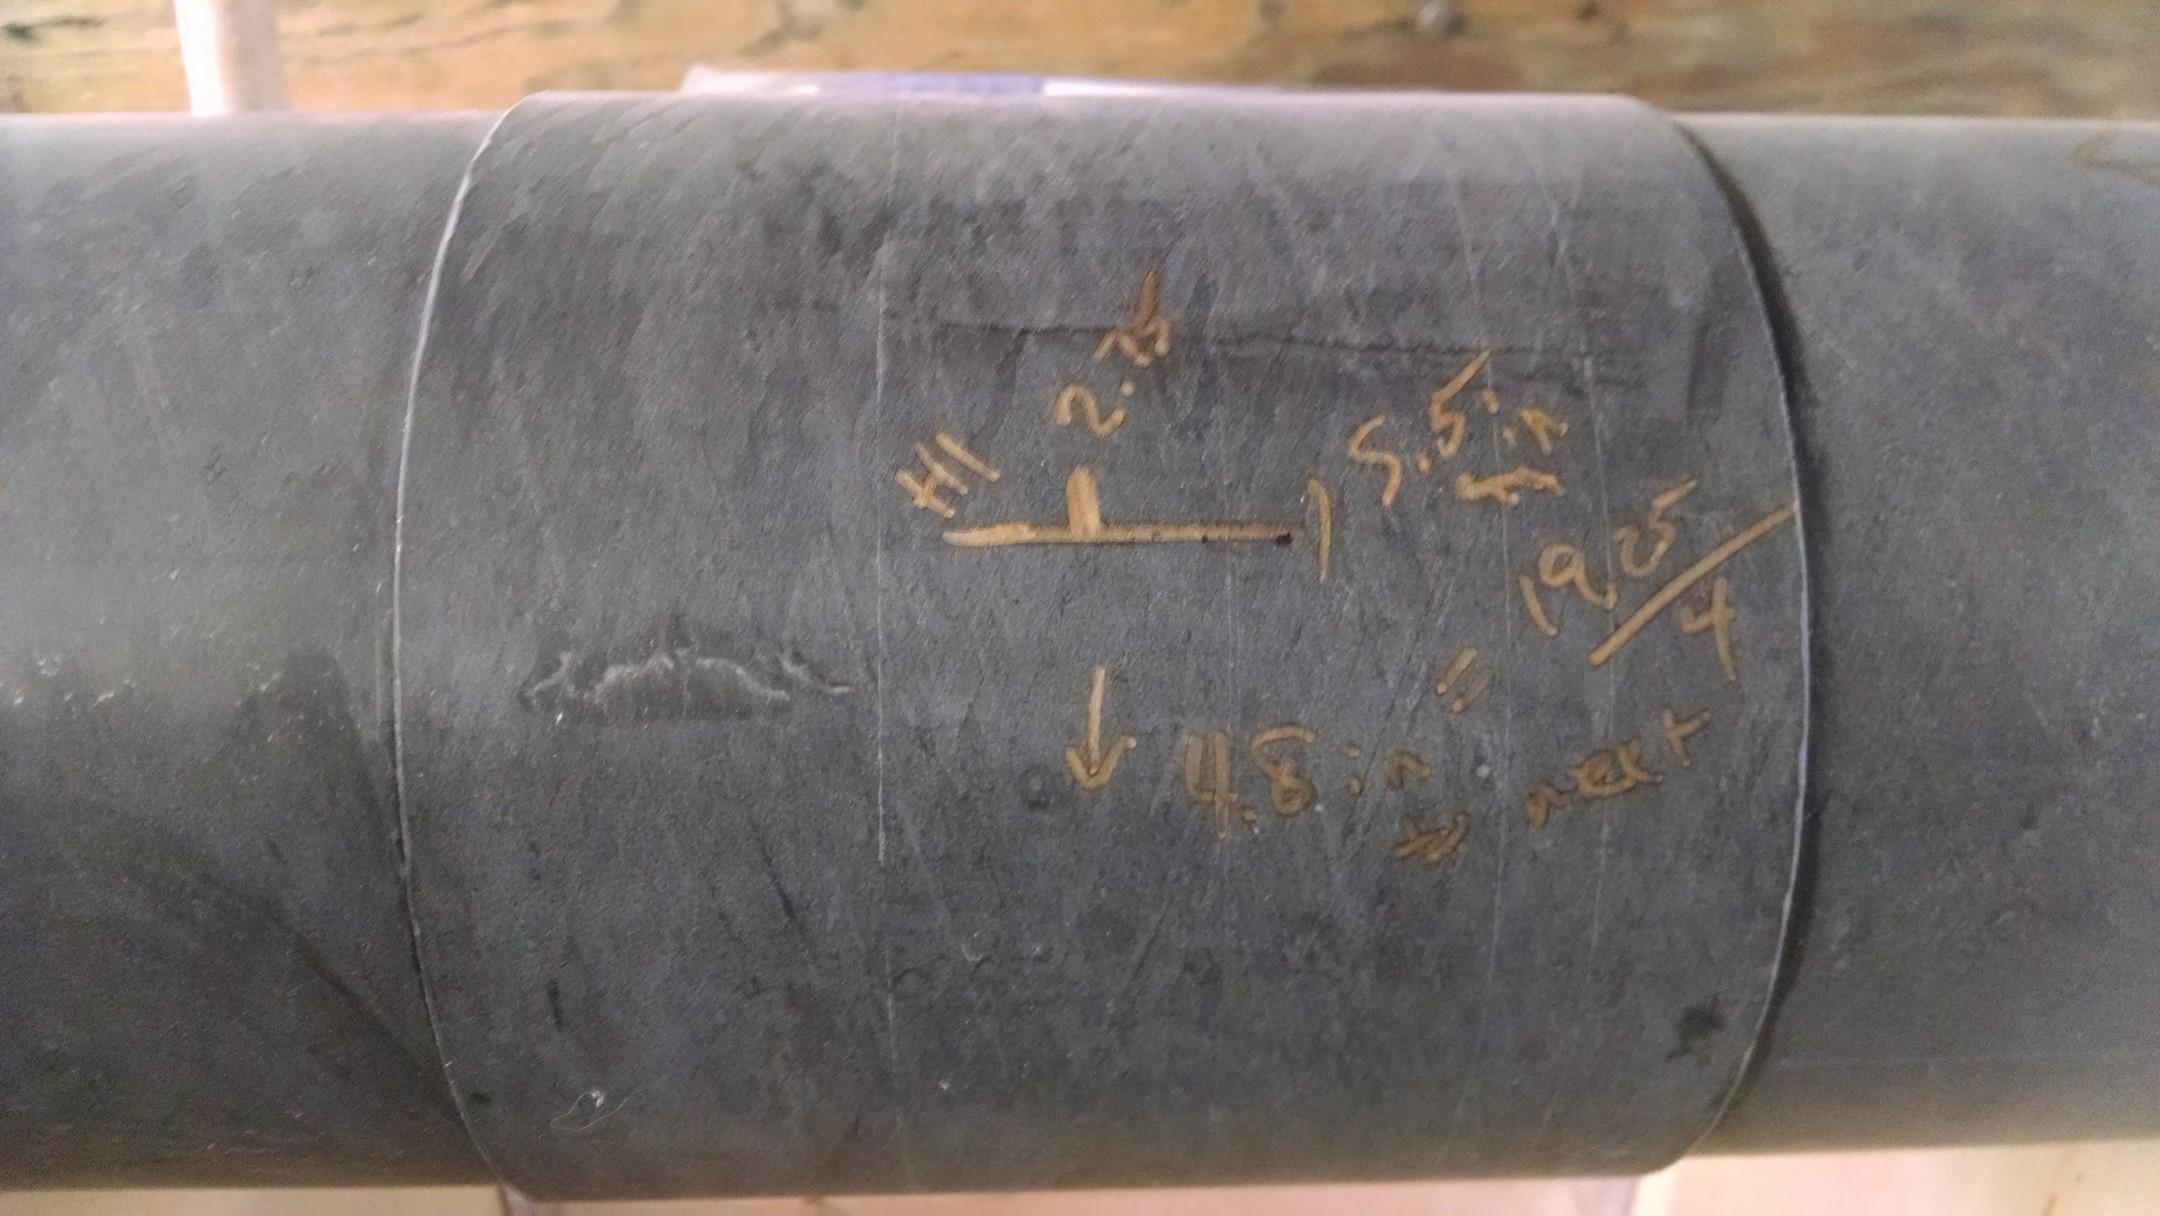
Mark up the ebay for the static ports, need 4 x 0.5in holes 4.8in in separation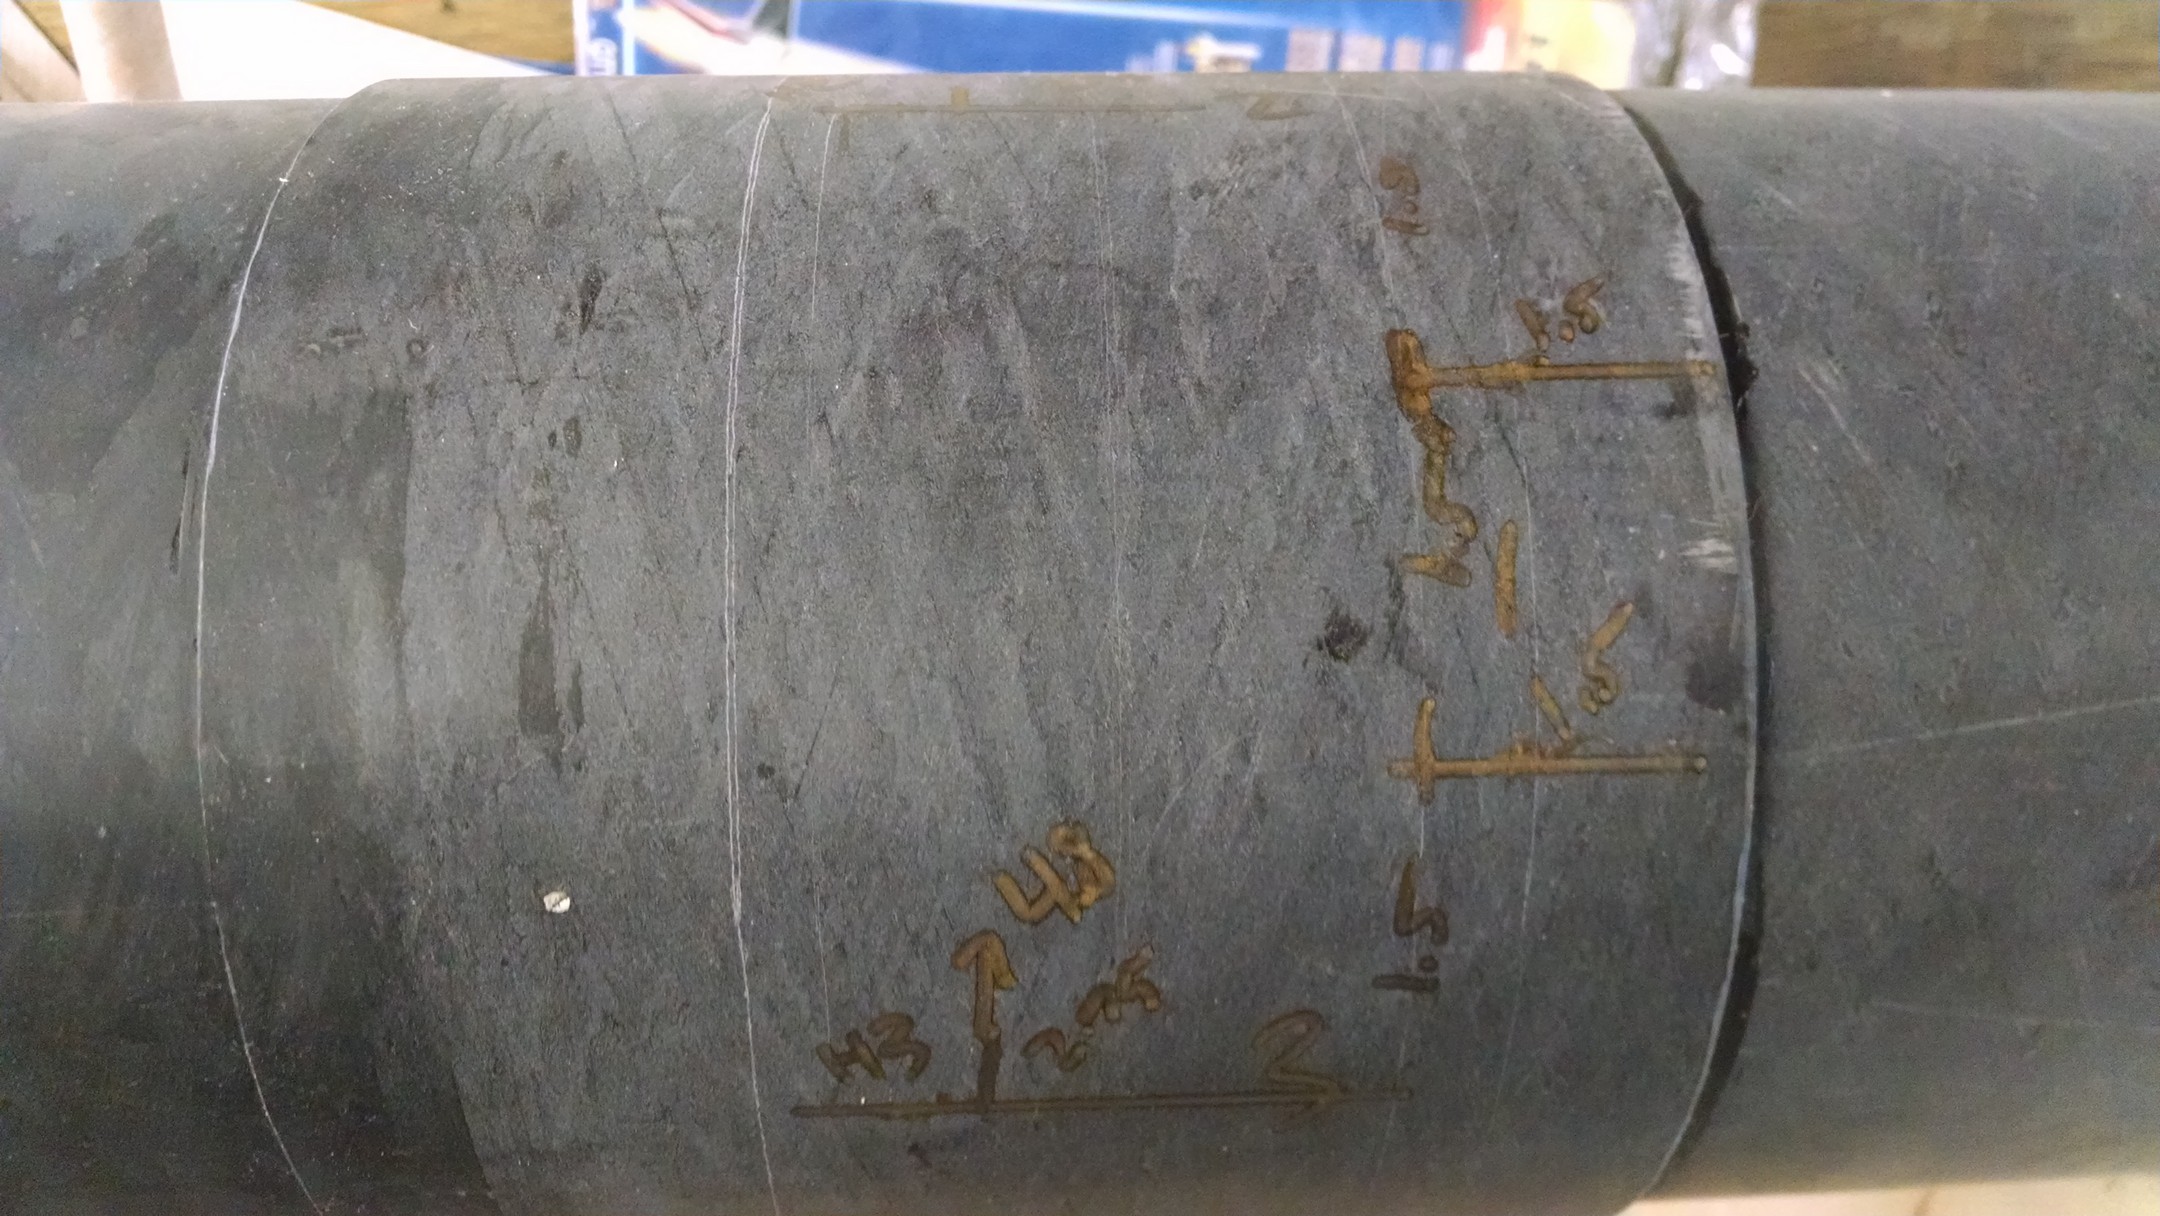
Add the switch ports as well.. it is 1.5in from the aft side and 1.5 in form each static port.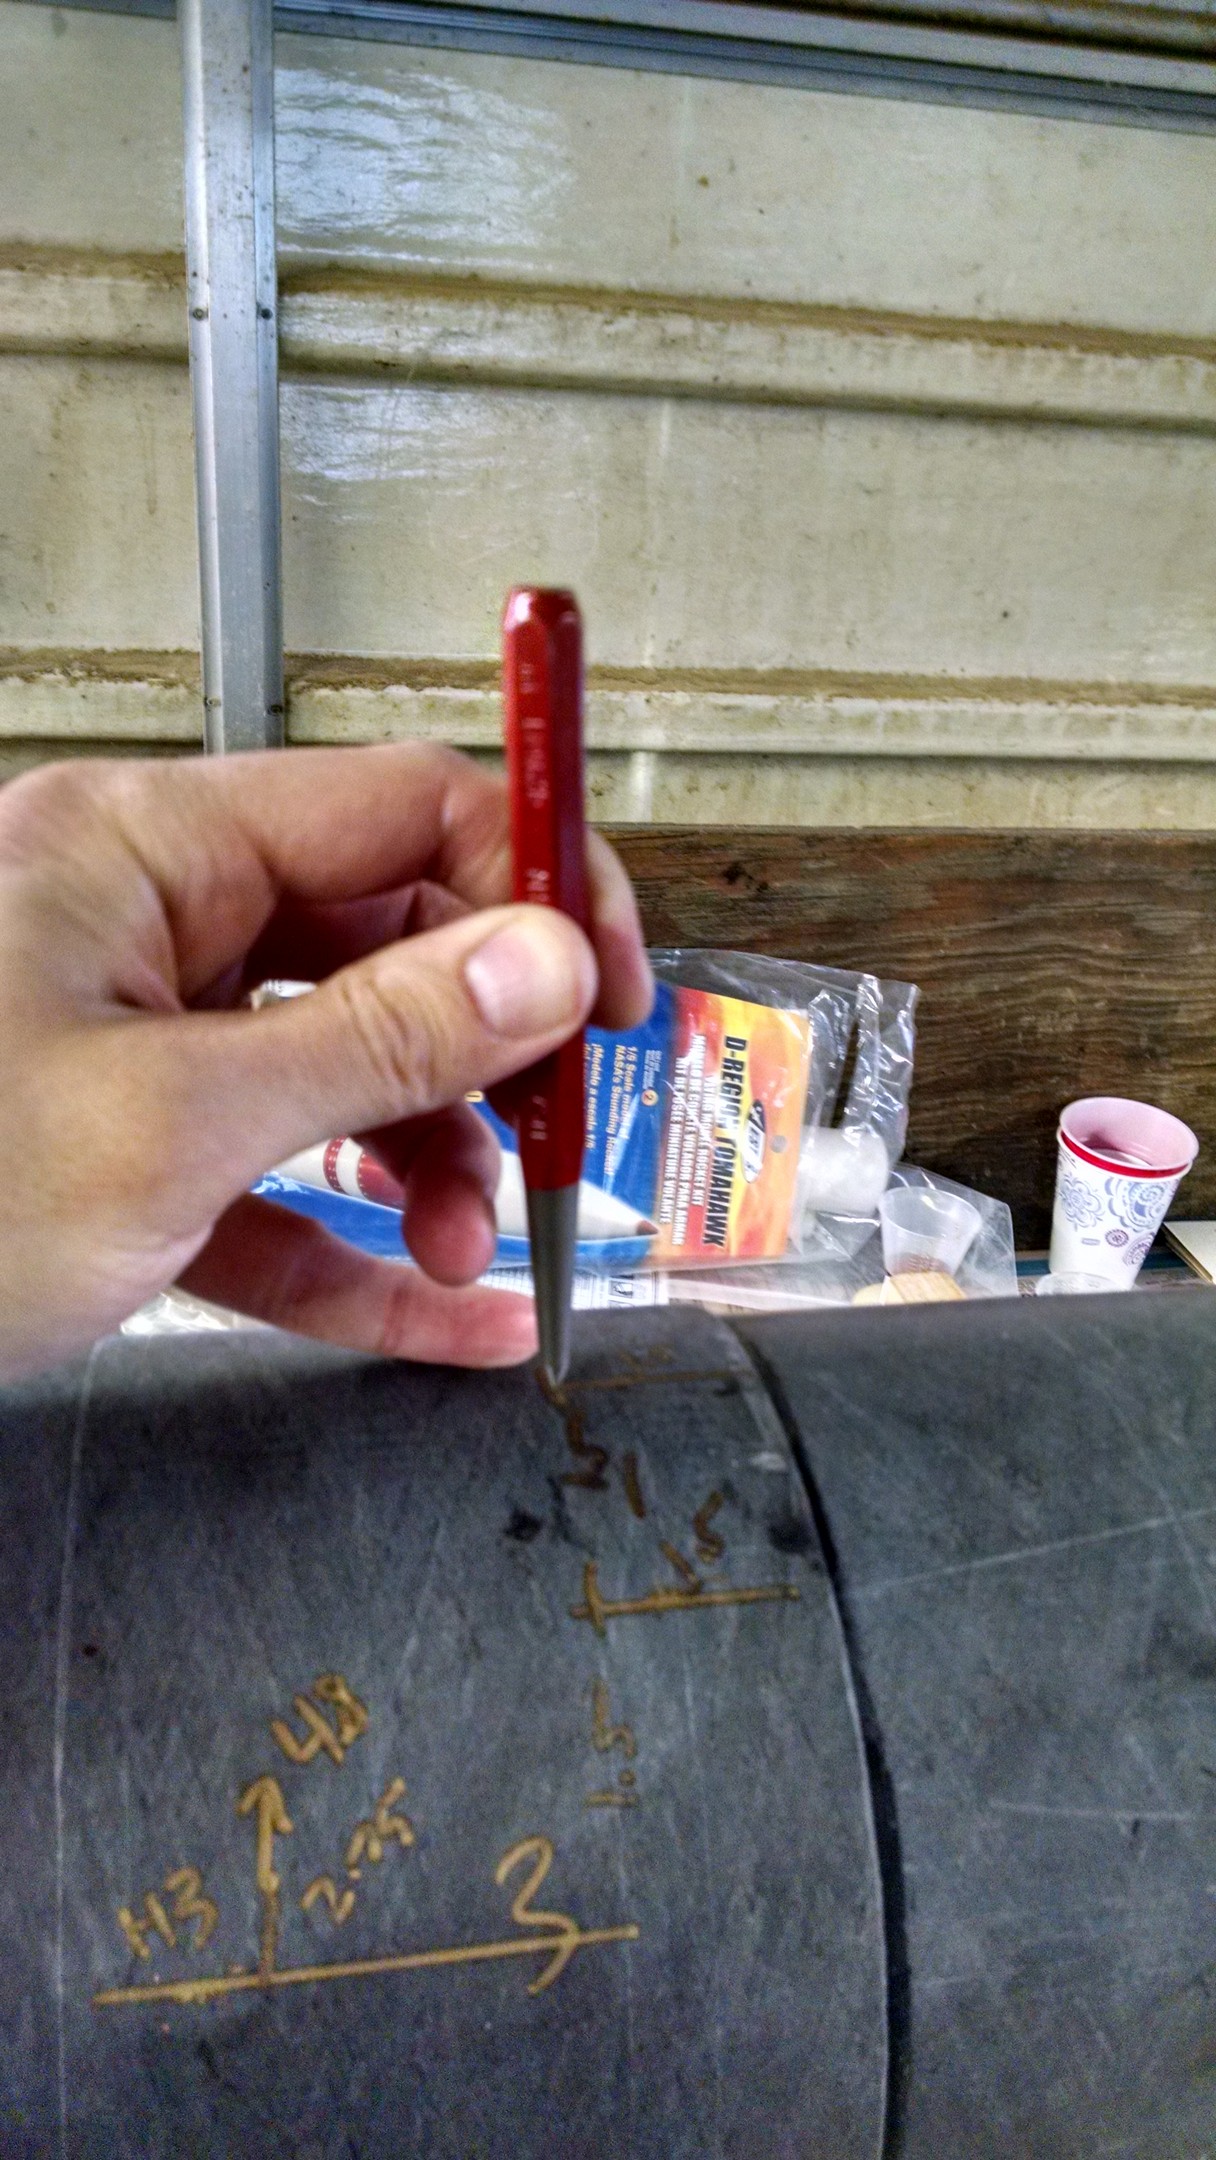
A little help getting the drill bit started
A little help 🙂
Start with a small hole
A little bigger
A little bigger
Look at that.. 0.5 inch holes

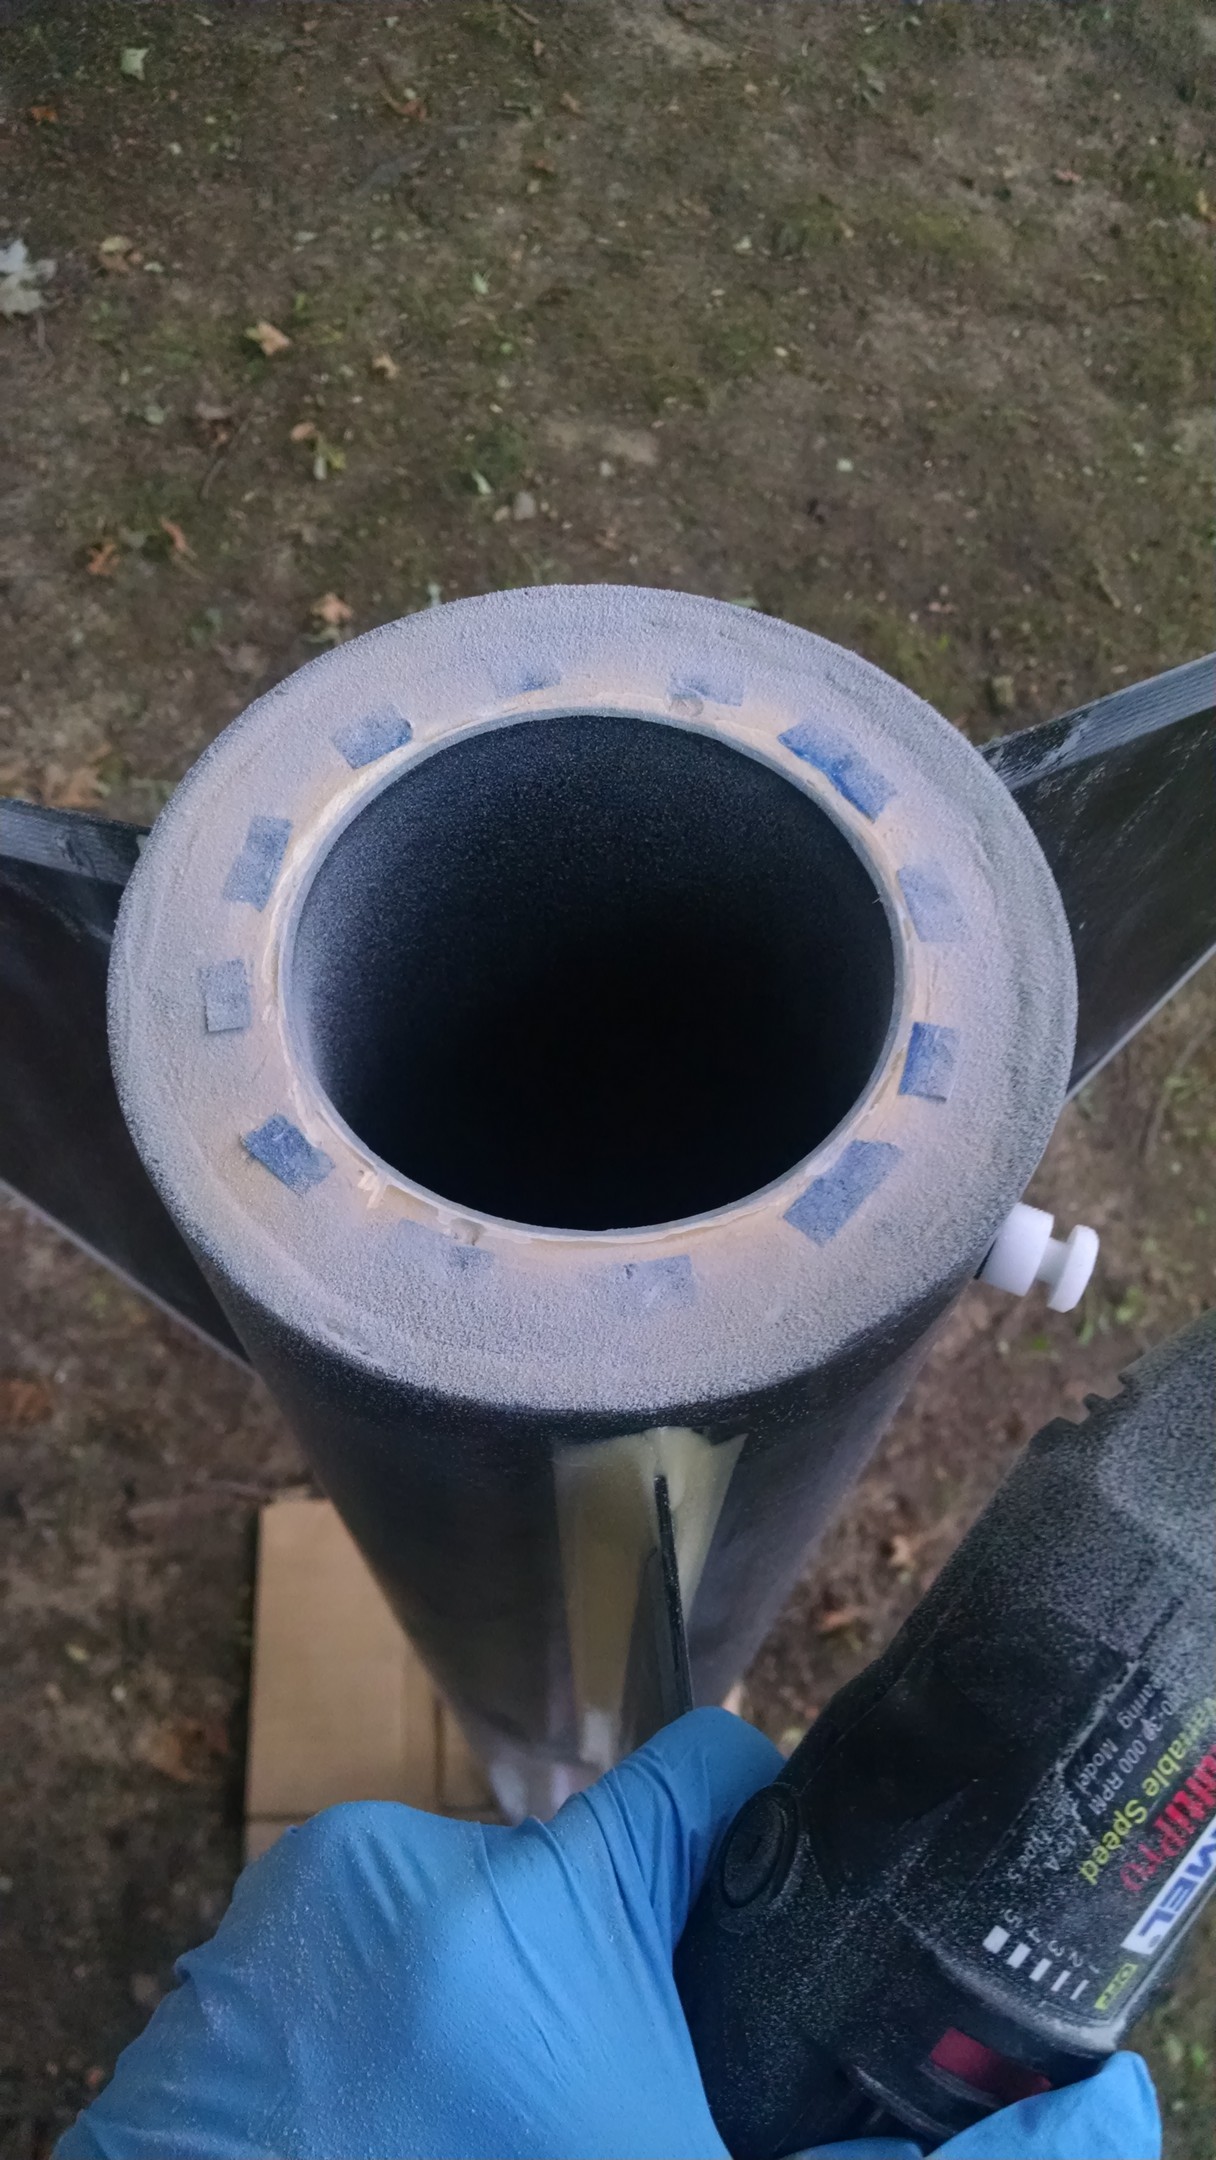
A little sanding to clean up the drill holes
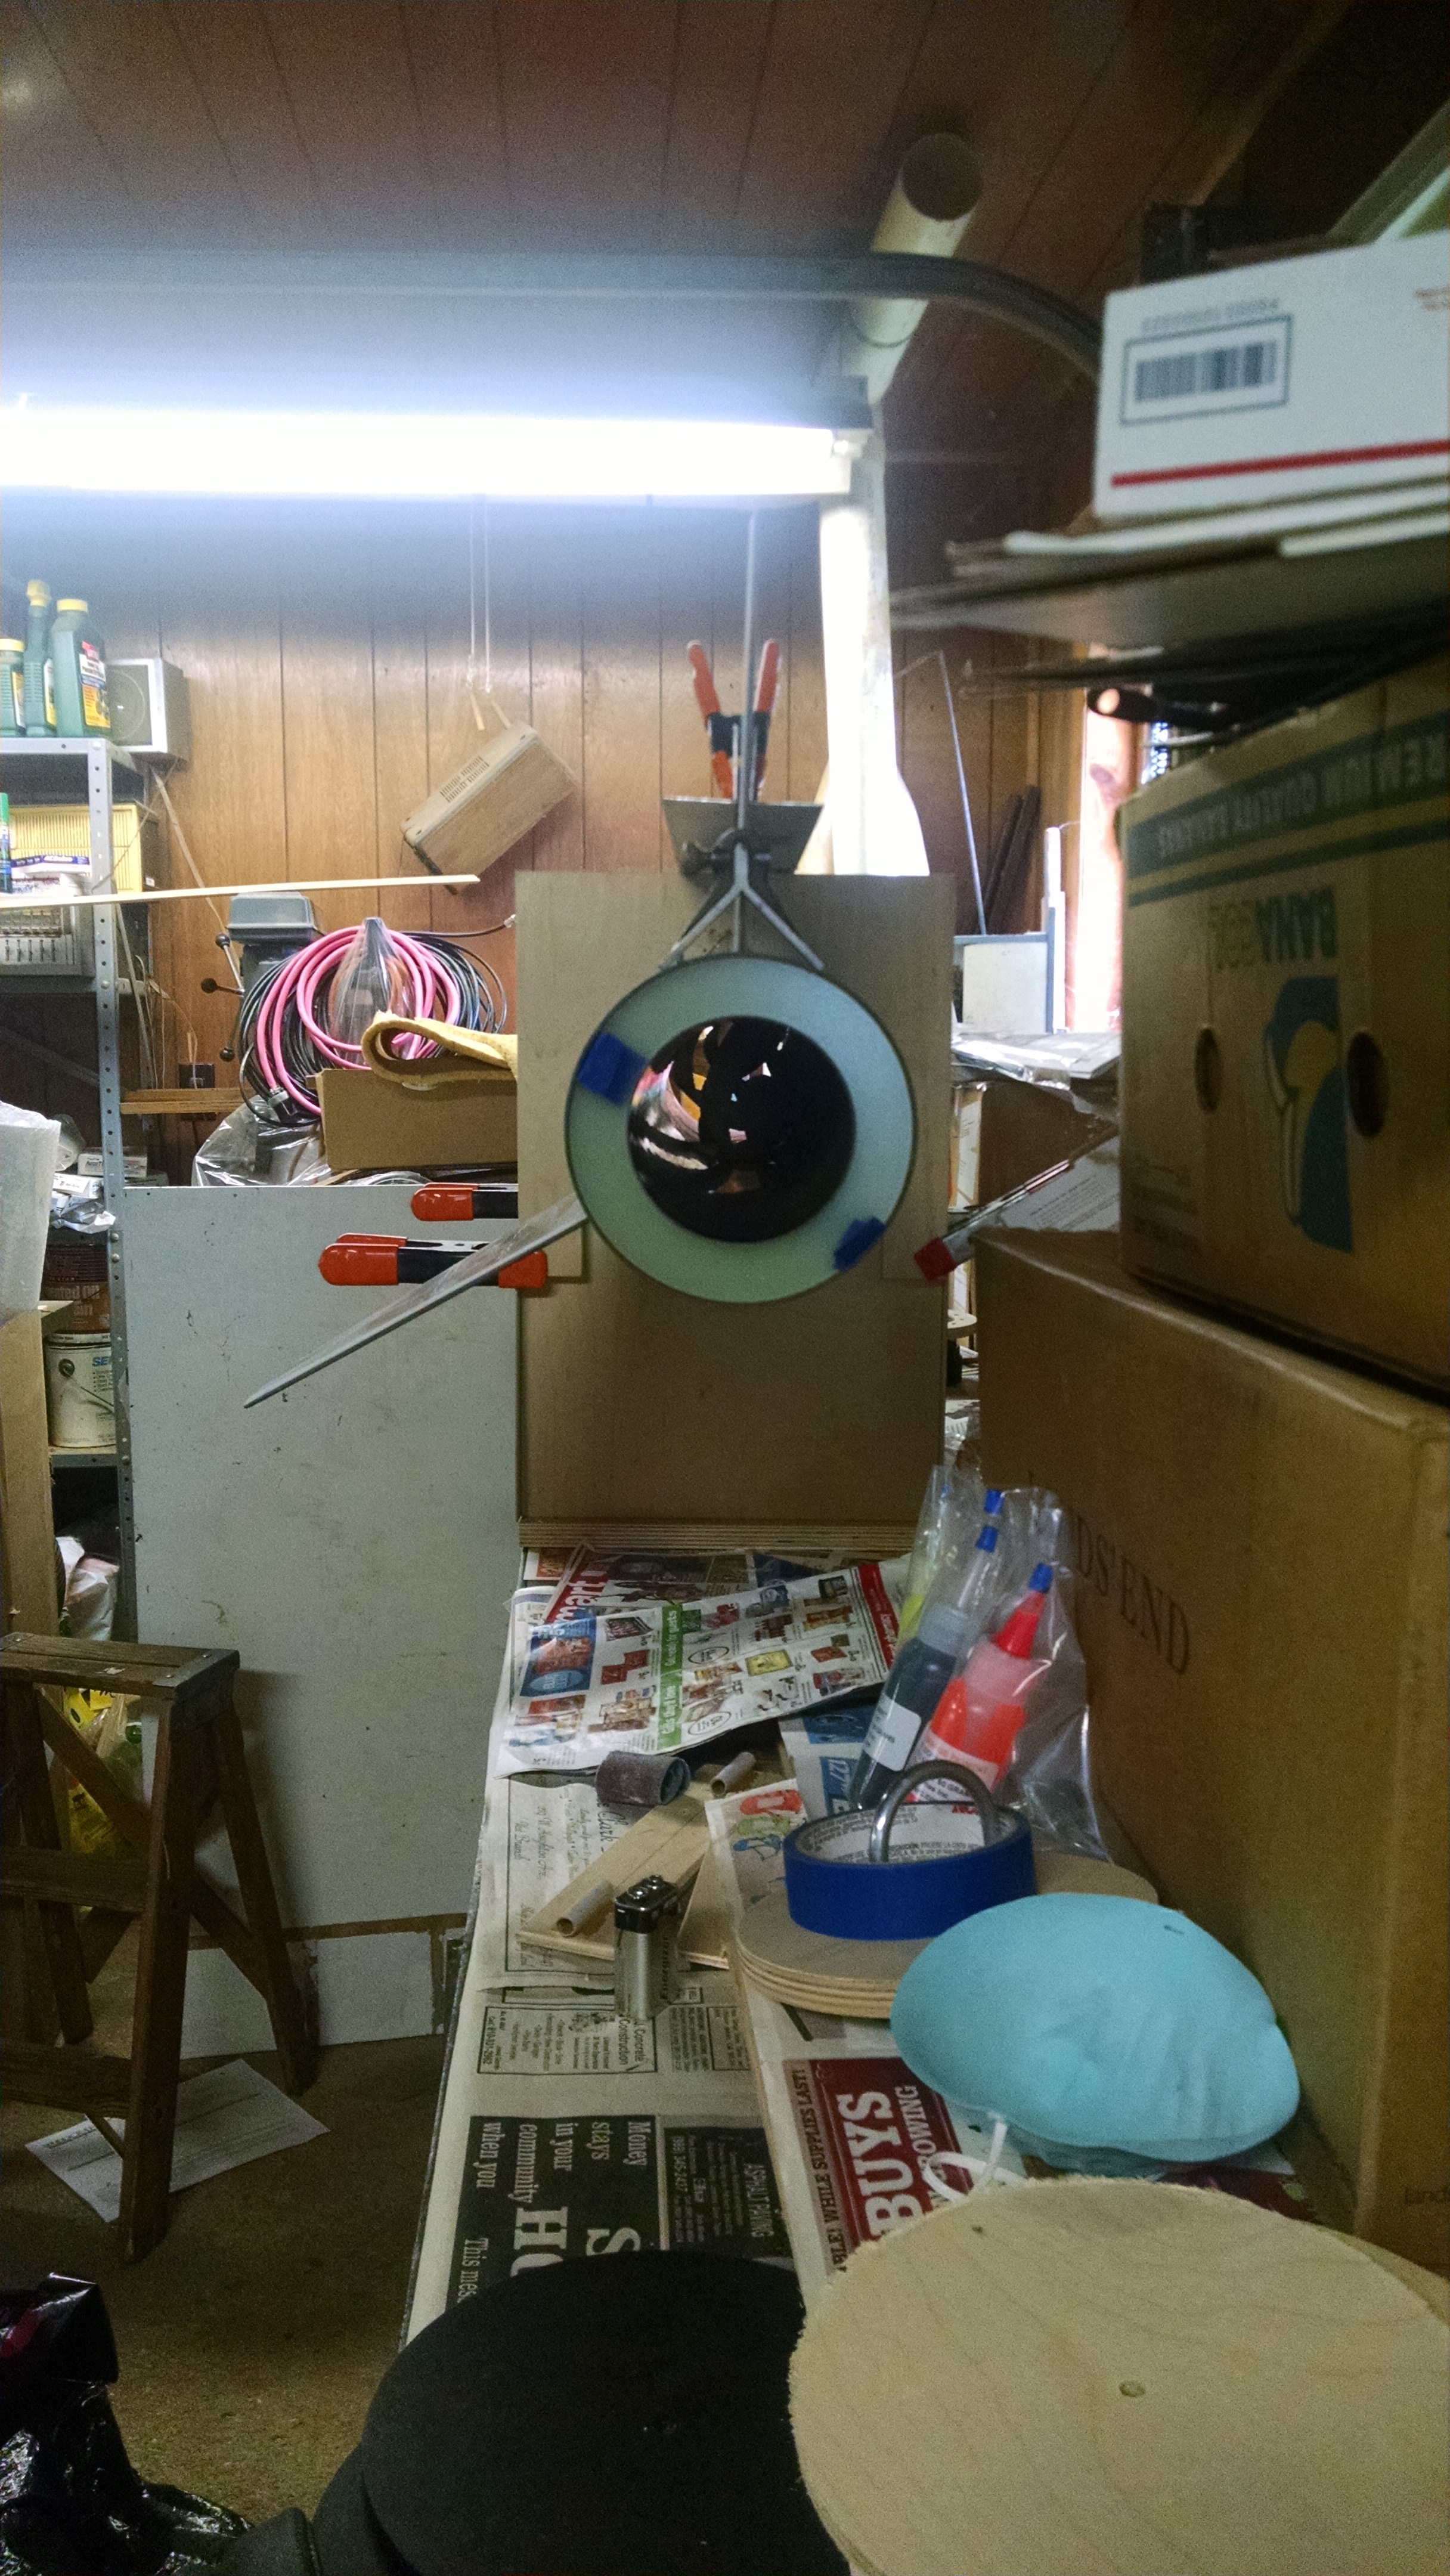
Got the ebay and the payload bay lined up
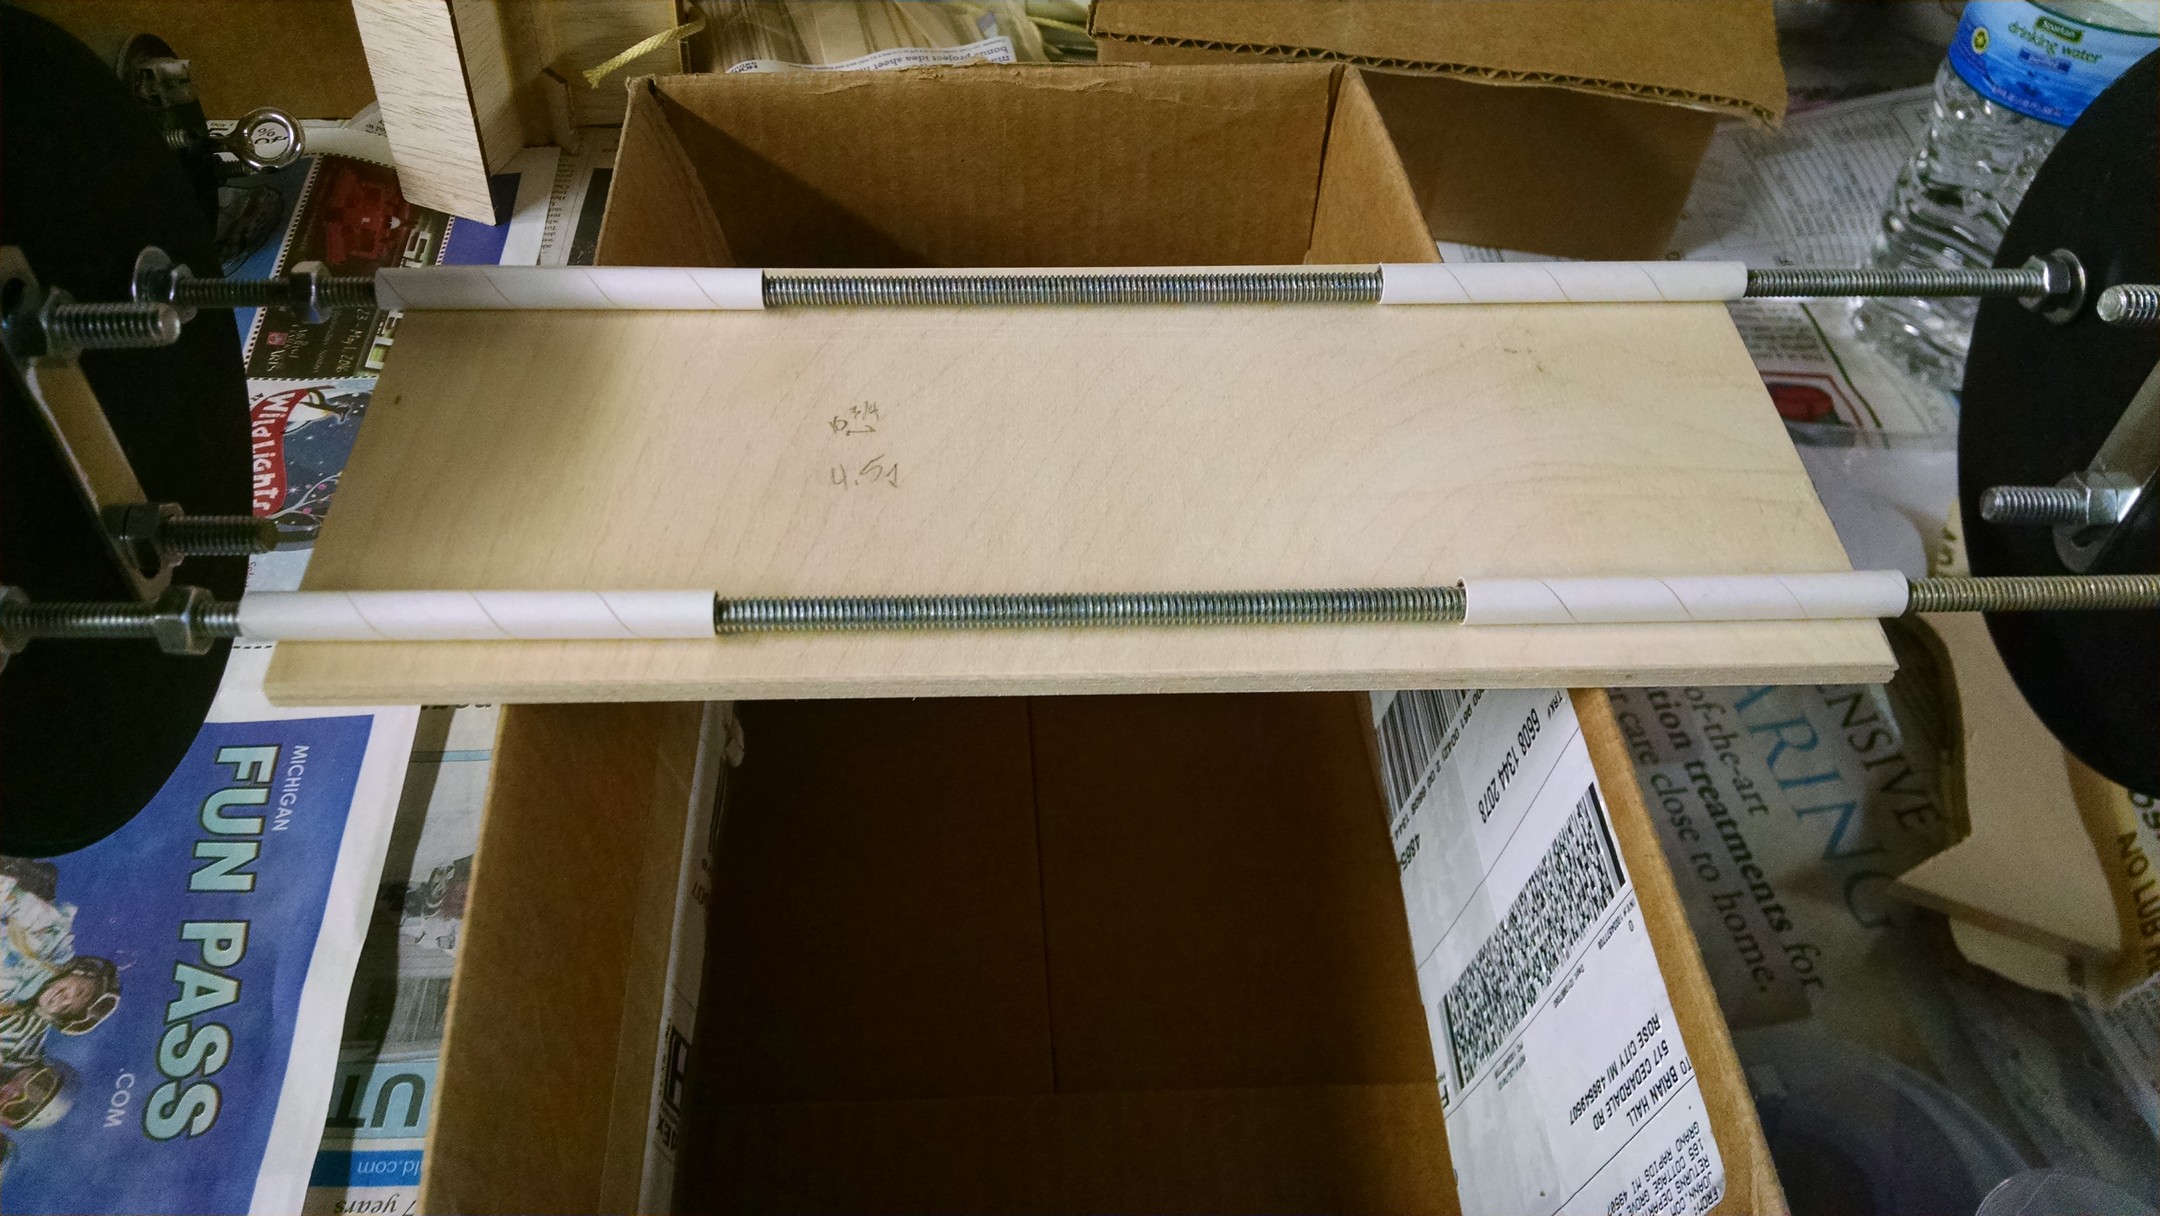
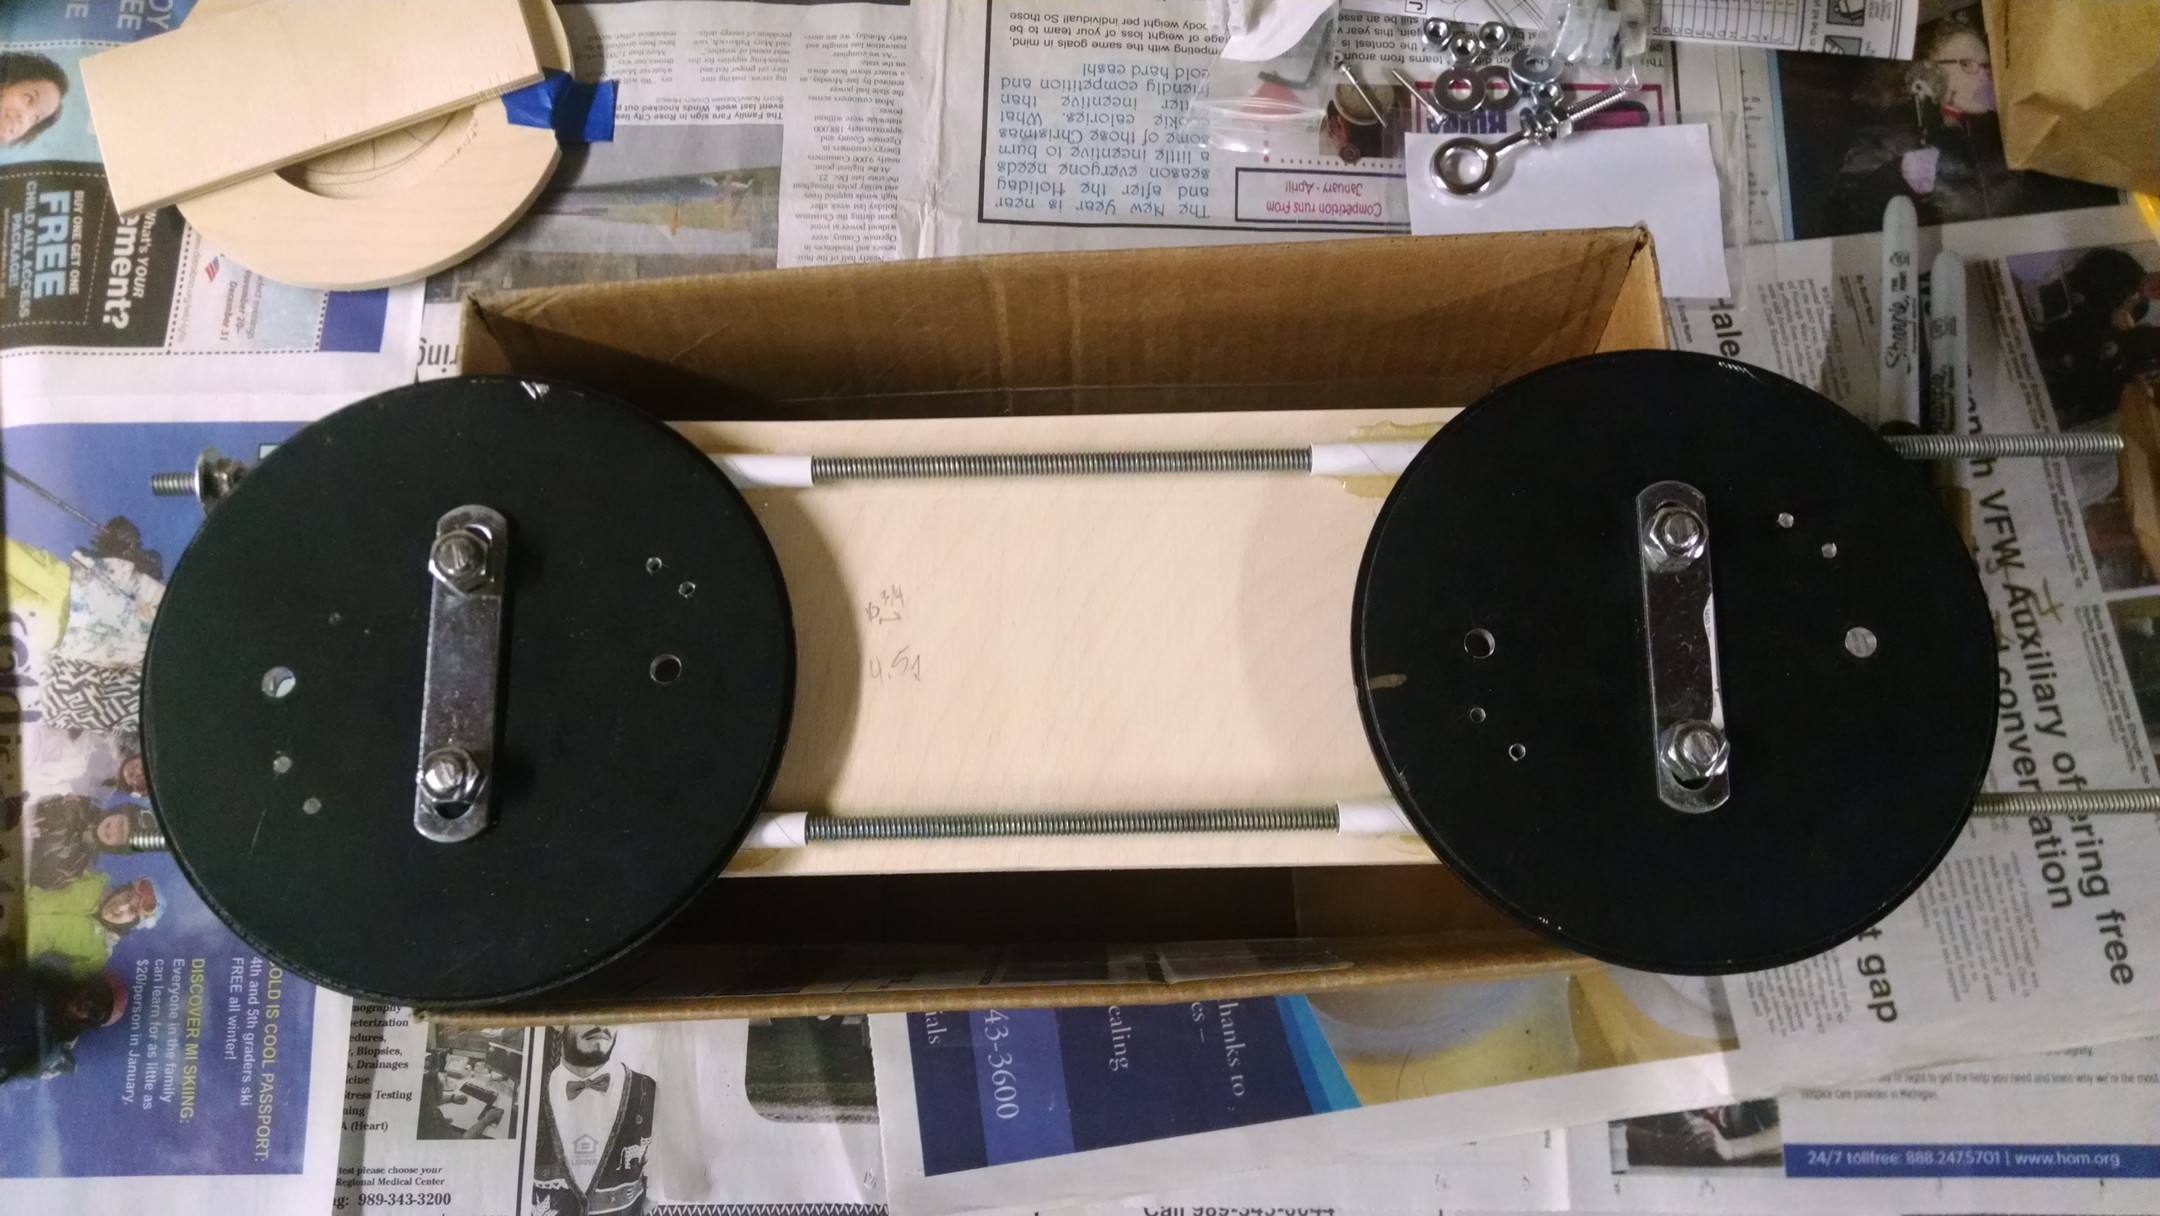
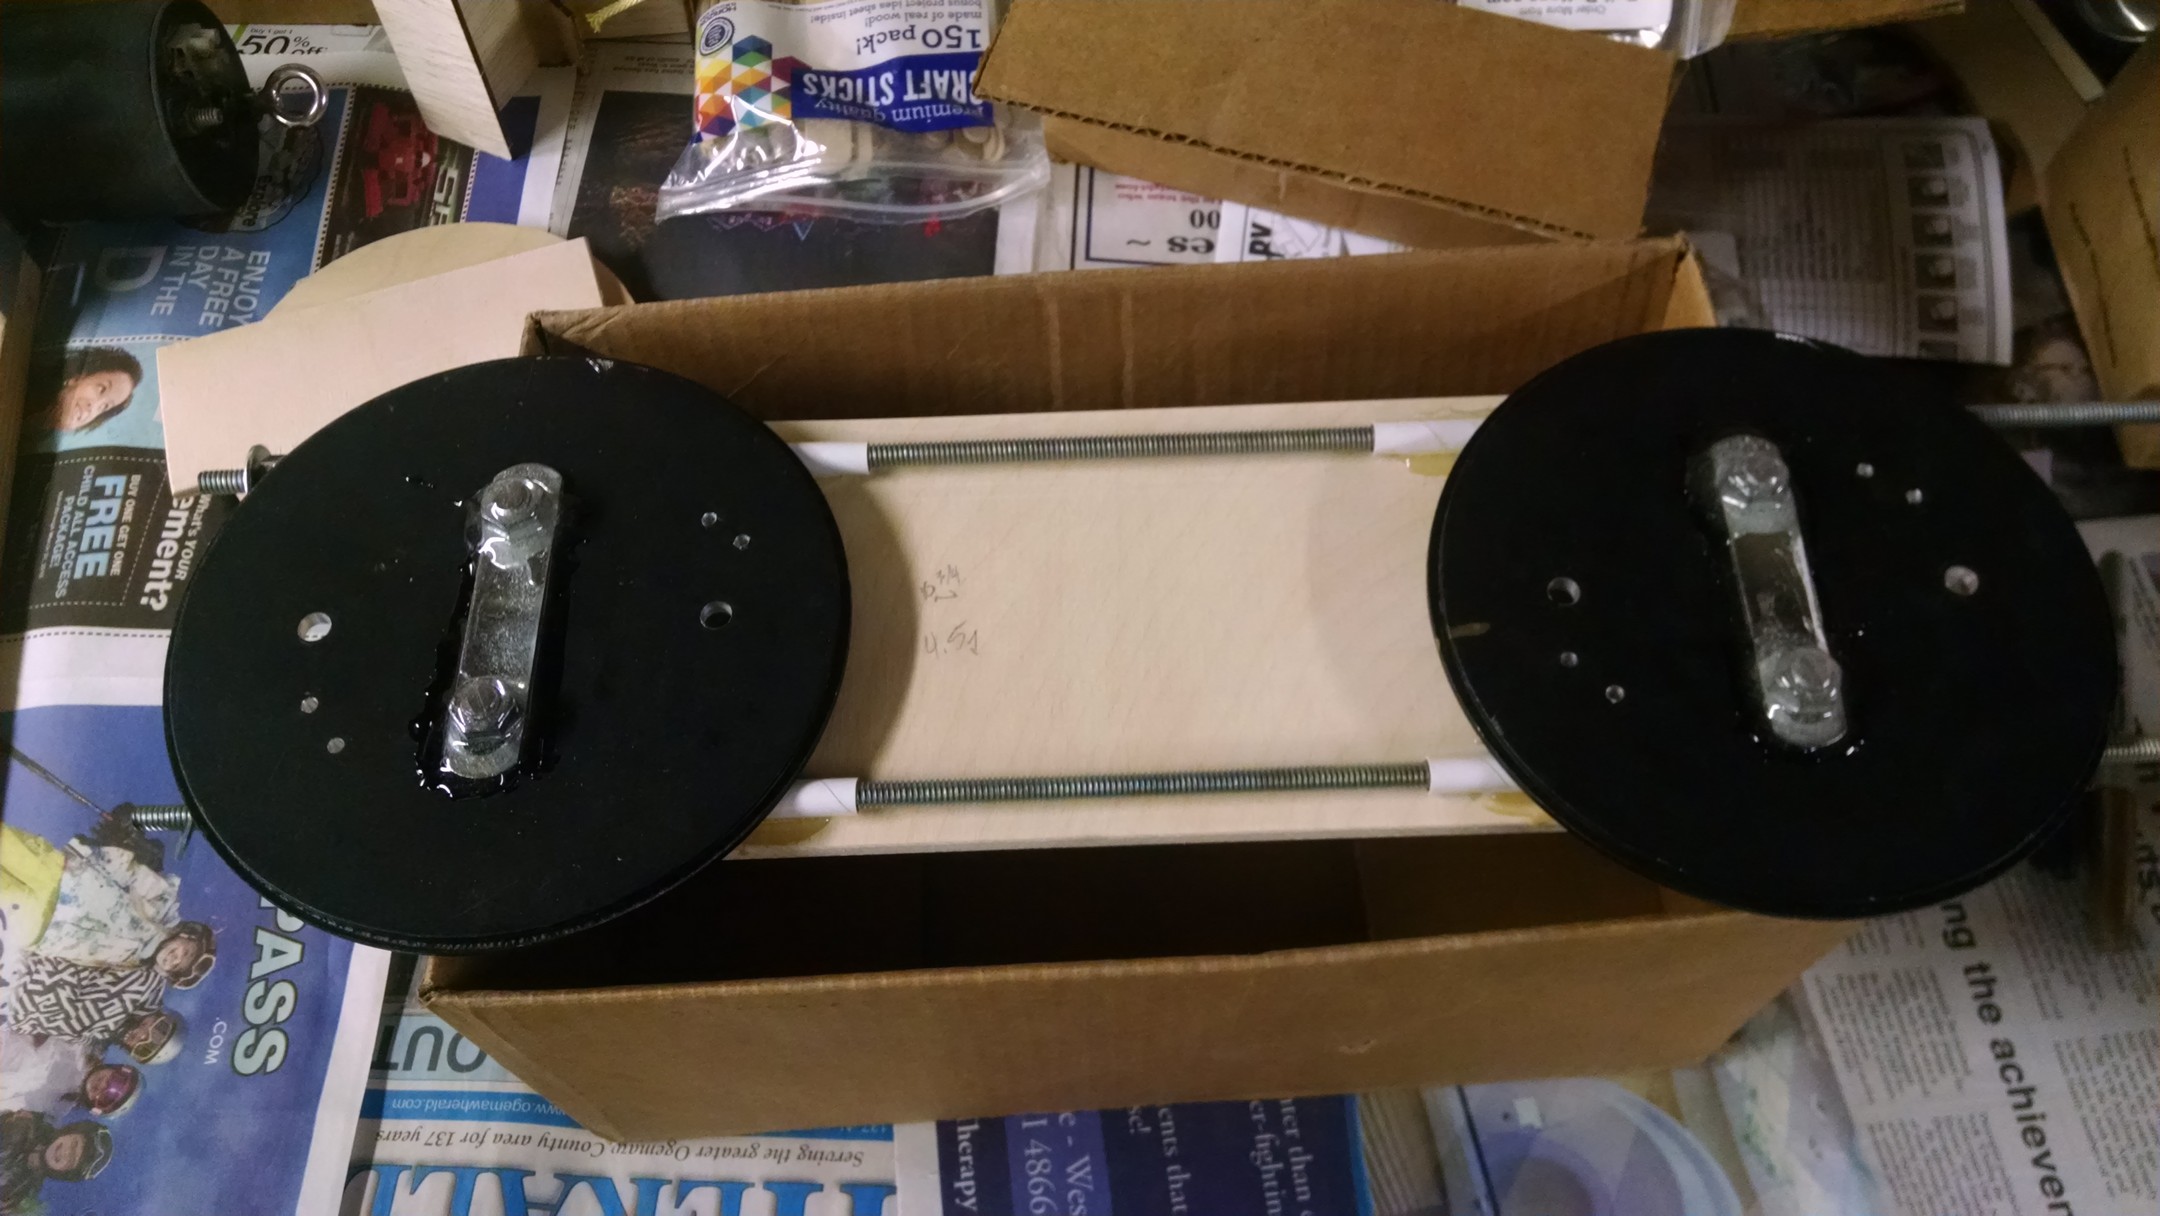
Got the ebay sled cut out 4.5in x 10.75in with some 1/4 in lugs lined up
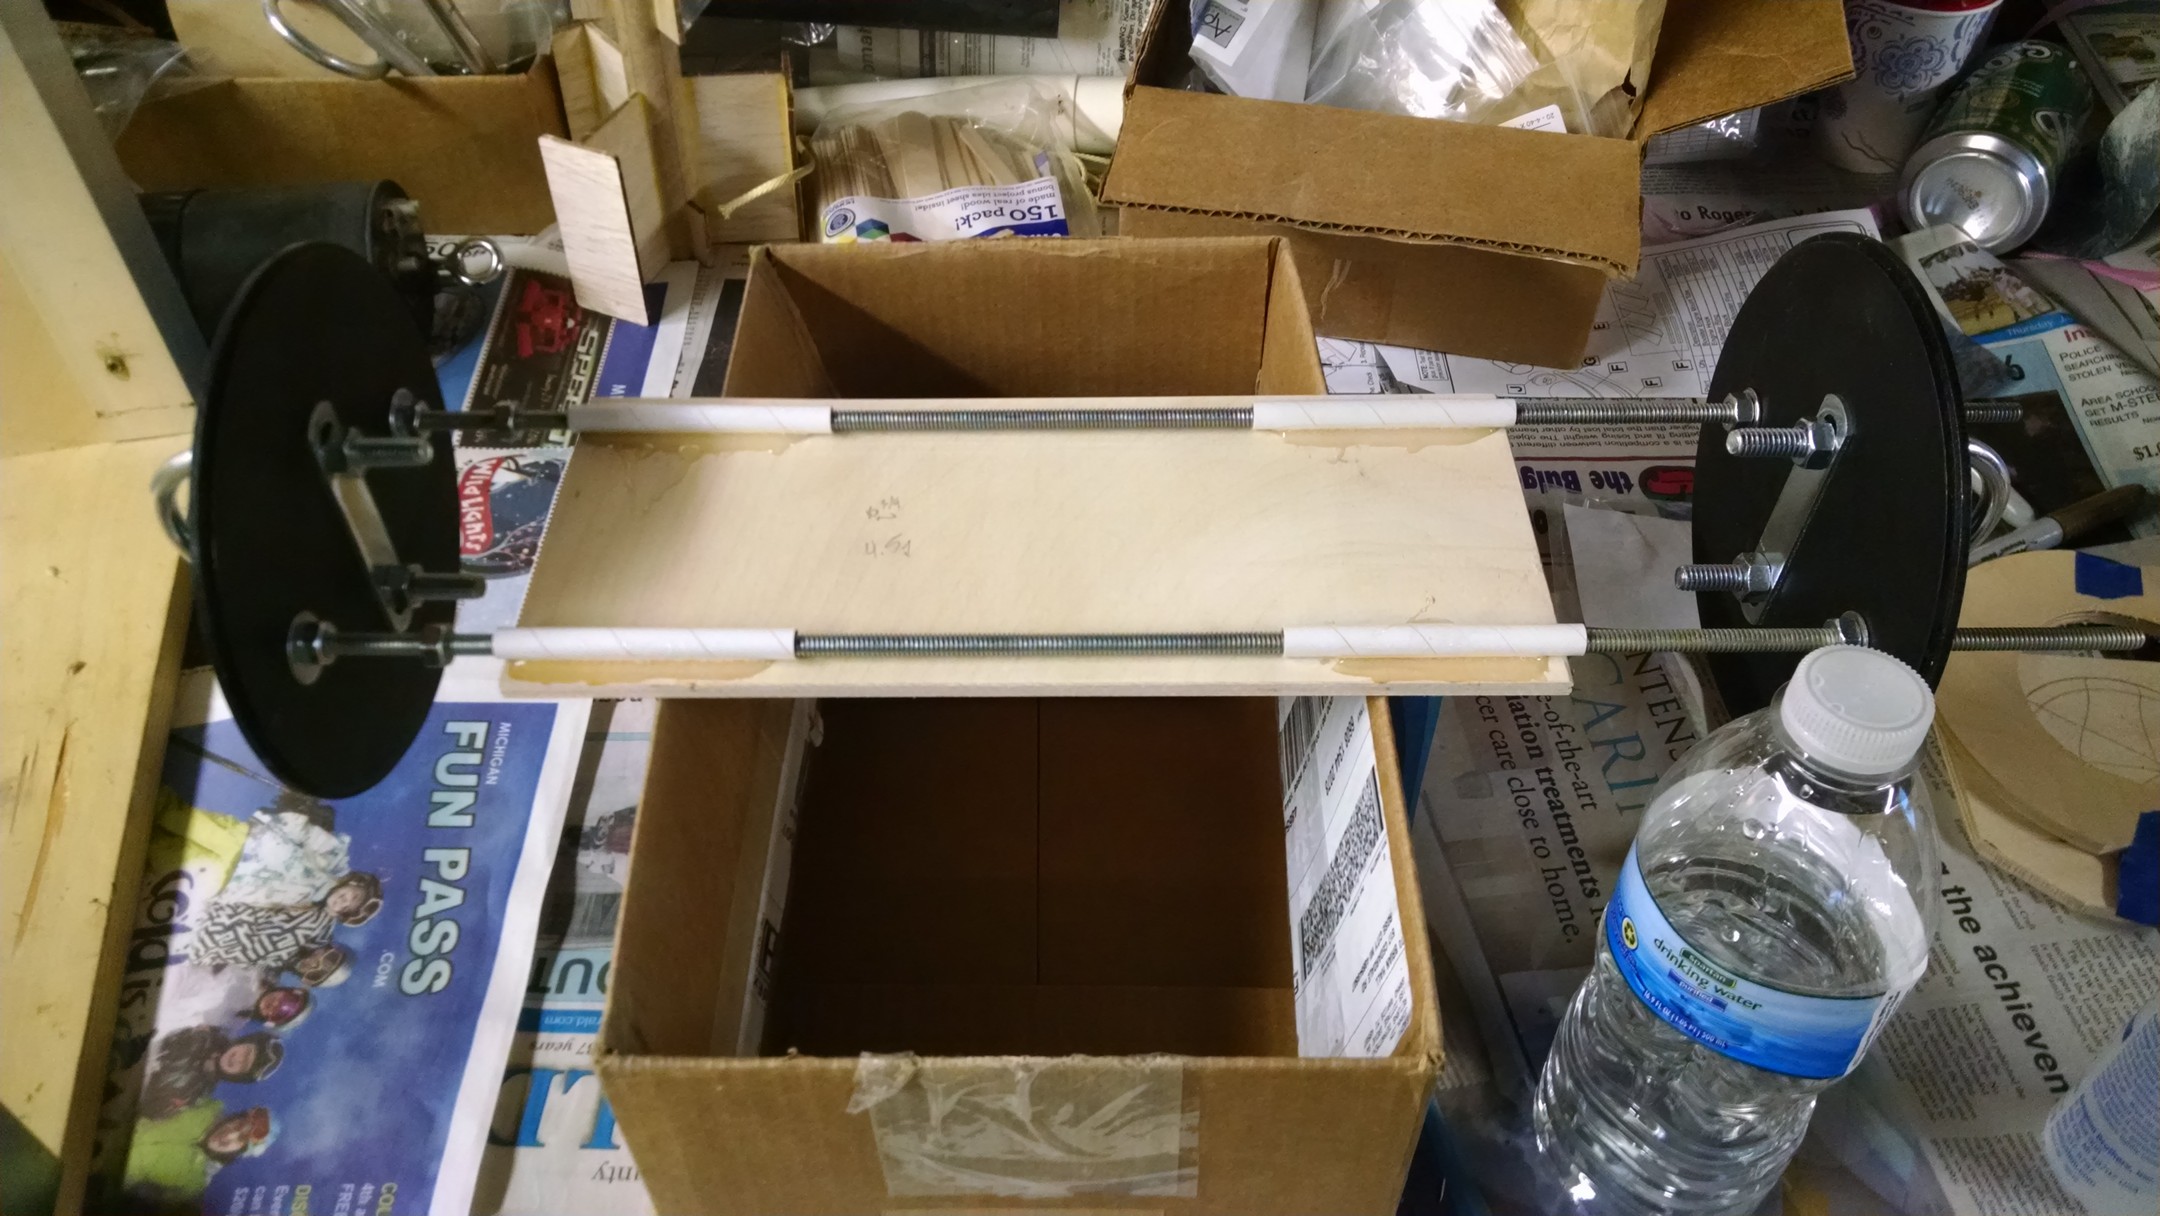
With a little 5min west system epoxy, the sled and lugs are secured down.
I forgot to add the holes for the deployment charge wires.. problem fixed Jan 26, 2016
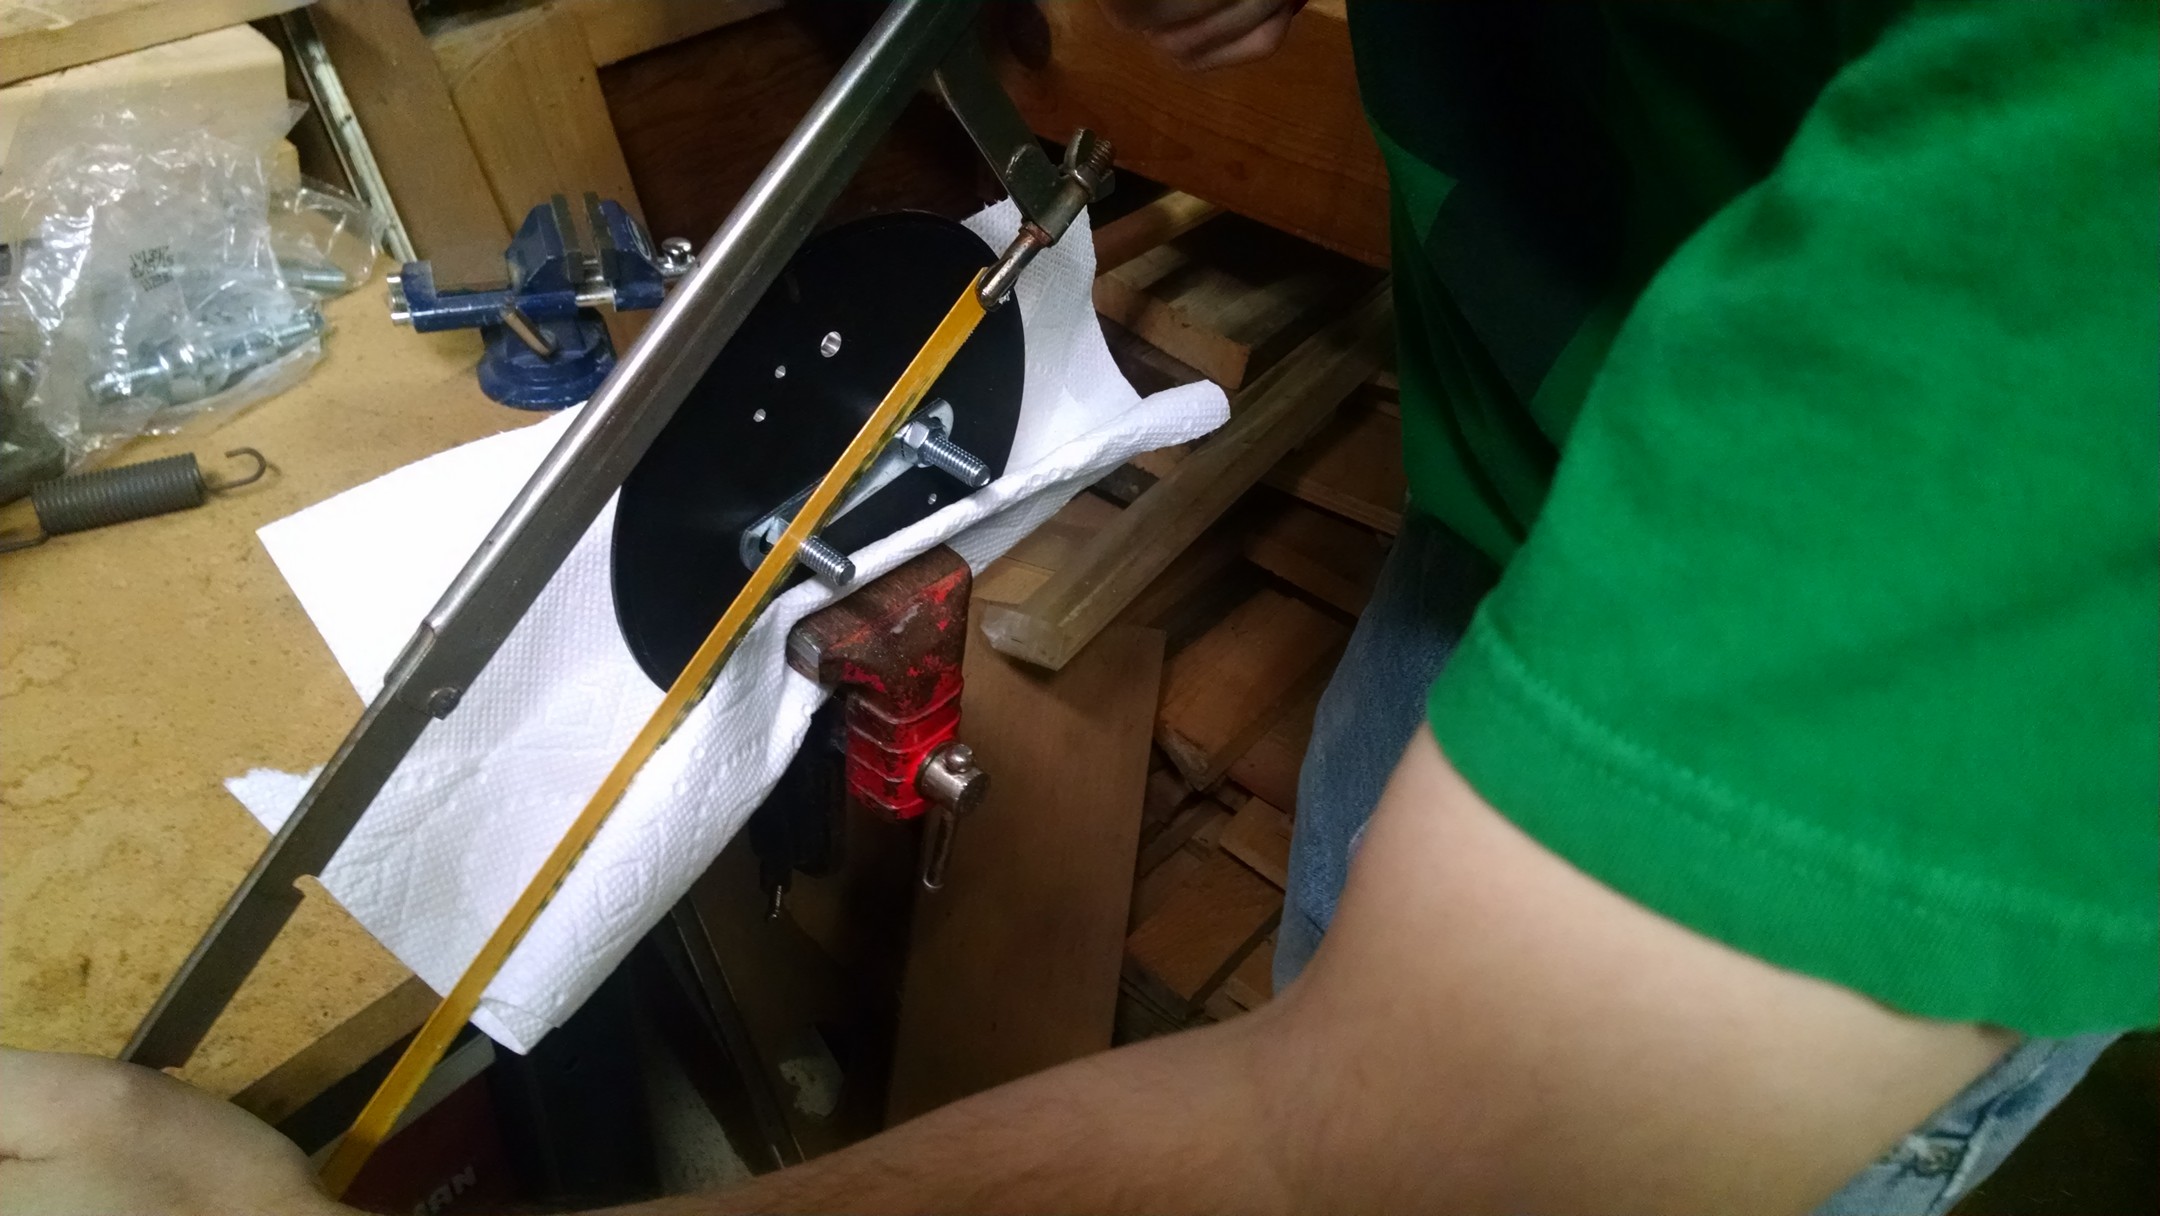
The u-blots are too long.. so they need to be shorter
That is better
Both side by side, with trimmed down u-blots
I added some 5-min epoxy to cover up the sharp edges, and to keep the nuts on.
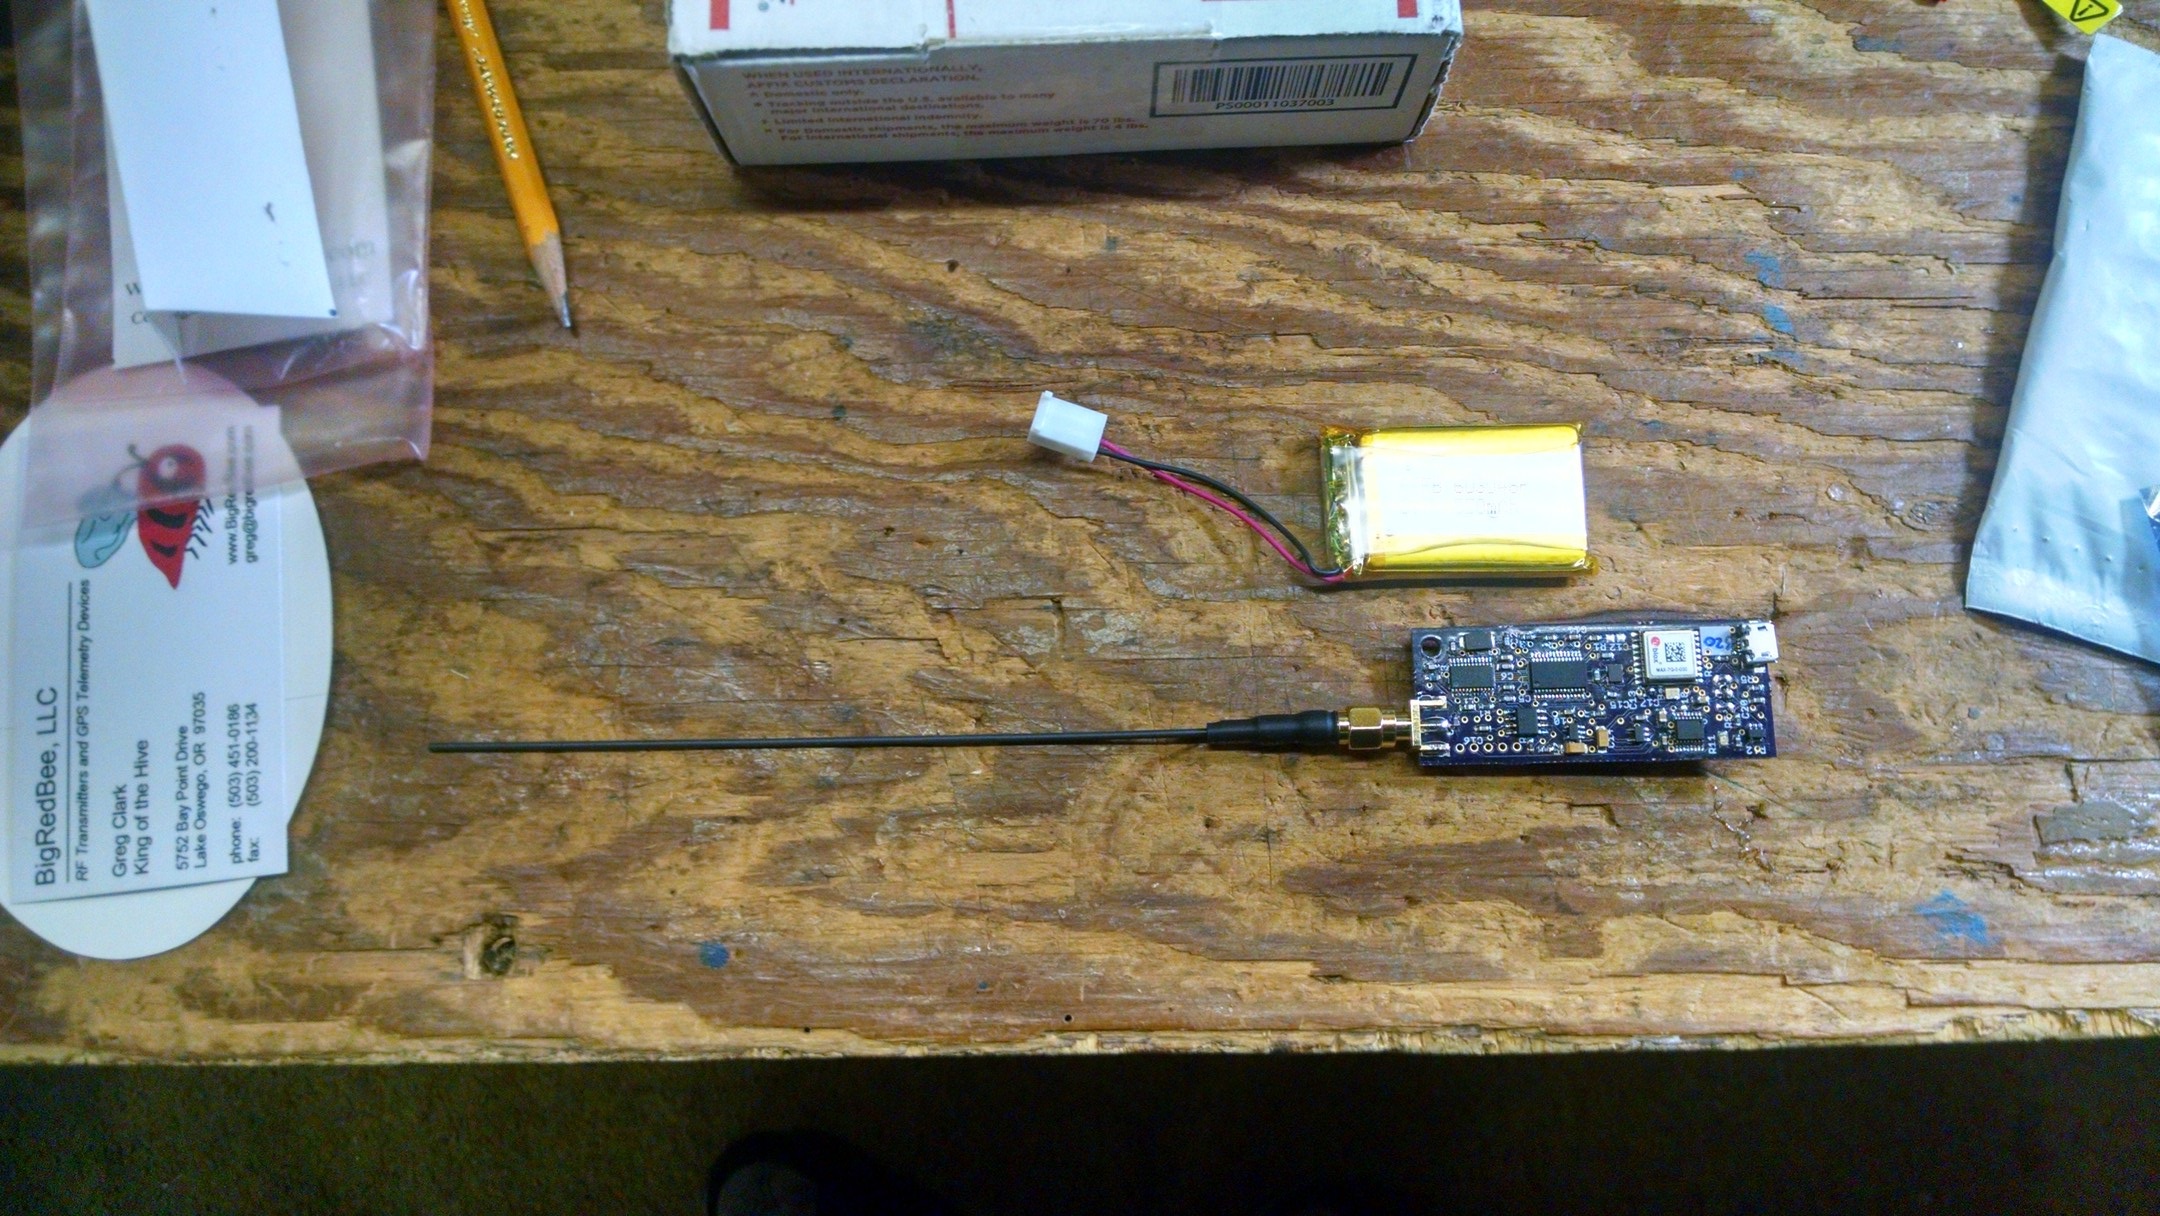
look what came in the mail, my Big Red Bee 70cm GPS APRS unit 🙂 🙂 🙂 Jan 27, 2016
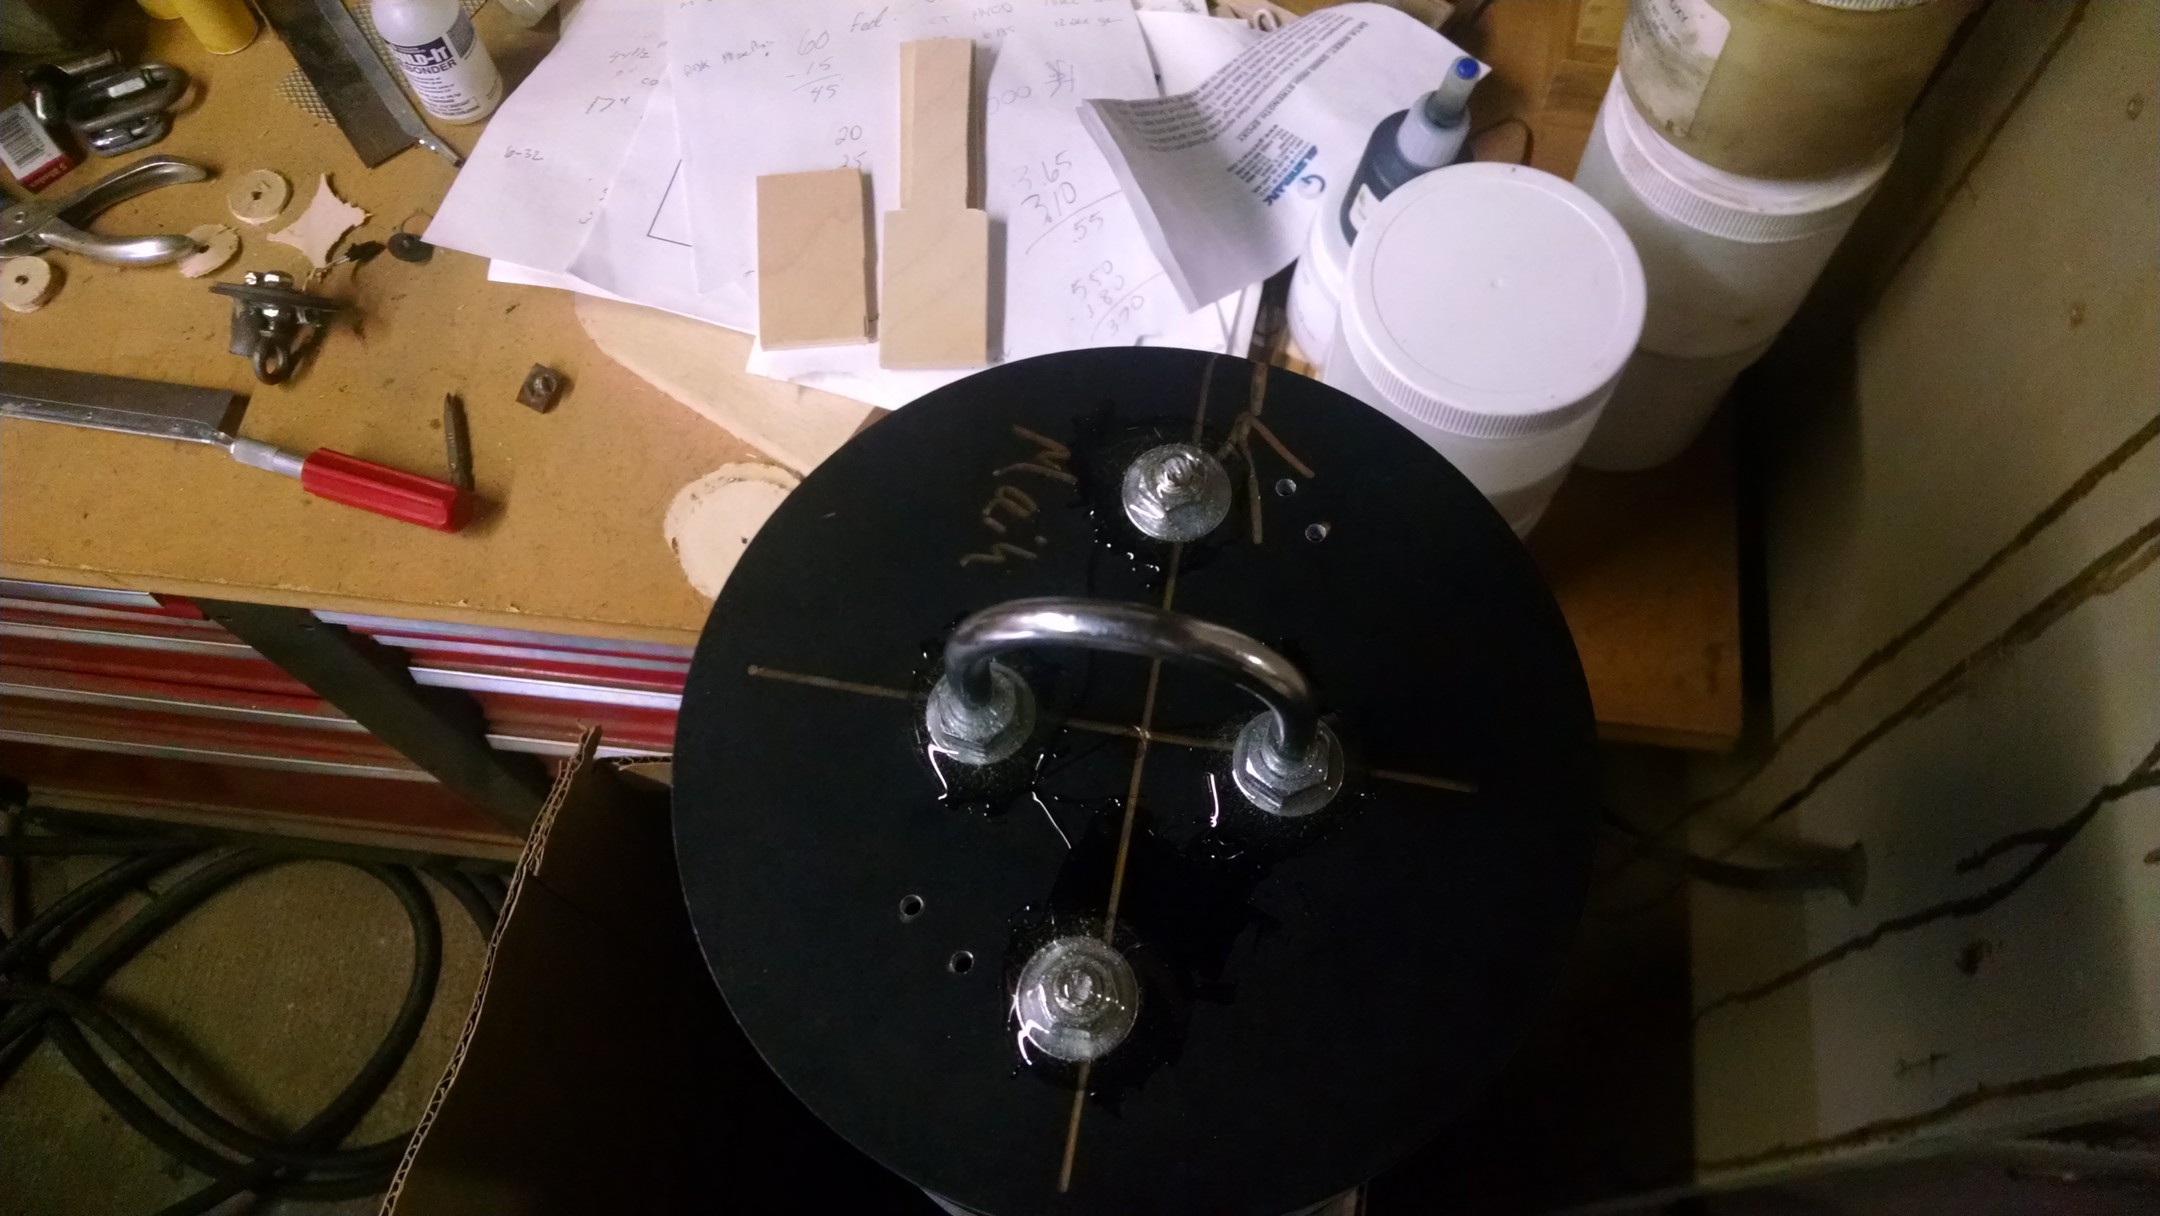
put some 5-min epoxy on the front ebay bulk head on the MAIN side, covering up the sharp parts..
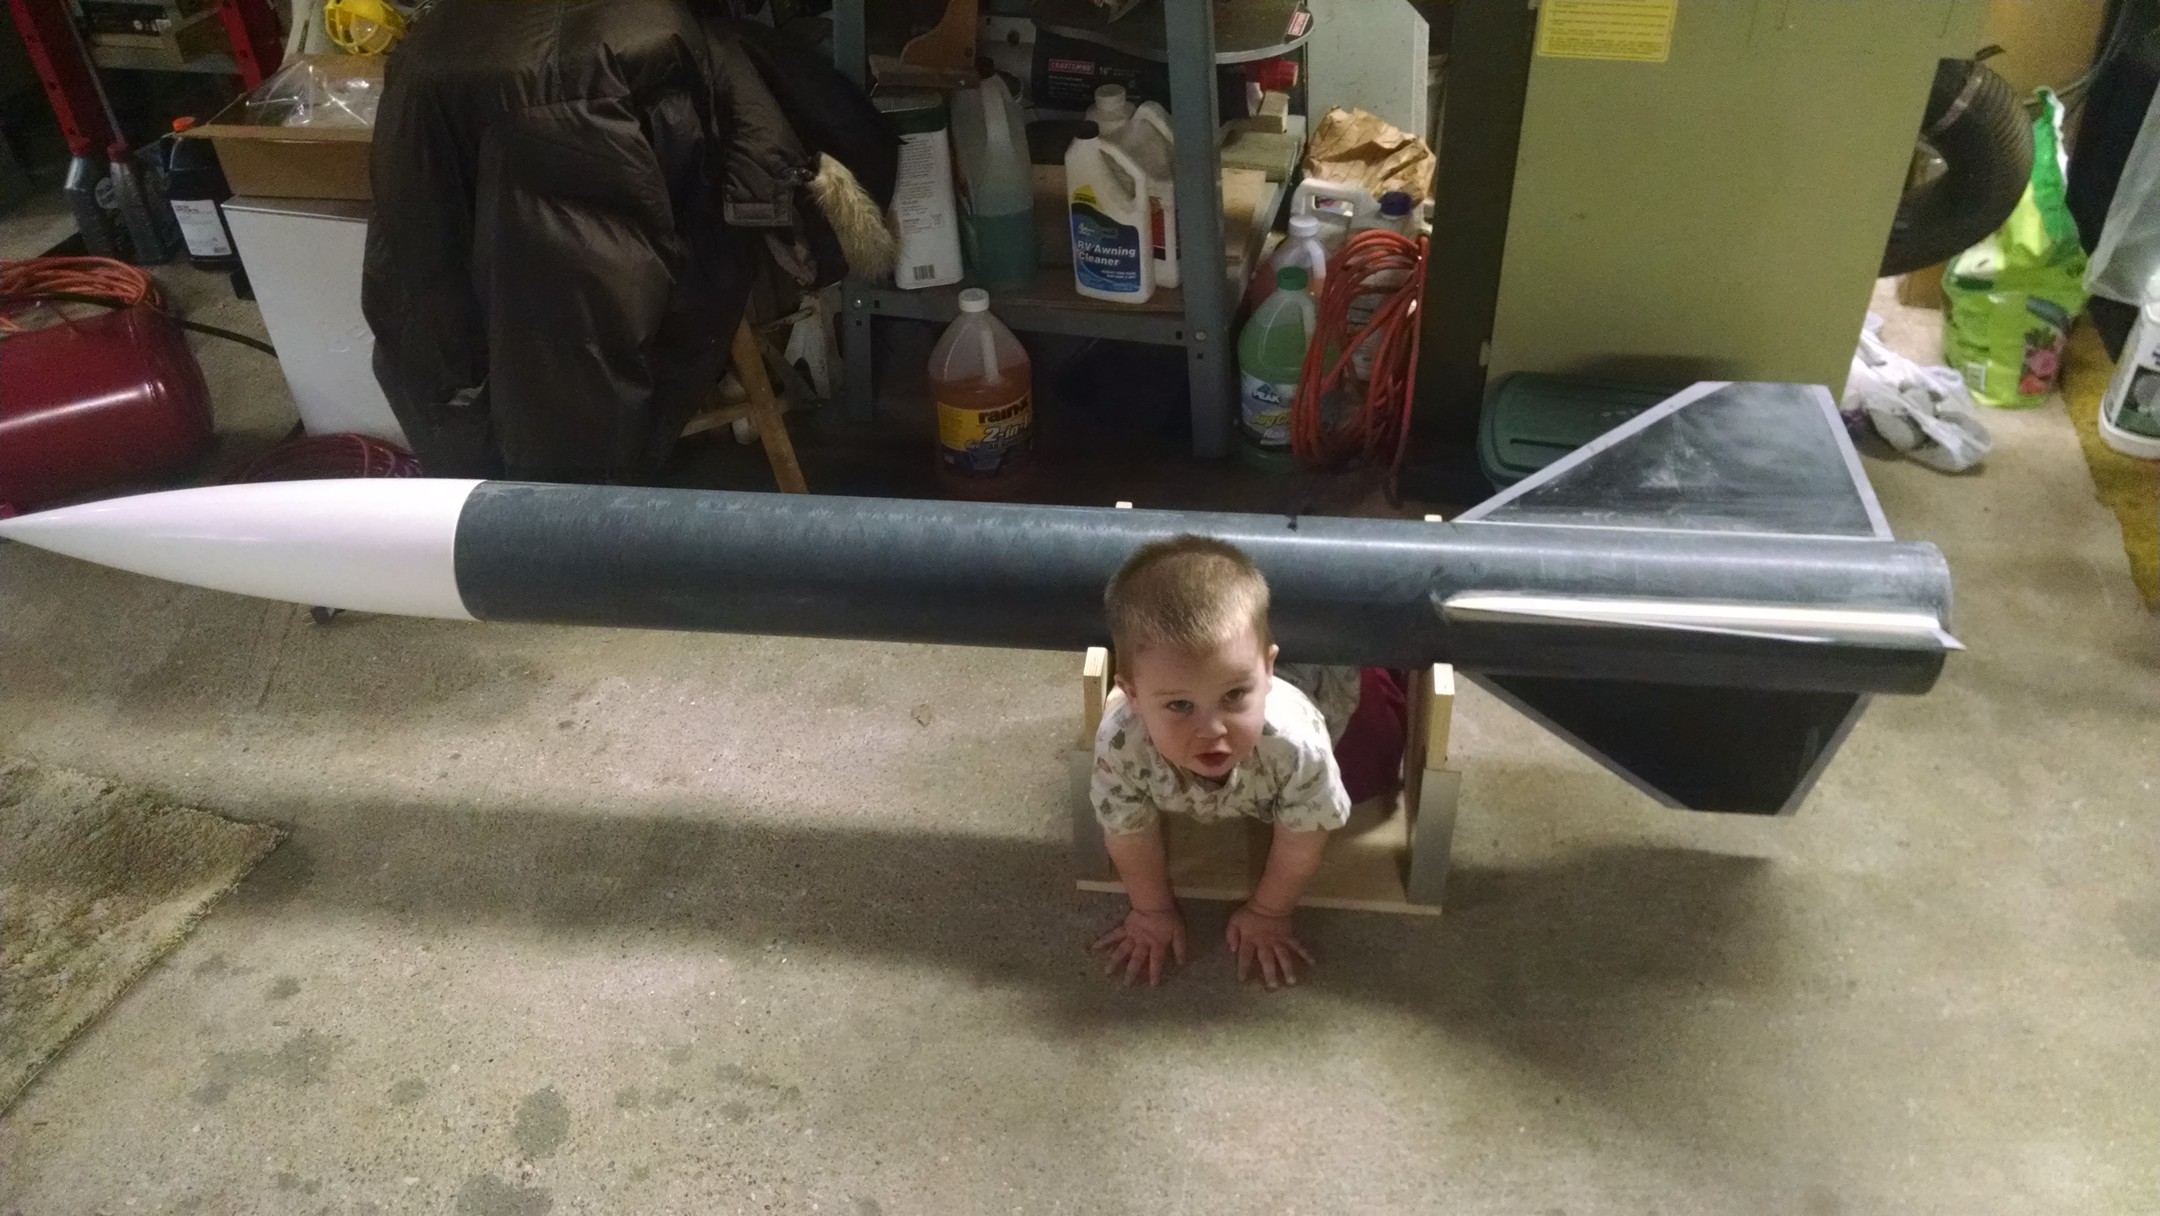
James is inspecting the rocket as a short stack, he approves!
Time to clean up all of the foam on the nose cone, Jan 30, 2016

Only an hour and a half to dig out all of the extra foam.. .. ..
dry fit, looks good
added bolts to the centering ring to be able to hold the tracker cover down.
5-min epoxy on the top of the bolts to keep then from moving around.
Ready for rock poxy, and a centering ring.
Lots of rockpoxy, mmmmm what a mess I can make.
Ring installed, epoxy cleaned up.. let it set now..
Work on the tracker bay, this is a look at the inside, bolt is for support and a handle on the other side.
little 5-min to put it all together
different angle
Added more 5-min in to fill in the gap around the bolt
Here is what it looks like.. got to find an other wing nut
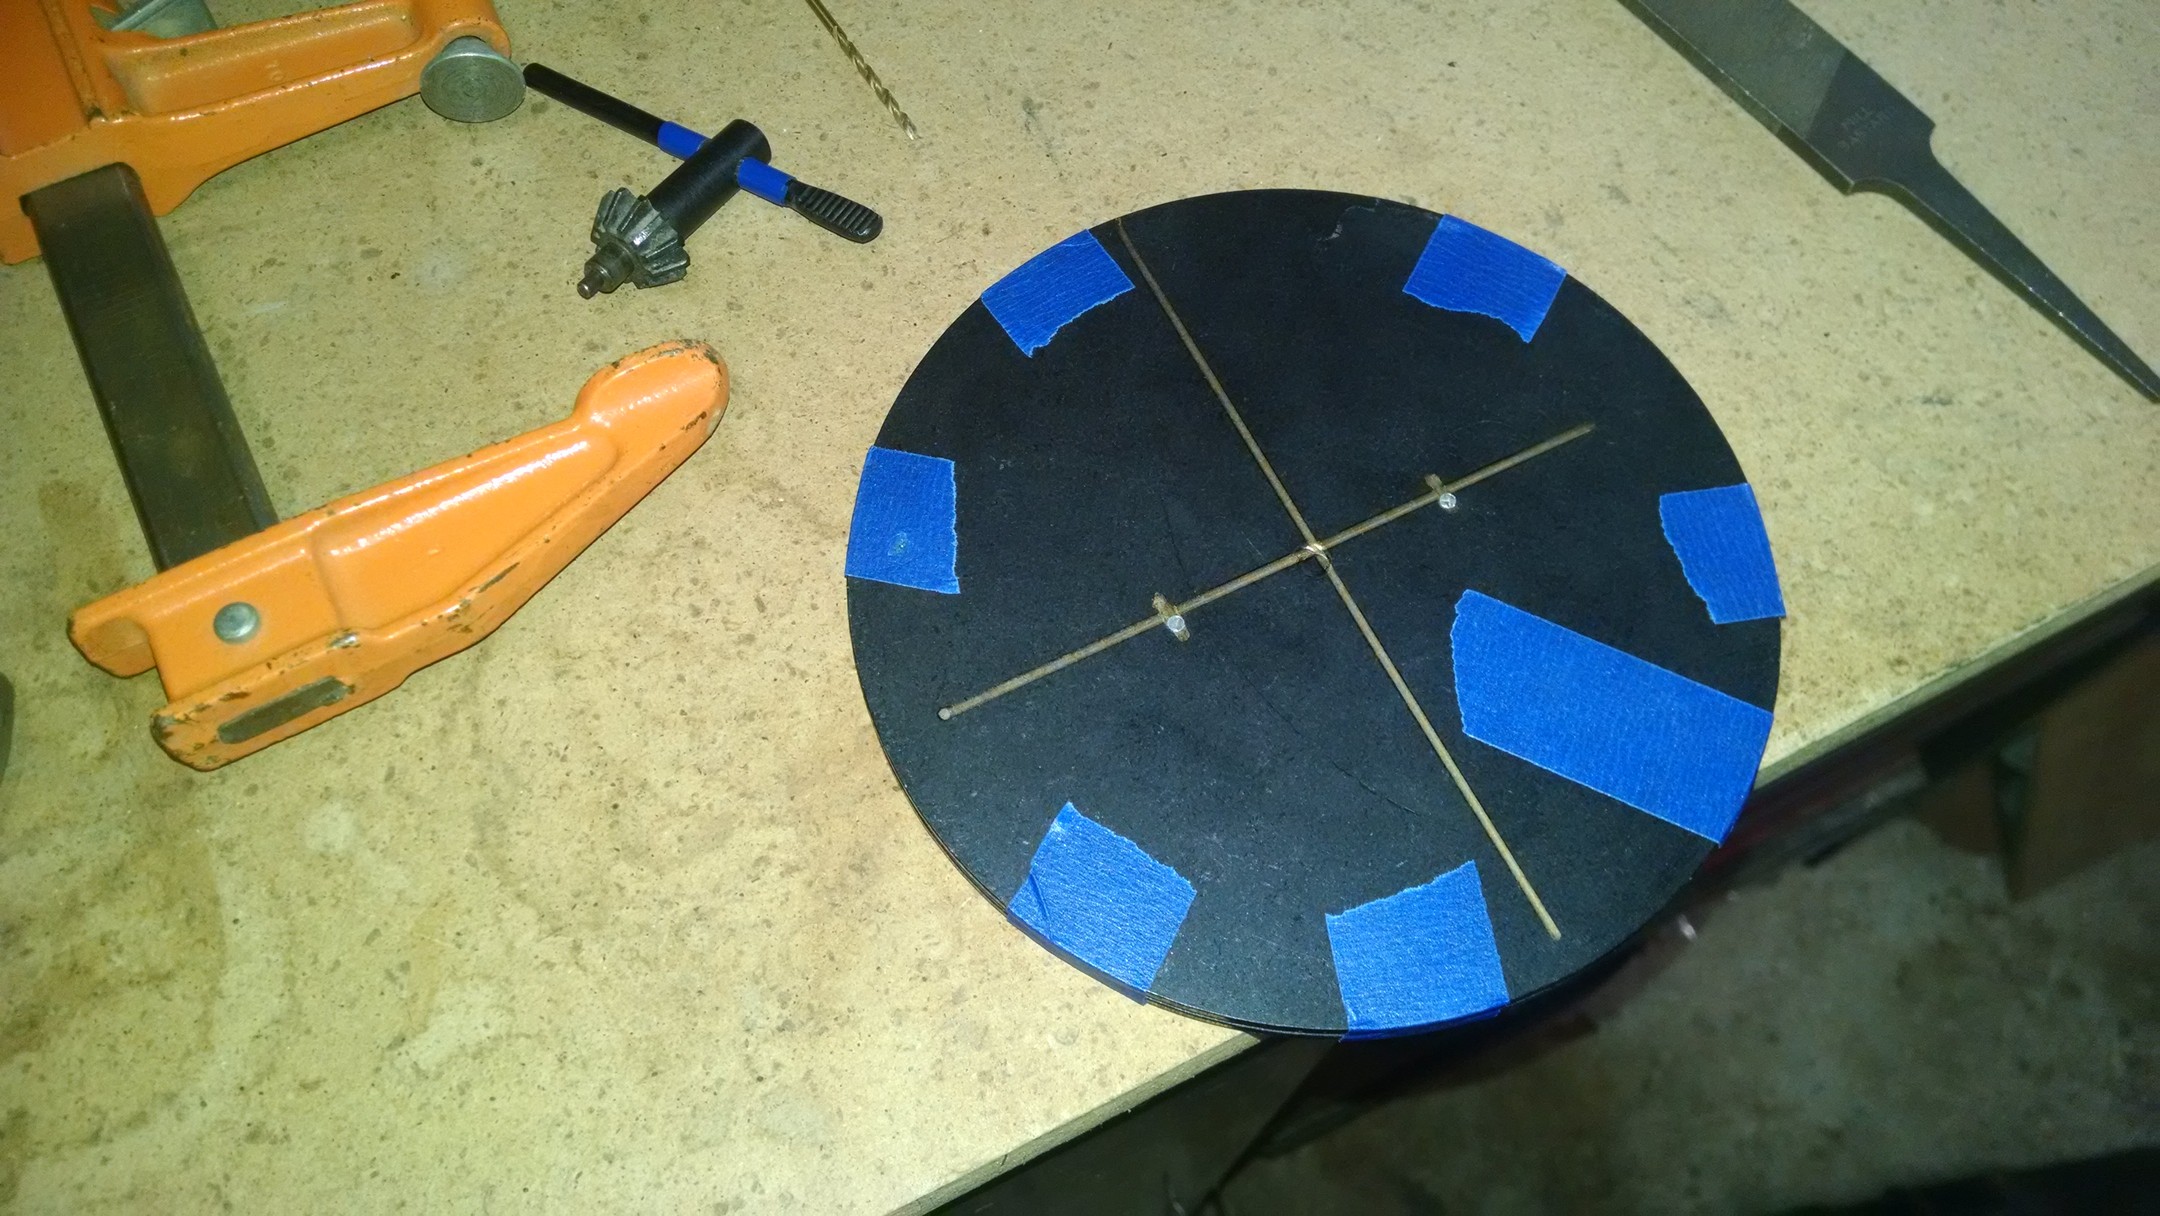
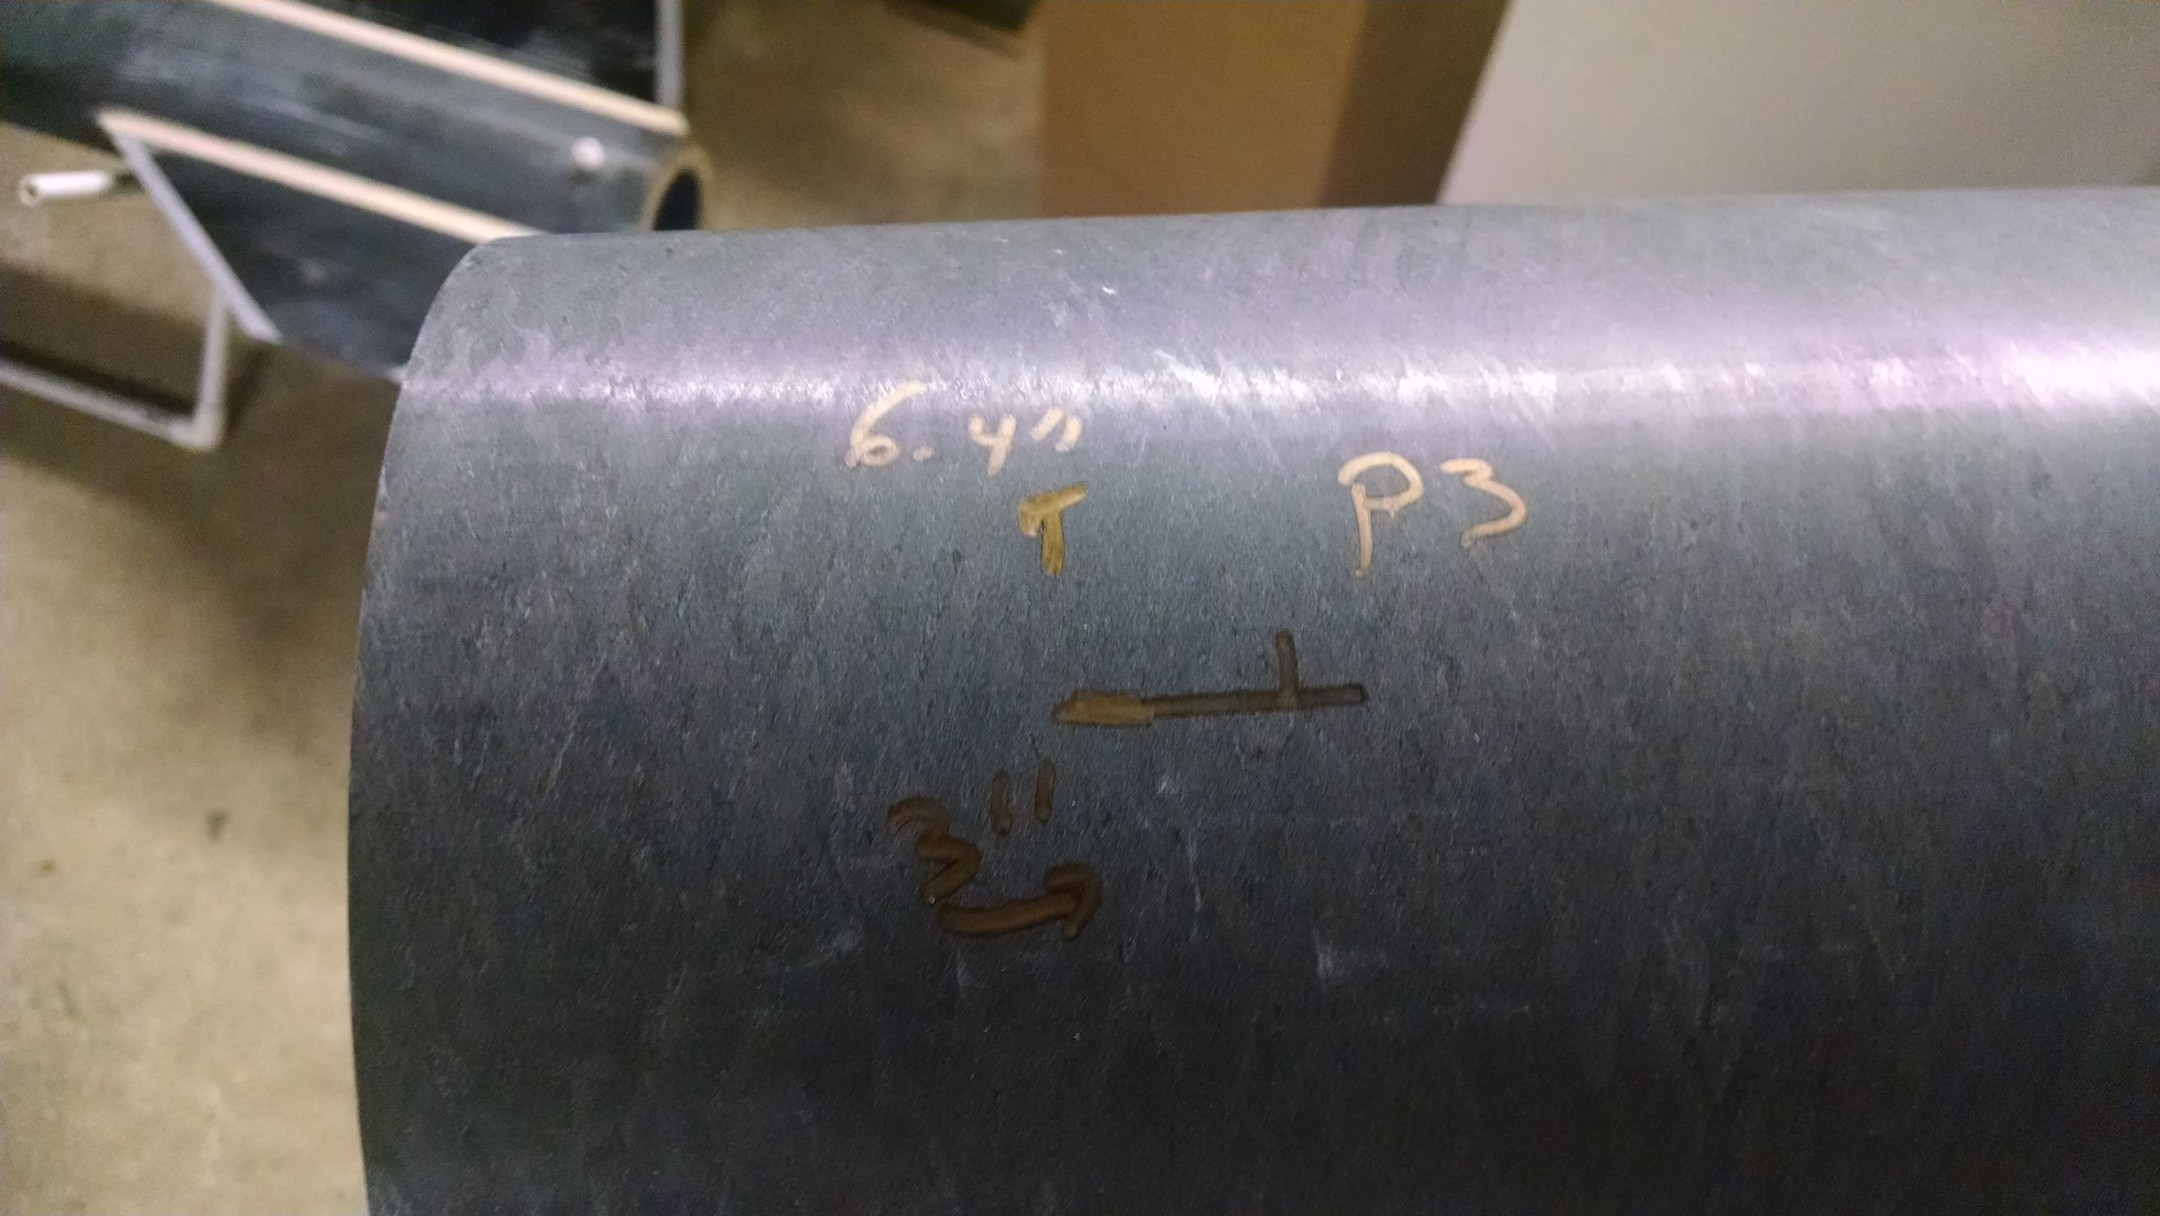
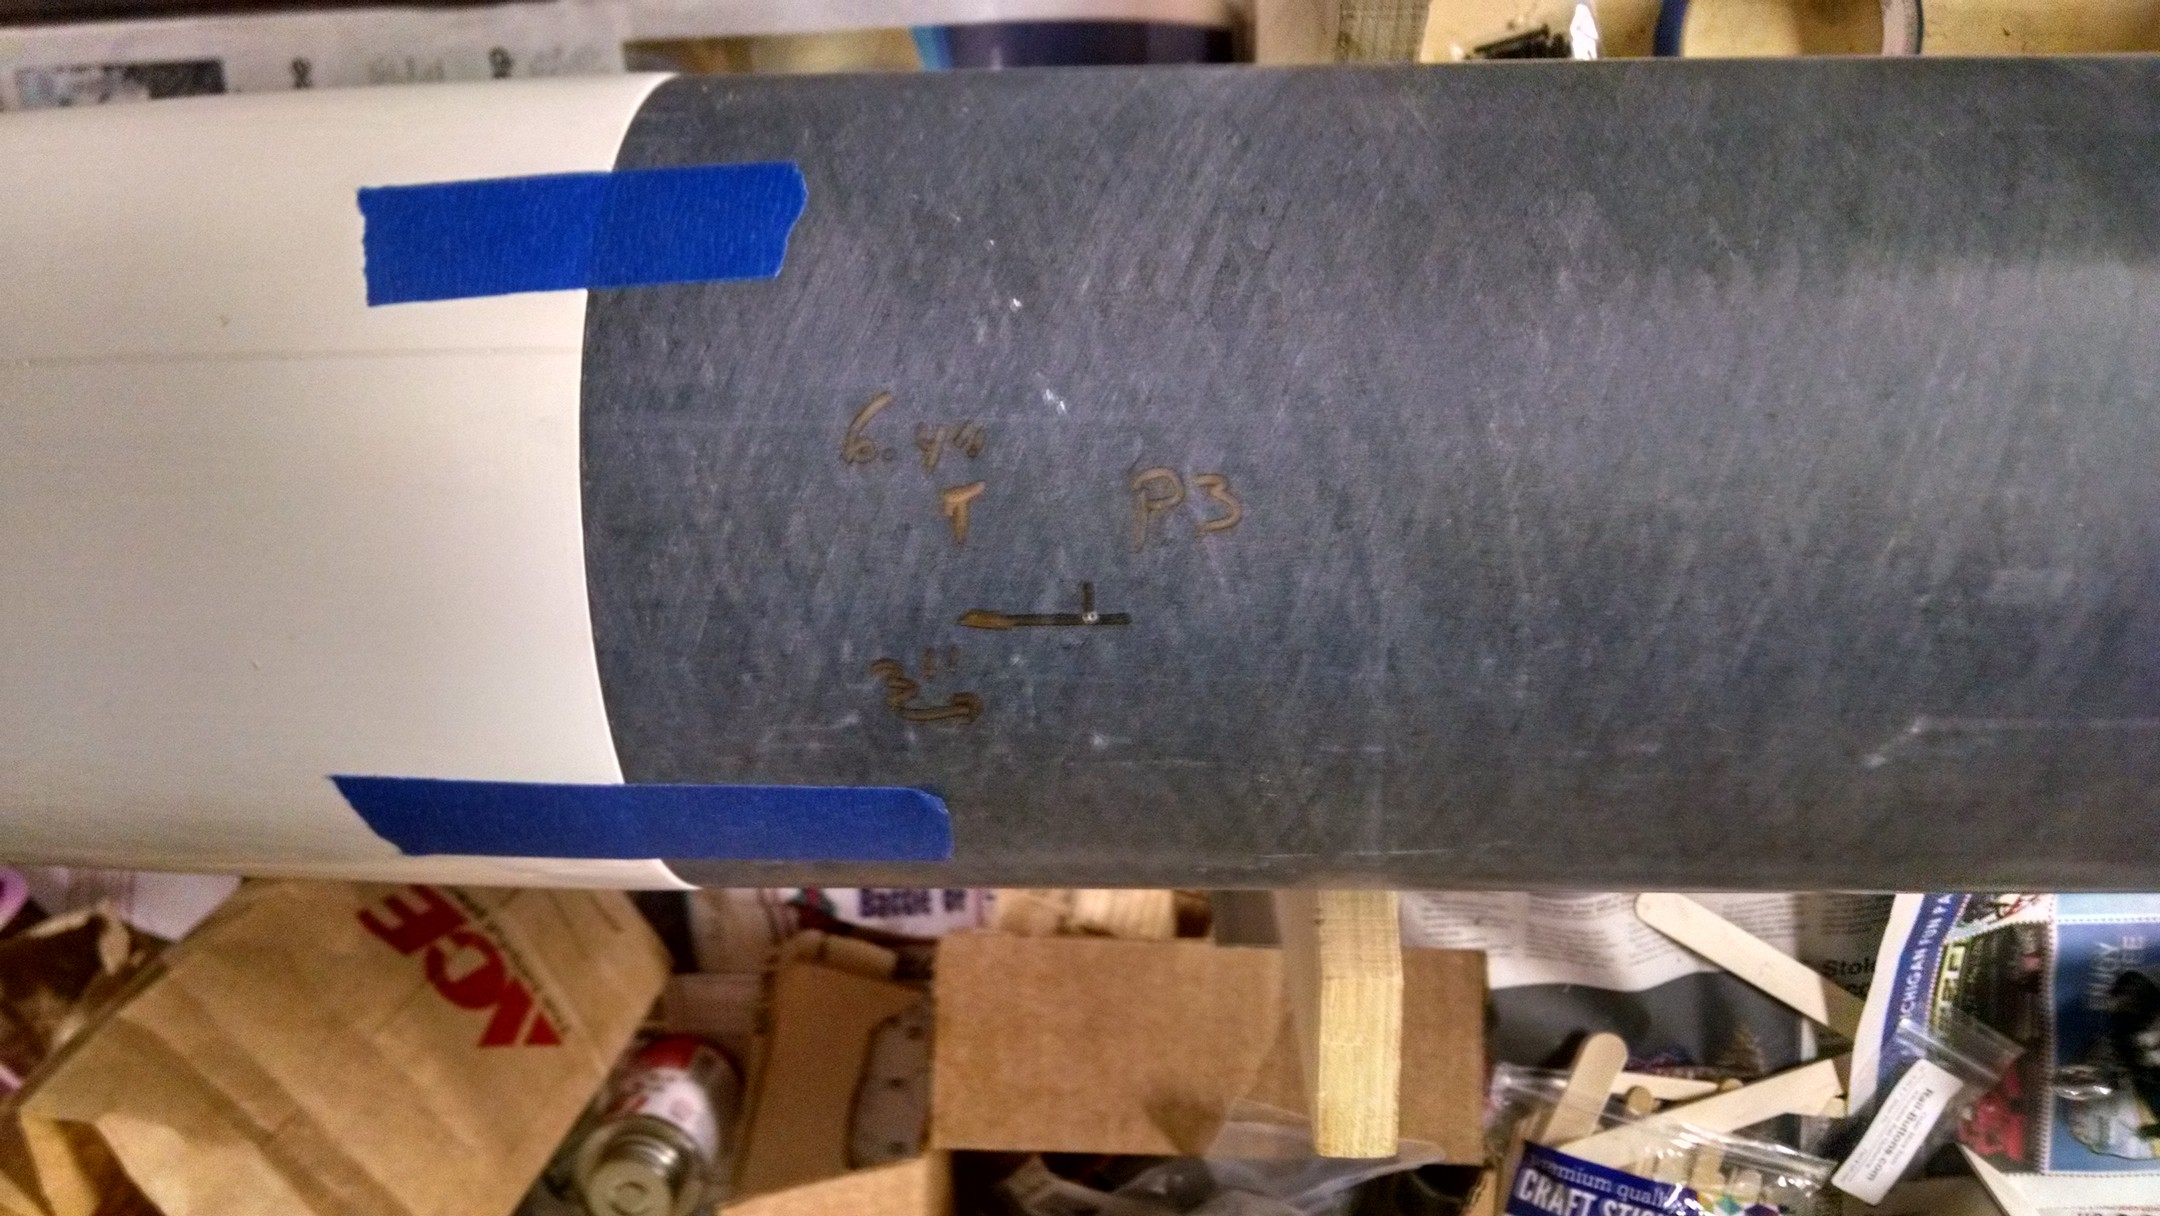
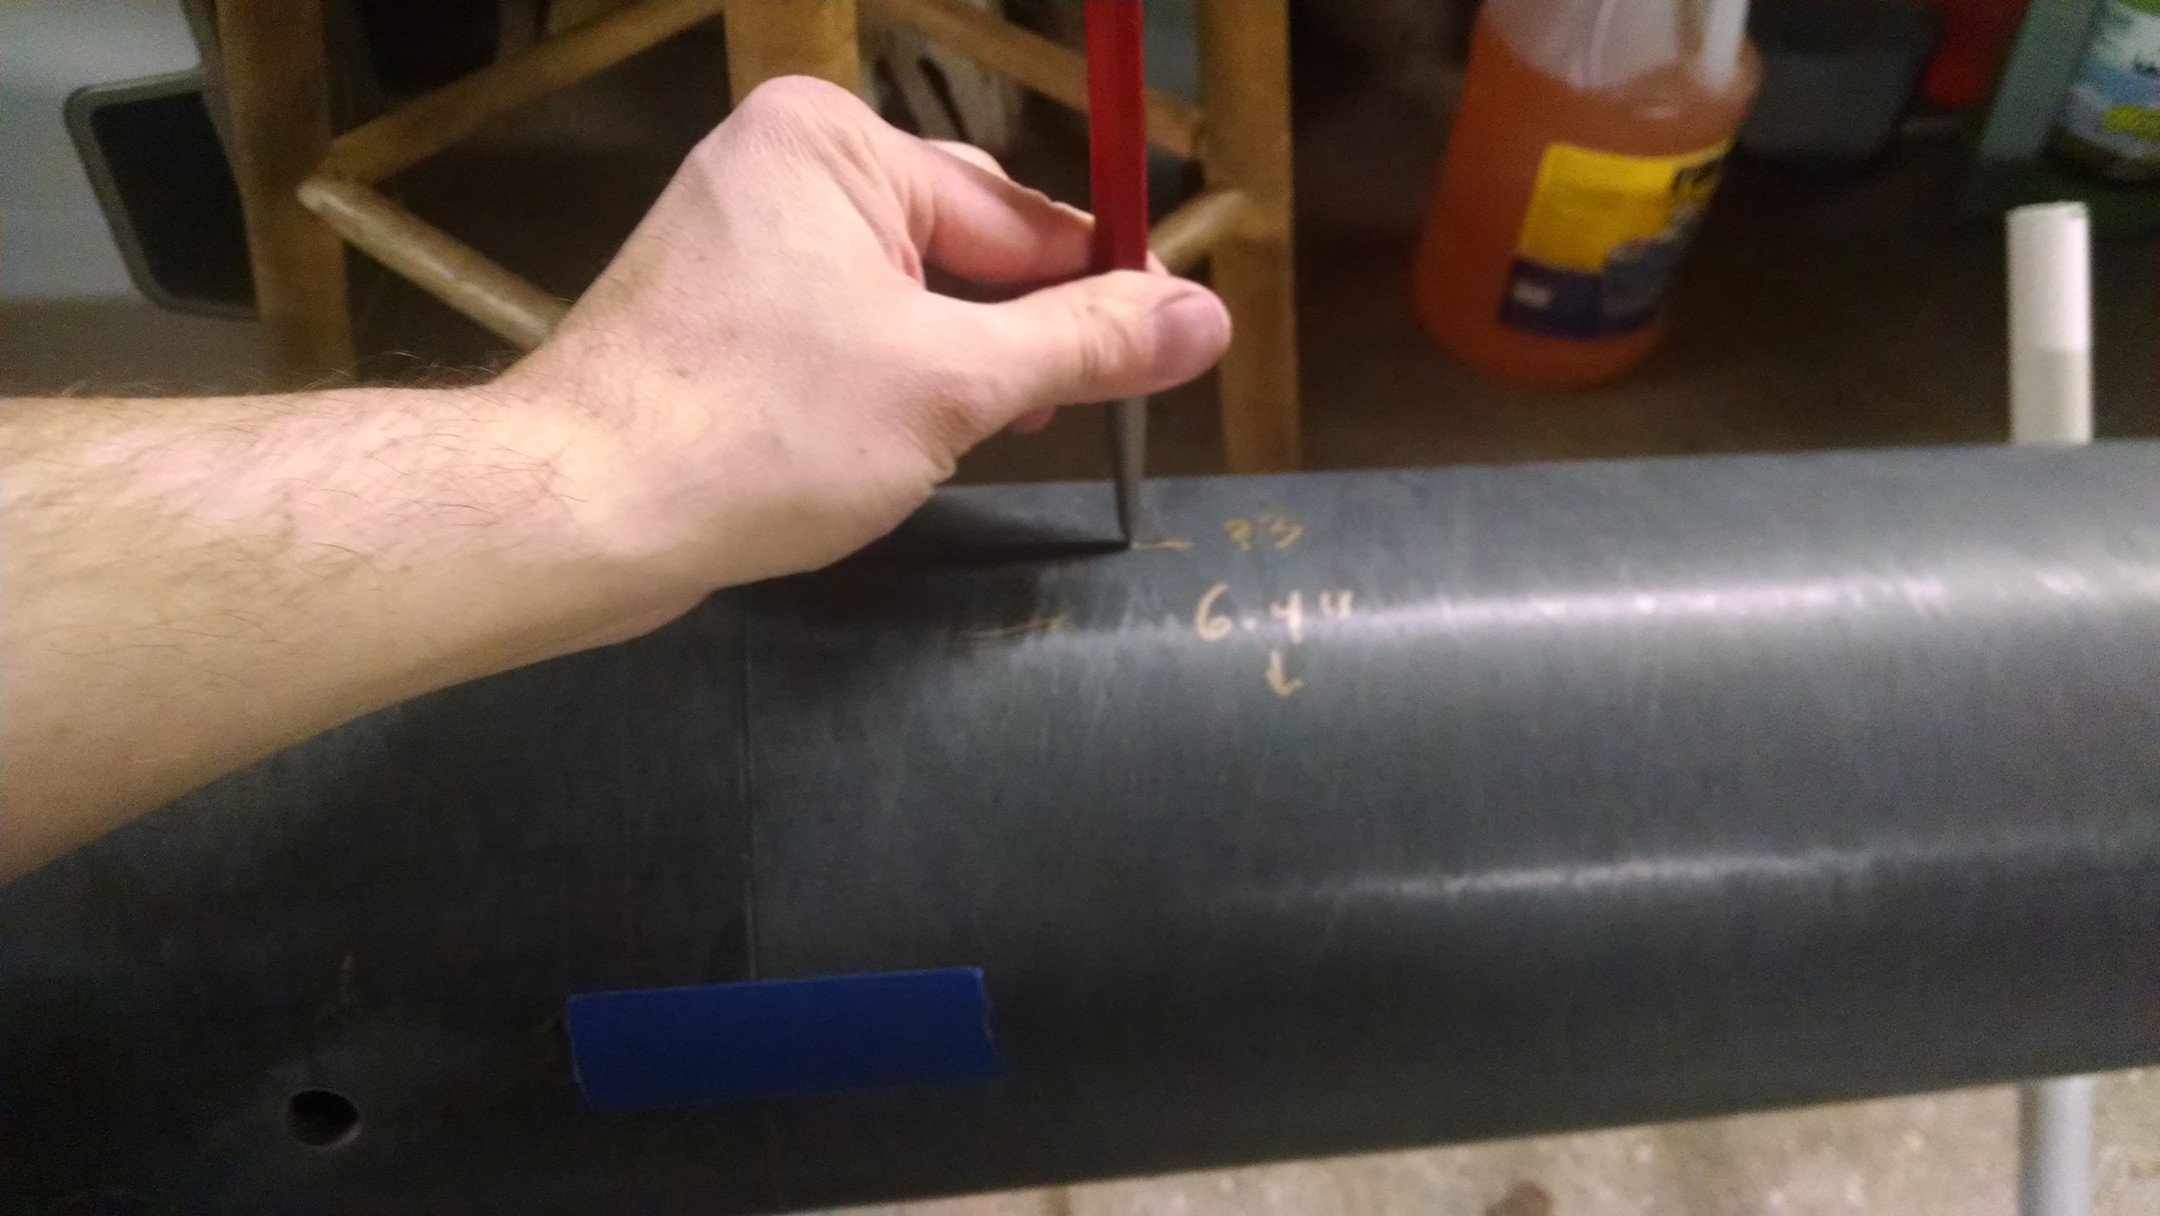
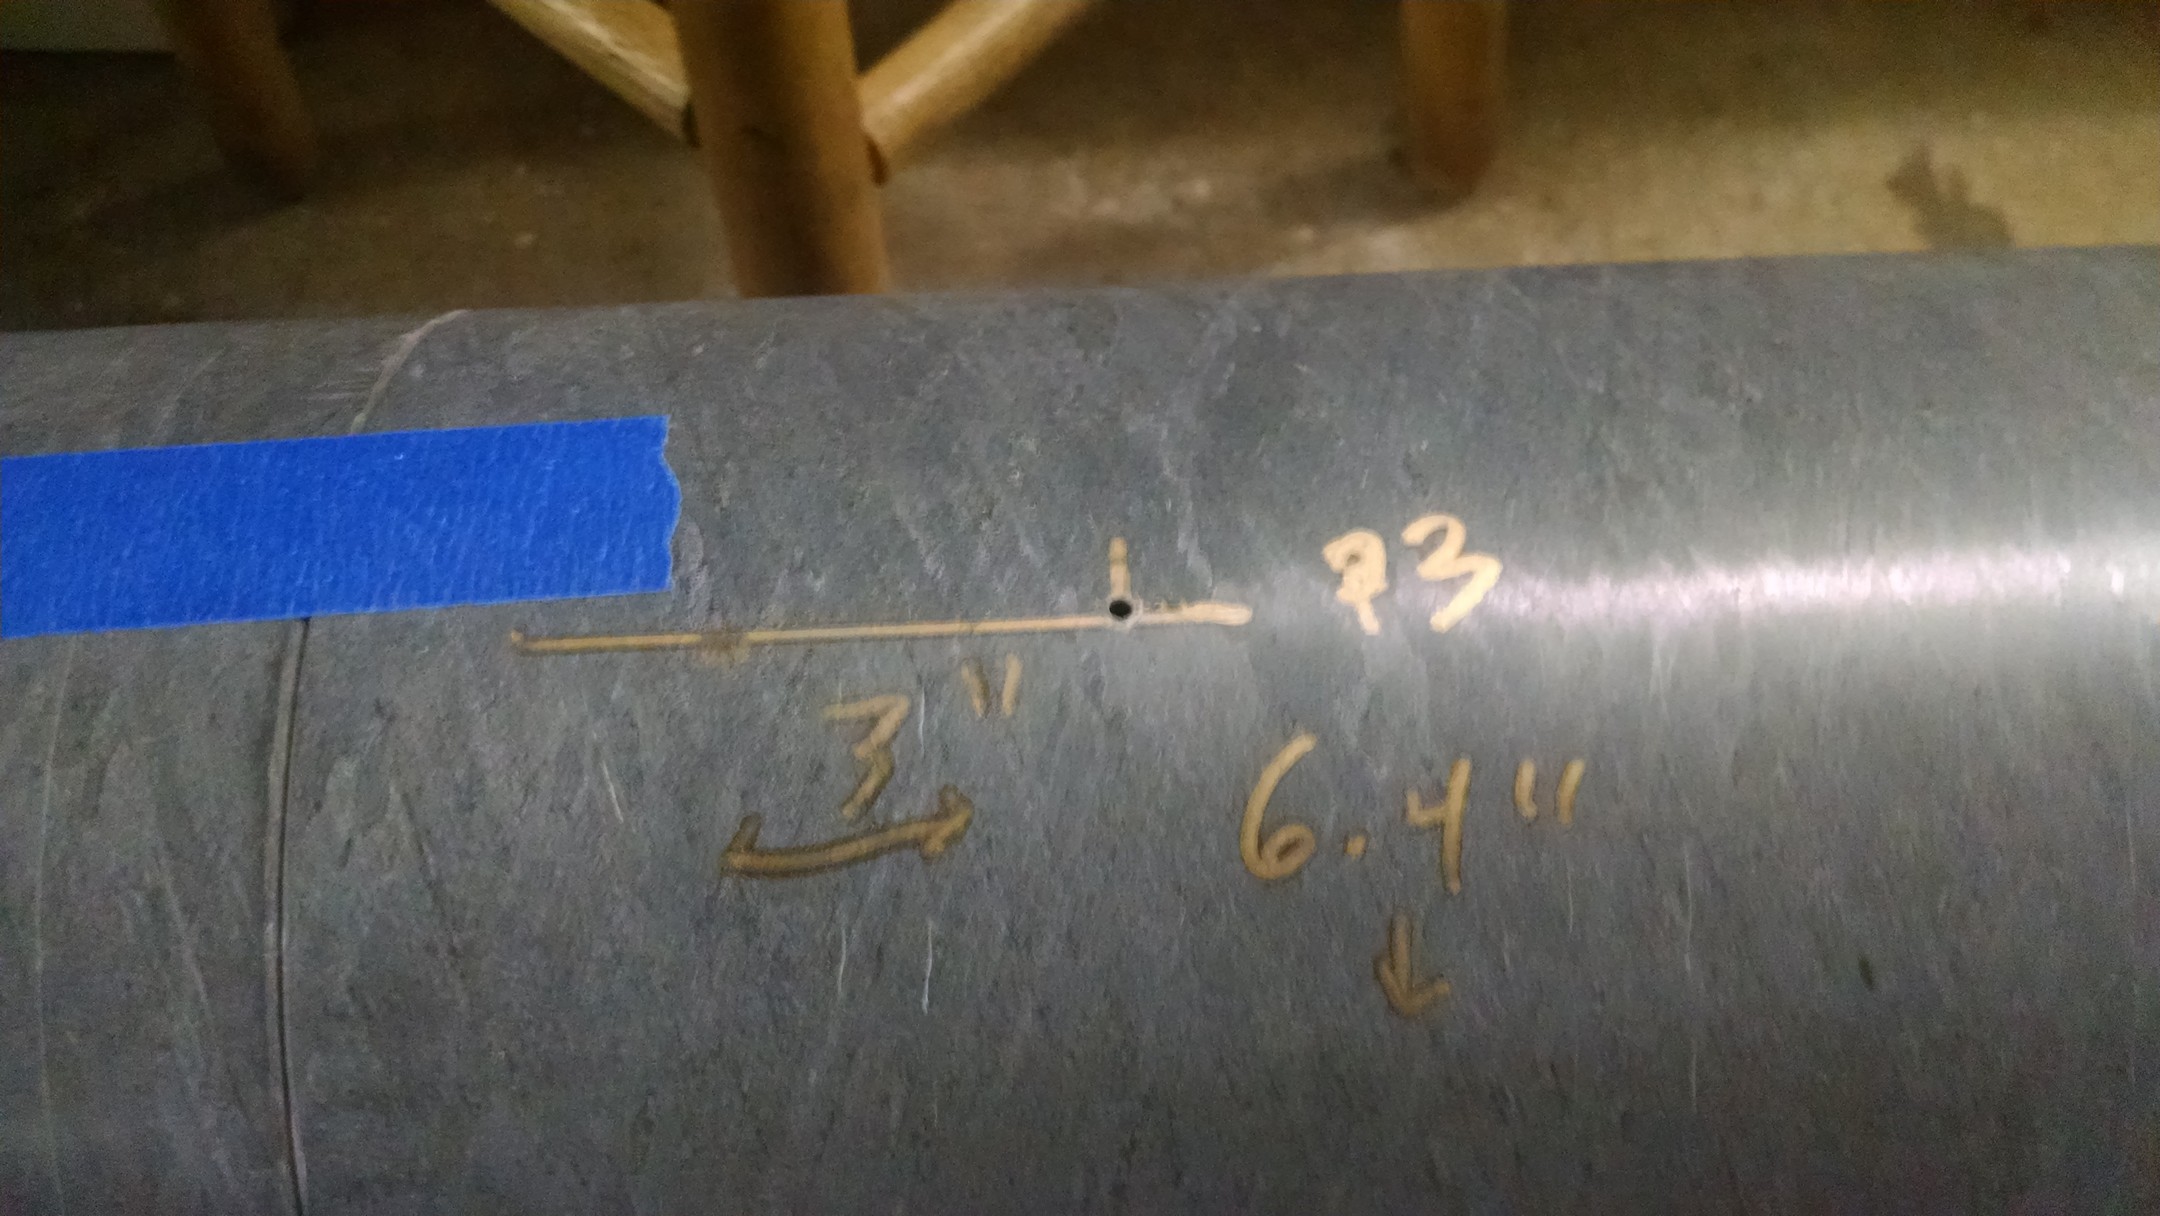
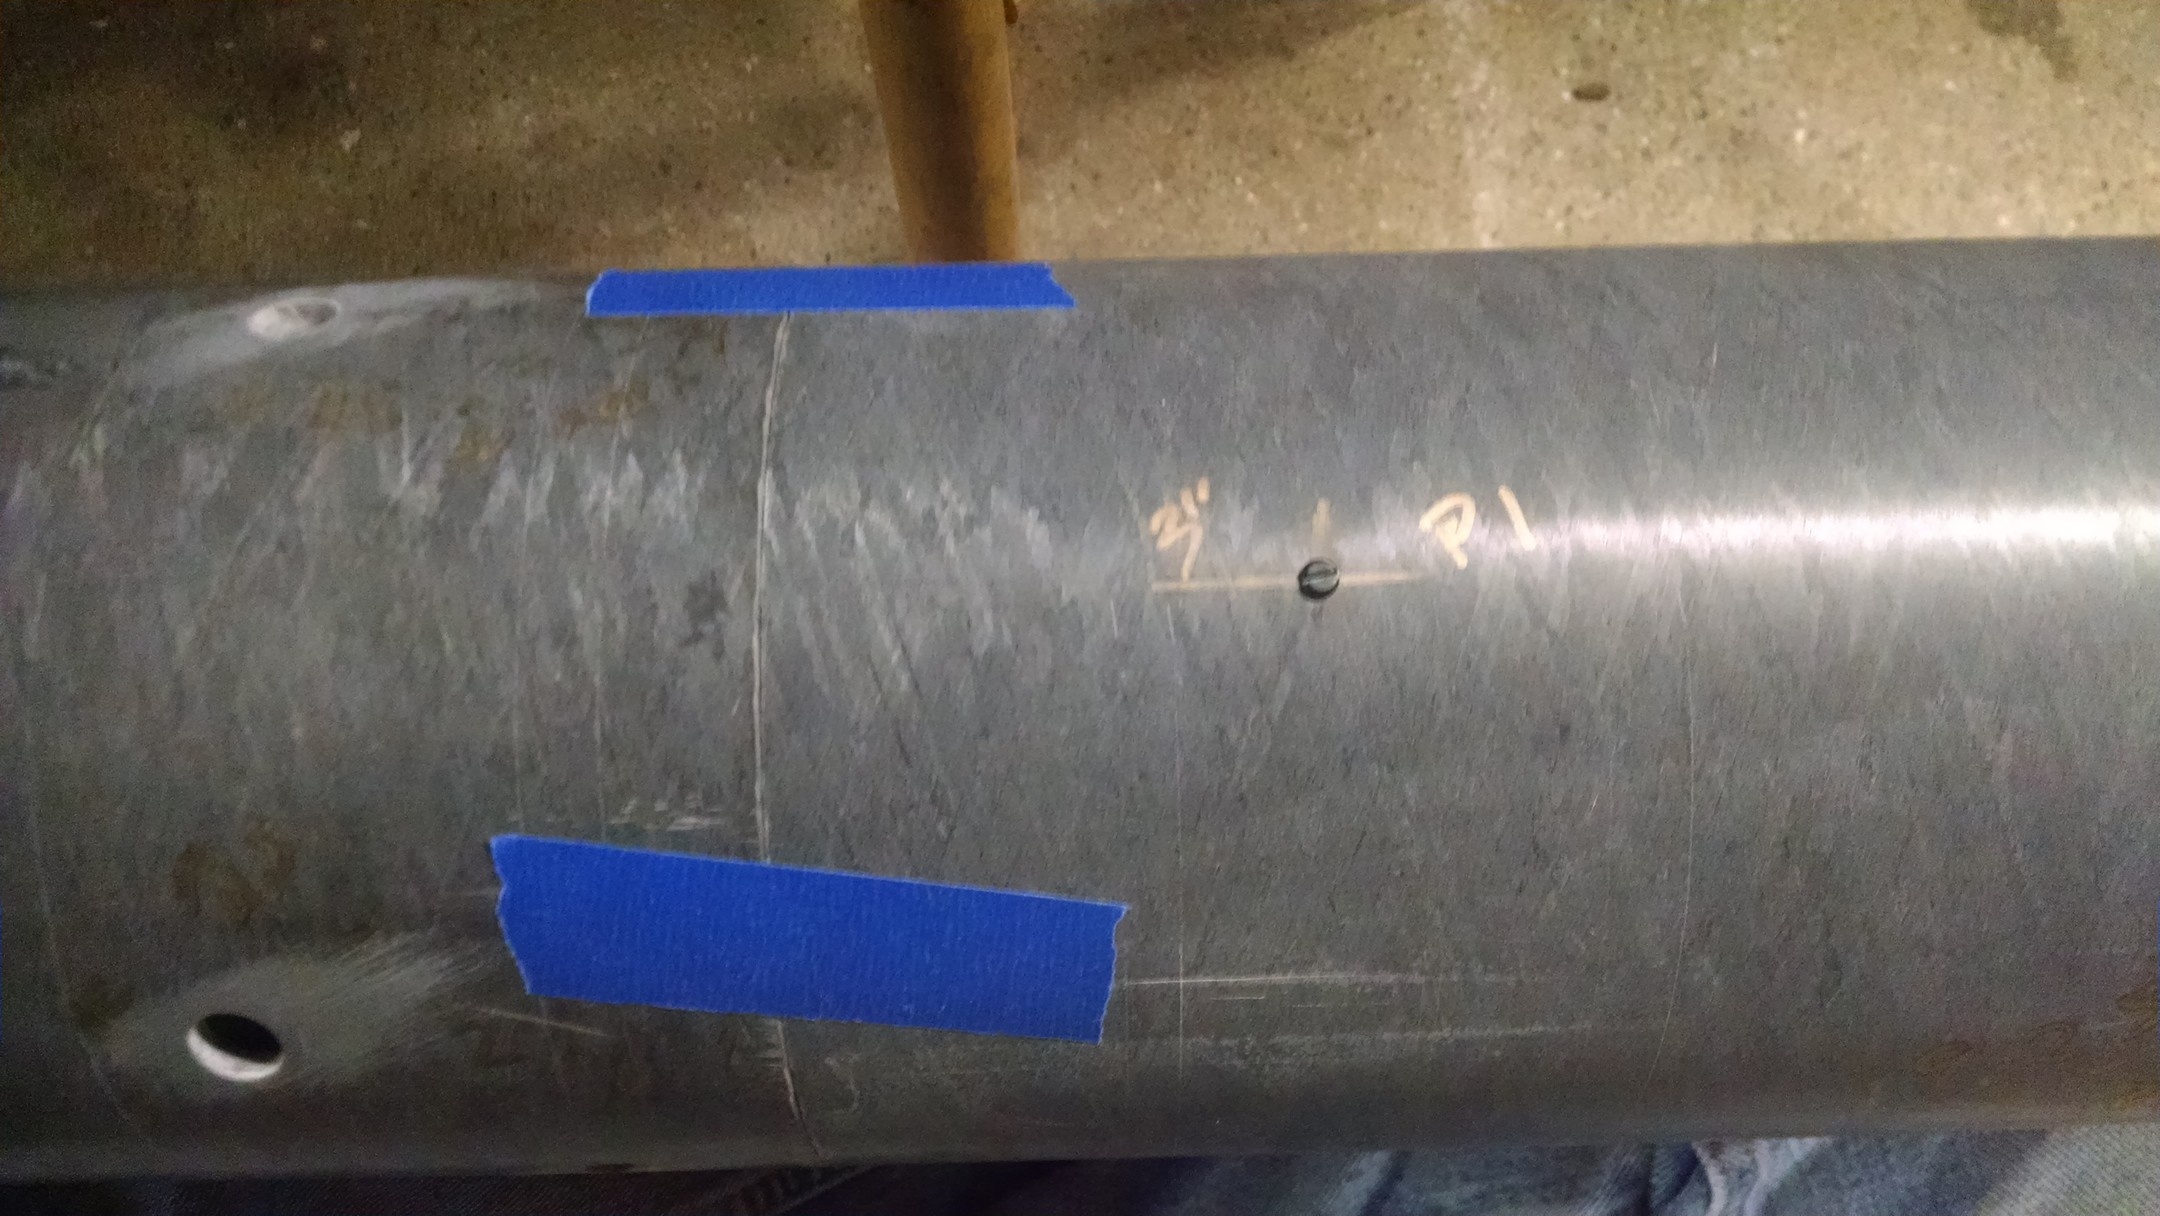
Time to start tapping in shear pin holes.. 3 holes around, 3inches down, 6.4in around from each other 19.25in diameter / 3 = 6.4inches.
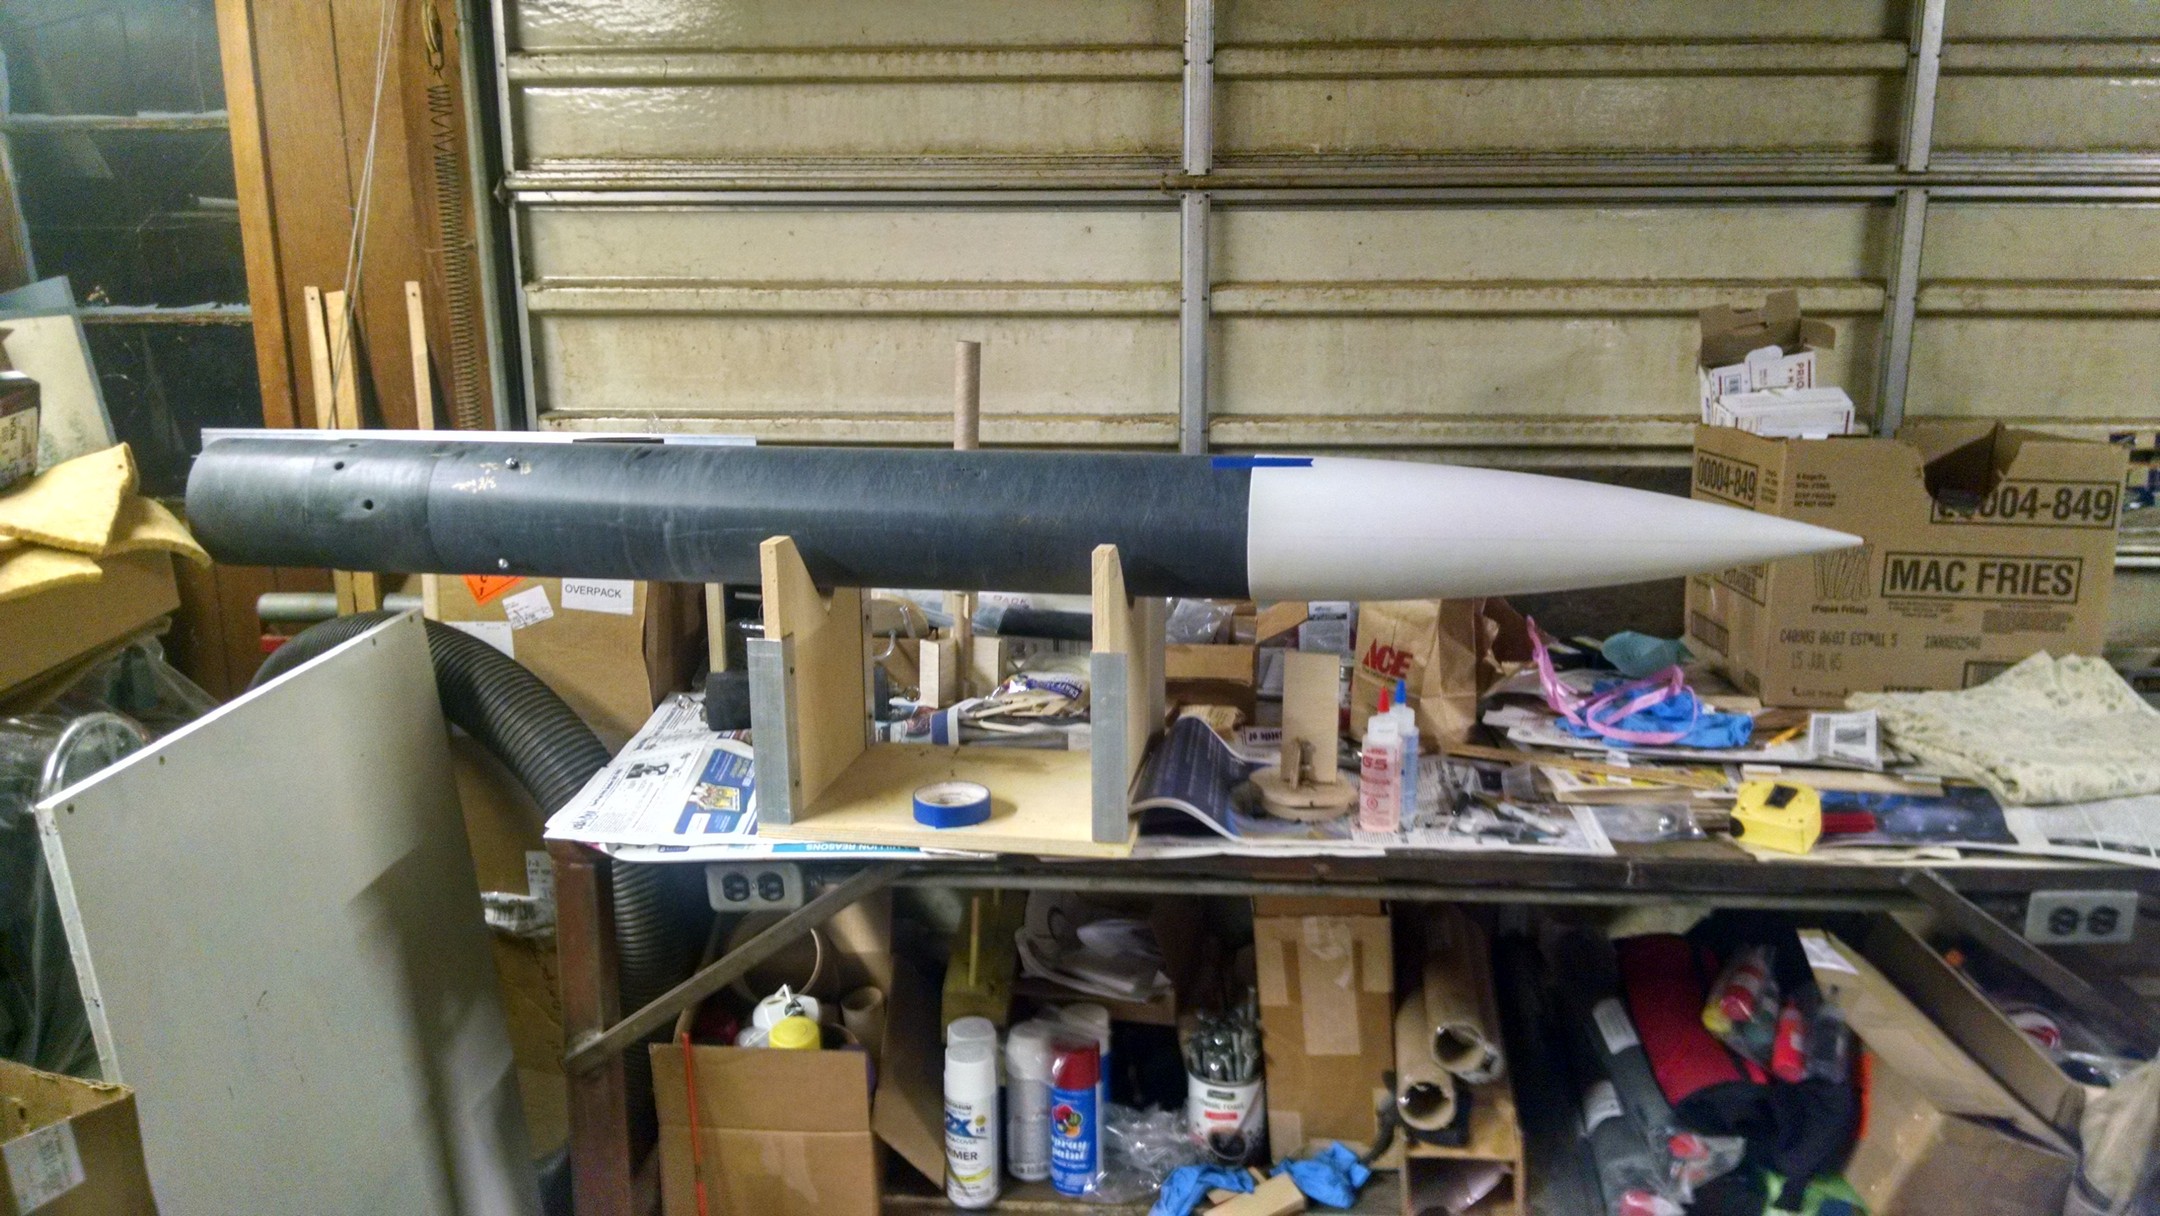
nose cone fitted on, with three pieces of tap to hold it in place
Used a punch to get the hole started, keeps the drill bit from jumping around
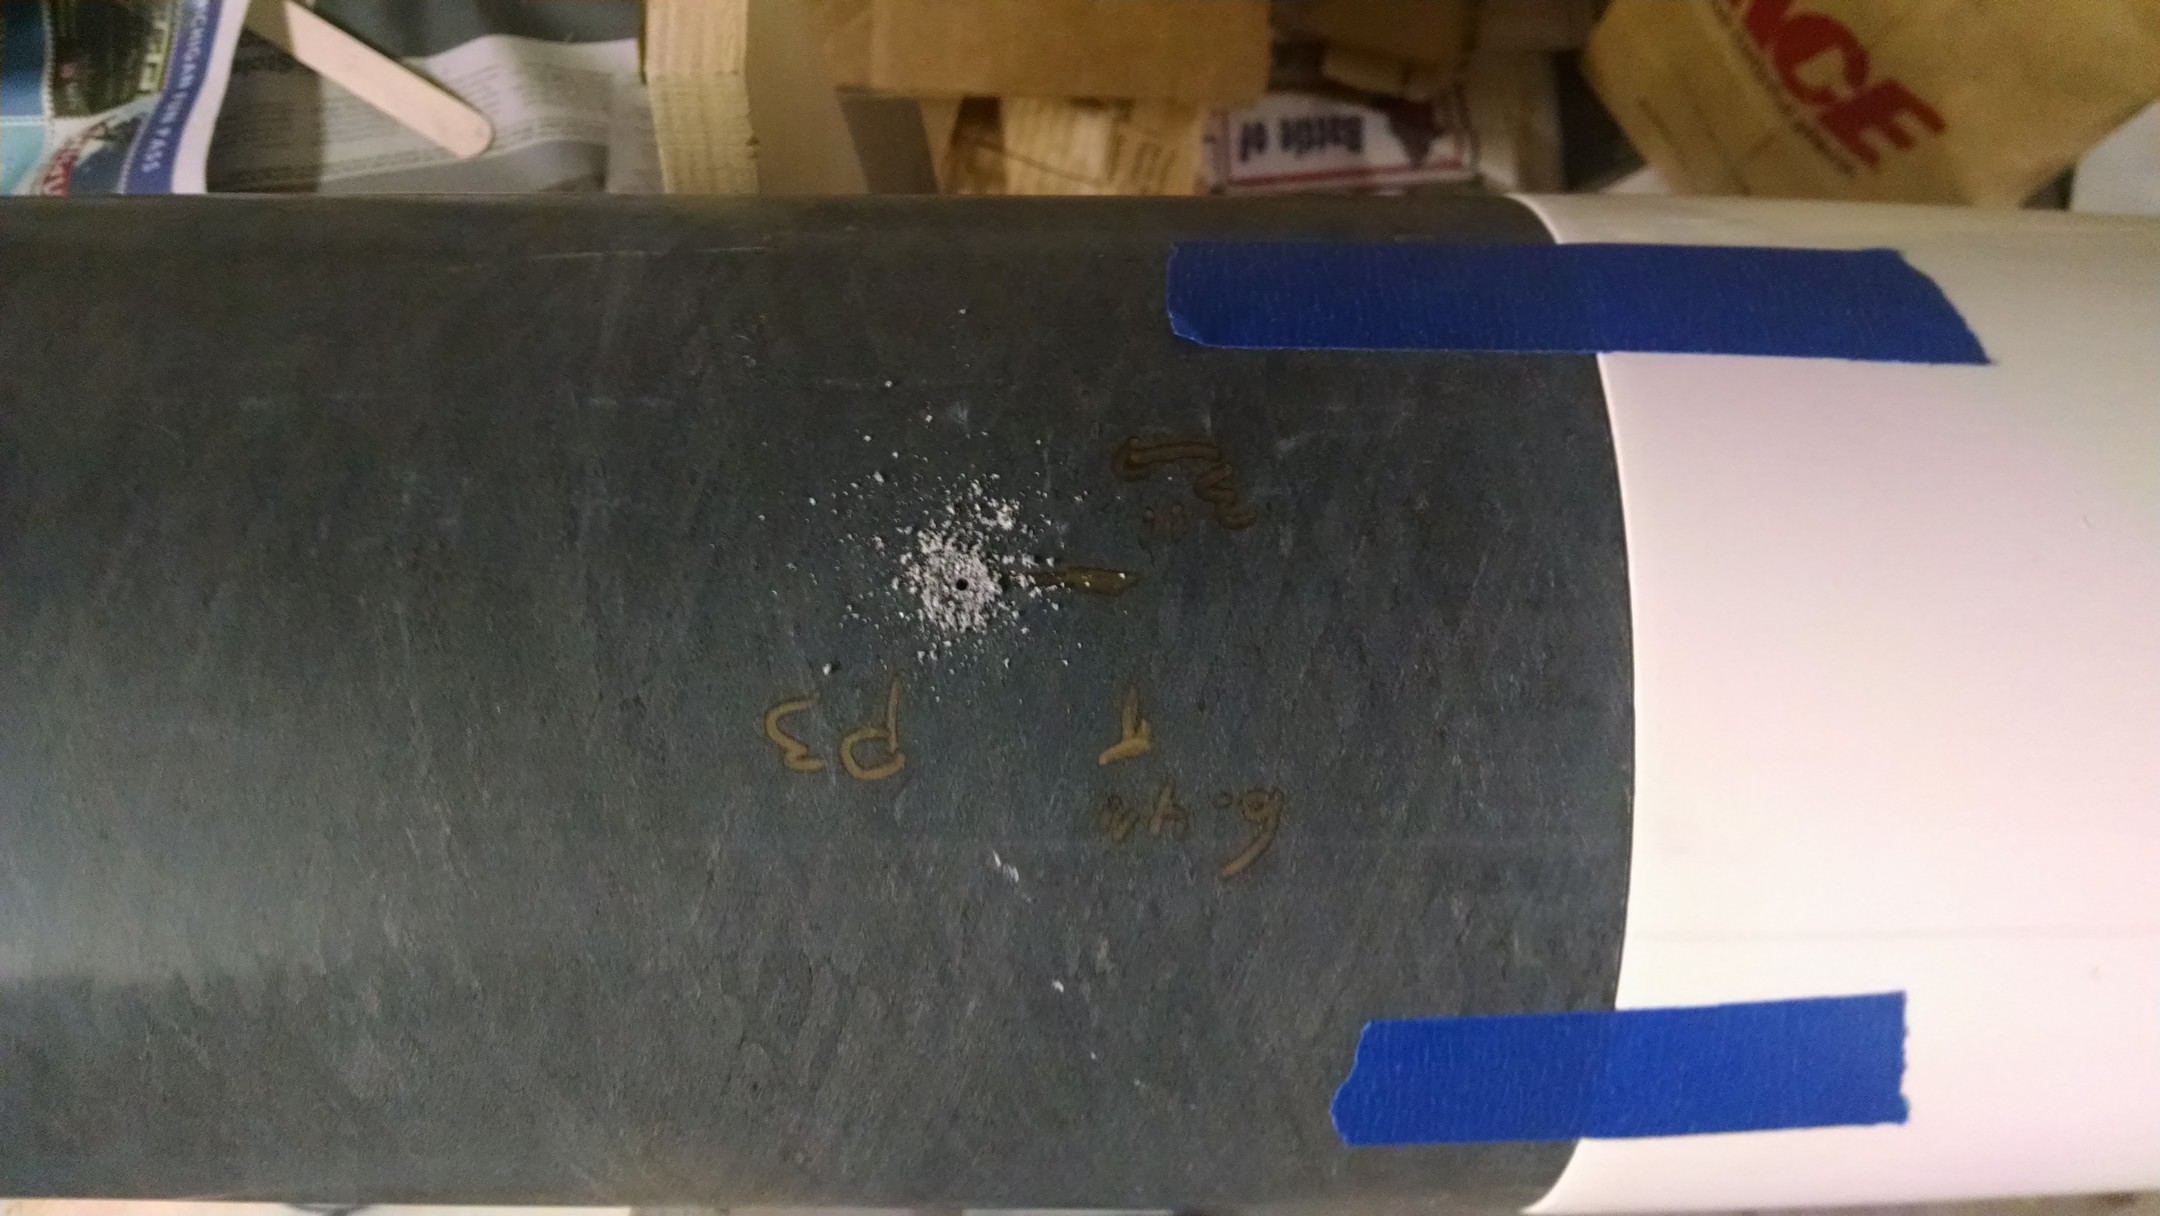
starter hole 1/16in hole.

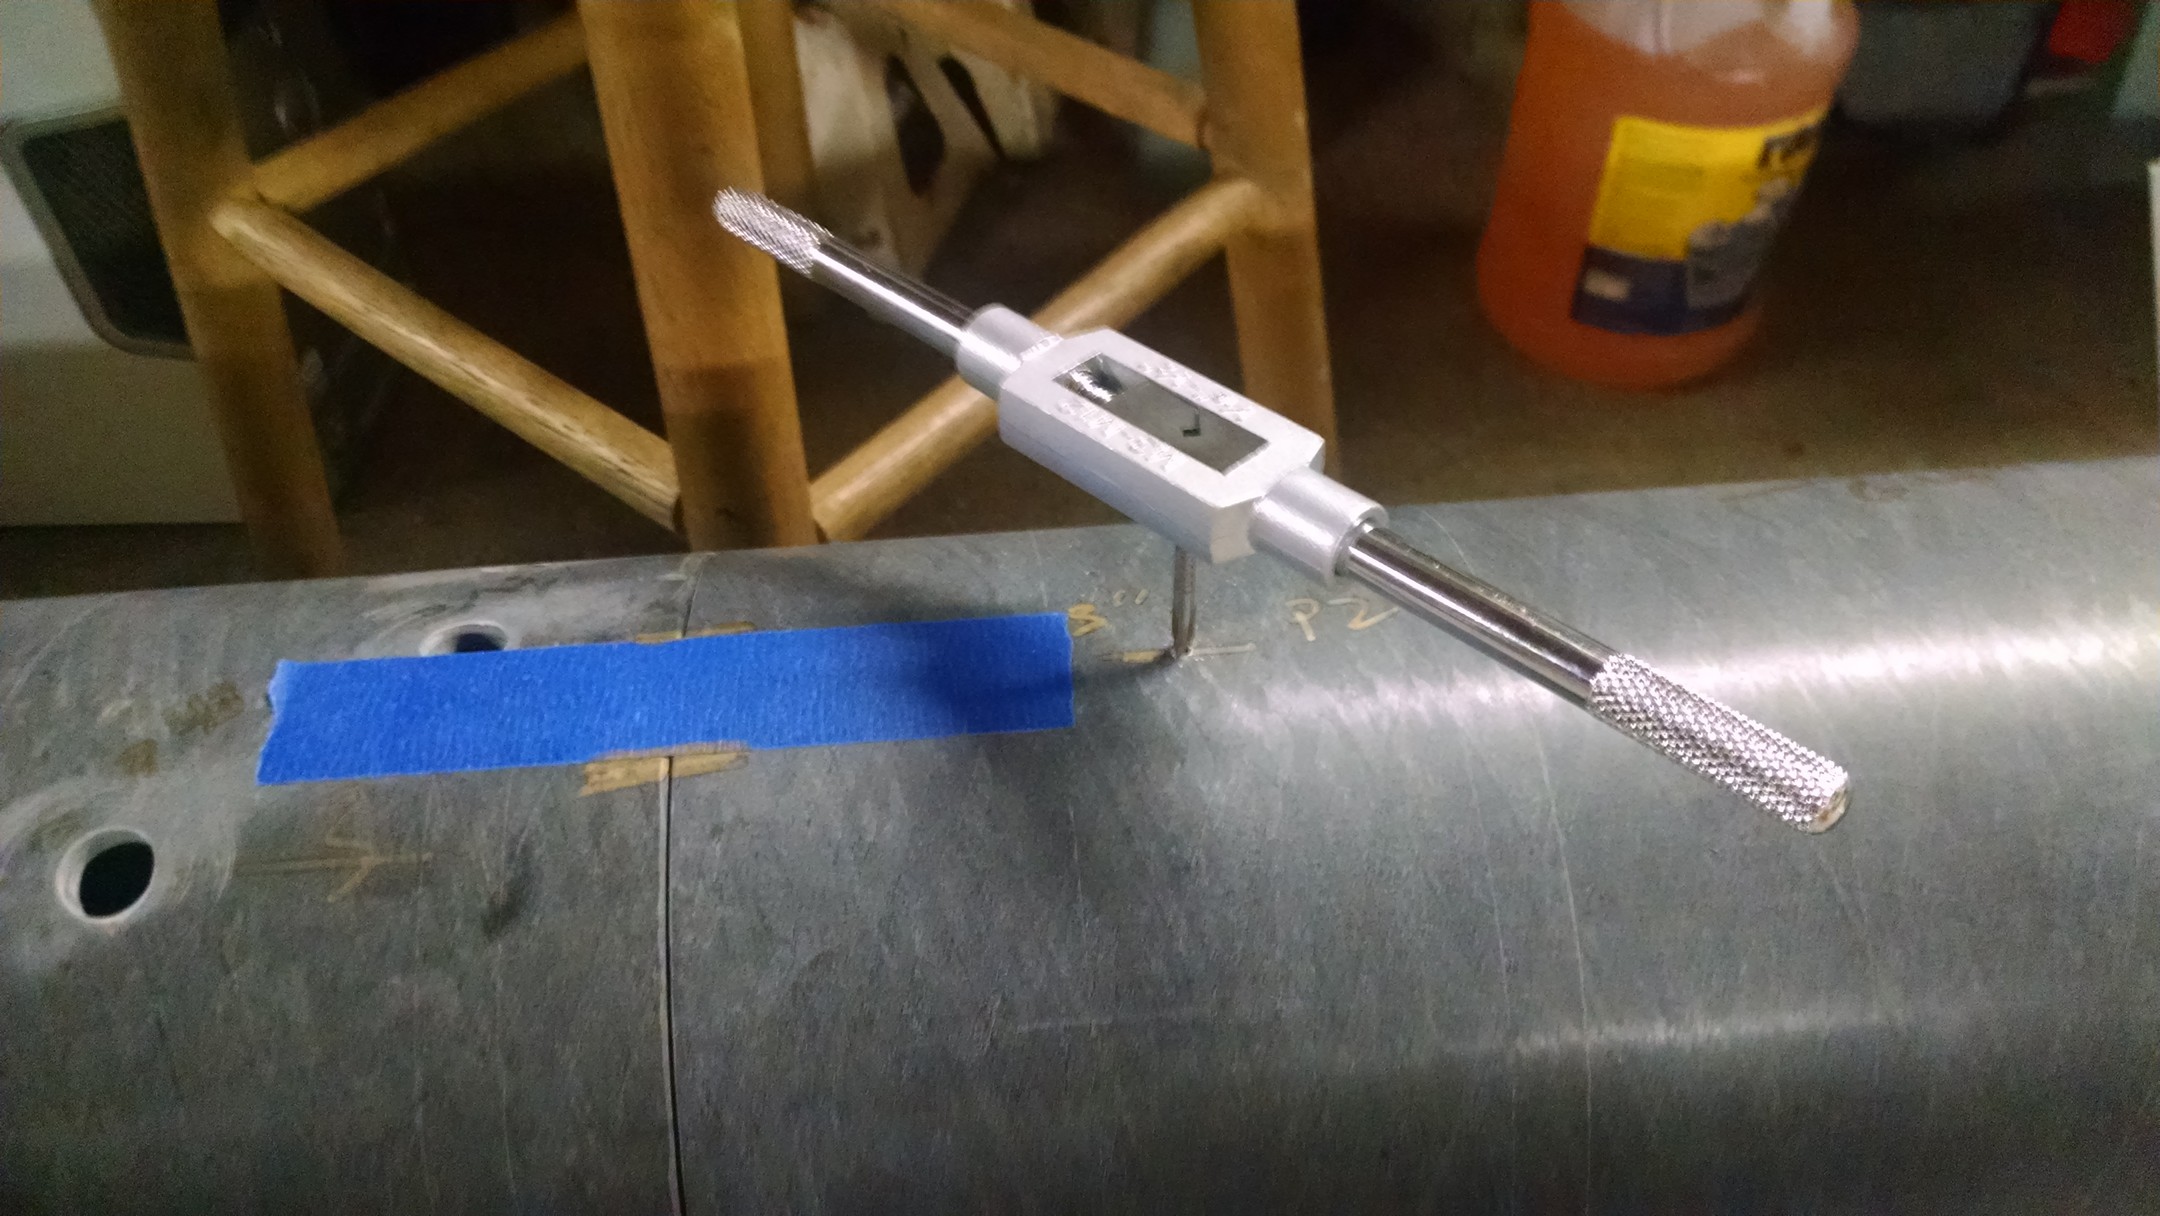
Up to tap size
Tap it for 4-40 screws
the shear pin fits!!
fits here too
Fits here too..
looking good, how to get shear pins on the ebay to the booster tube
Same math as the nose cone, 3 in down, 6.4in around, tape to hole the tubes while drilling
a punch to help keep the drill bit from jumping around

Starter hole 1/16in
tap hole
tap it! 4-40 again
it fits
Ready for deployment testing. But first we need to arm it and load it.
going to use my CTI Pro75 3G case

Covering the forward end of the case to create the correct volume size.
Add stuff it in the tube..
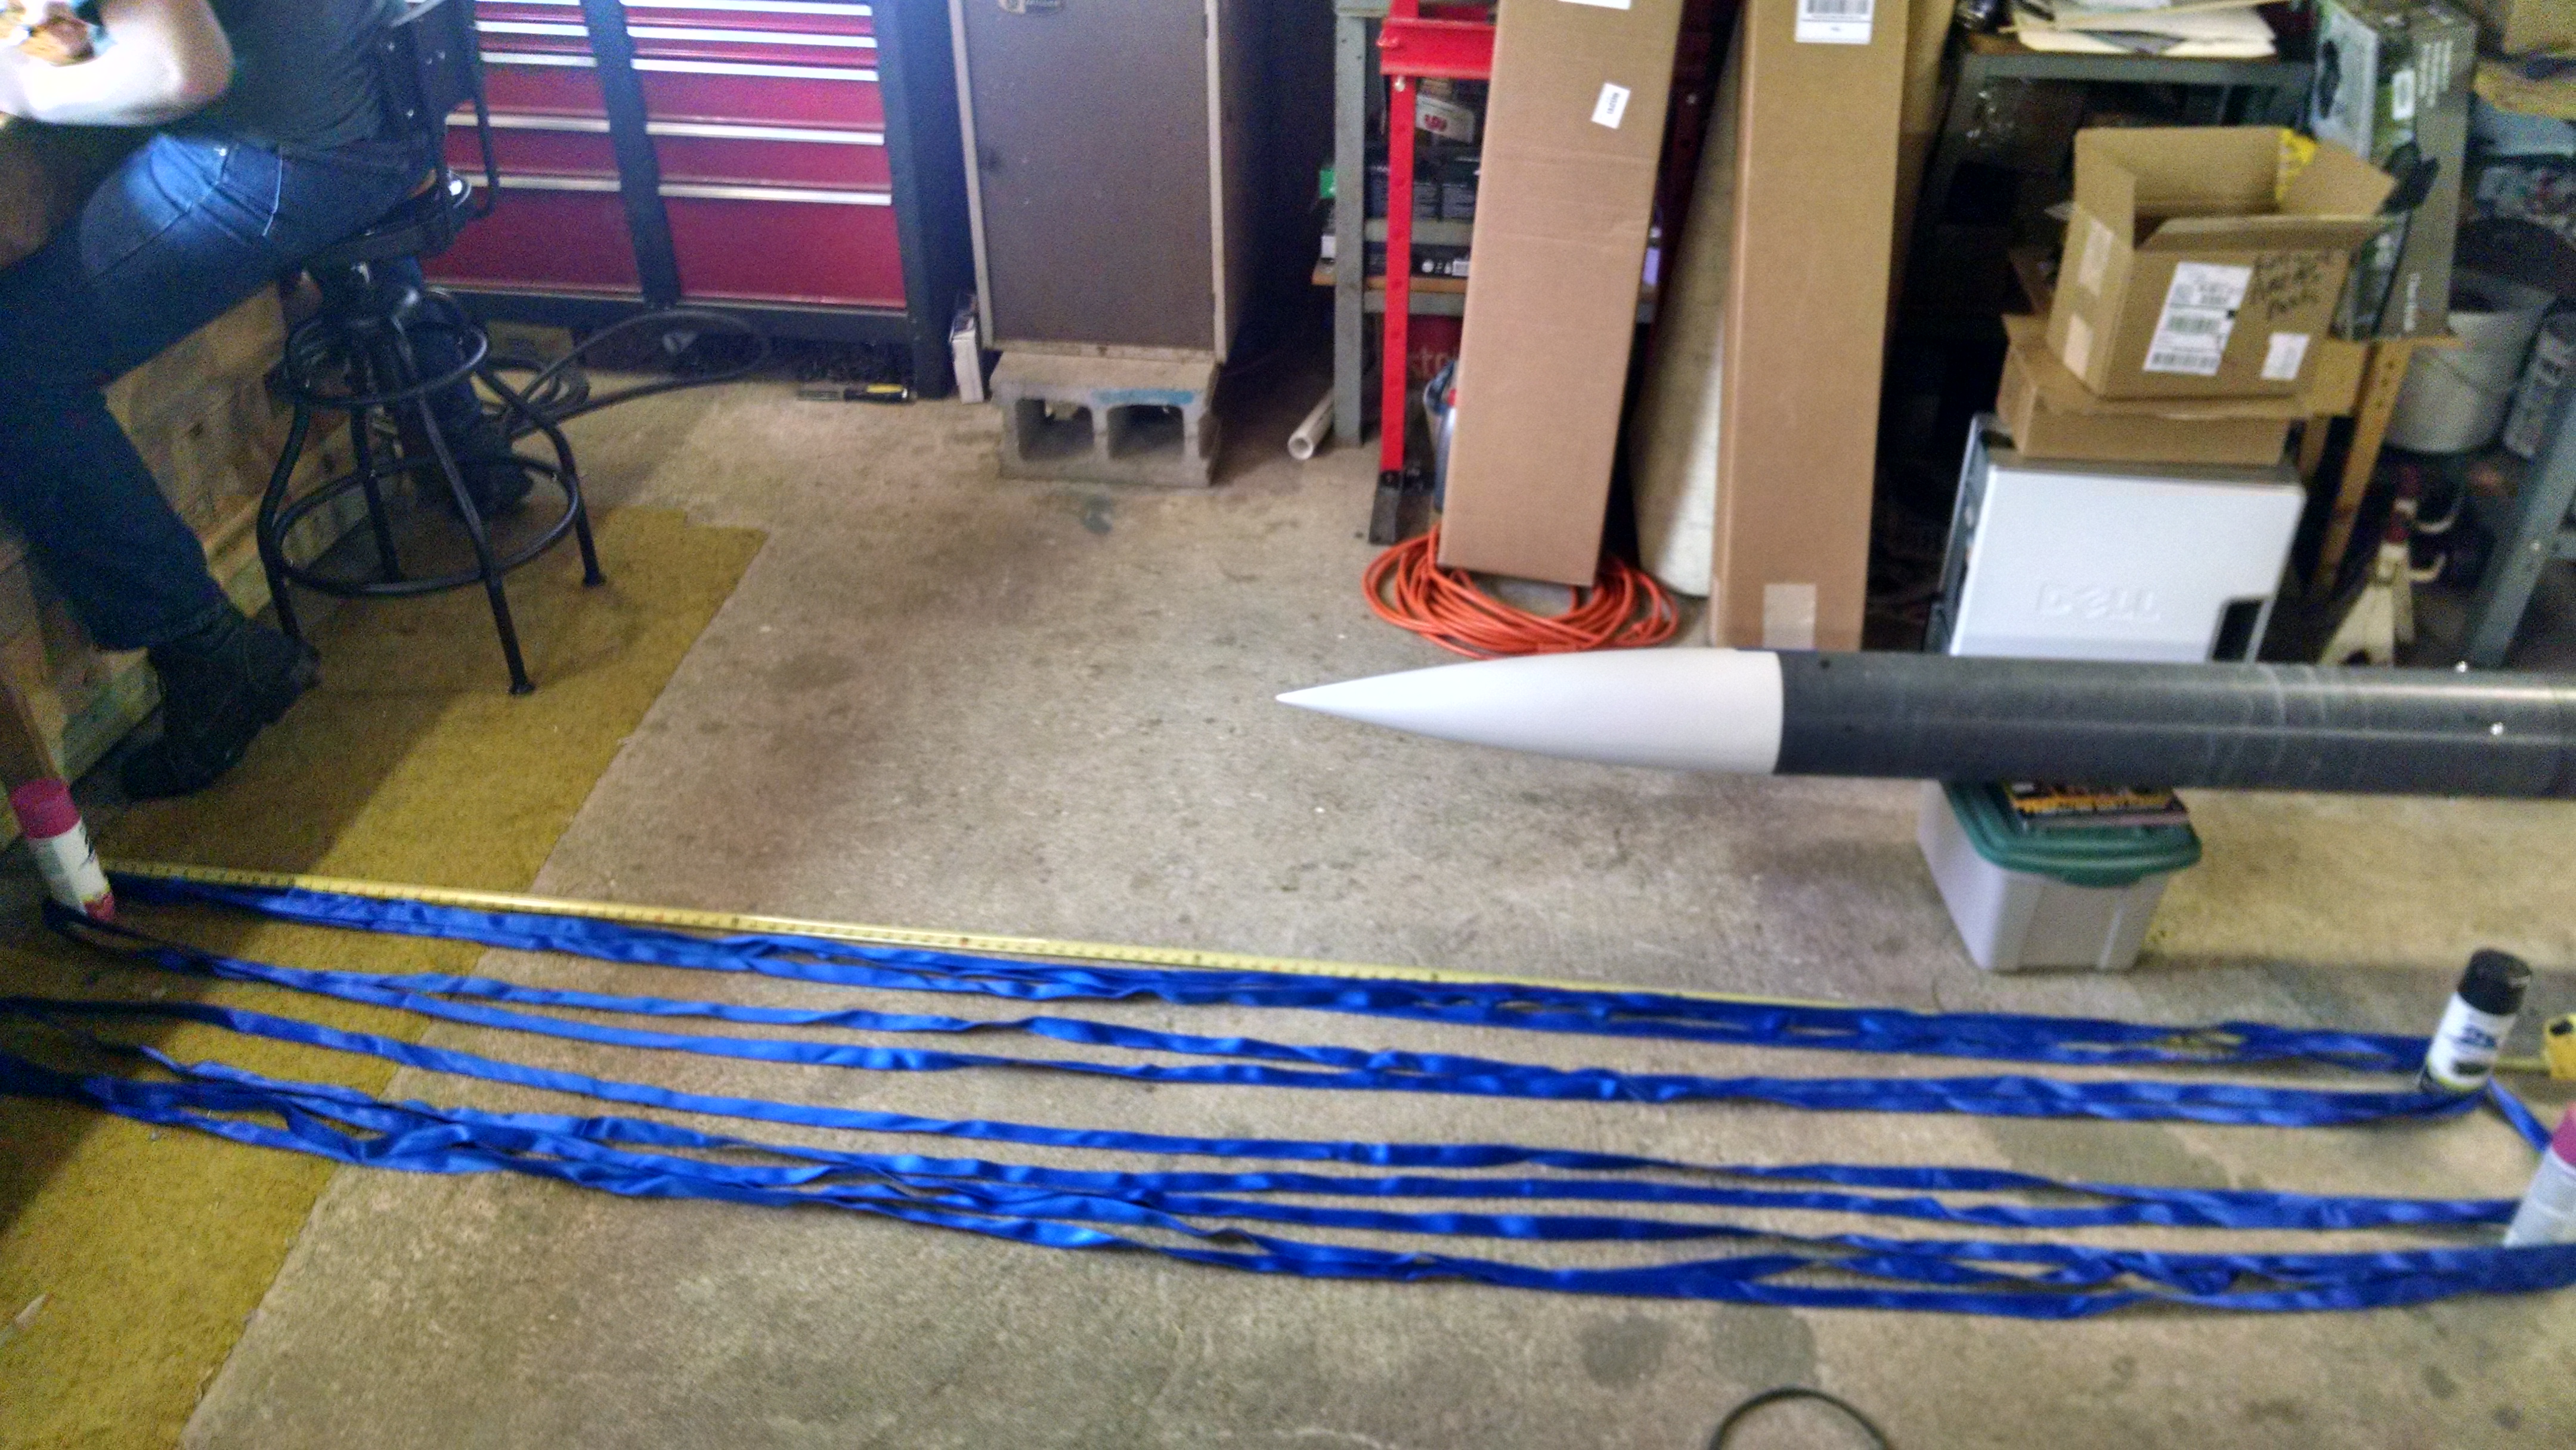
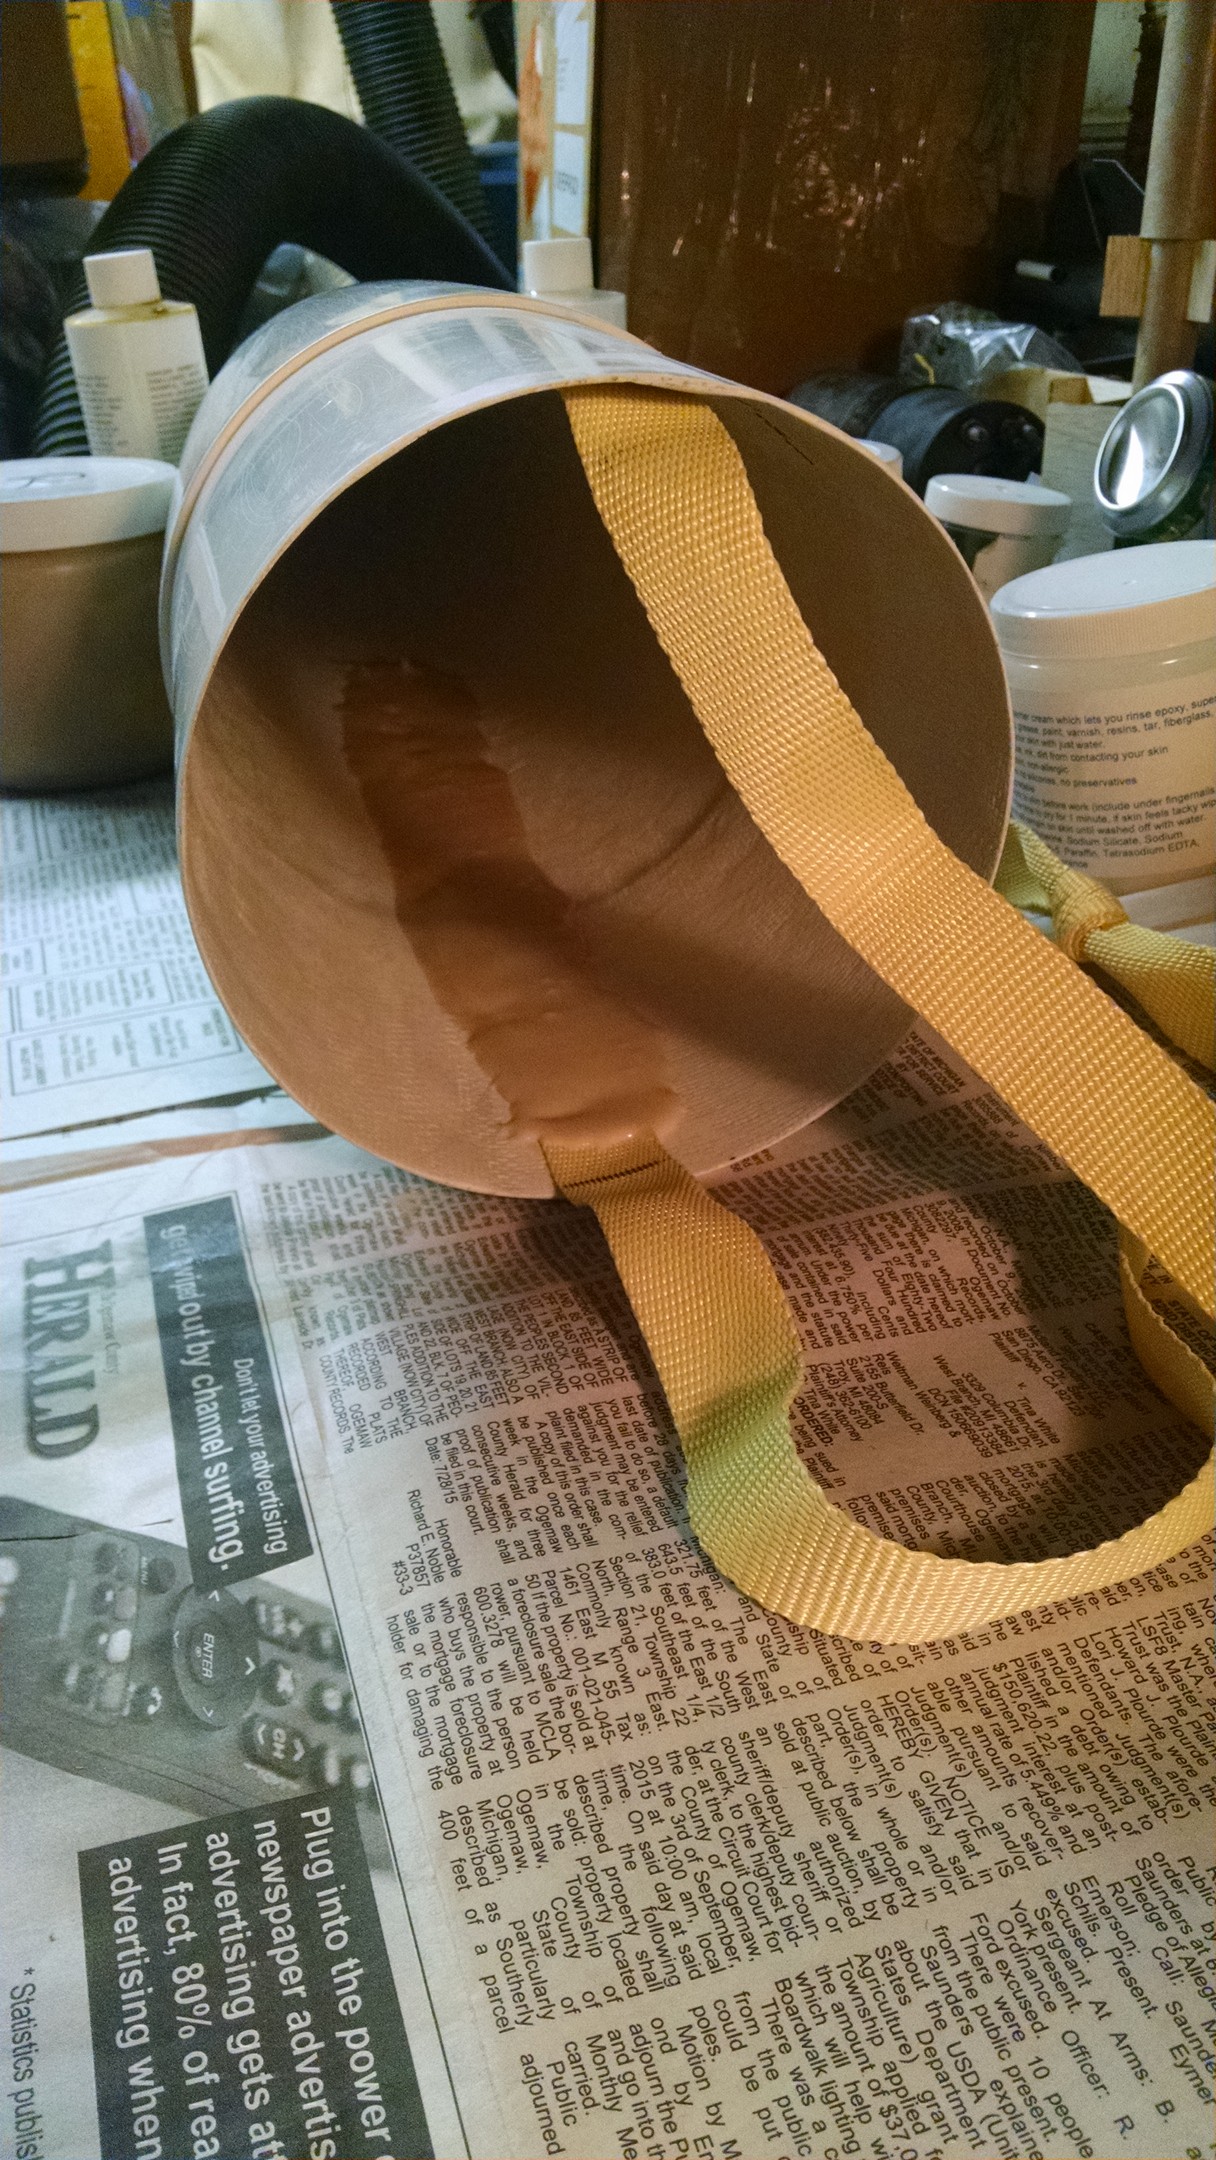
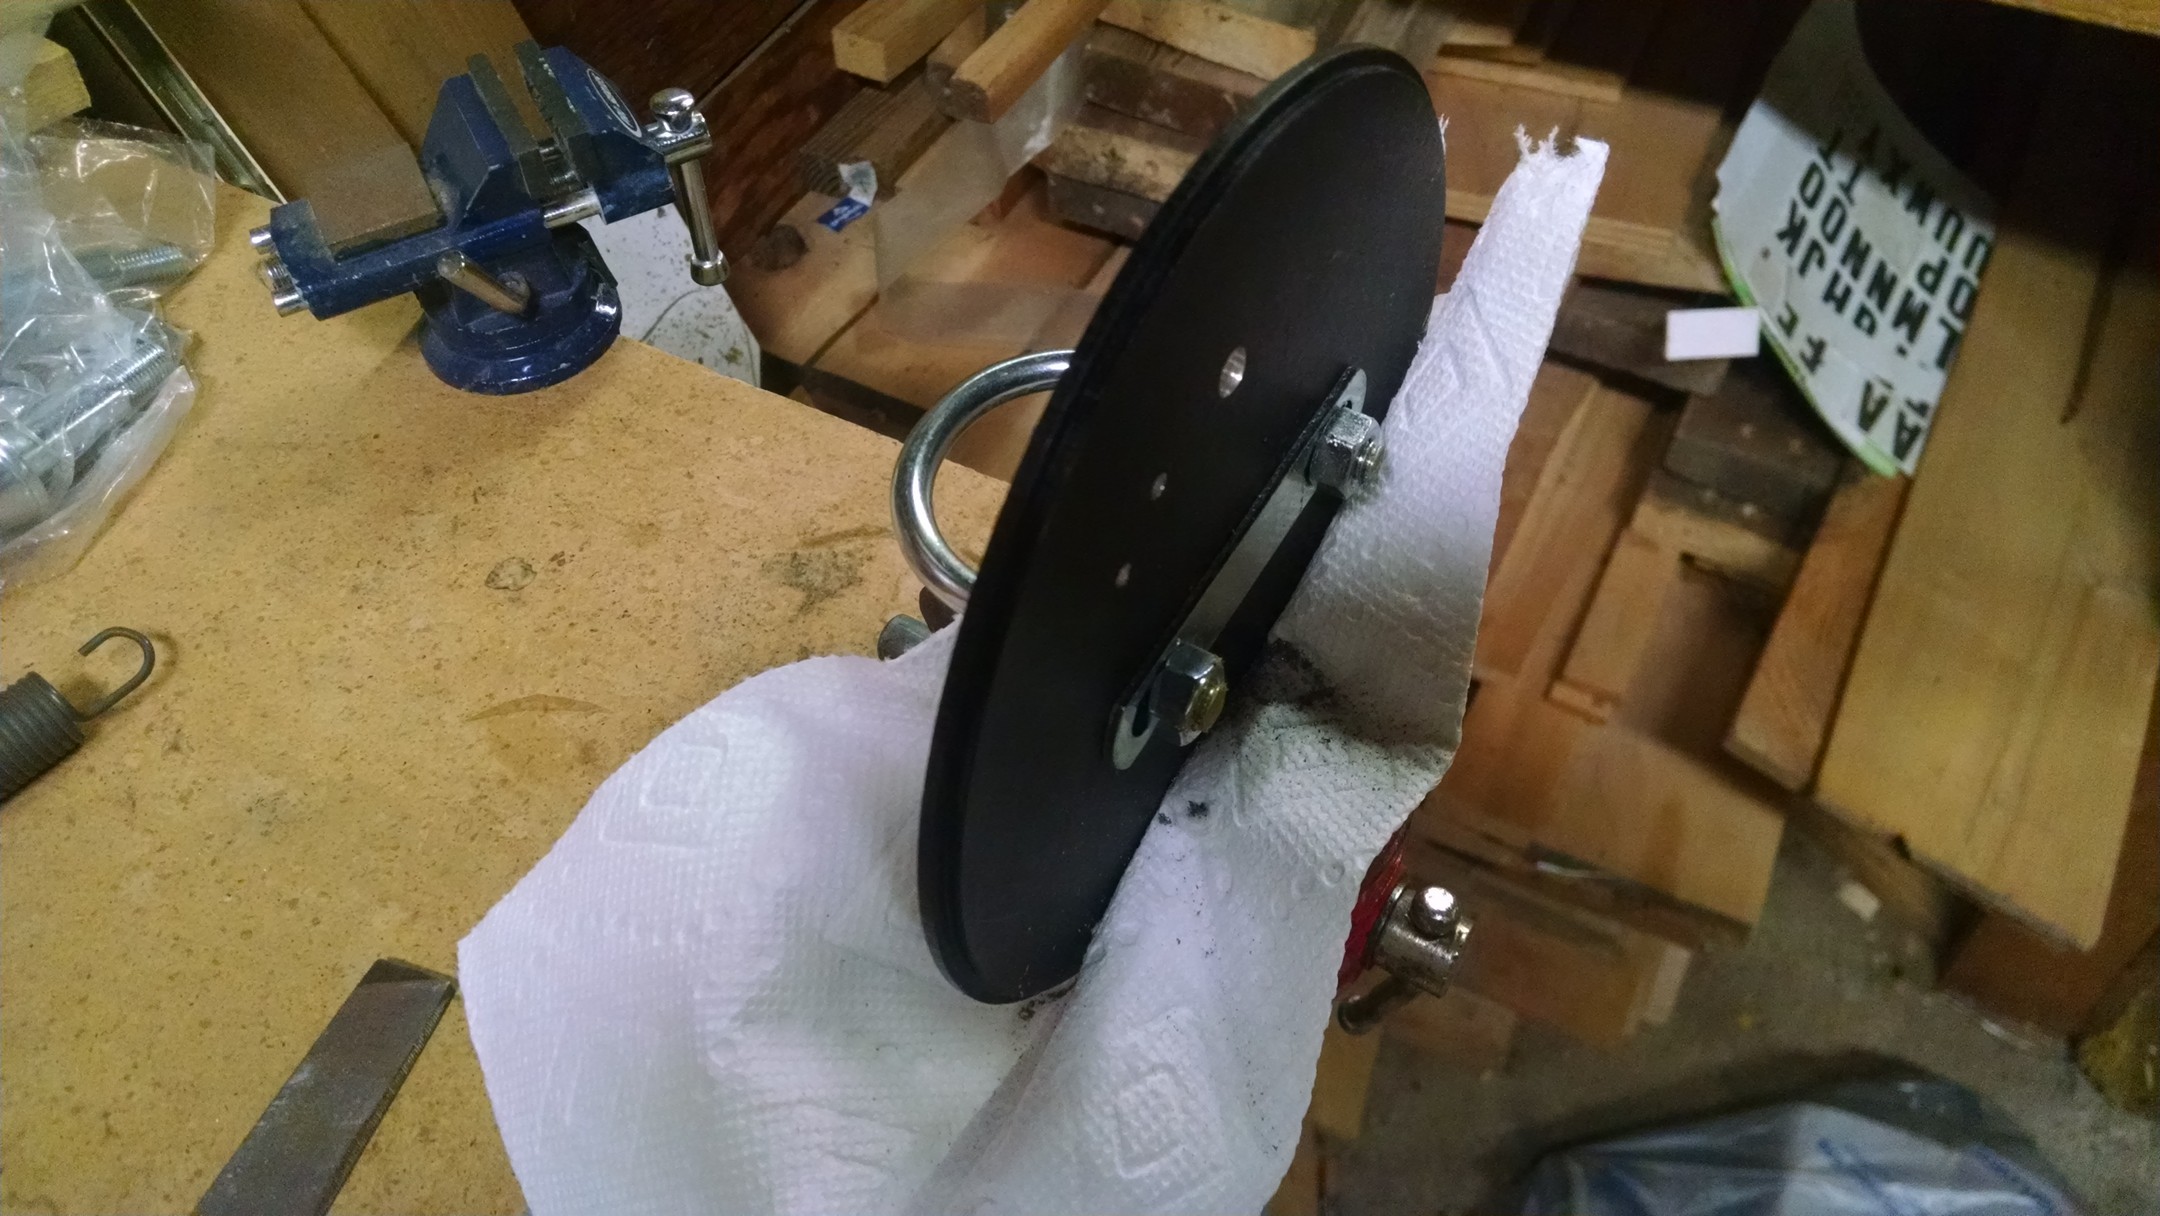
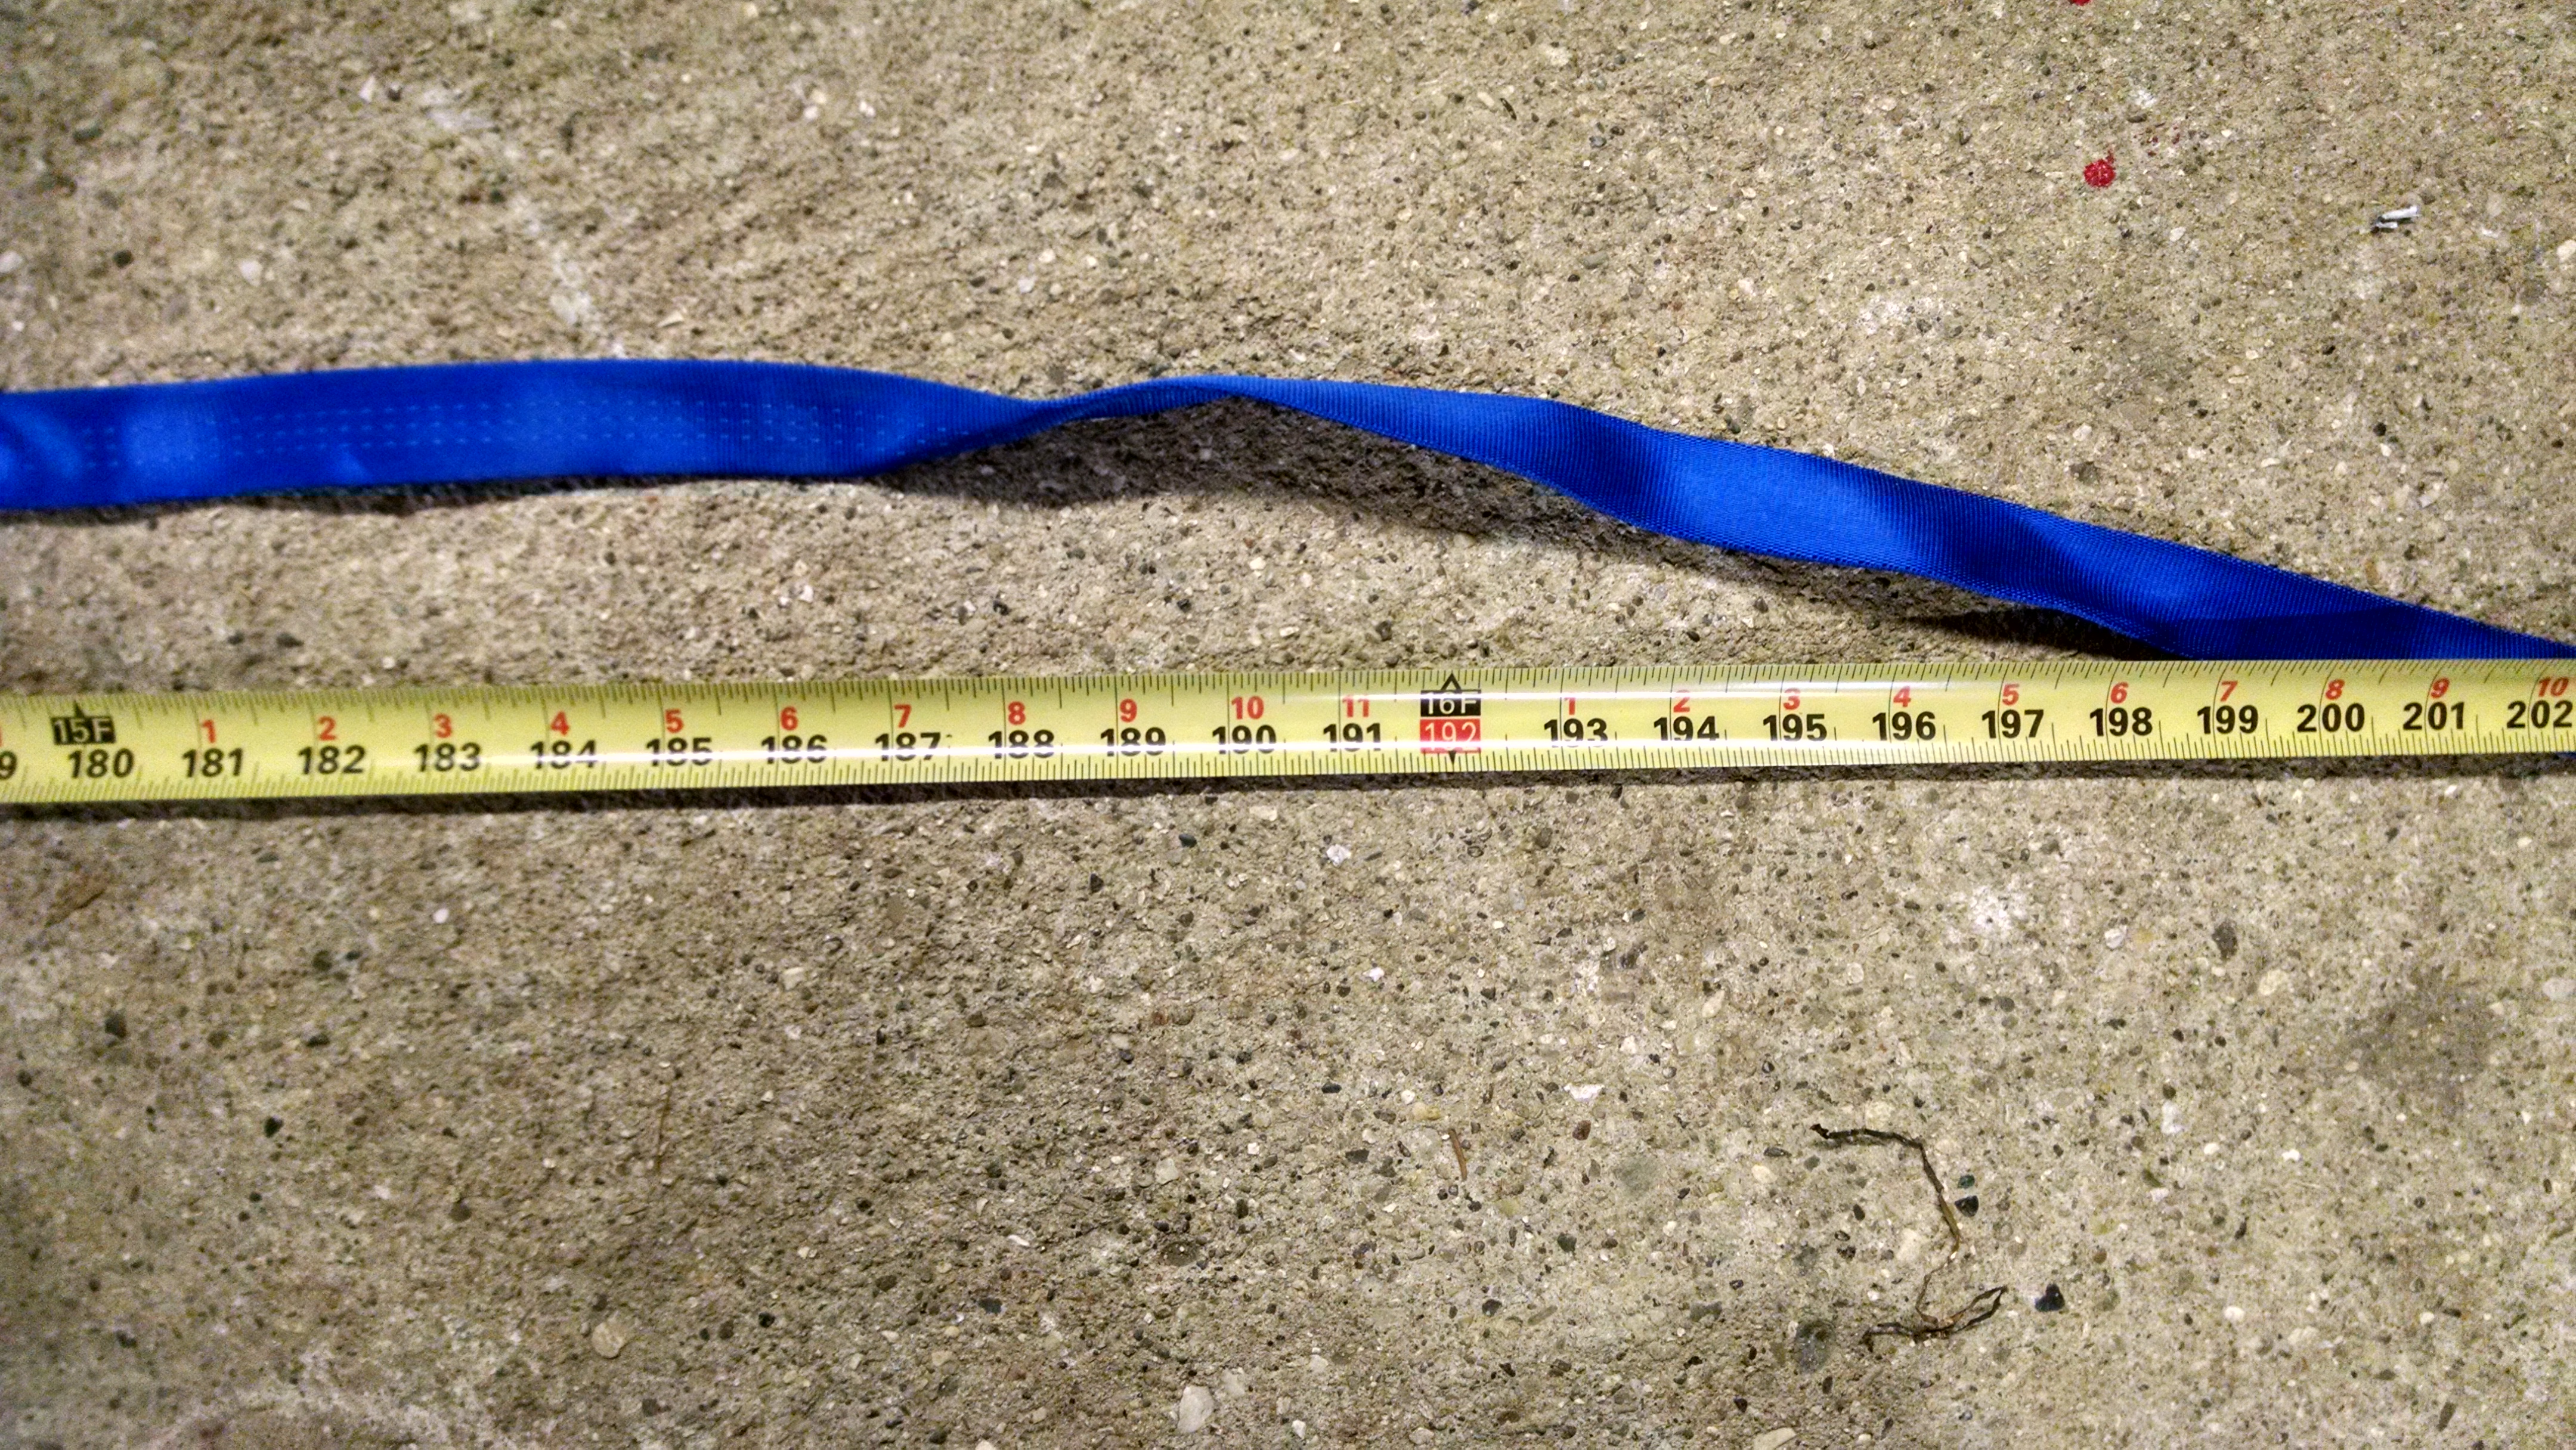
Need to cut the 1in shock cord in half.. 100ft total, 50ft for each deployment side.
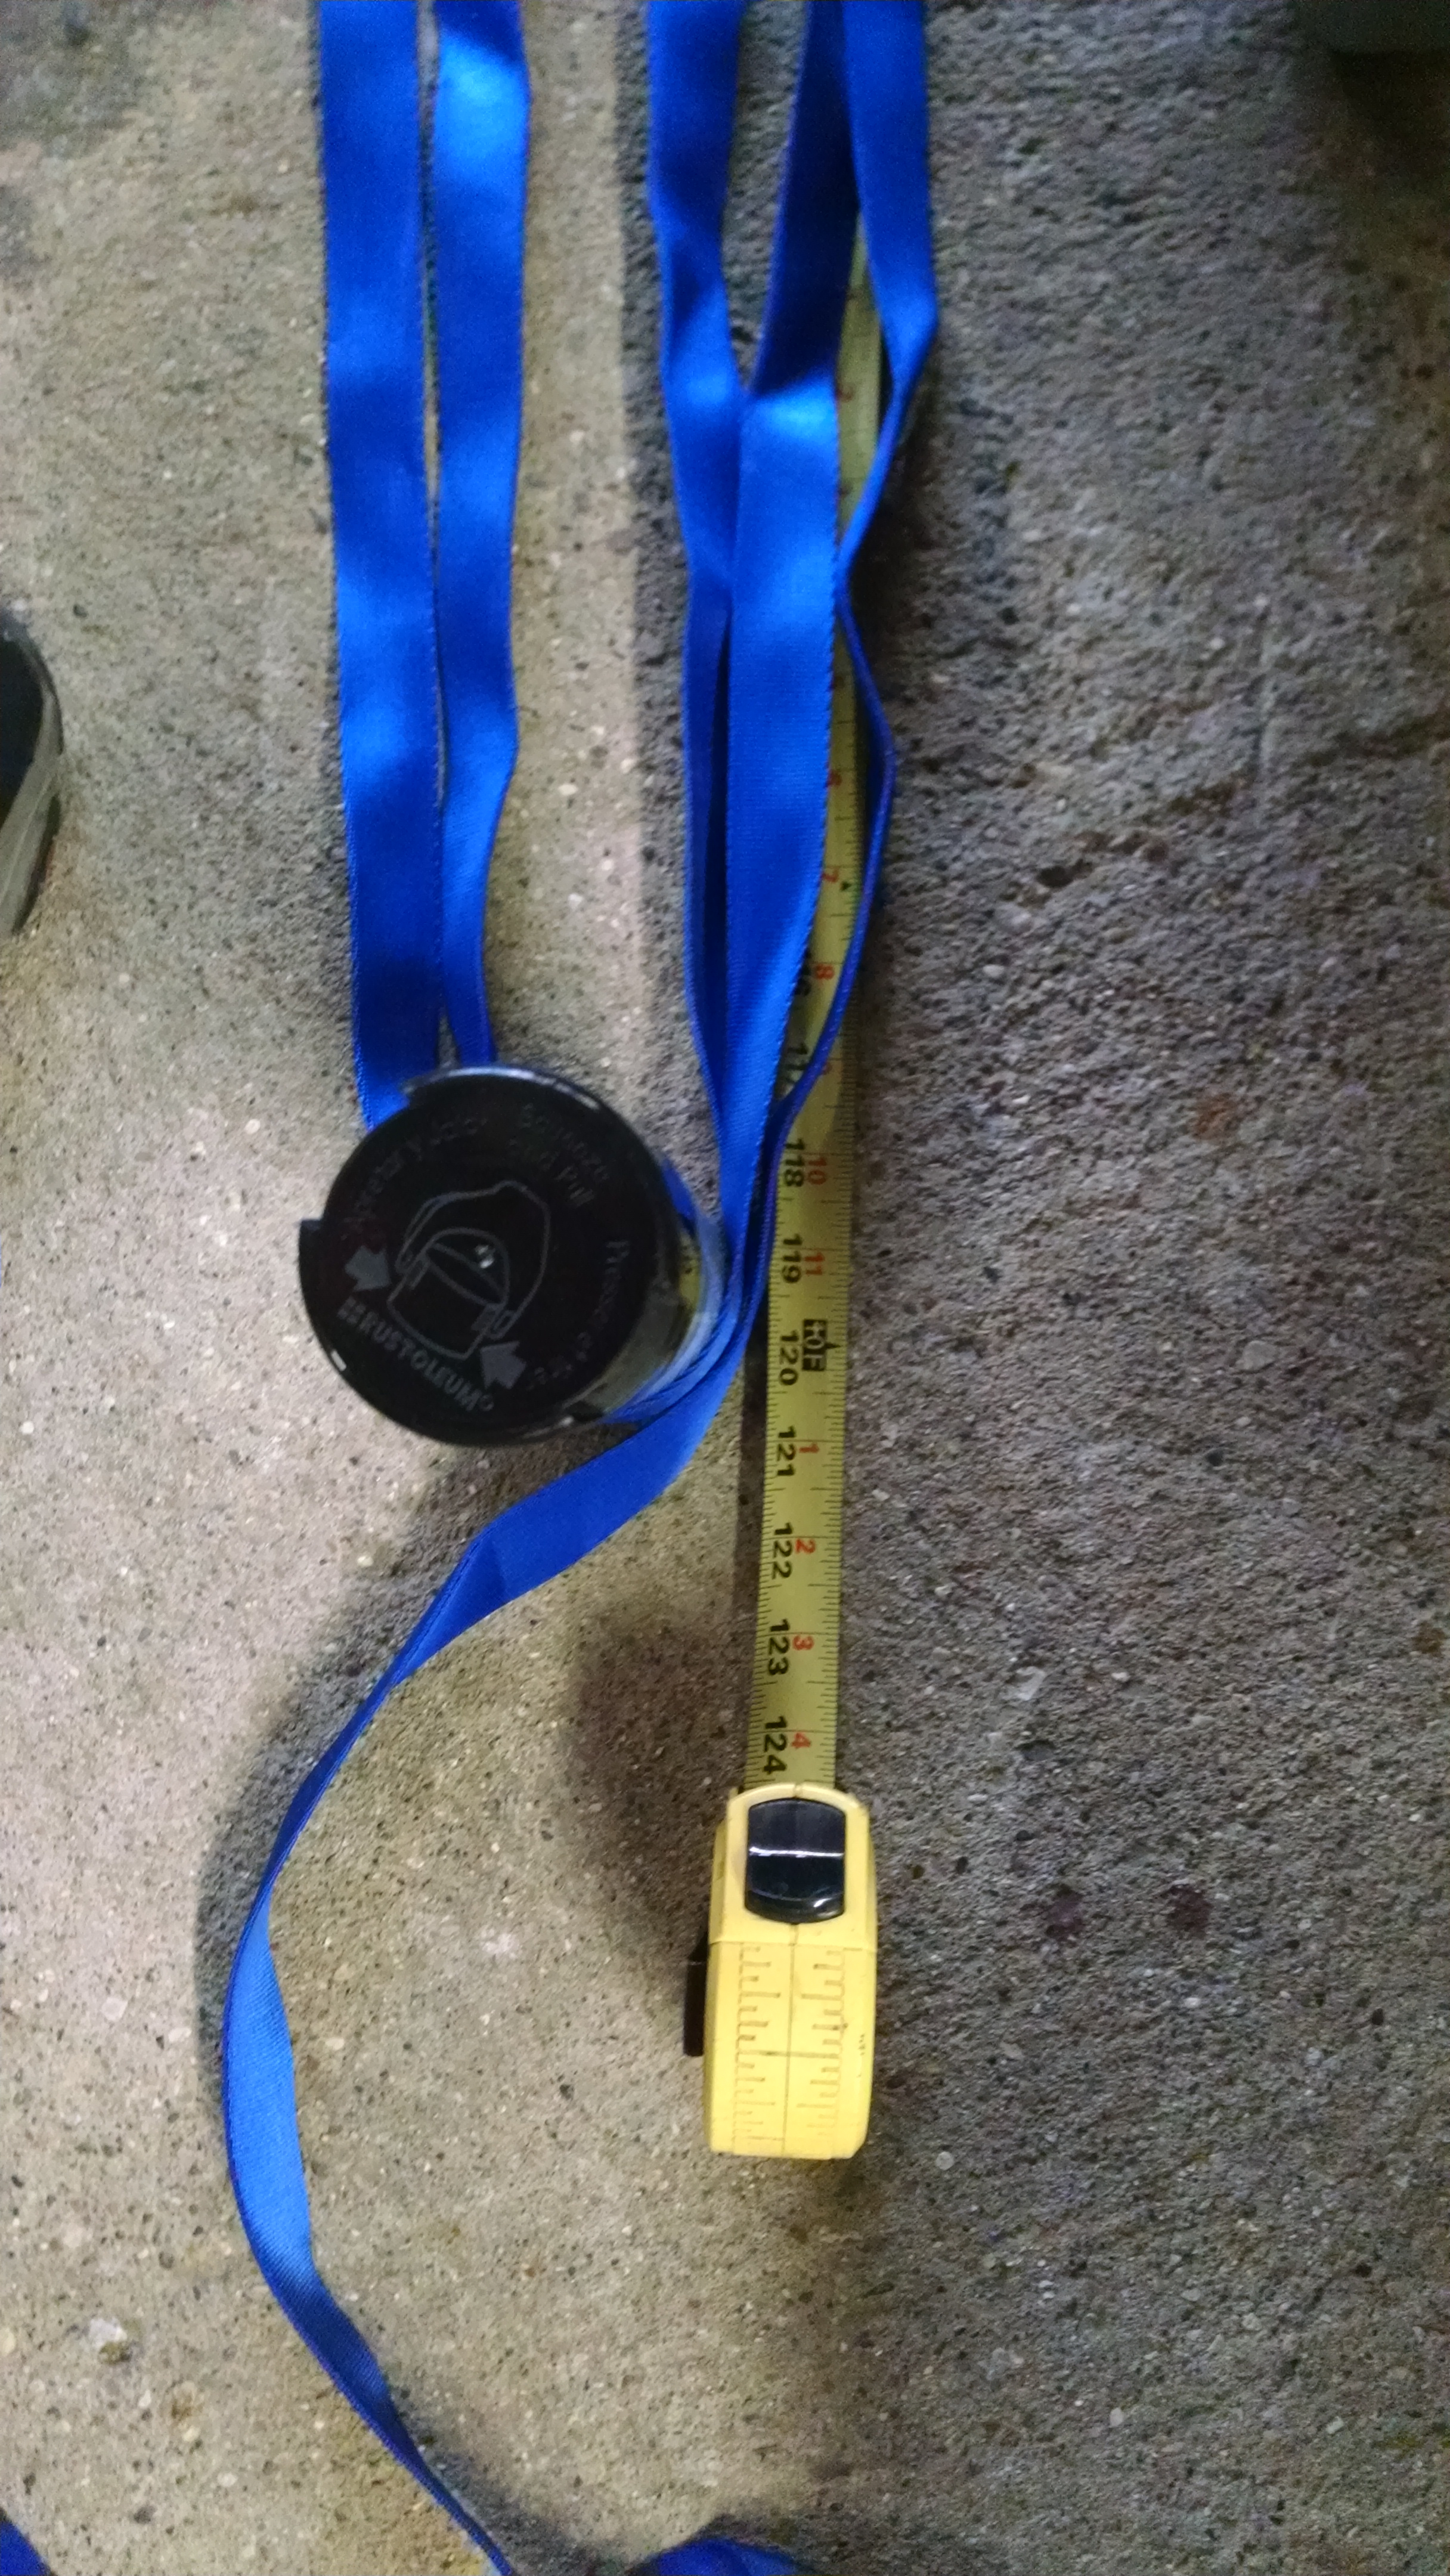
from paint can to paint can is 10ft, with 5 passes around equals 50 feet.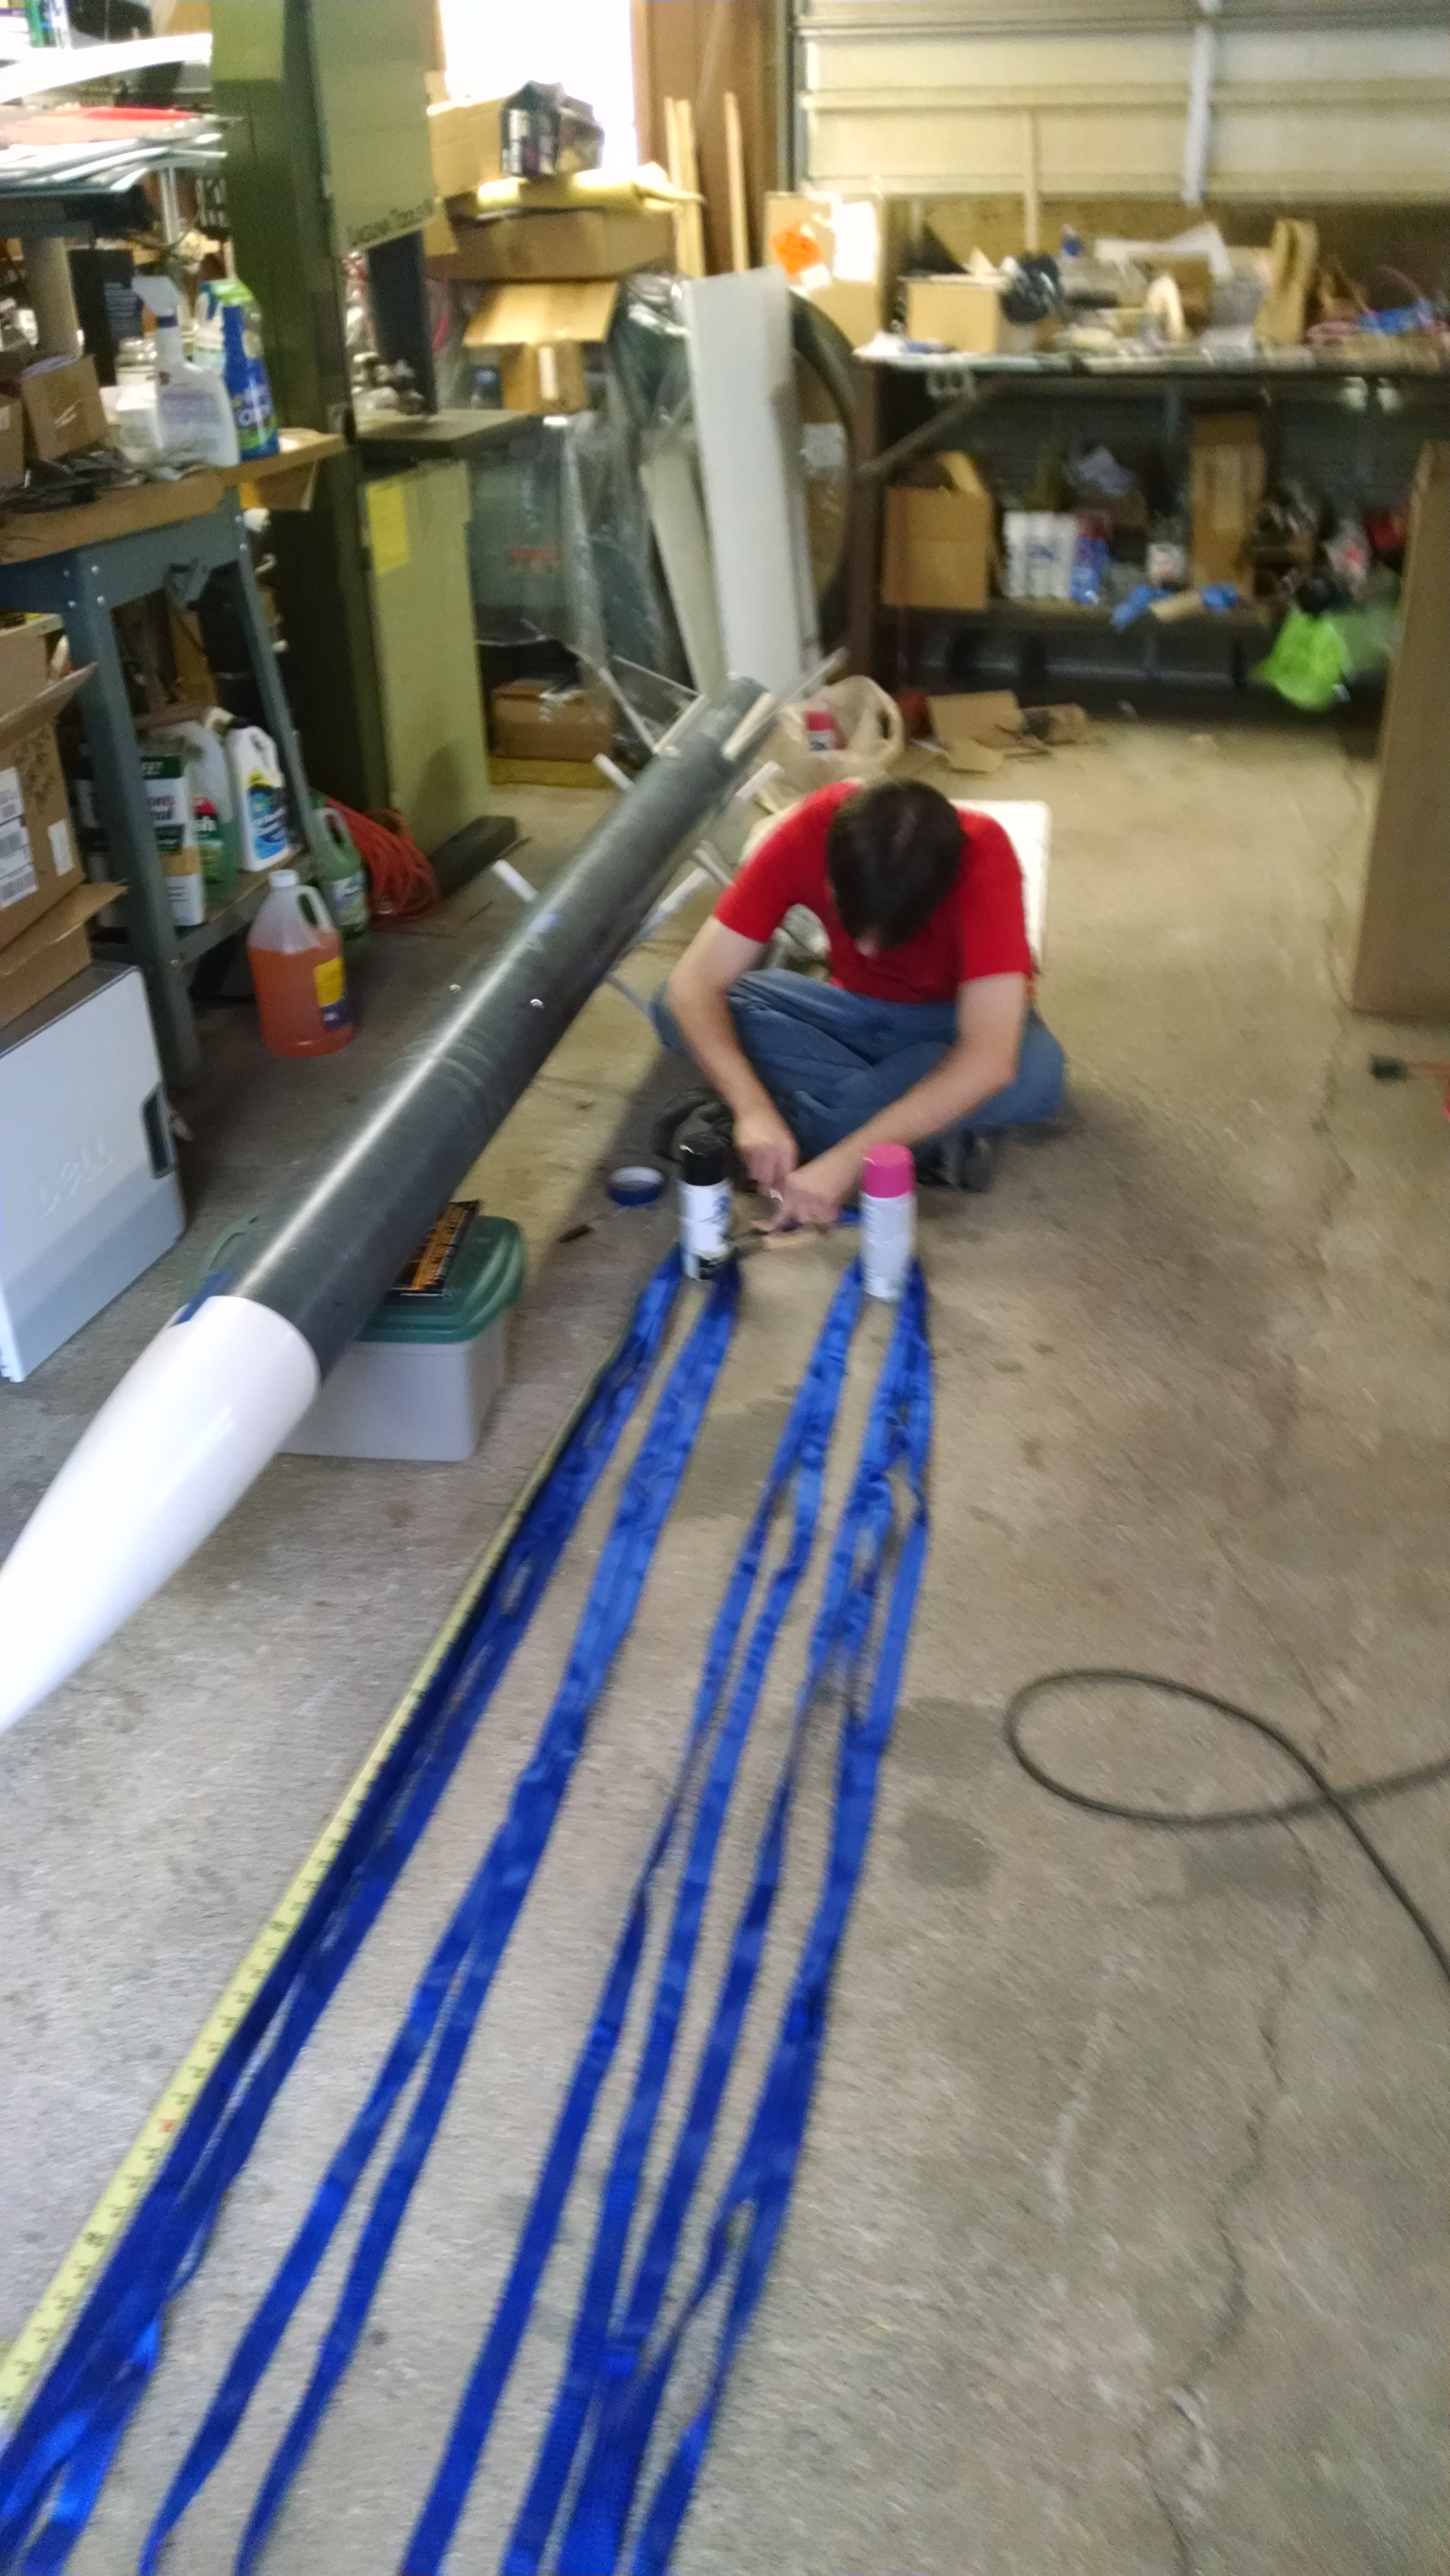
And cut it.
I used some painters masking tape to hold it all together so I could cut it.
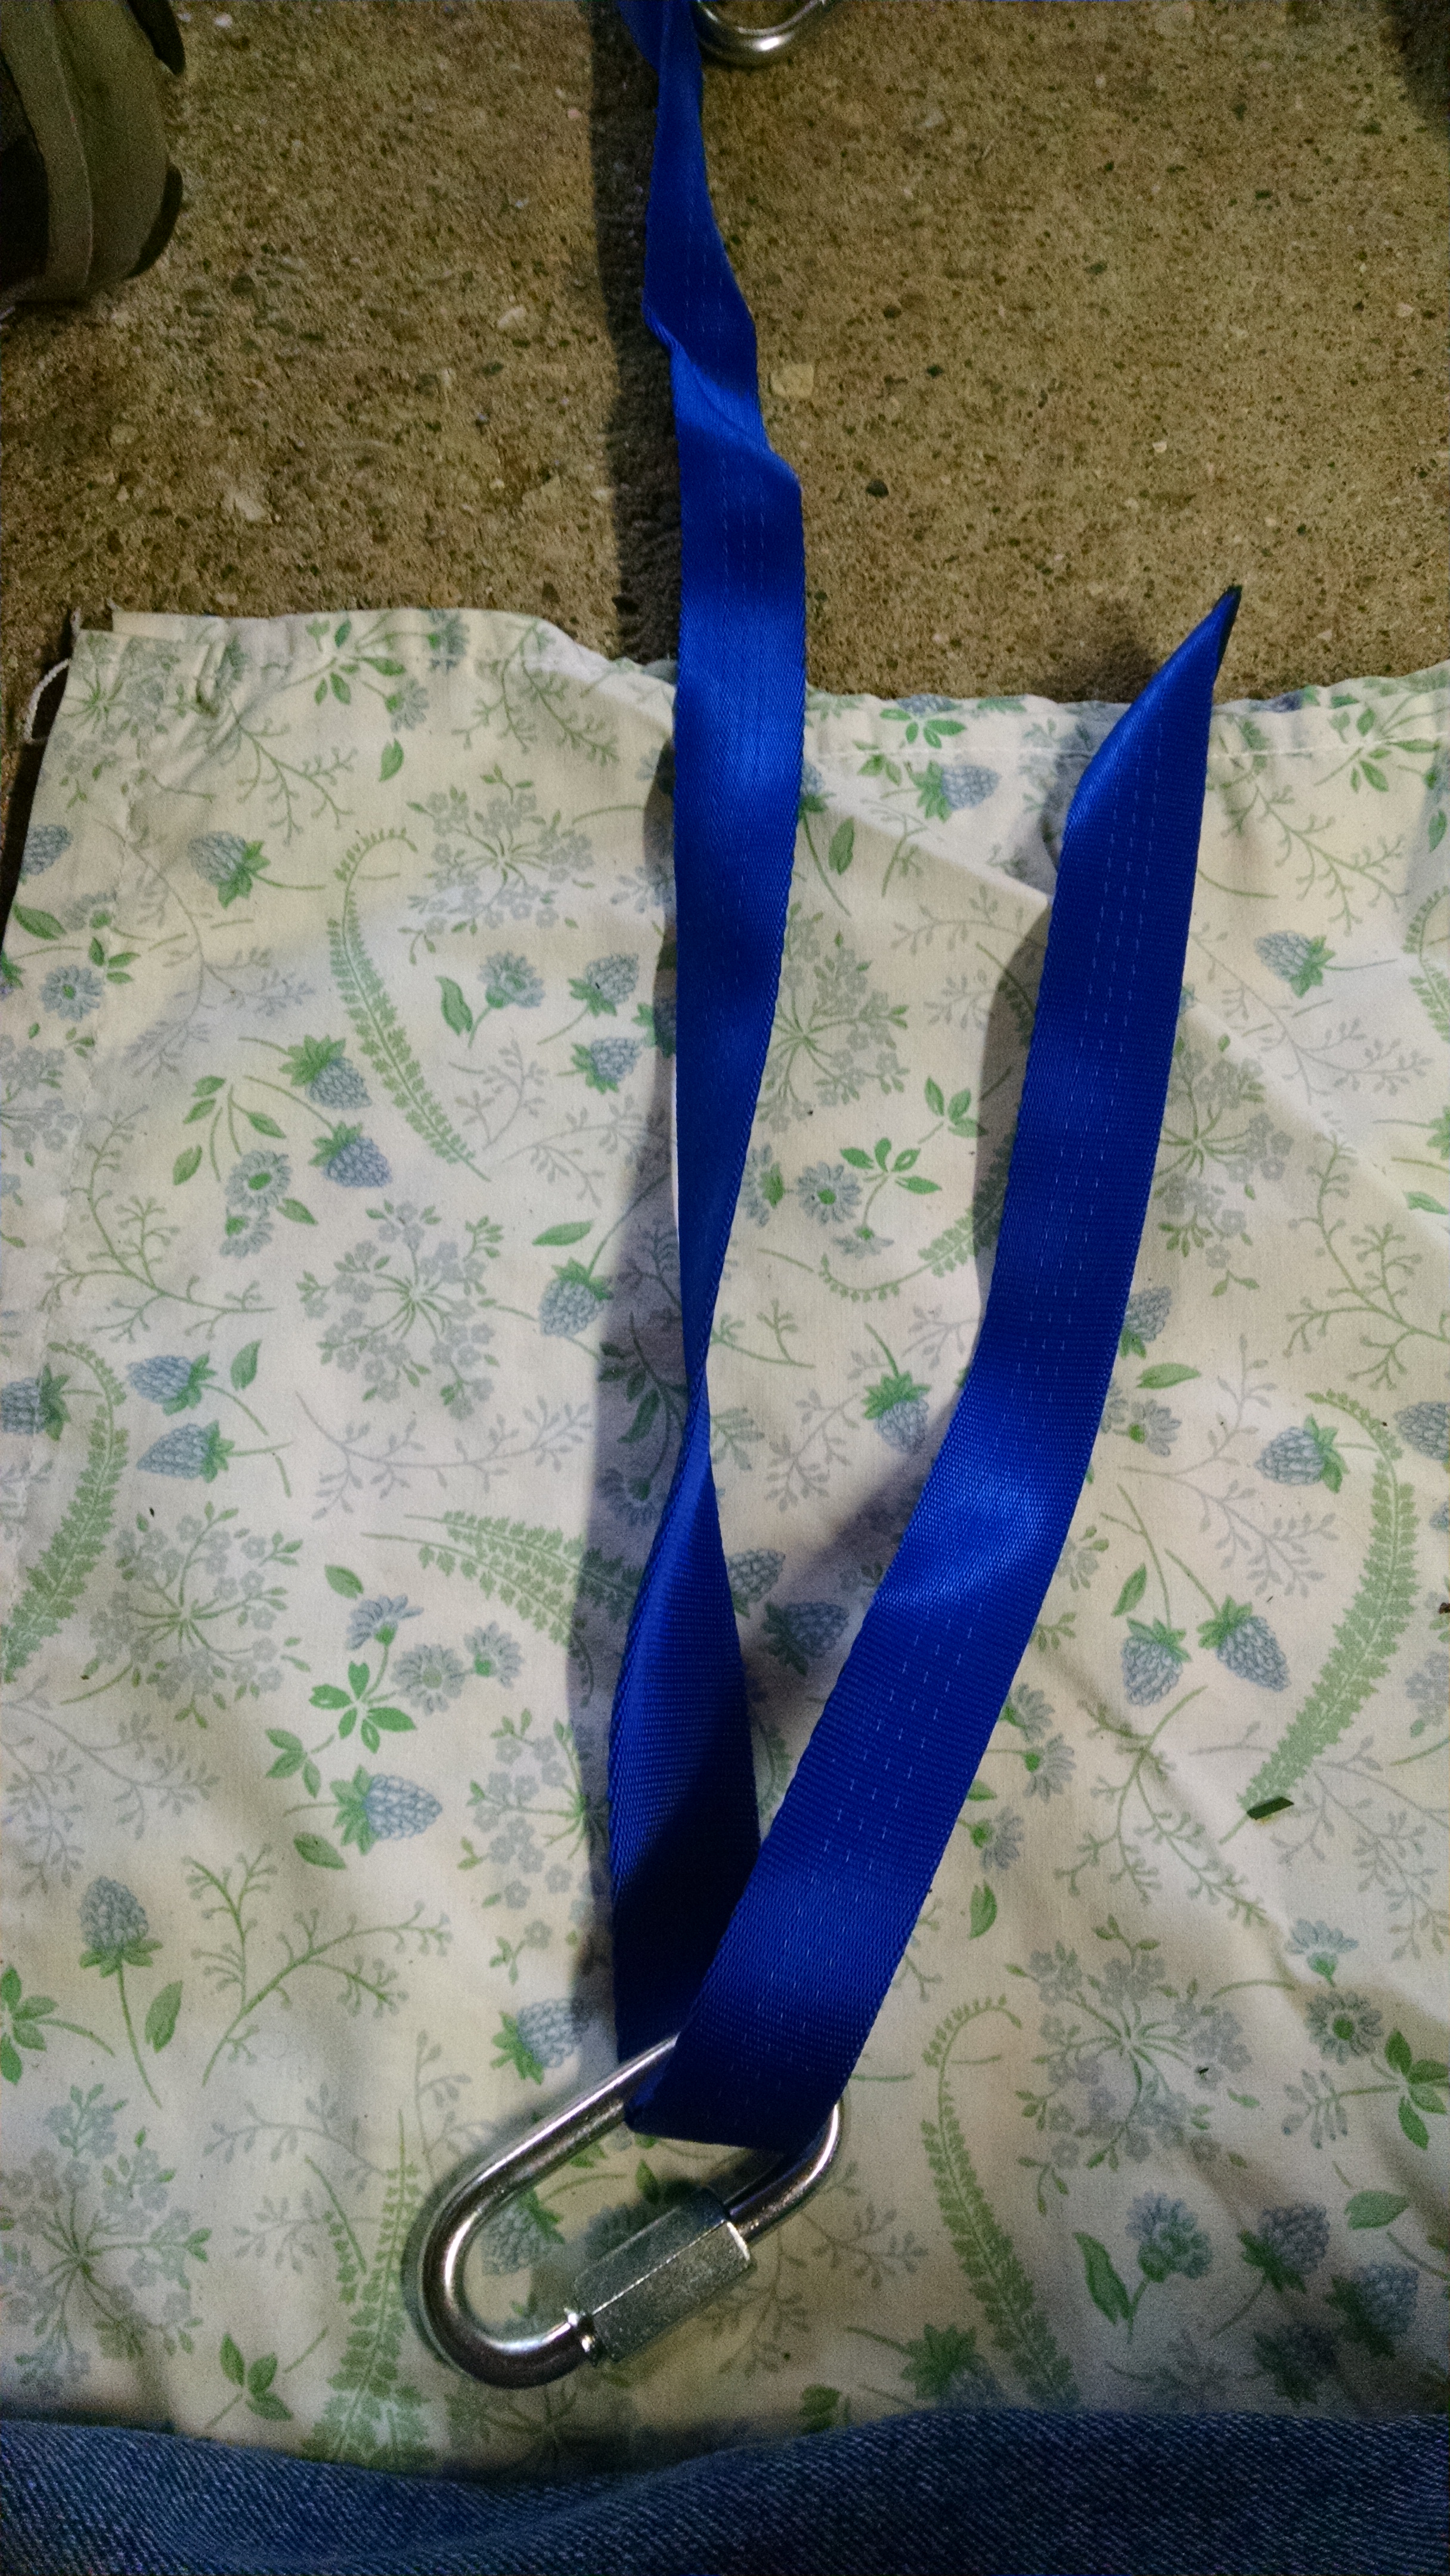
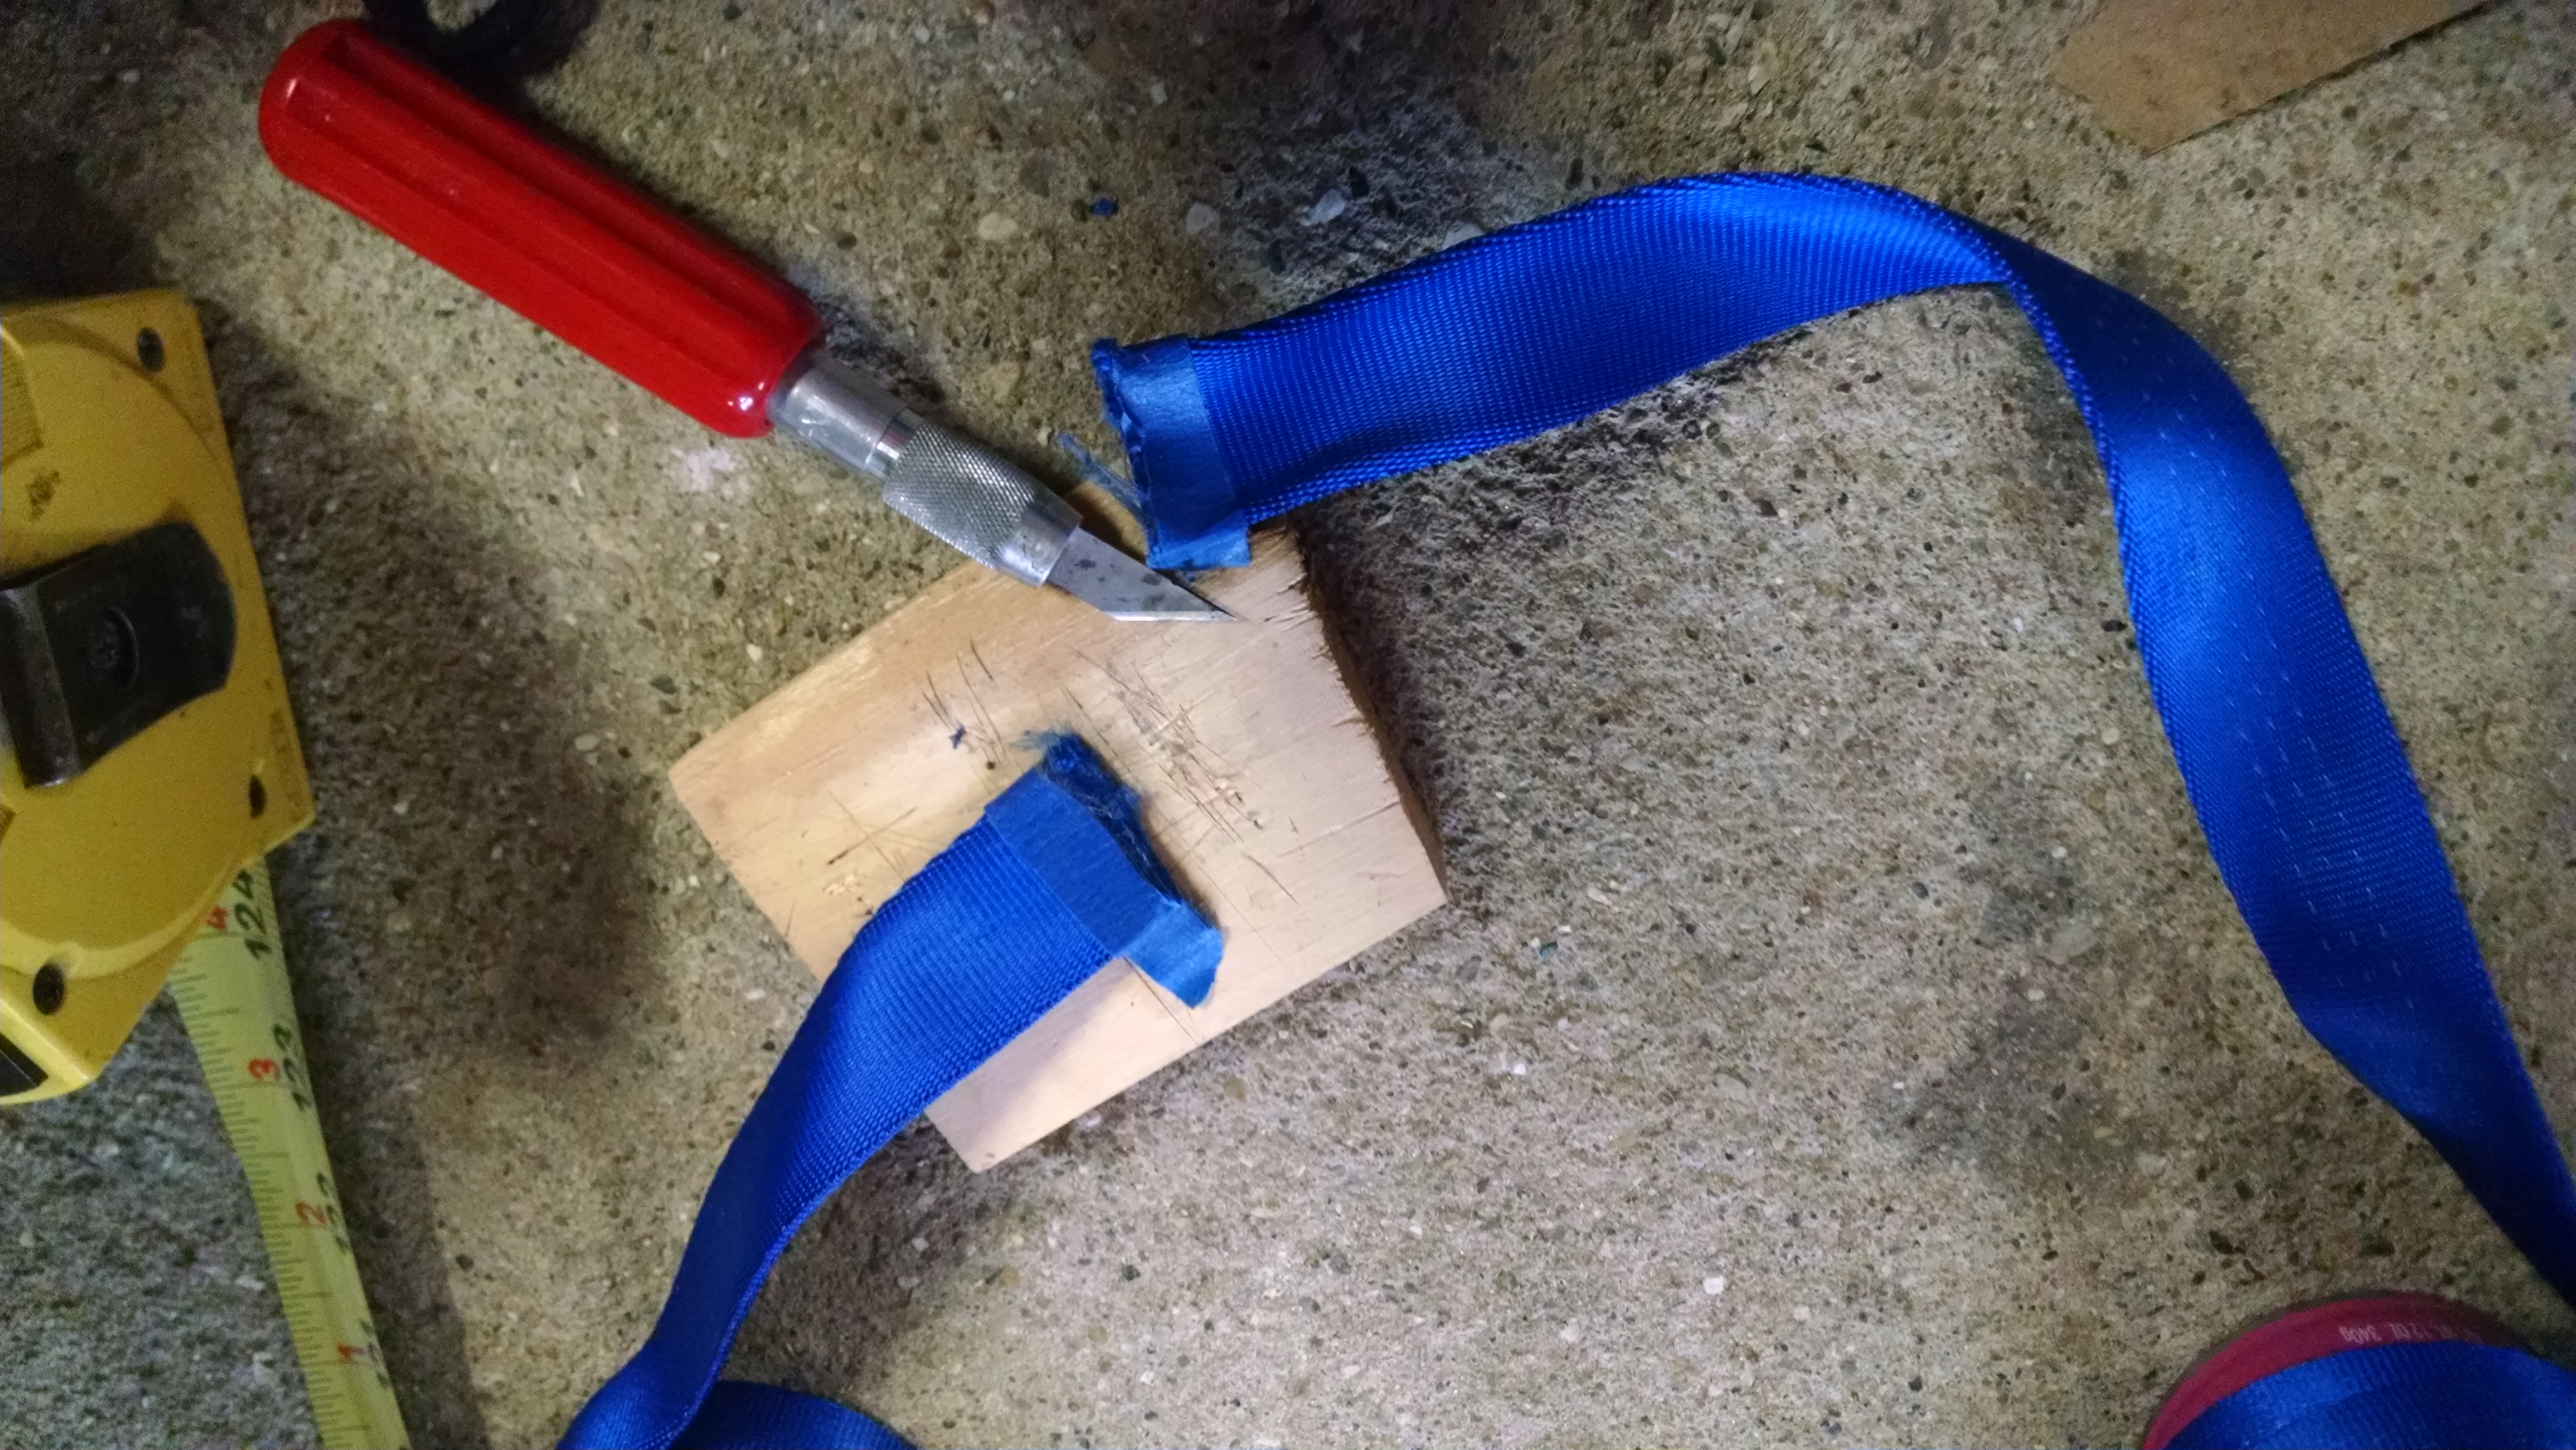
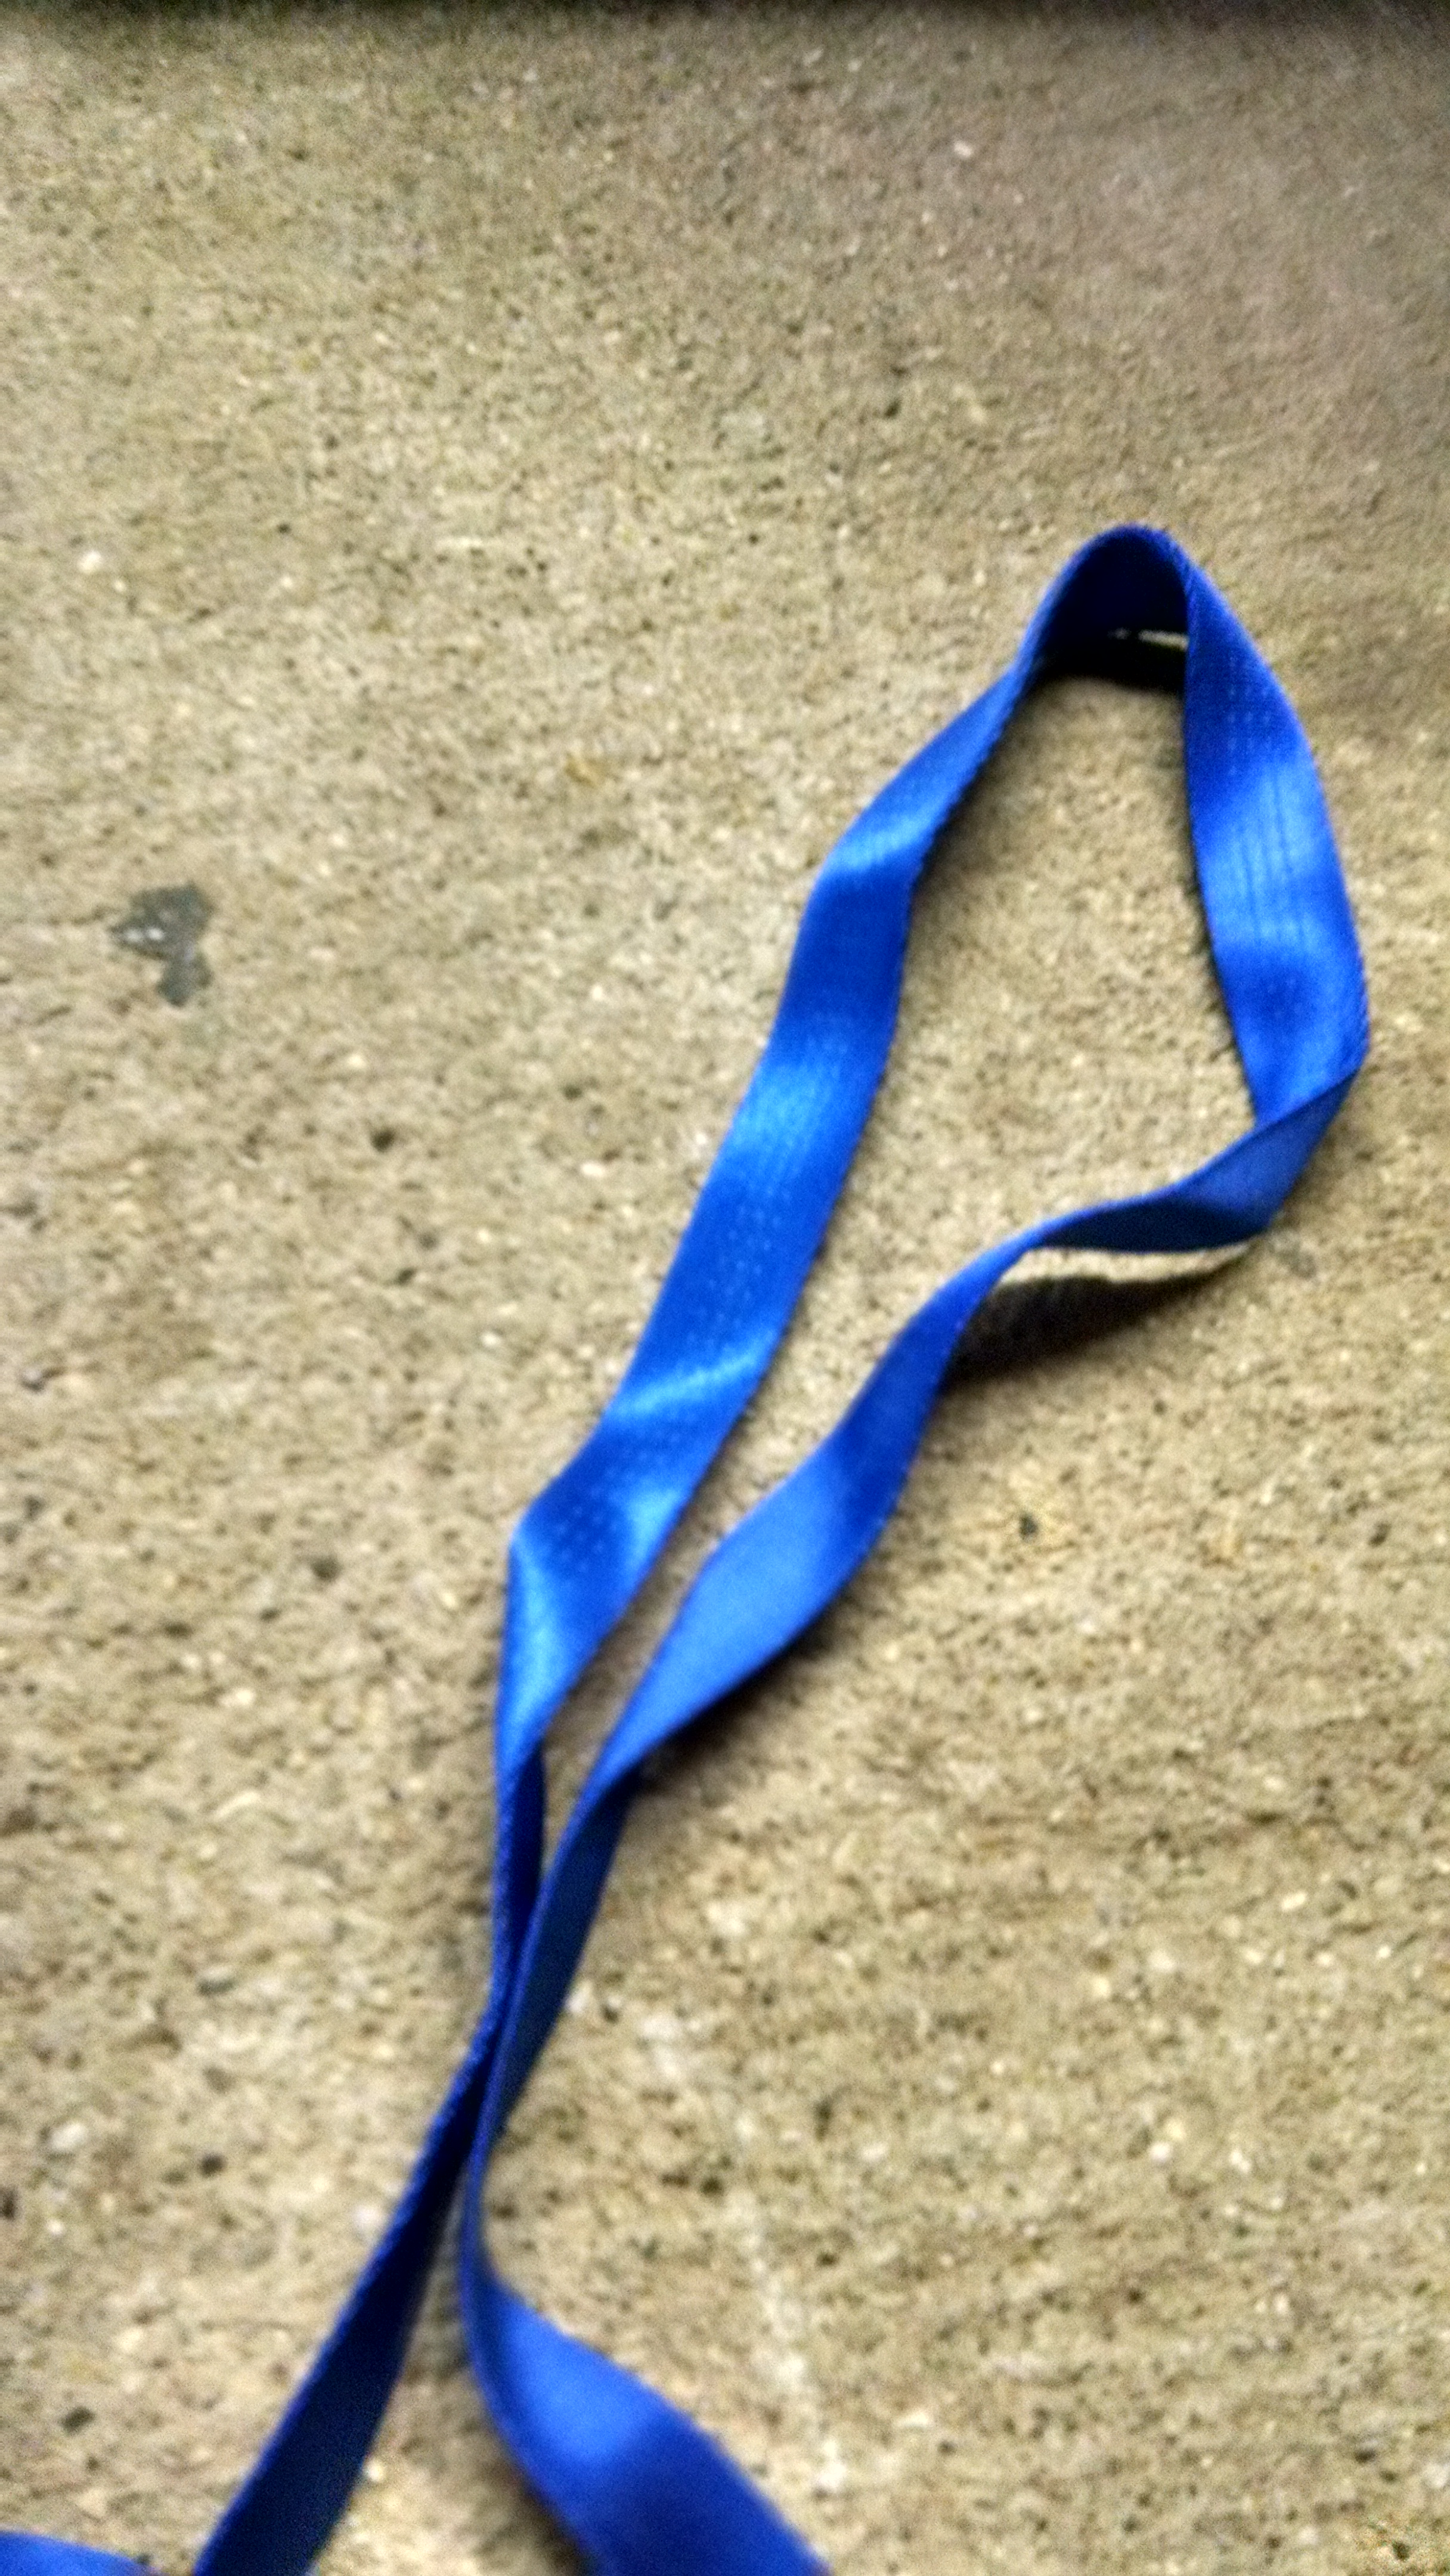
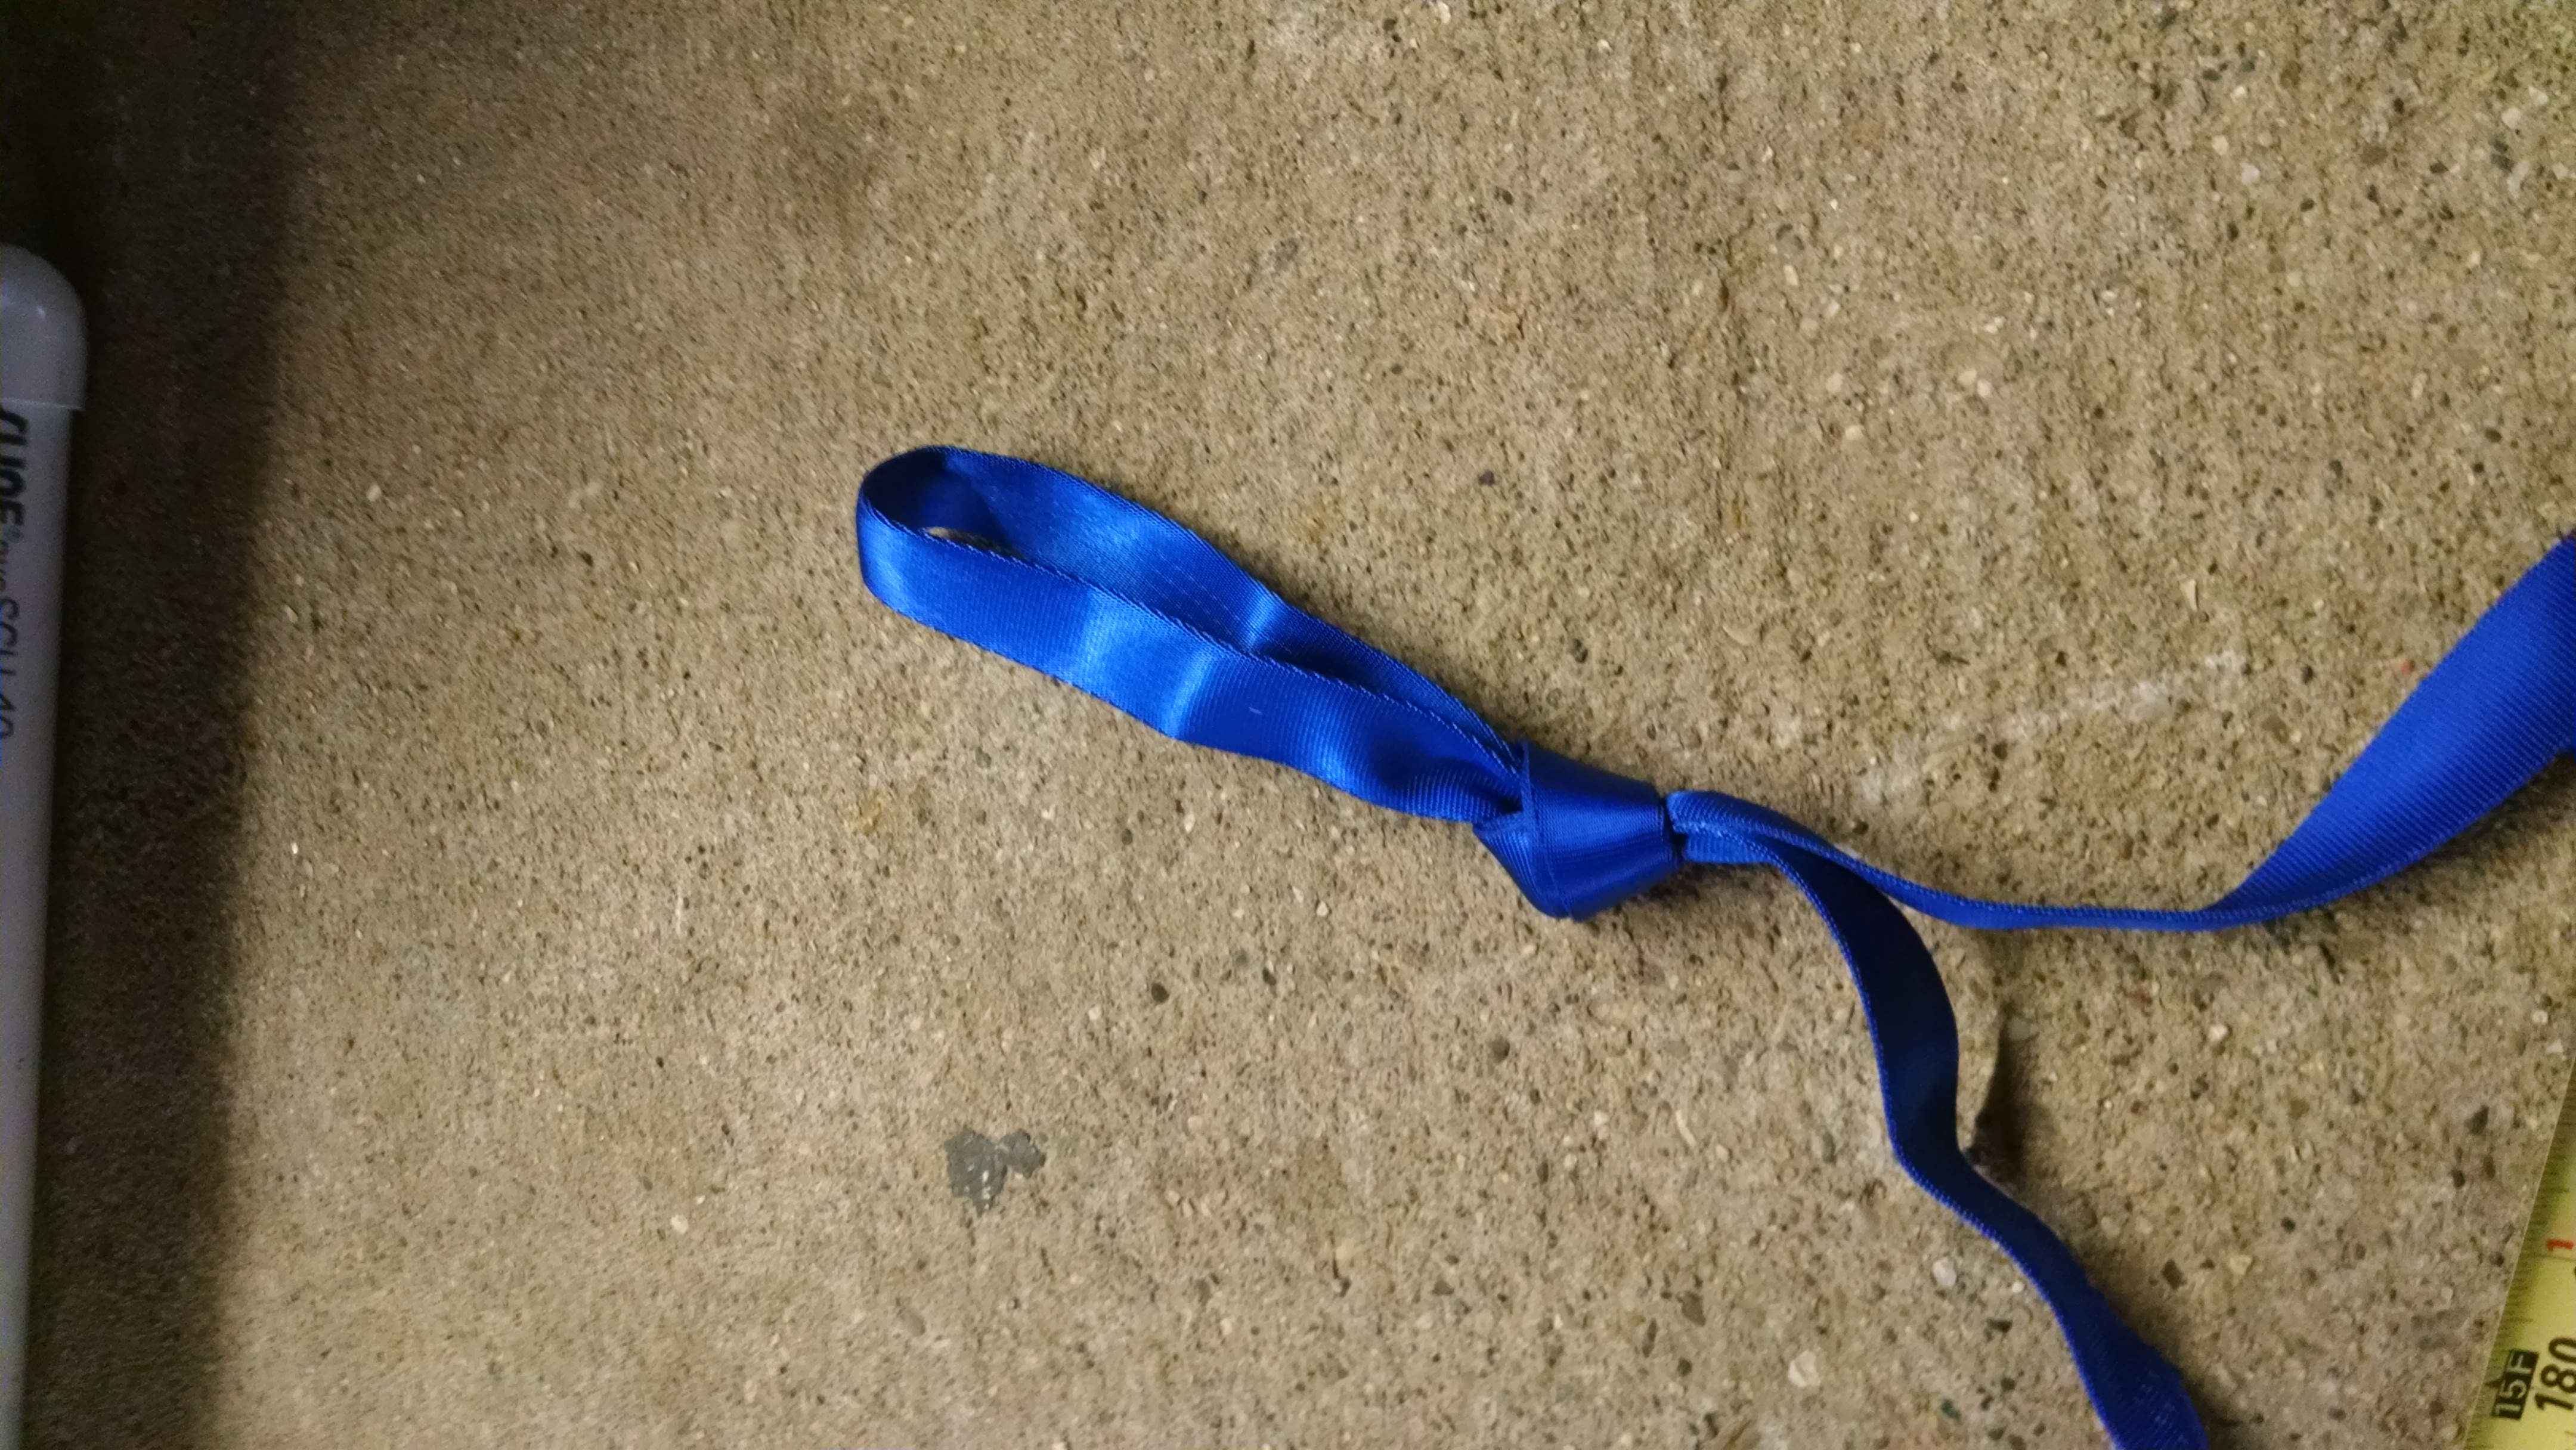
Time to tie the shock cord to 5/16 quick links. I do the fishing hook knot.
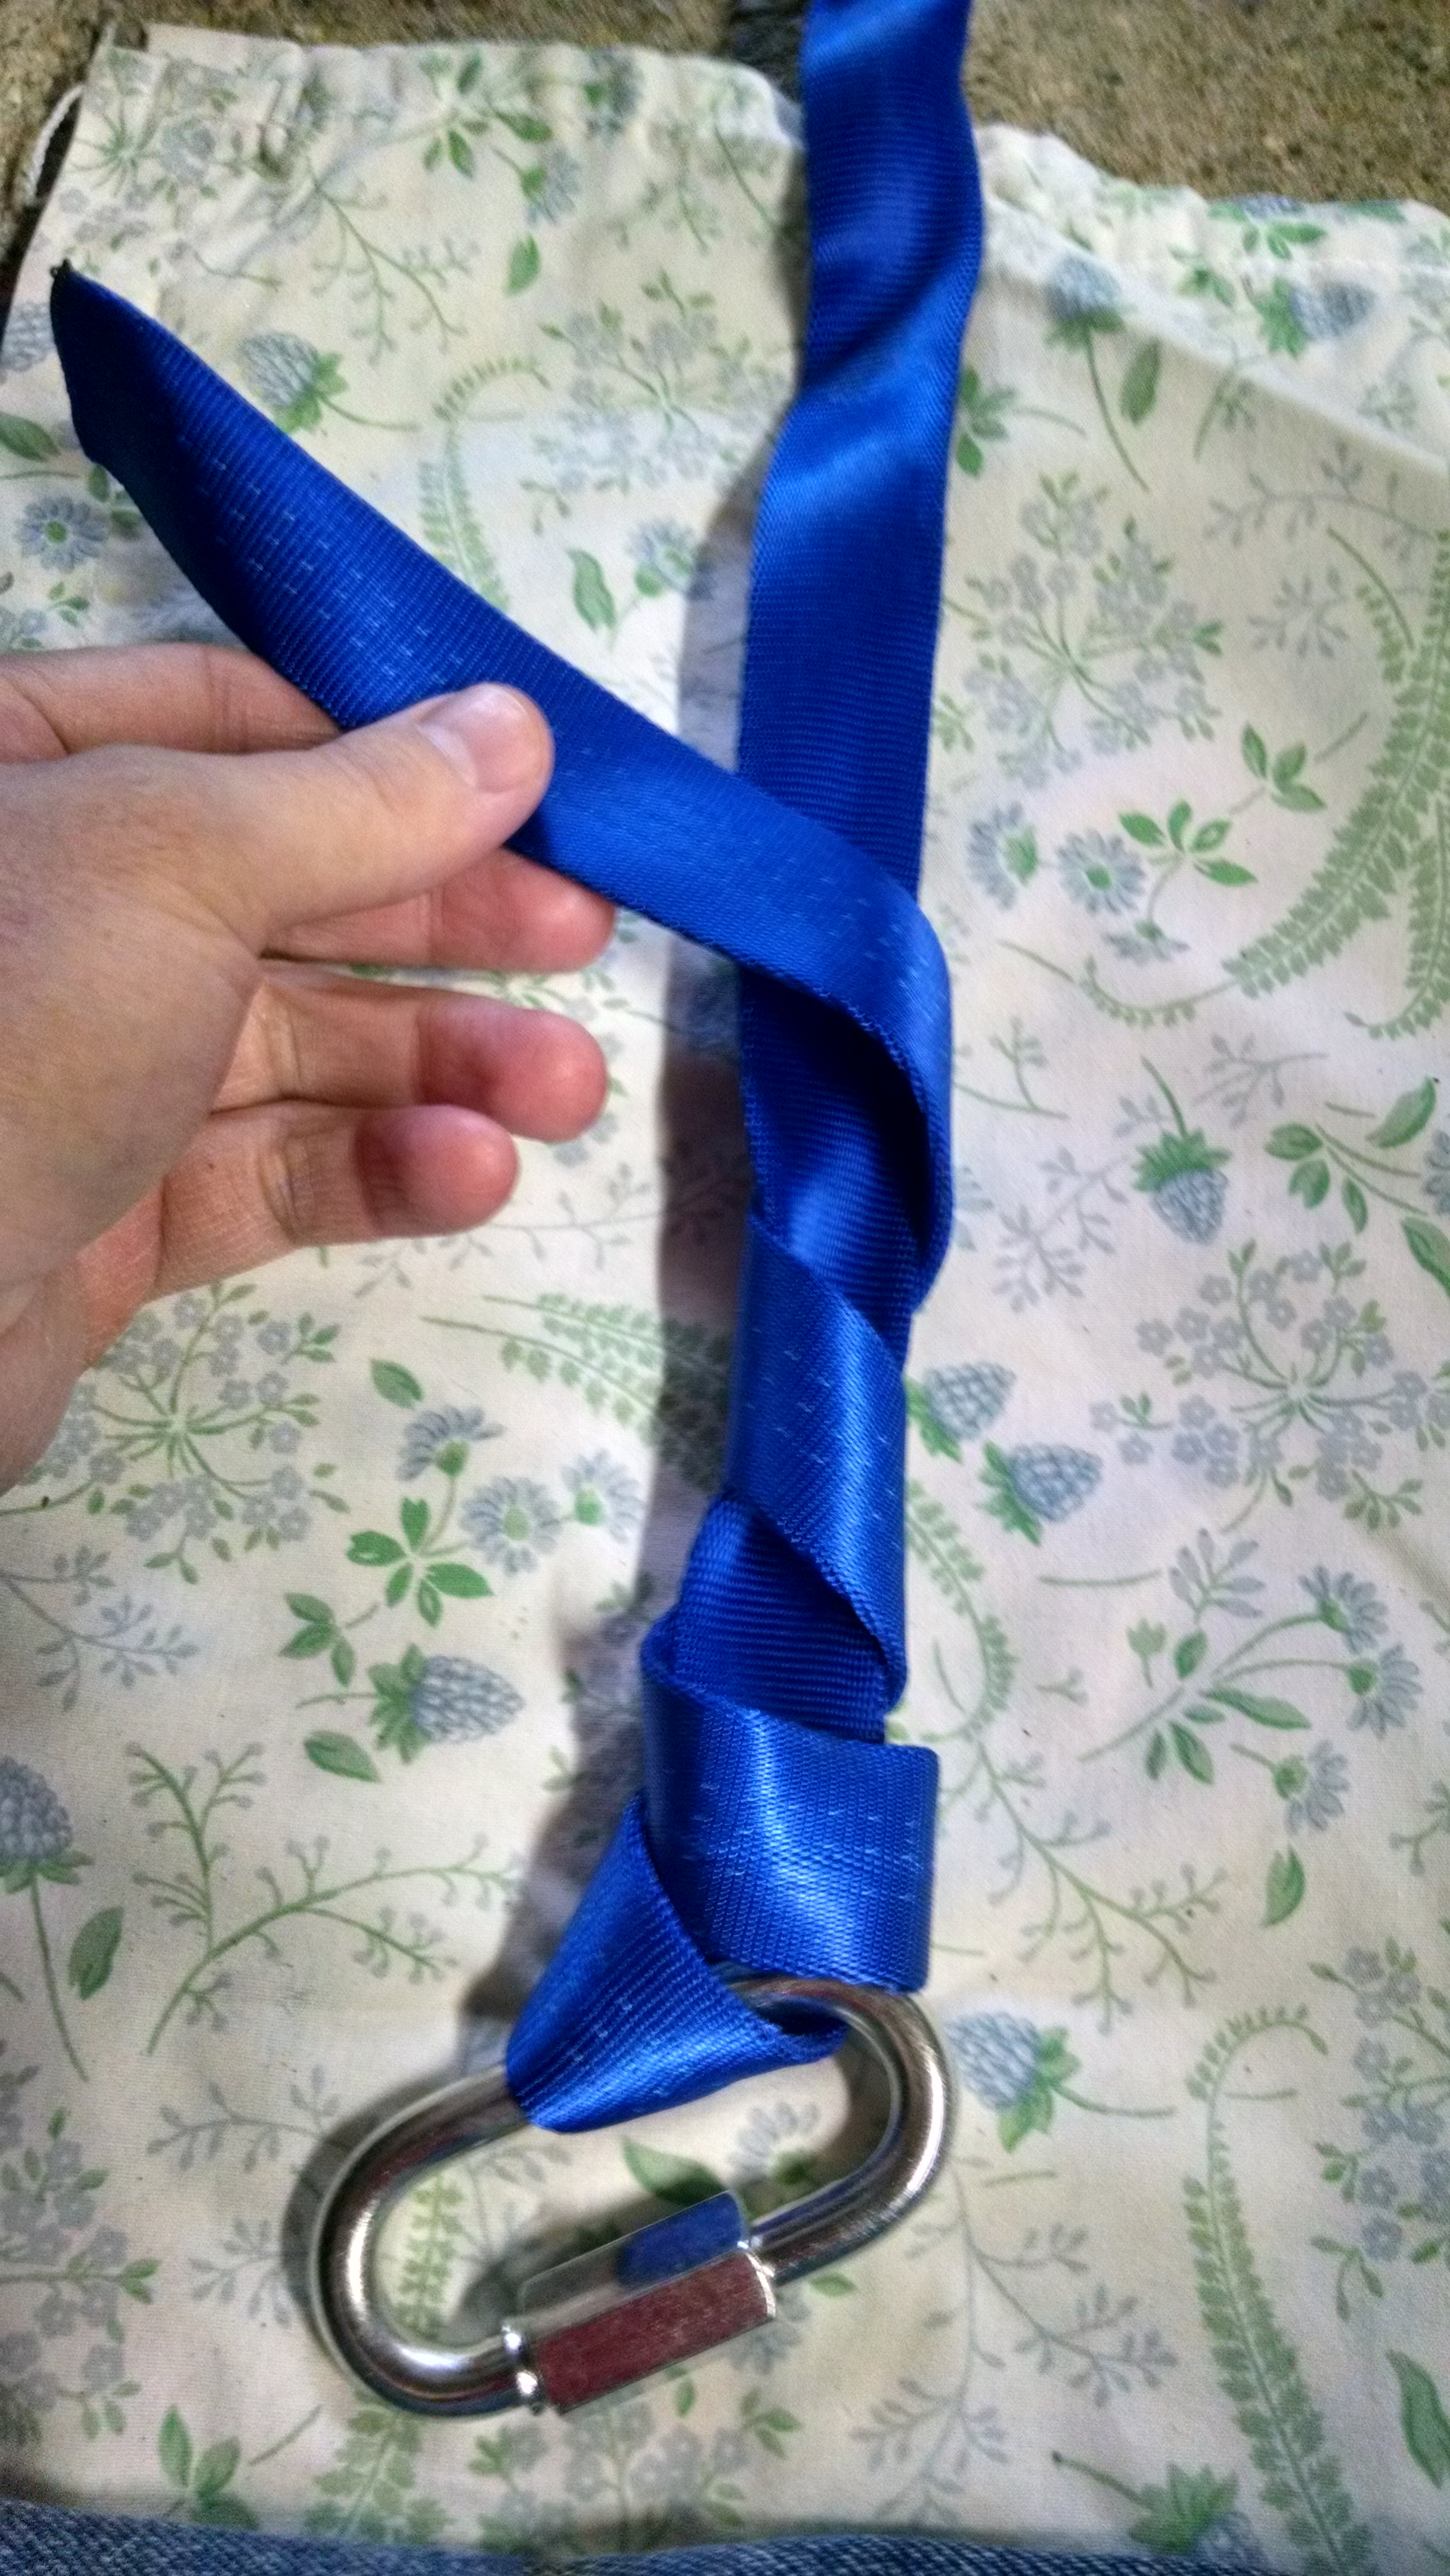
three loops around then back threw the bottom hole.
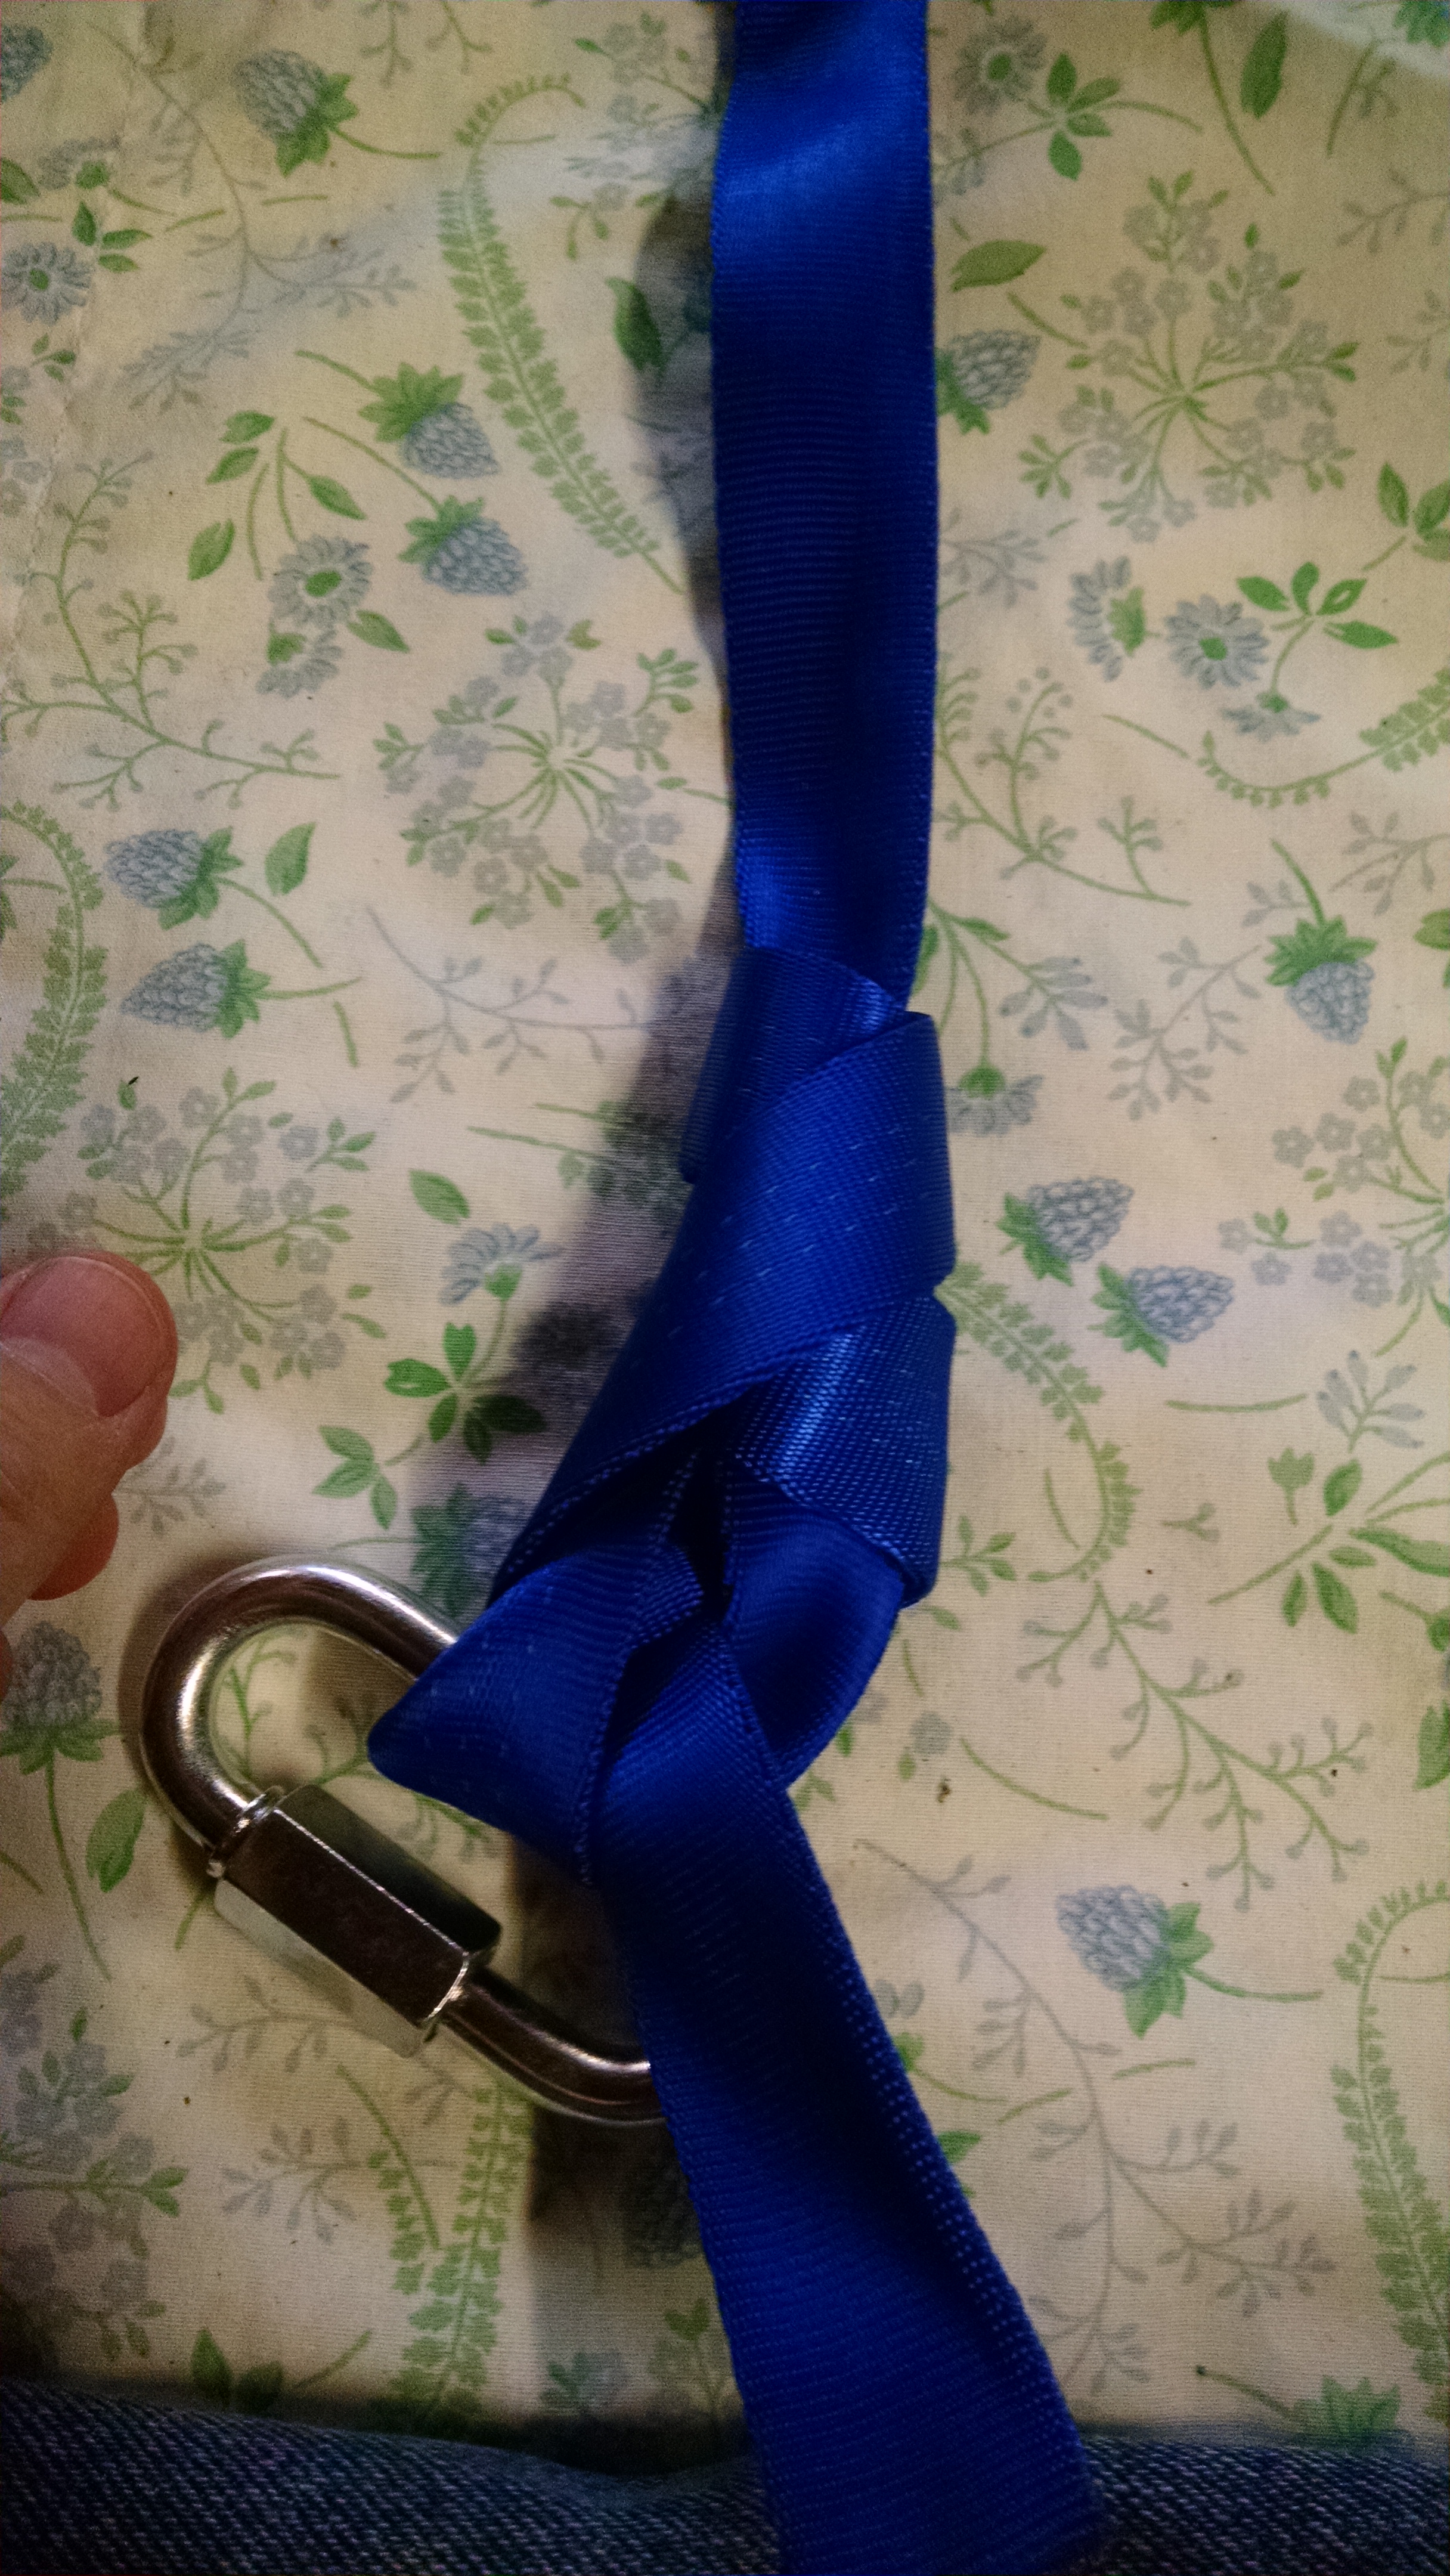
then dress it up
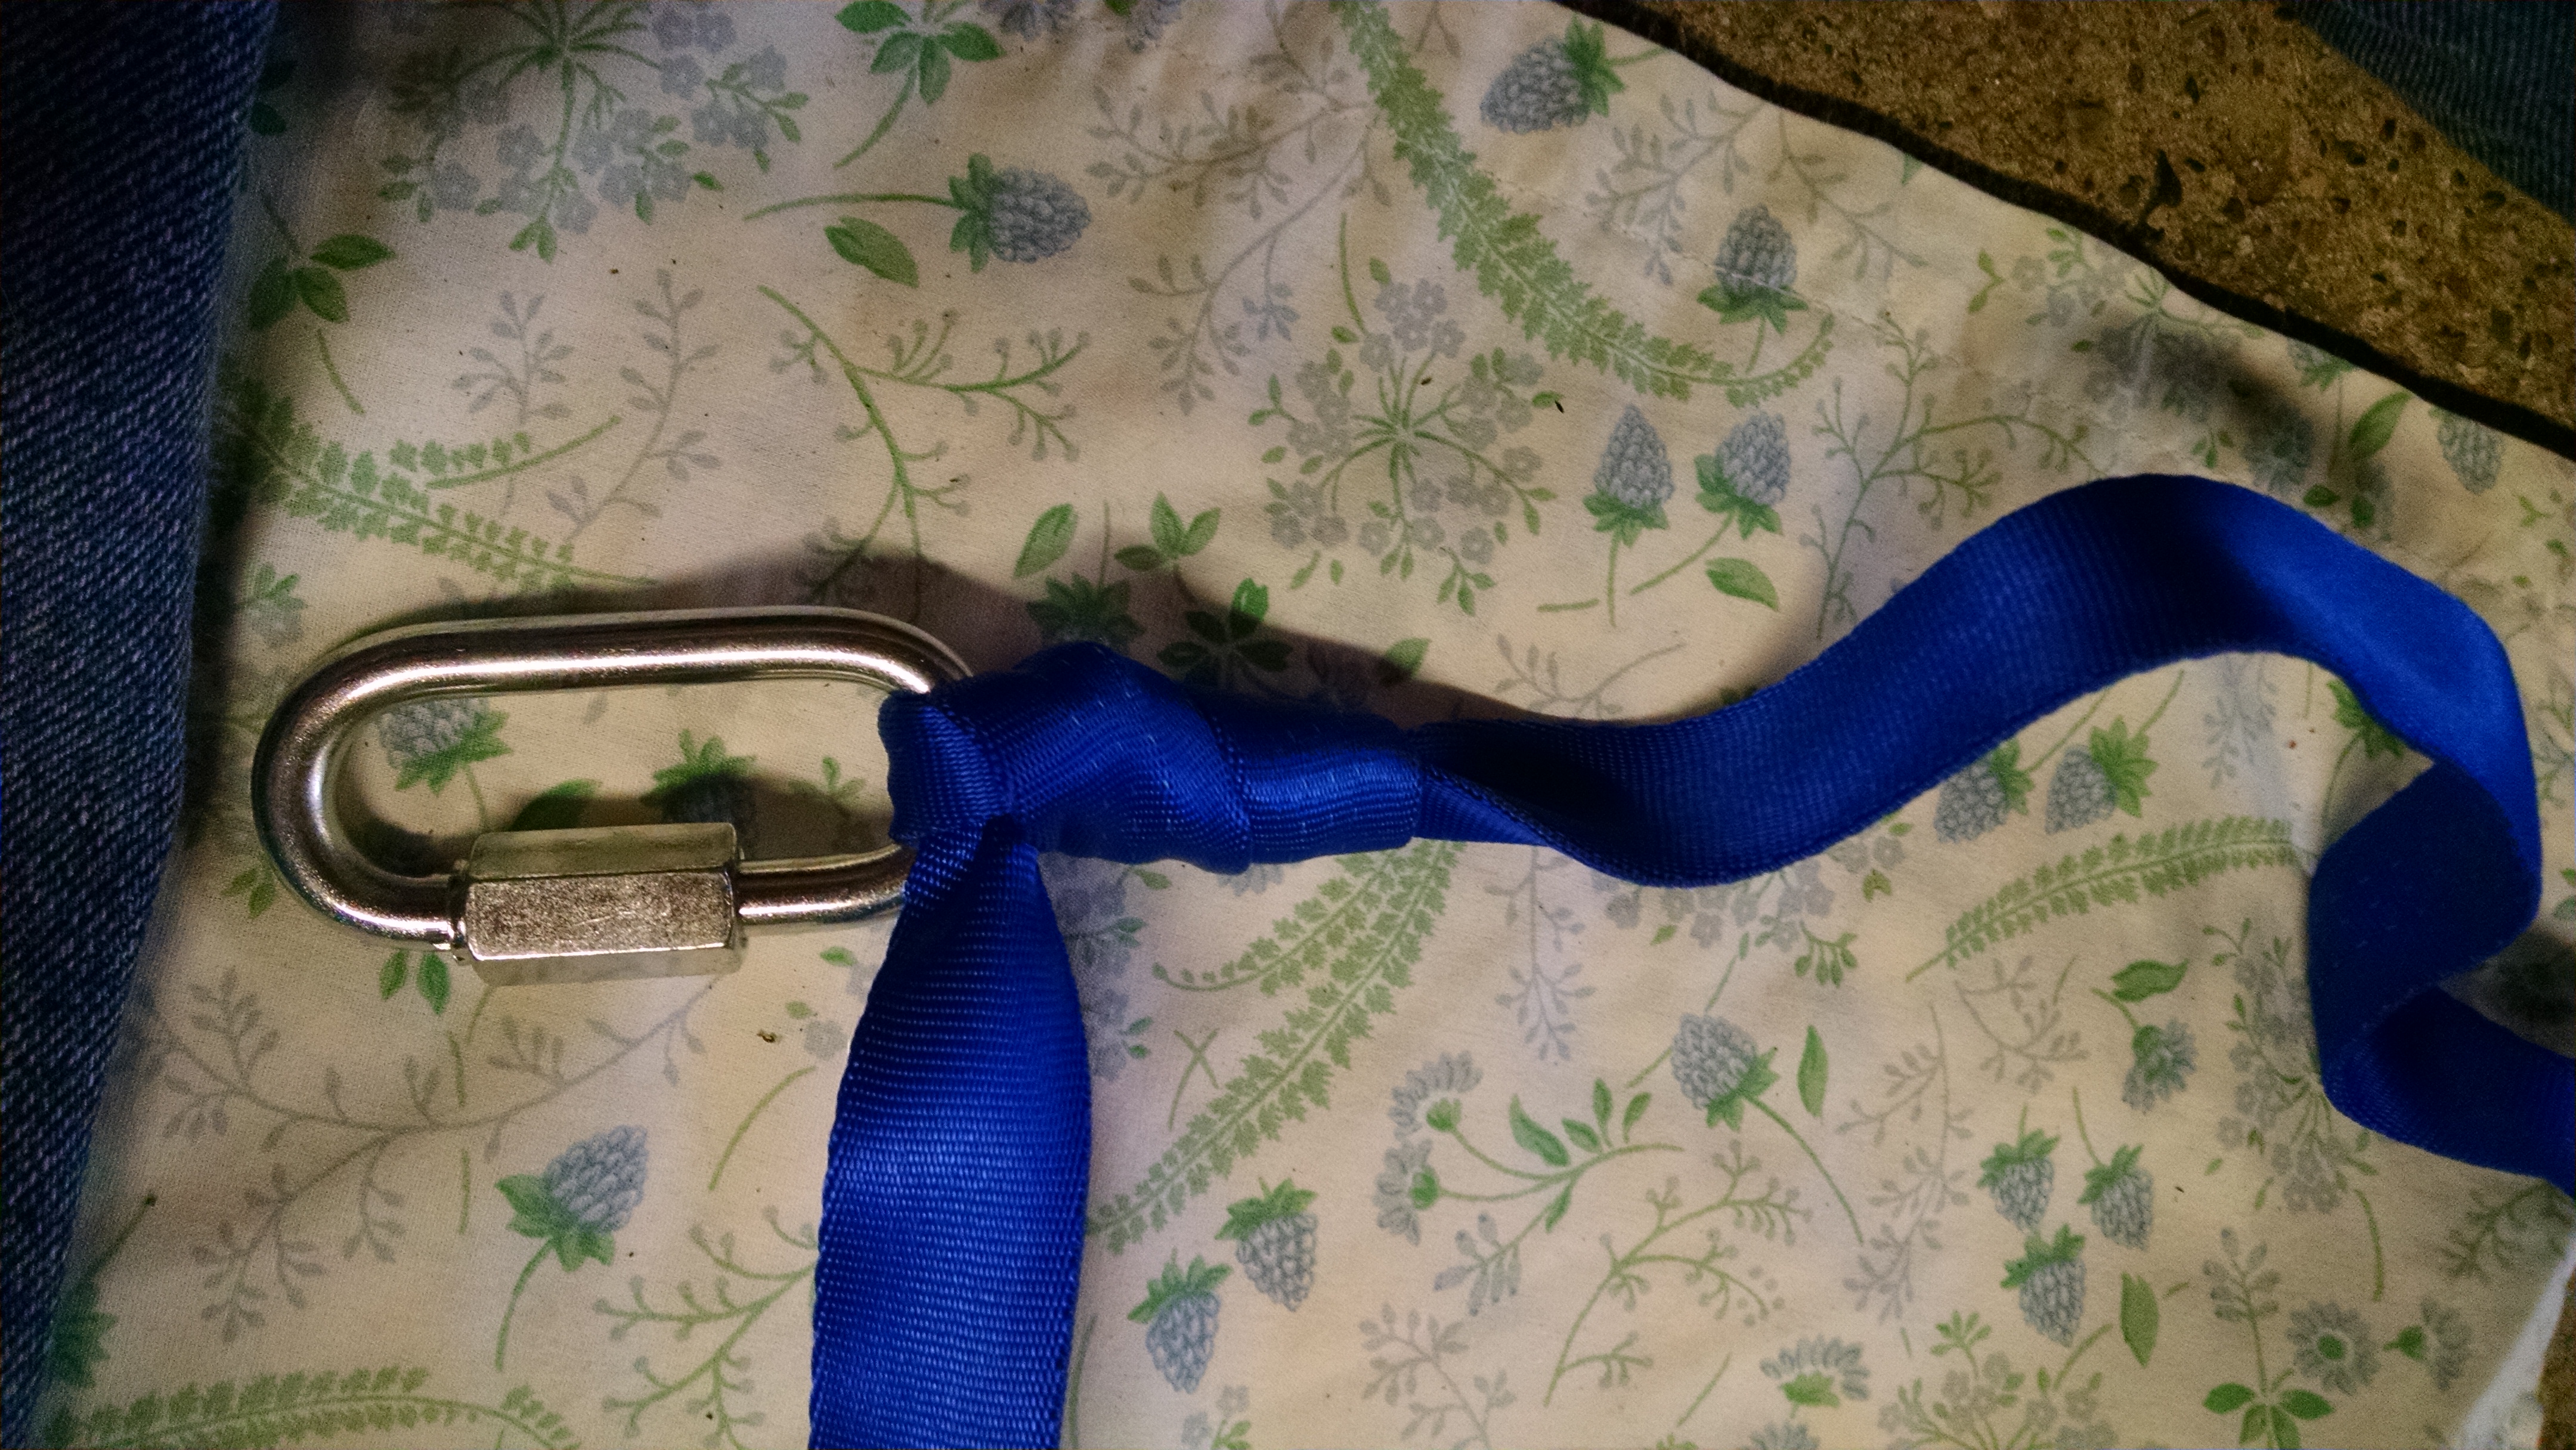
then I use the painters tape to keep the tail of the knot from flapping, and to protect the cord from the ejection charges.
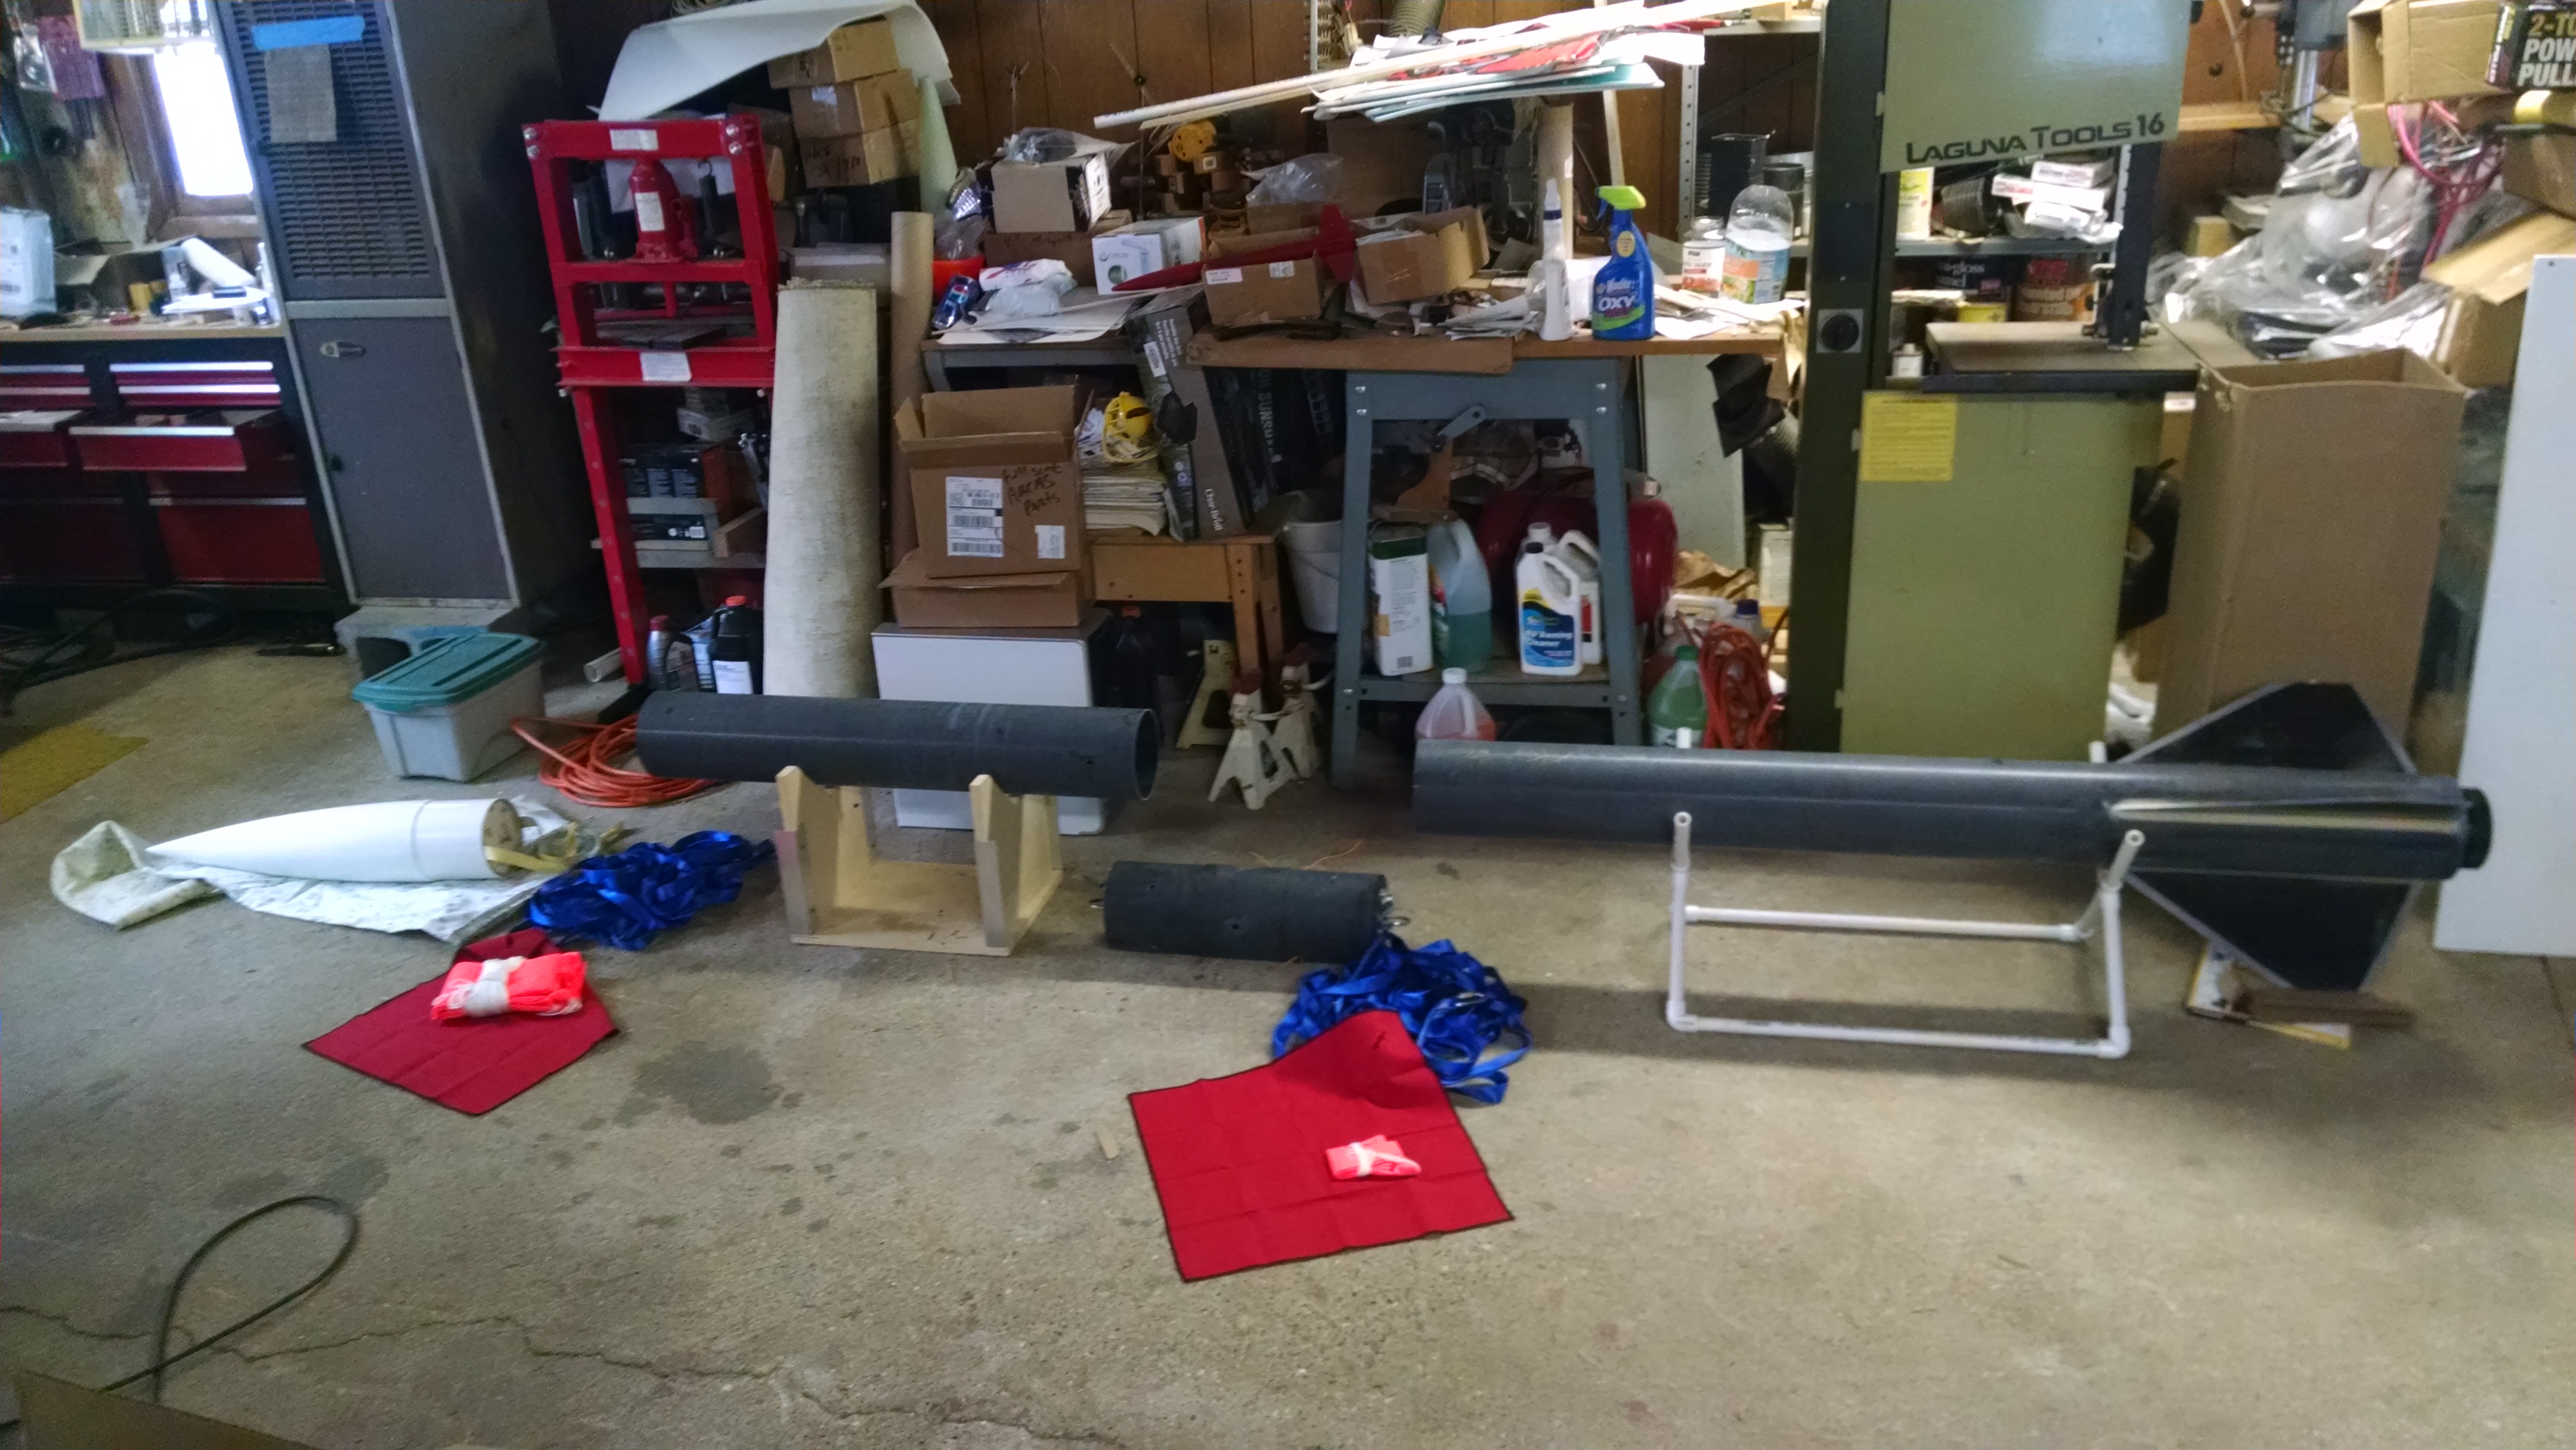
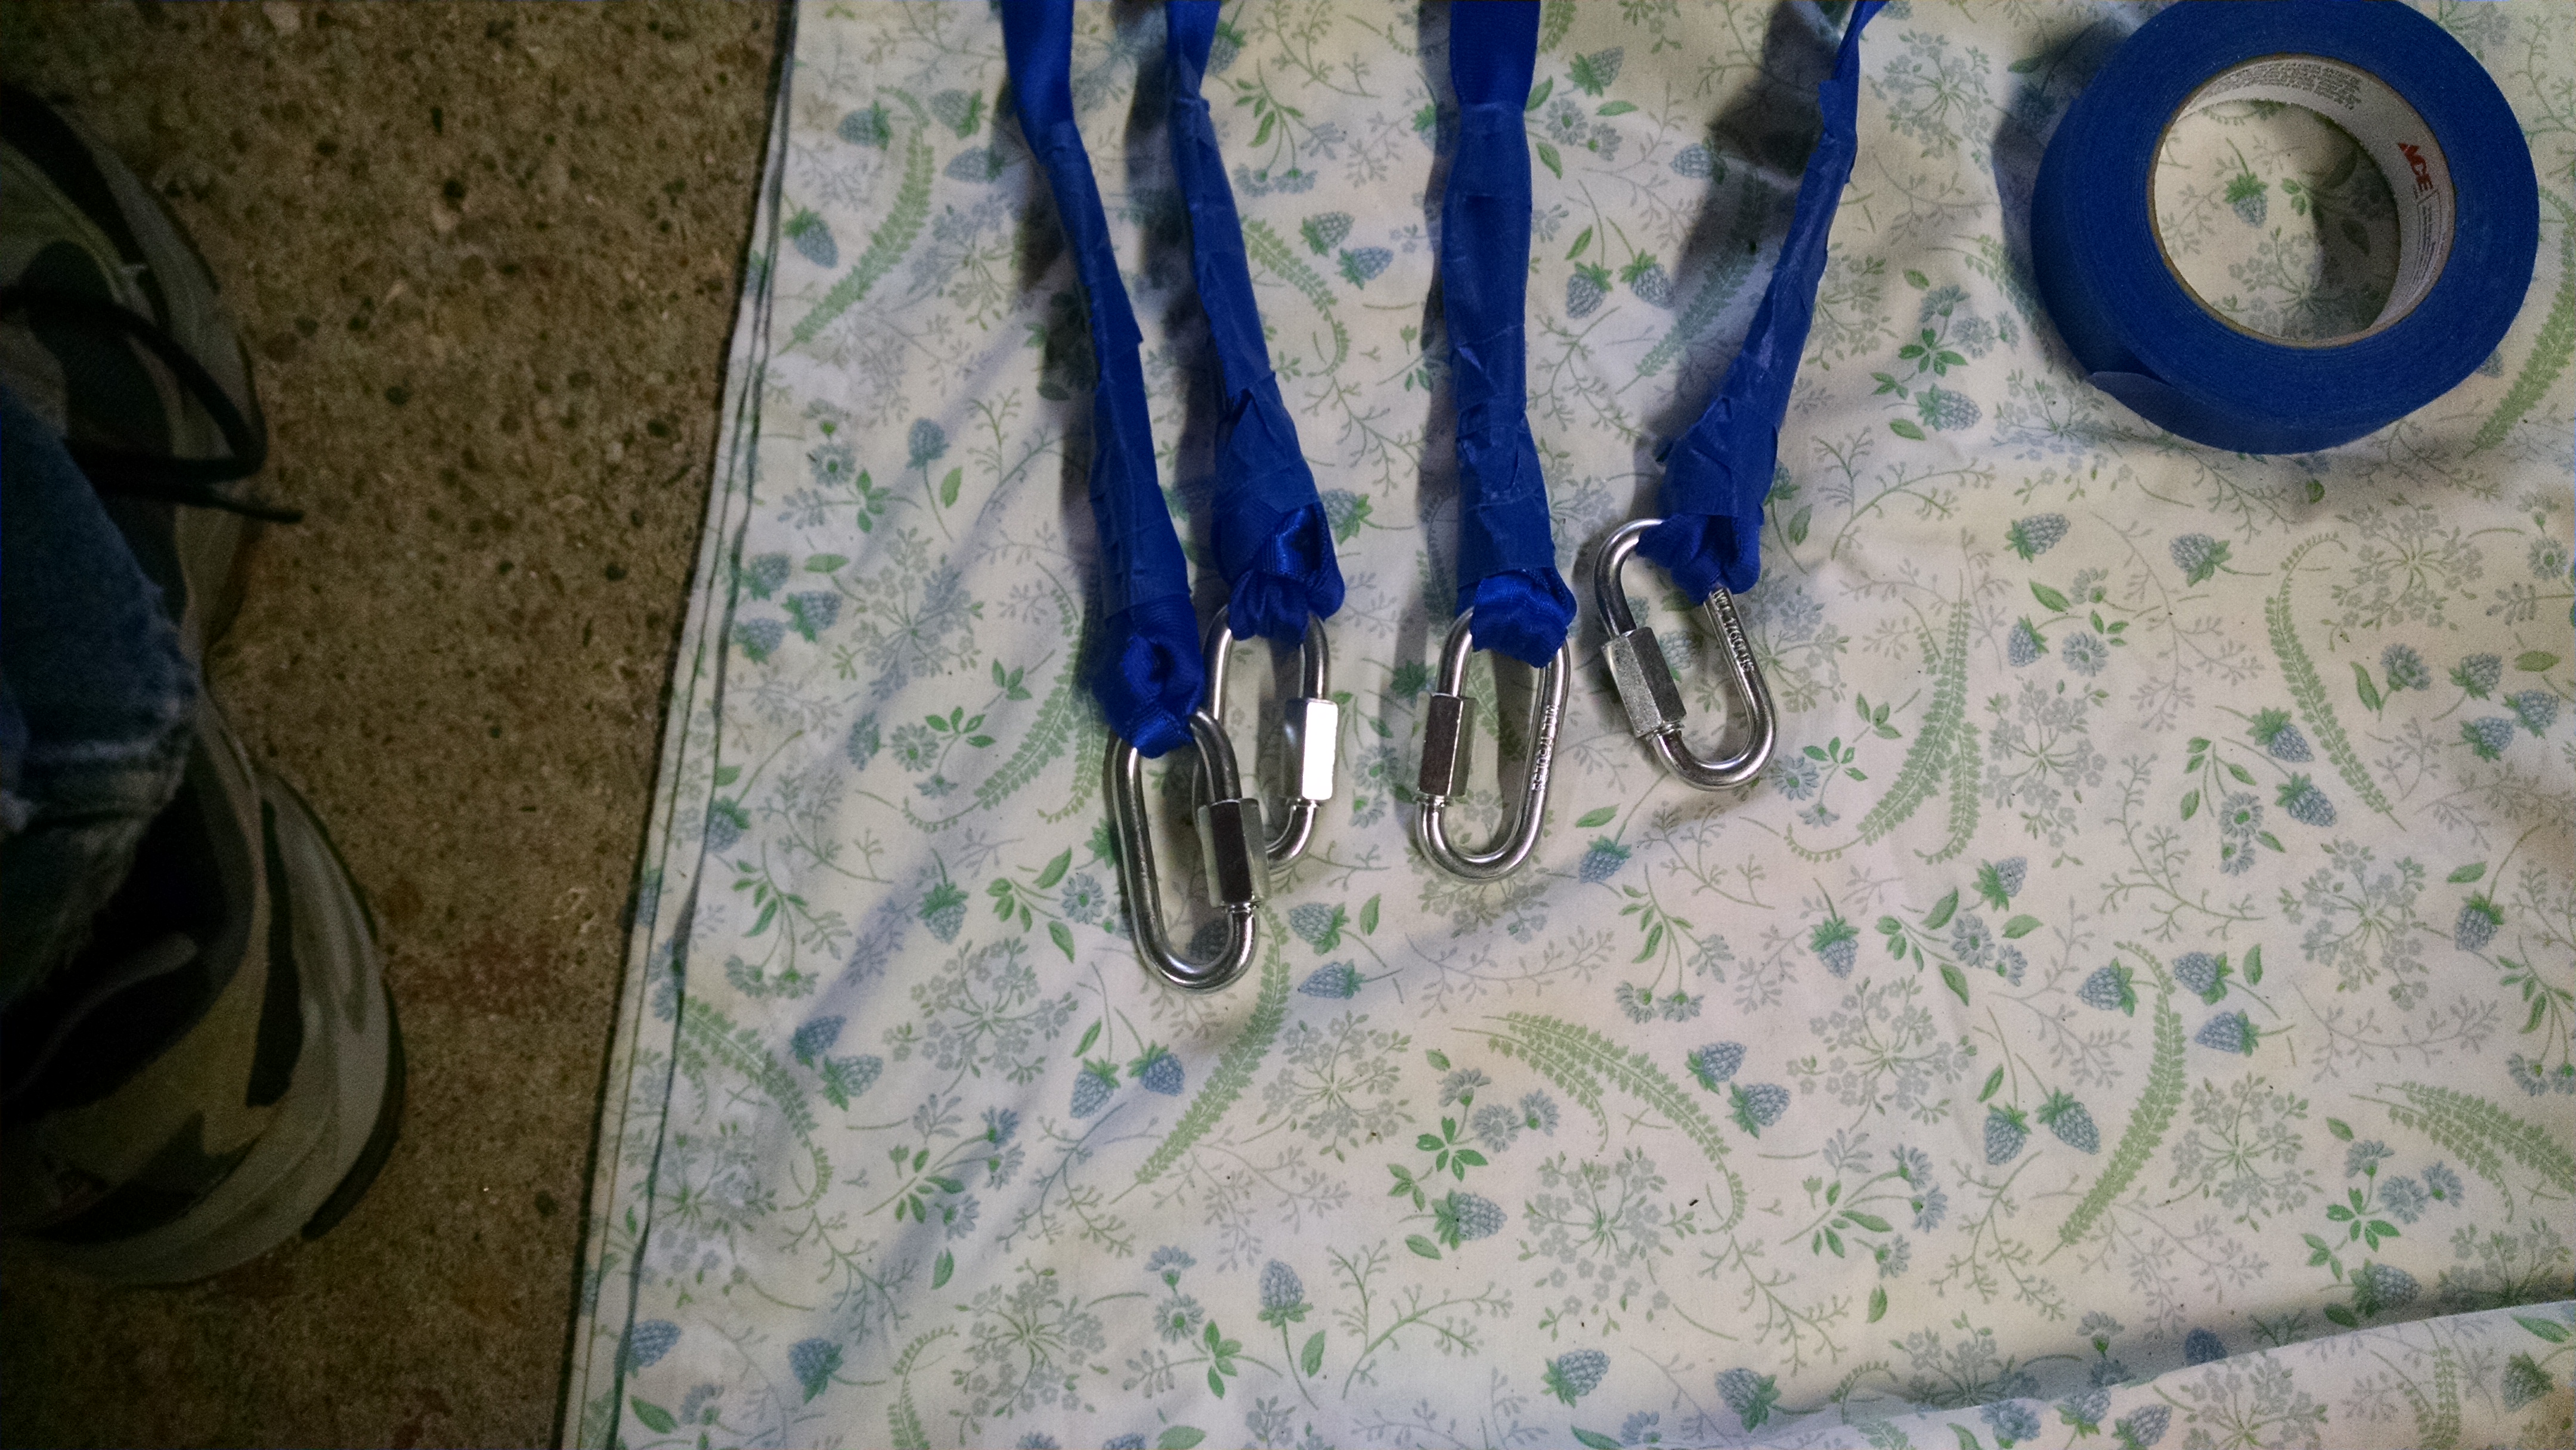
Here is everything laid out, need to tie loops in for the chutes. 1/3 of the way from the nose cone on the main, and 1/3 of the way from the ebay on the drogue. 1/3 of 50ft is 16 feet.
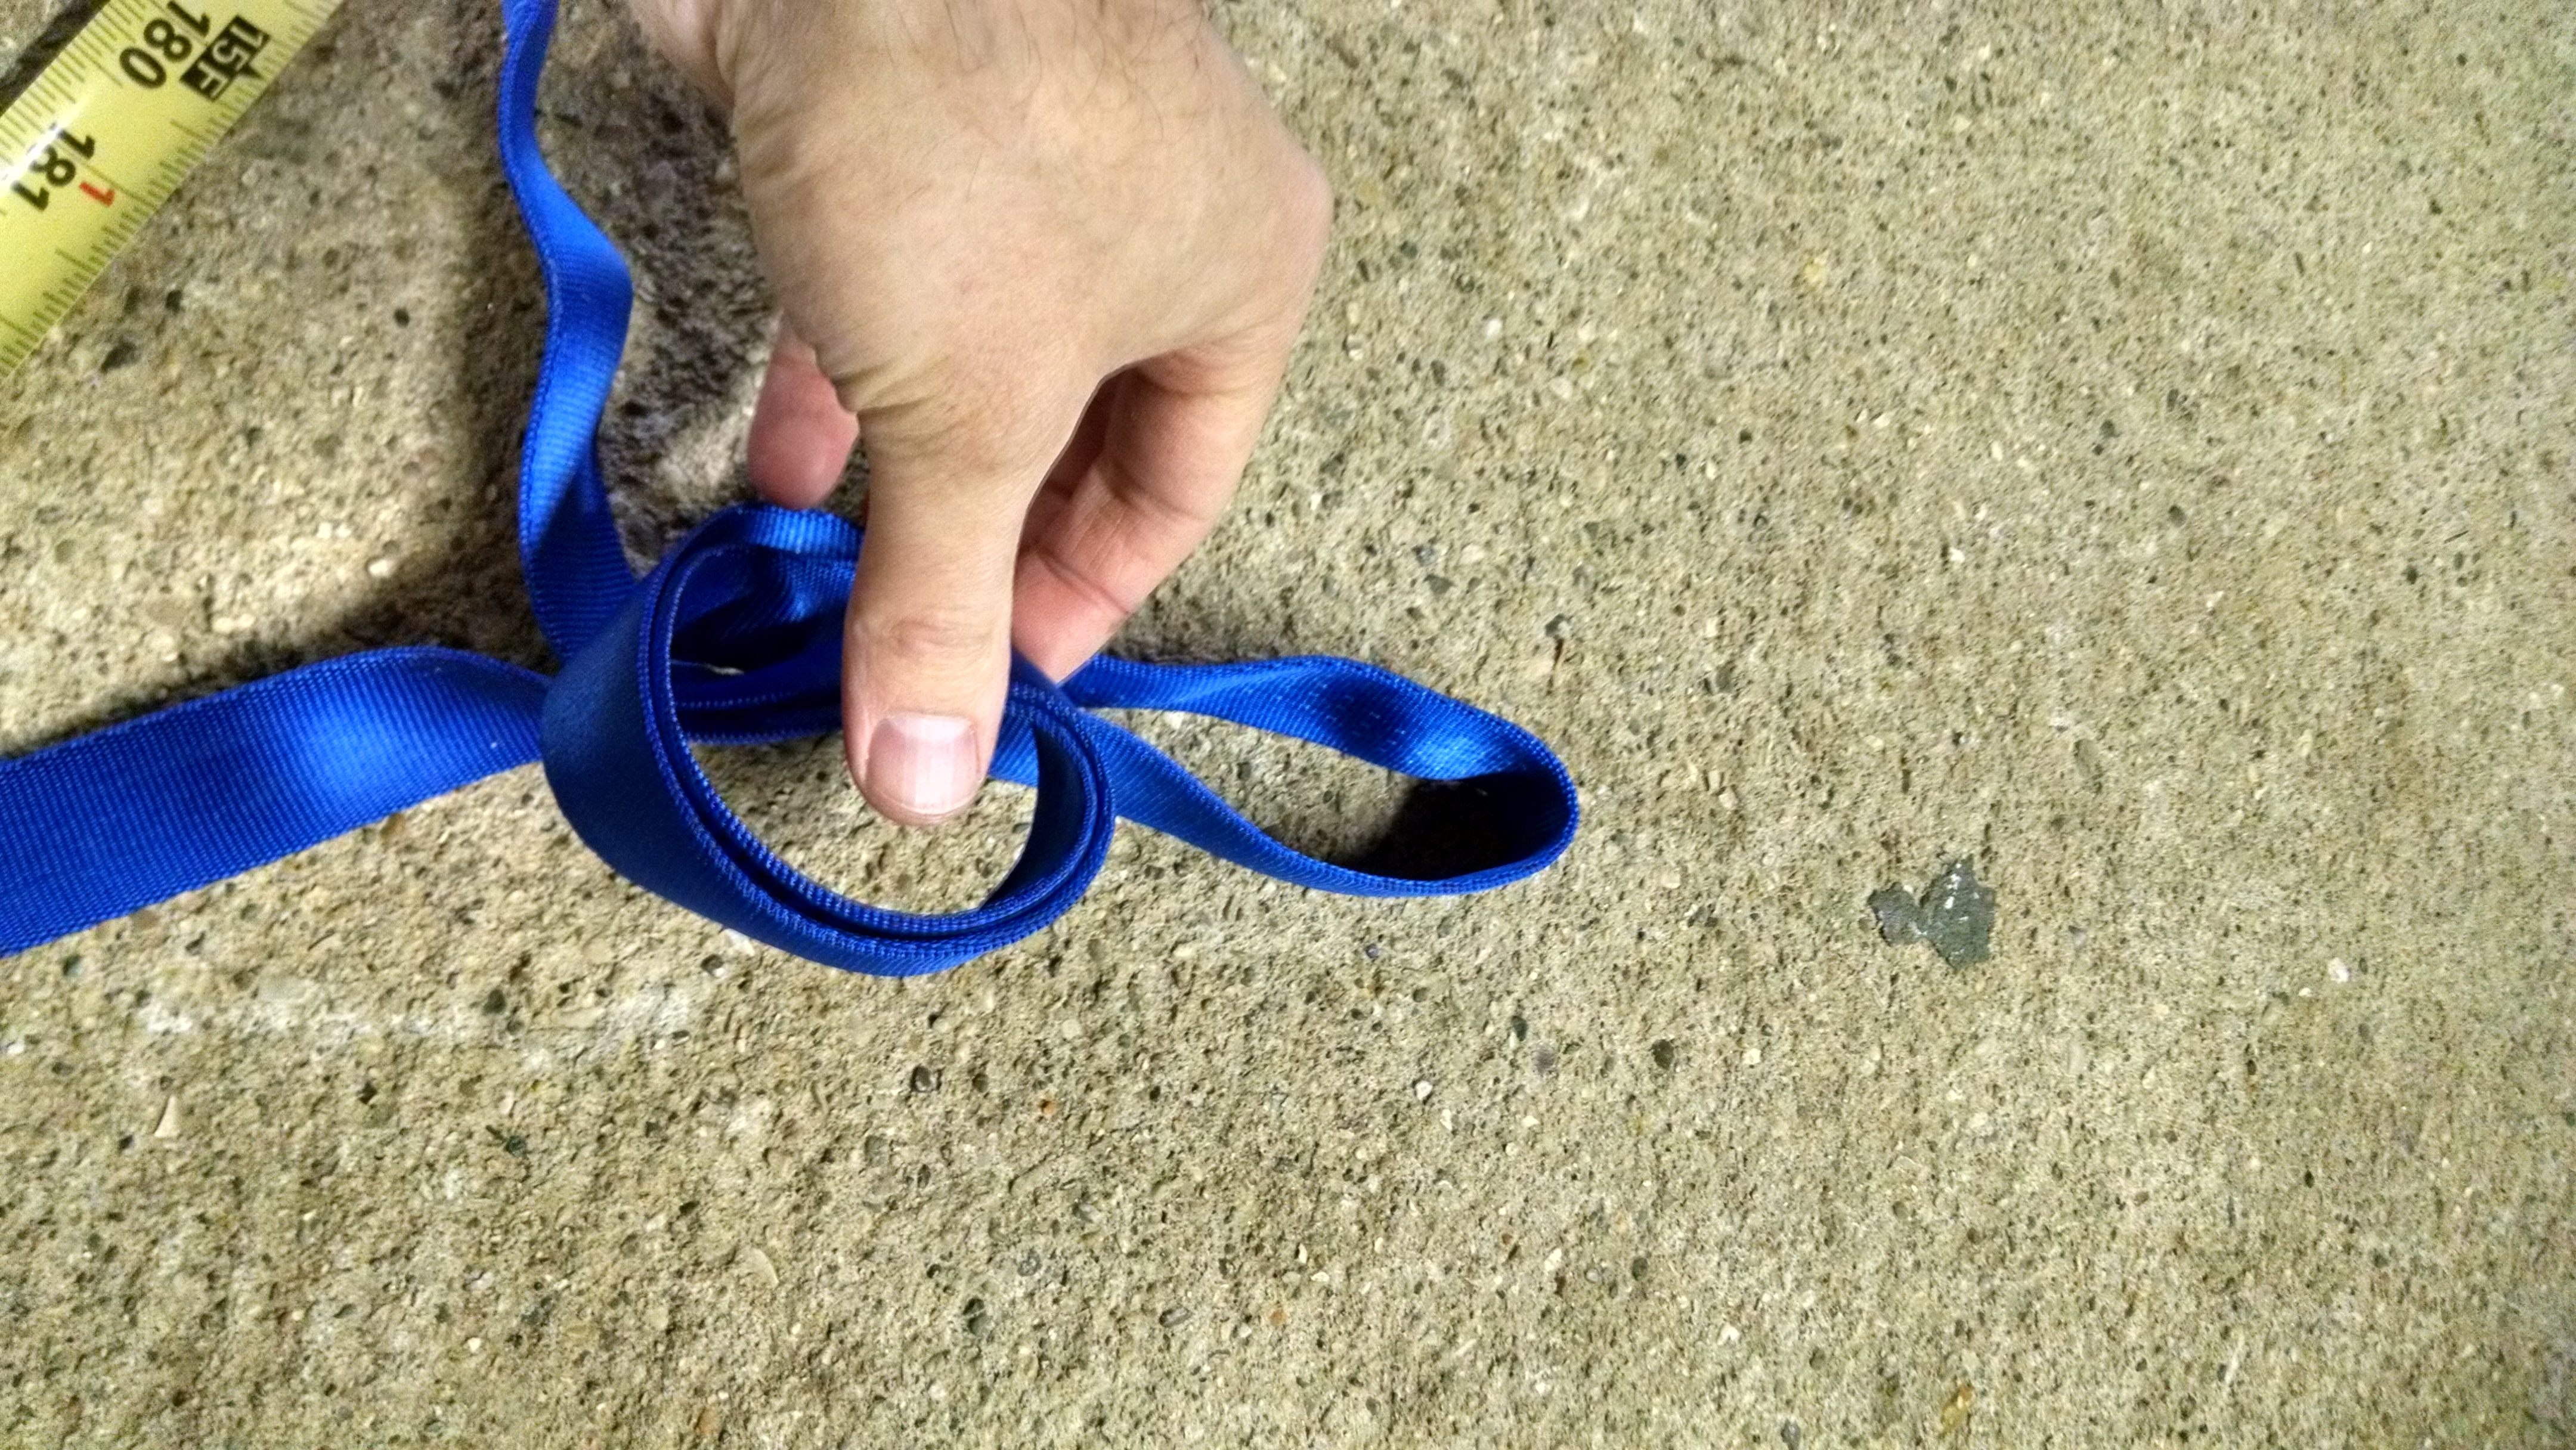
make a loop and pull it threw.
ready for a chute and protector.
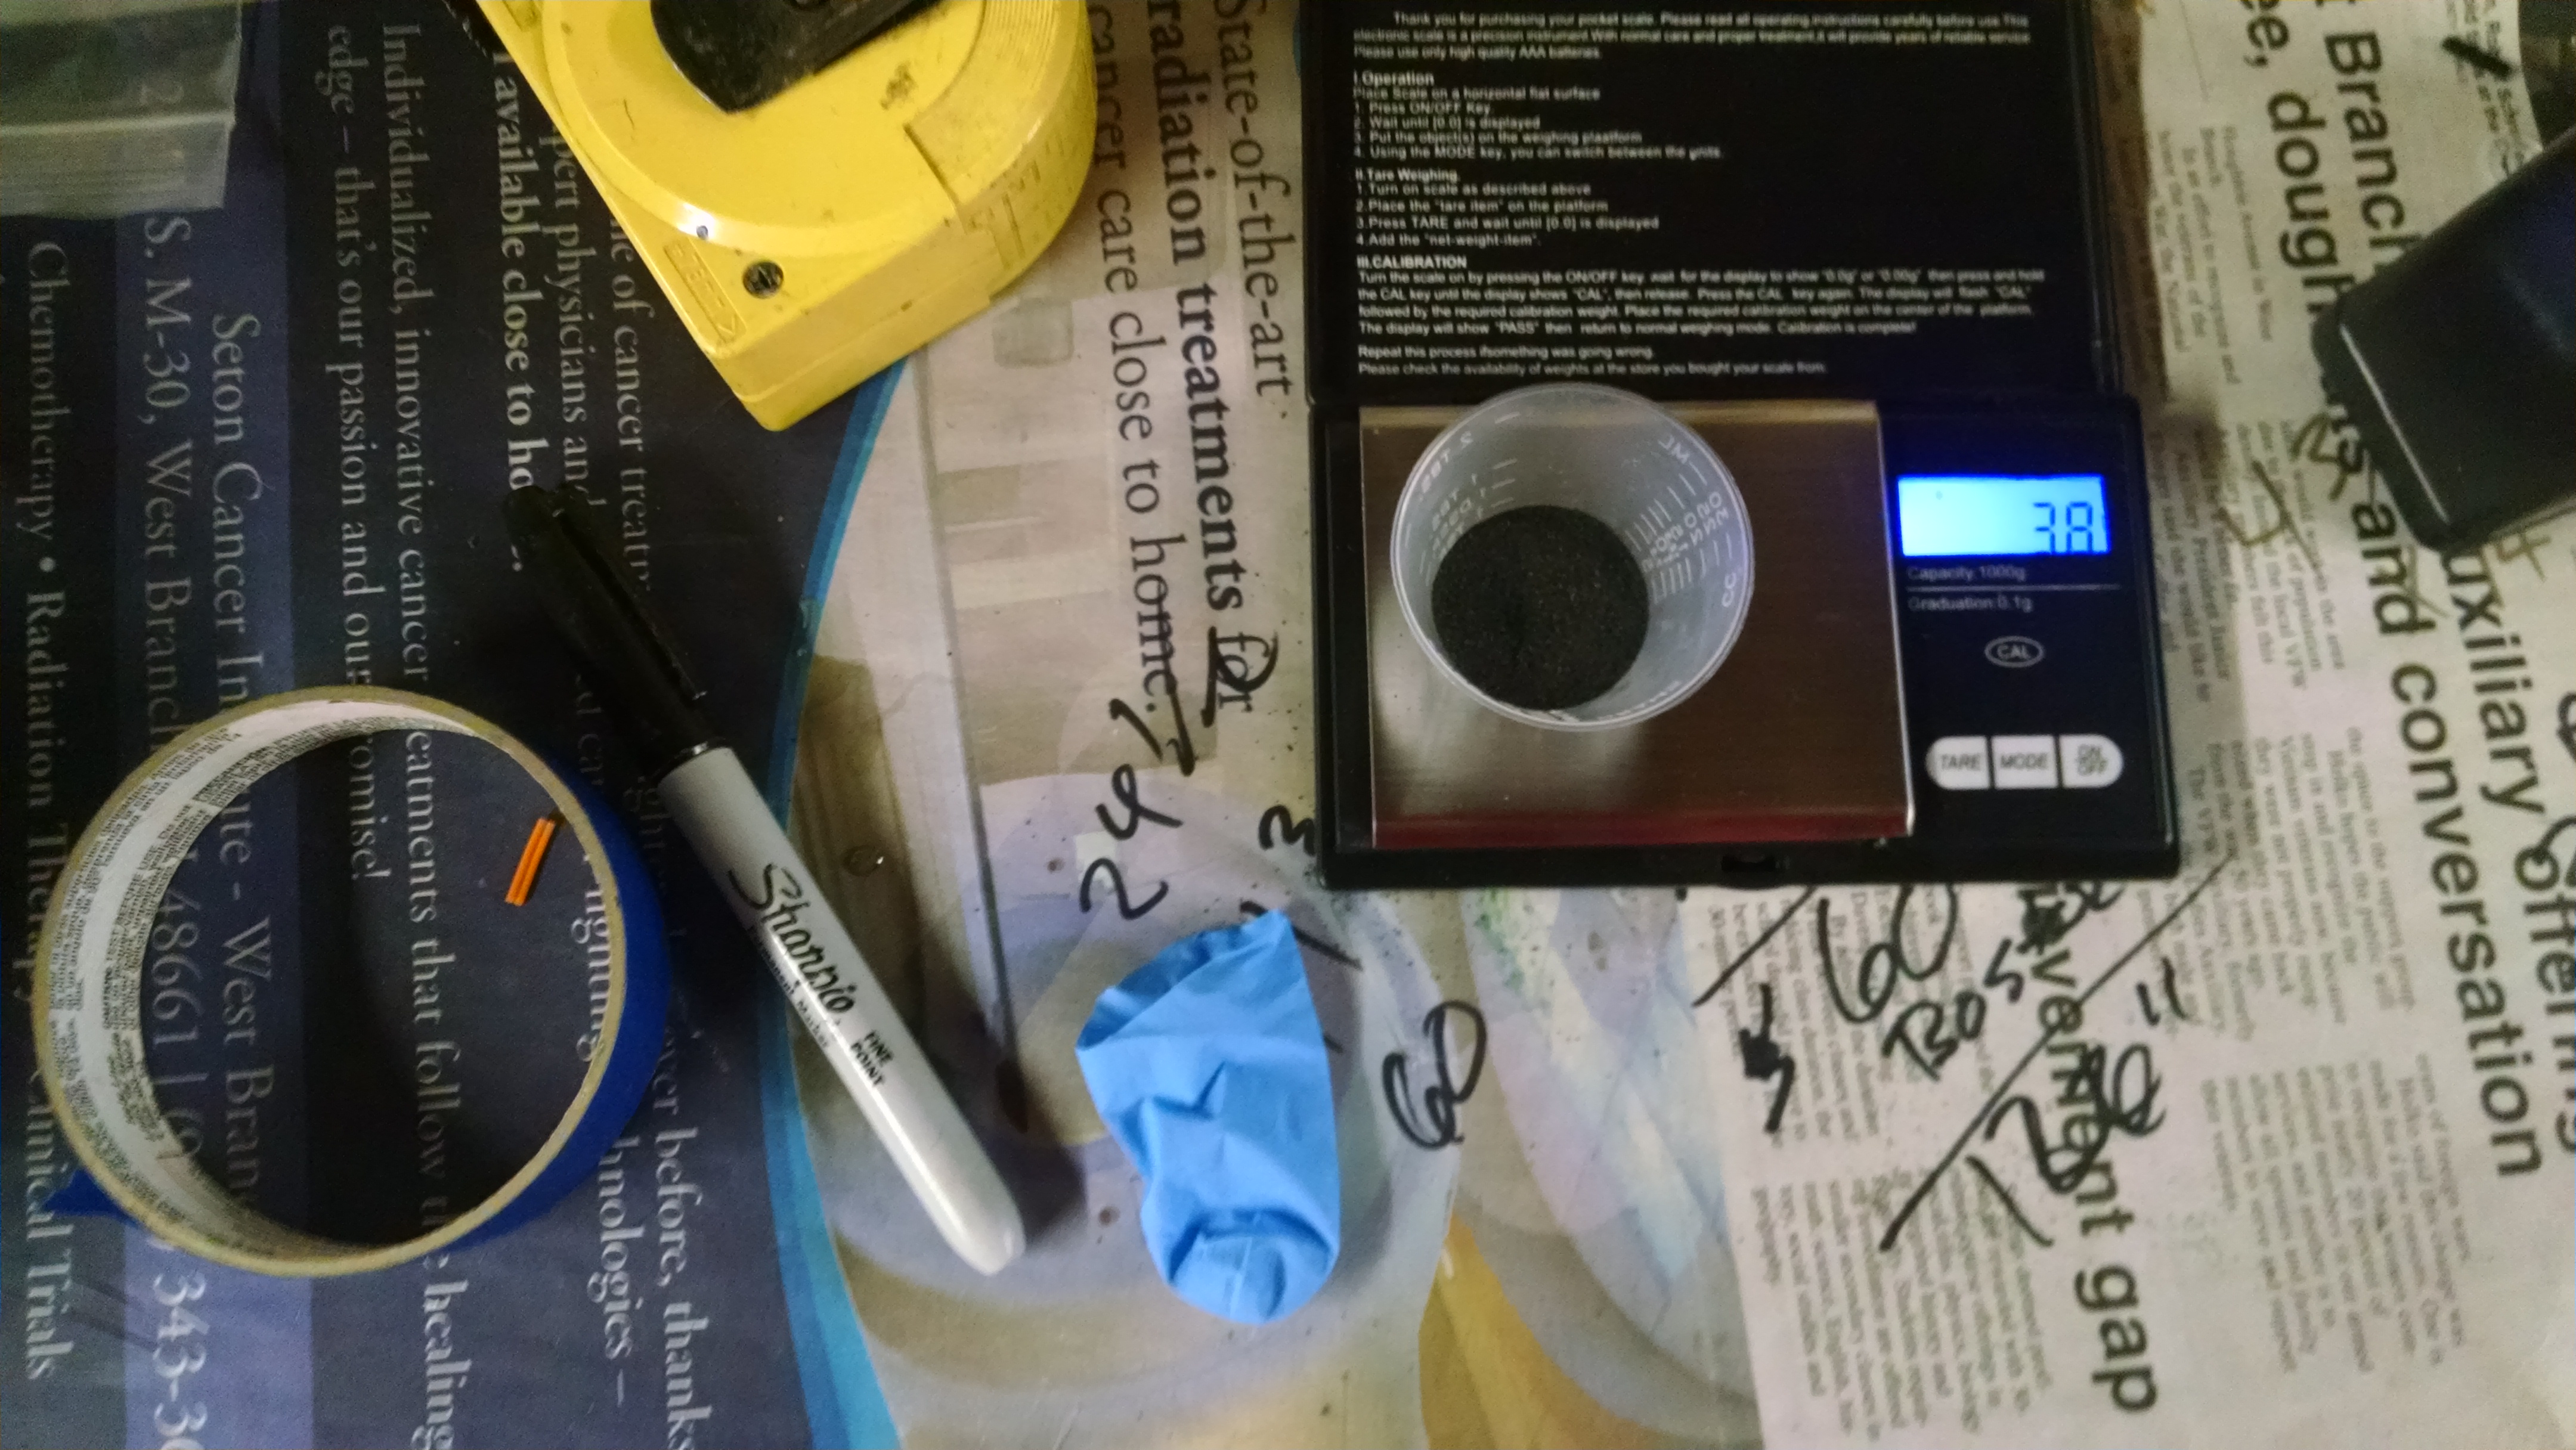
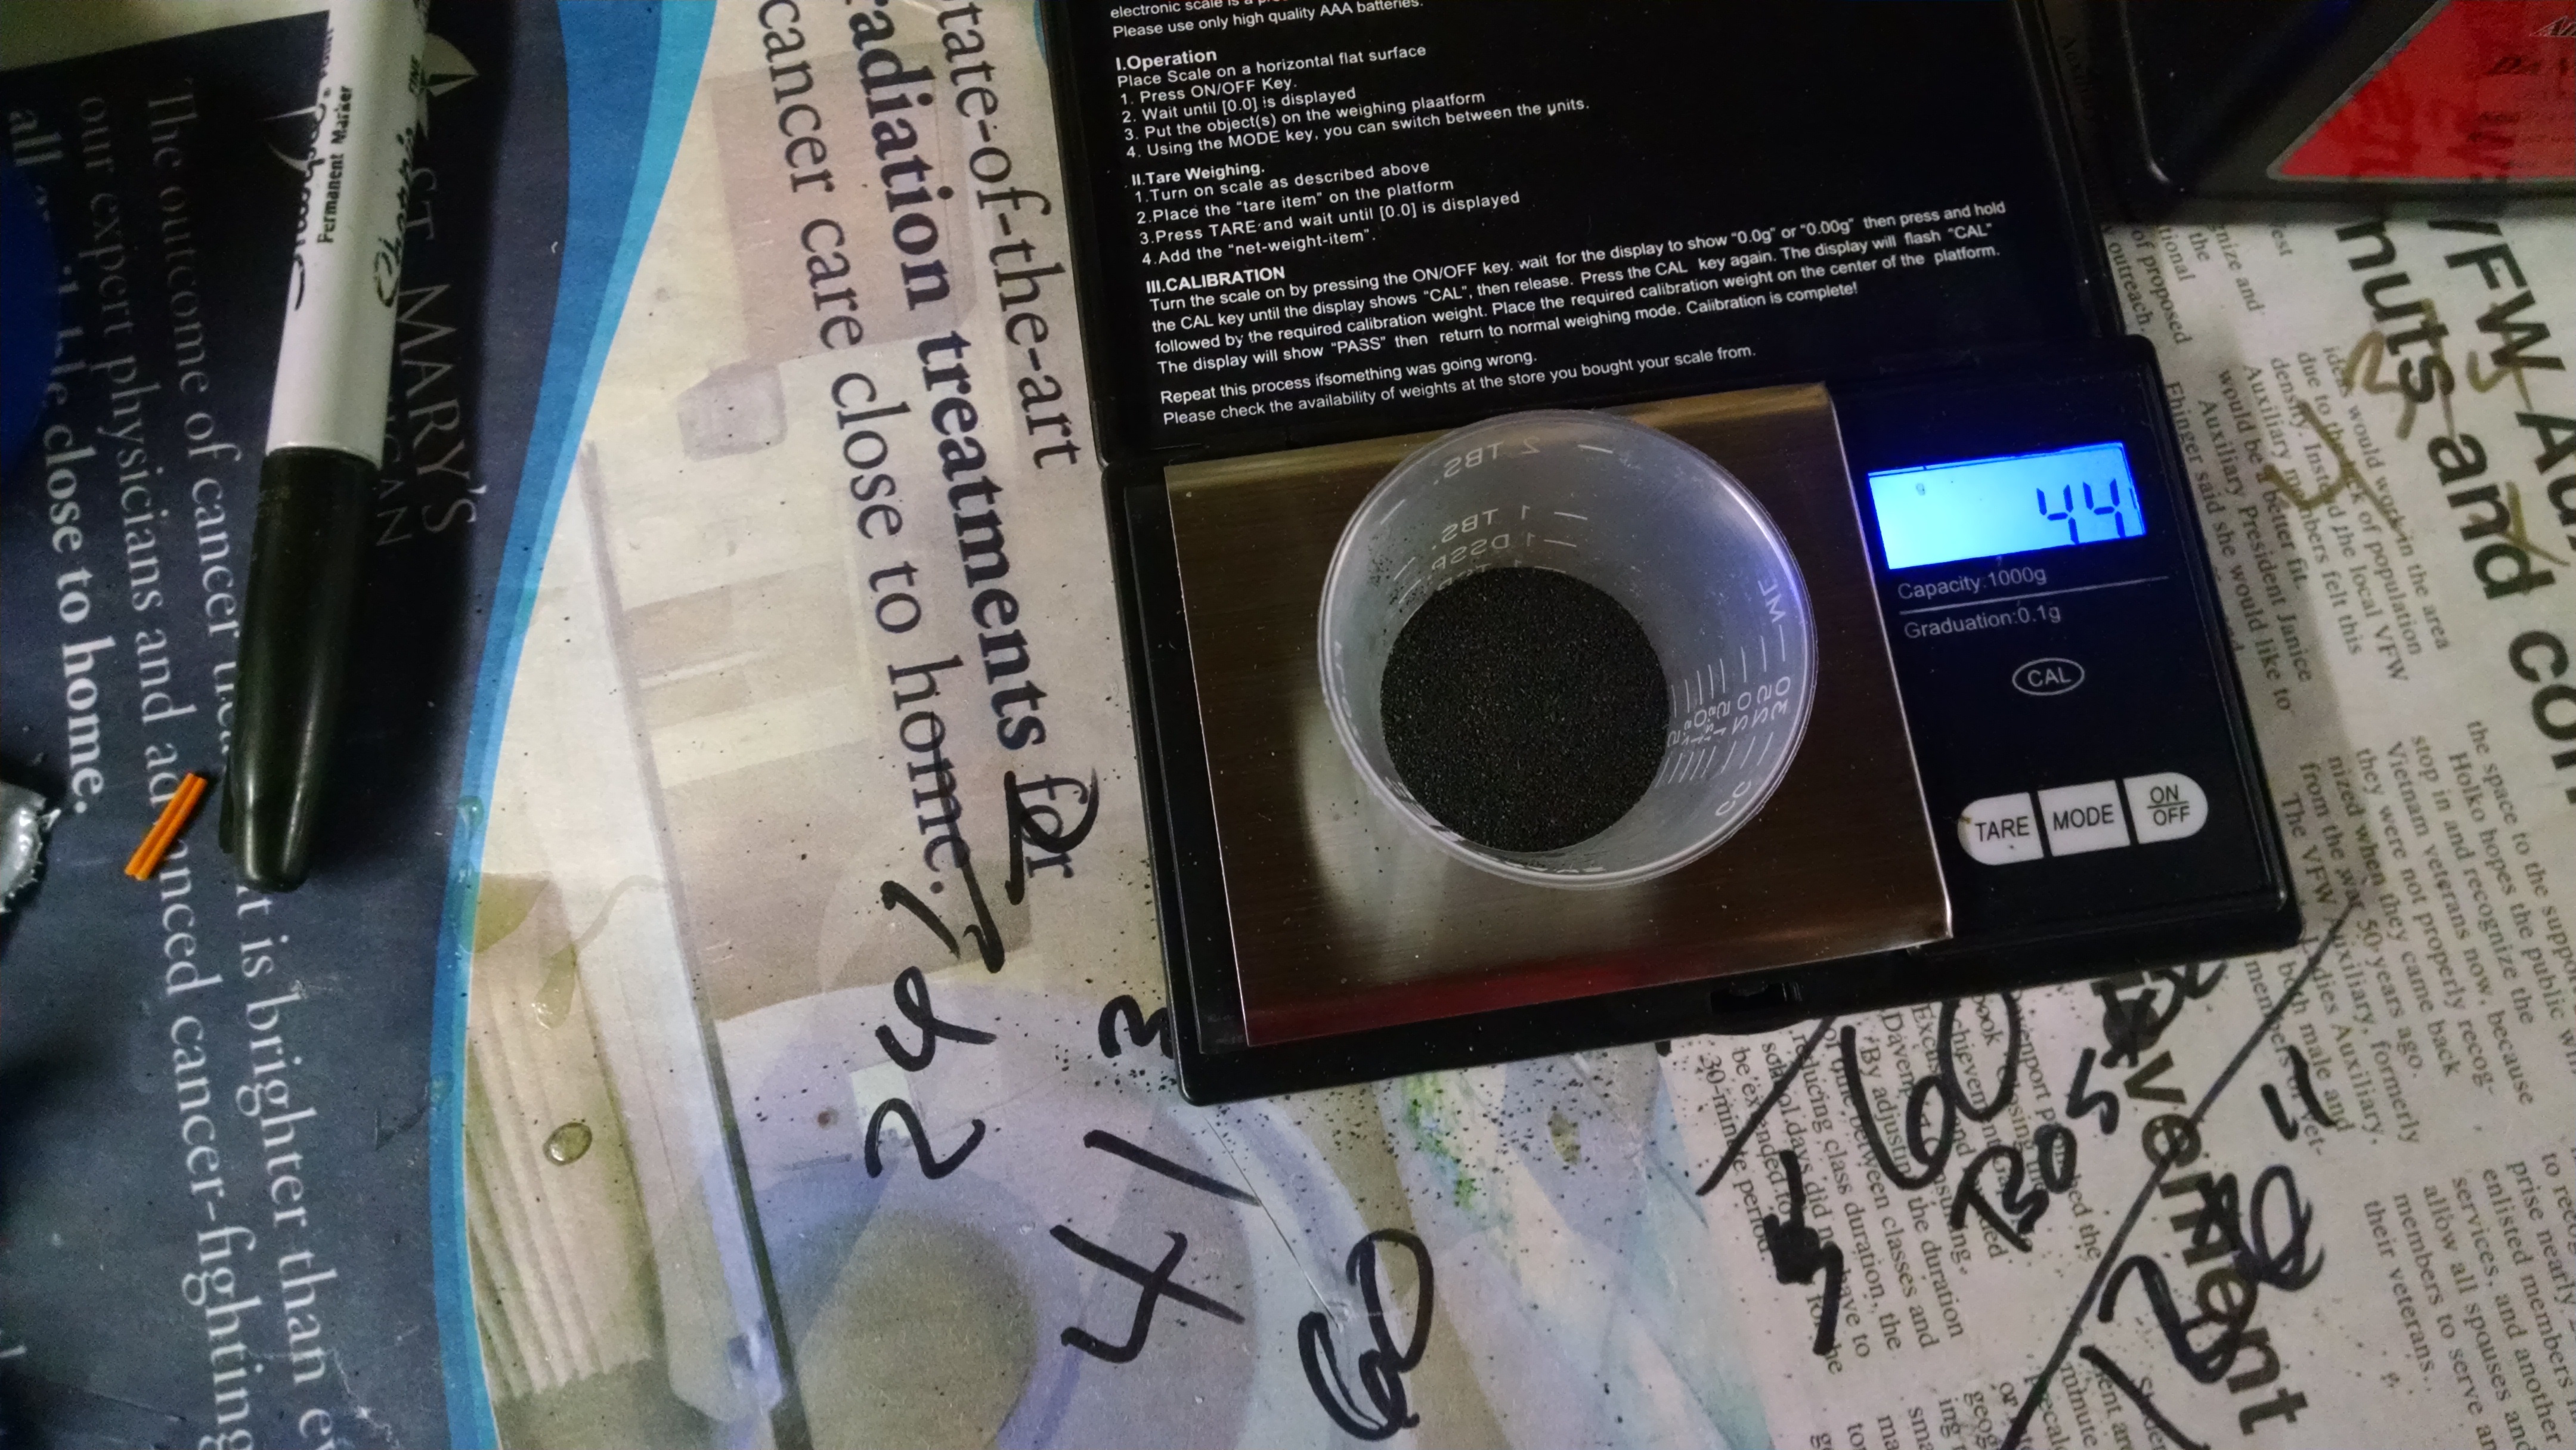
3.8g of BP for the drogue test #1, goes in the glove tip, then duck tape.
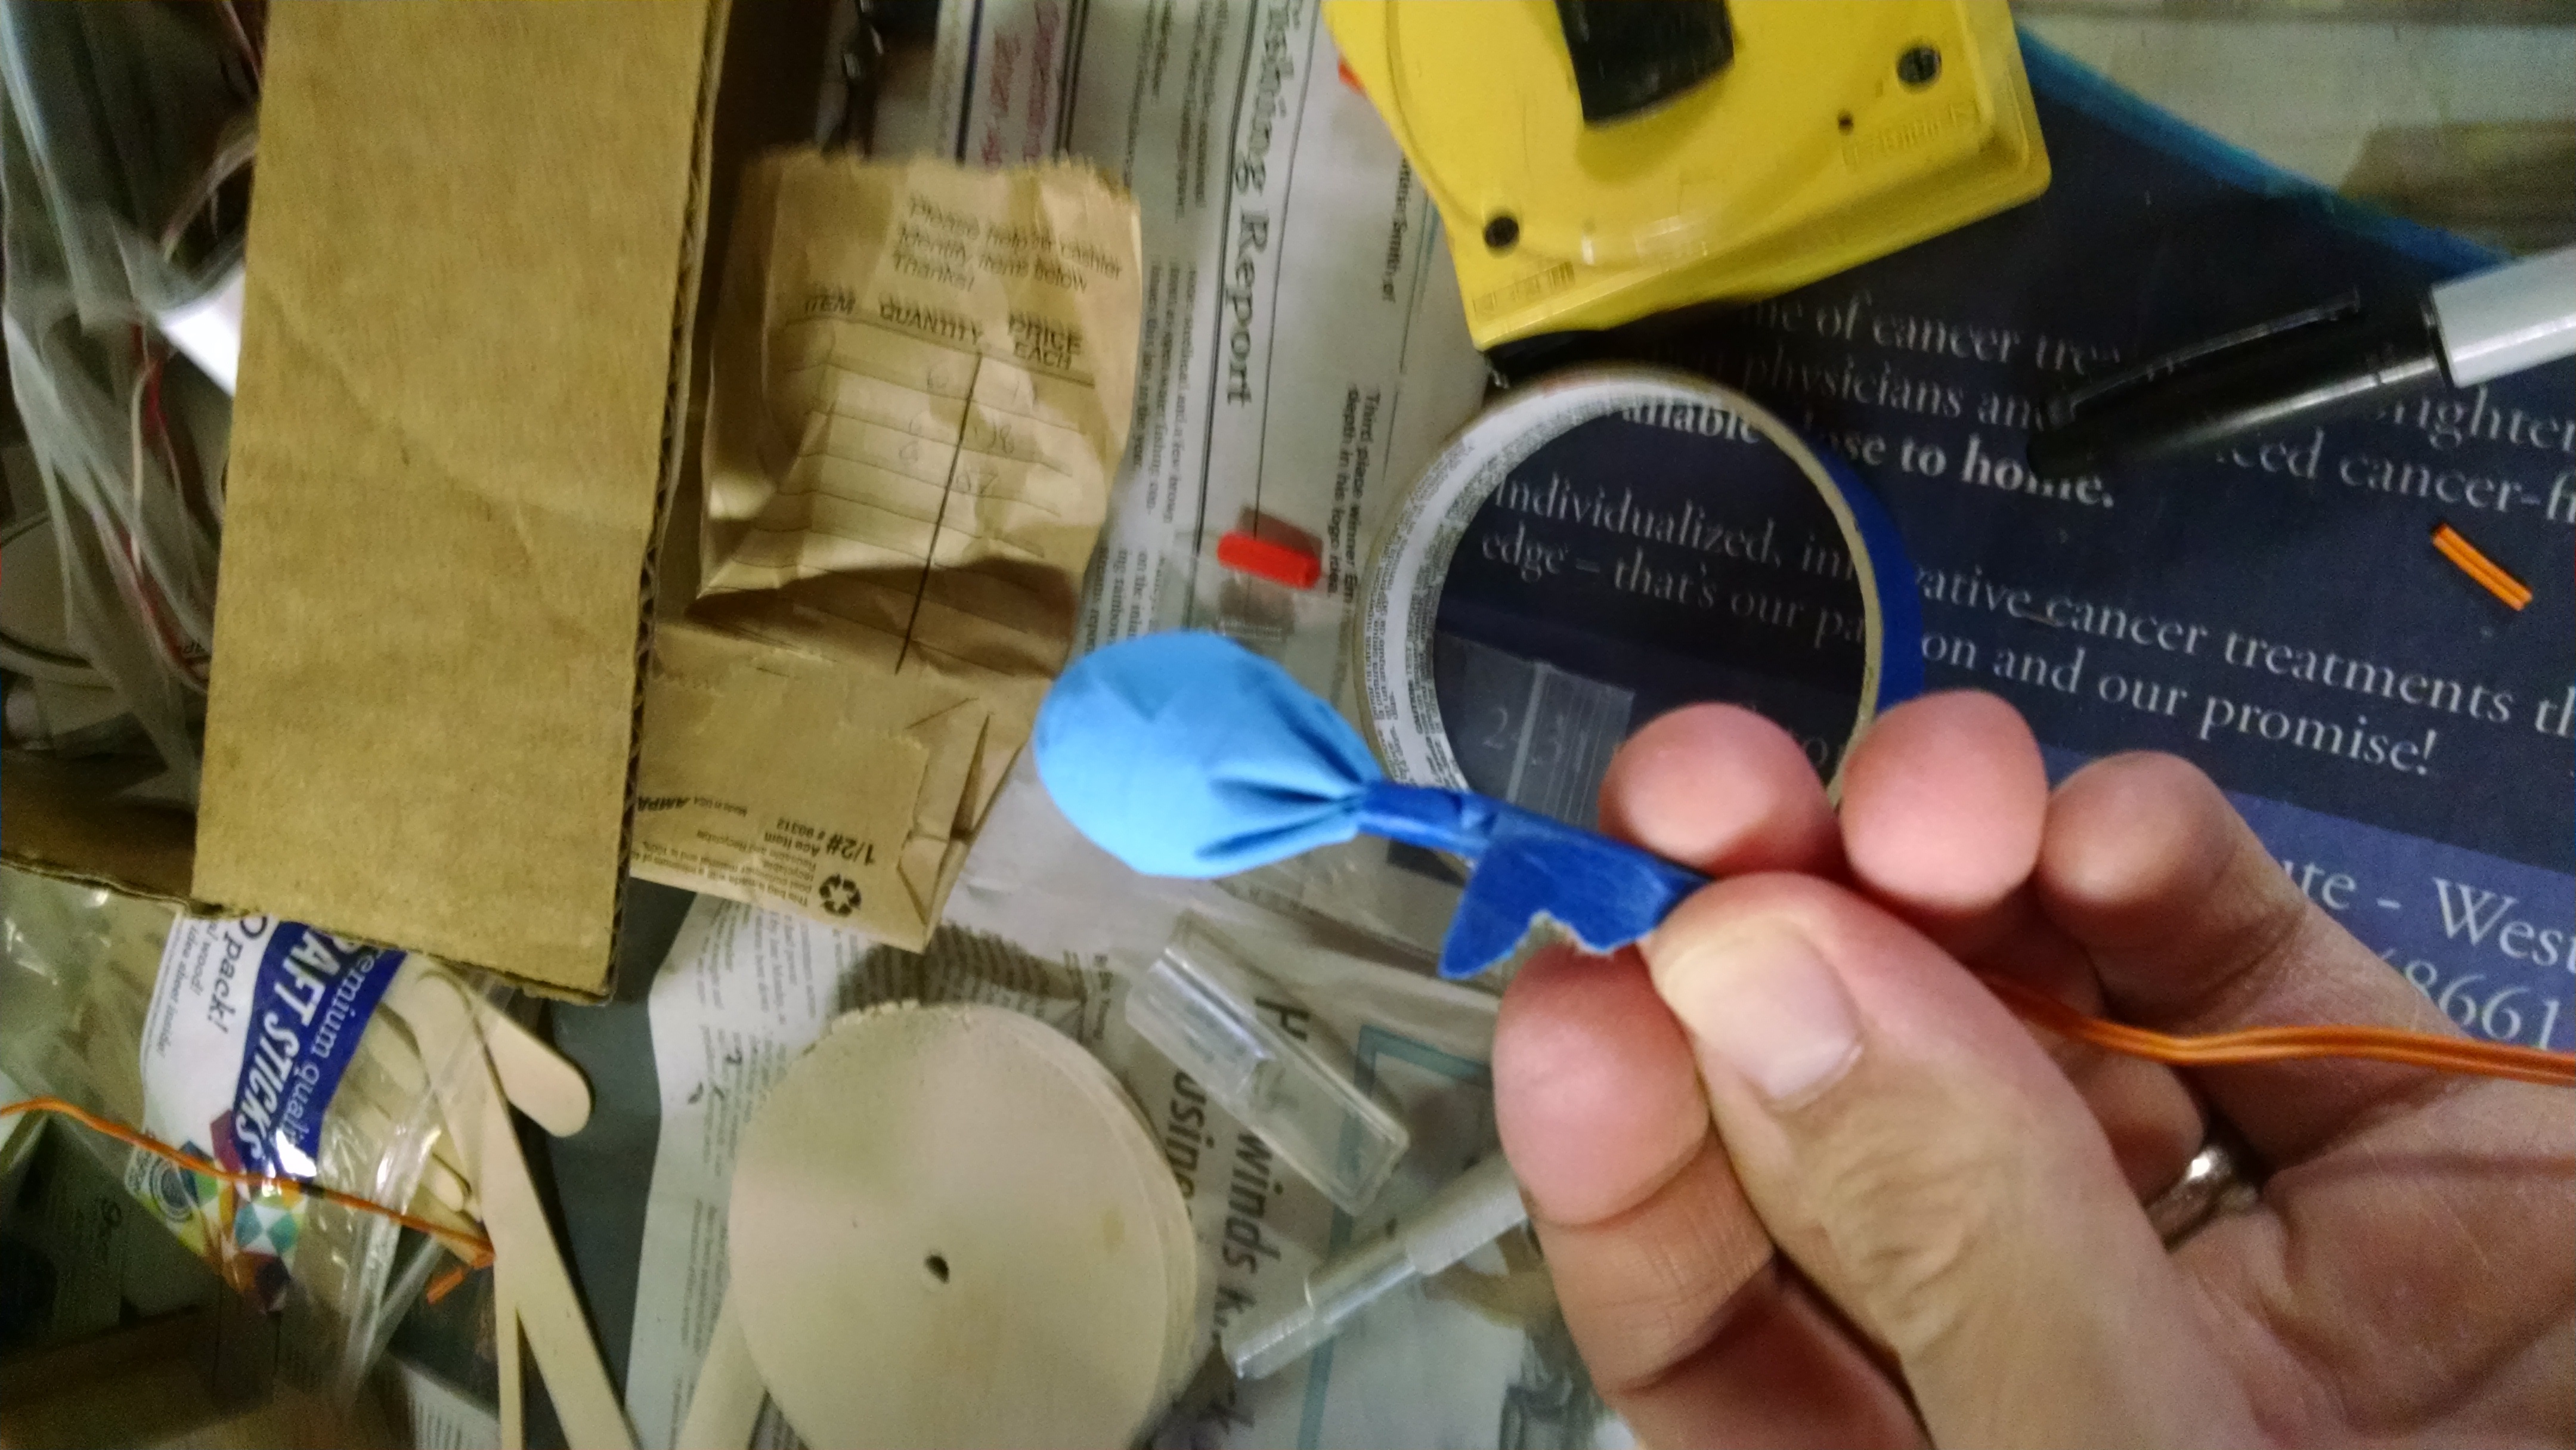
tape to hold the bp in the glove tip.
Duck tape to hold and protect the glove tip.
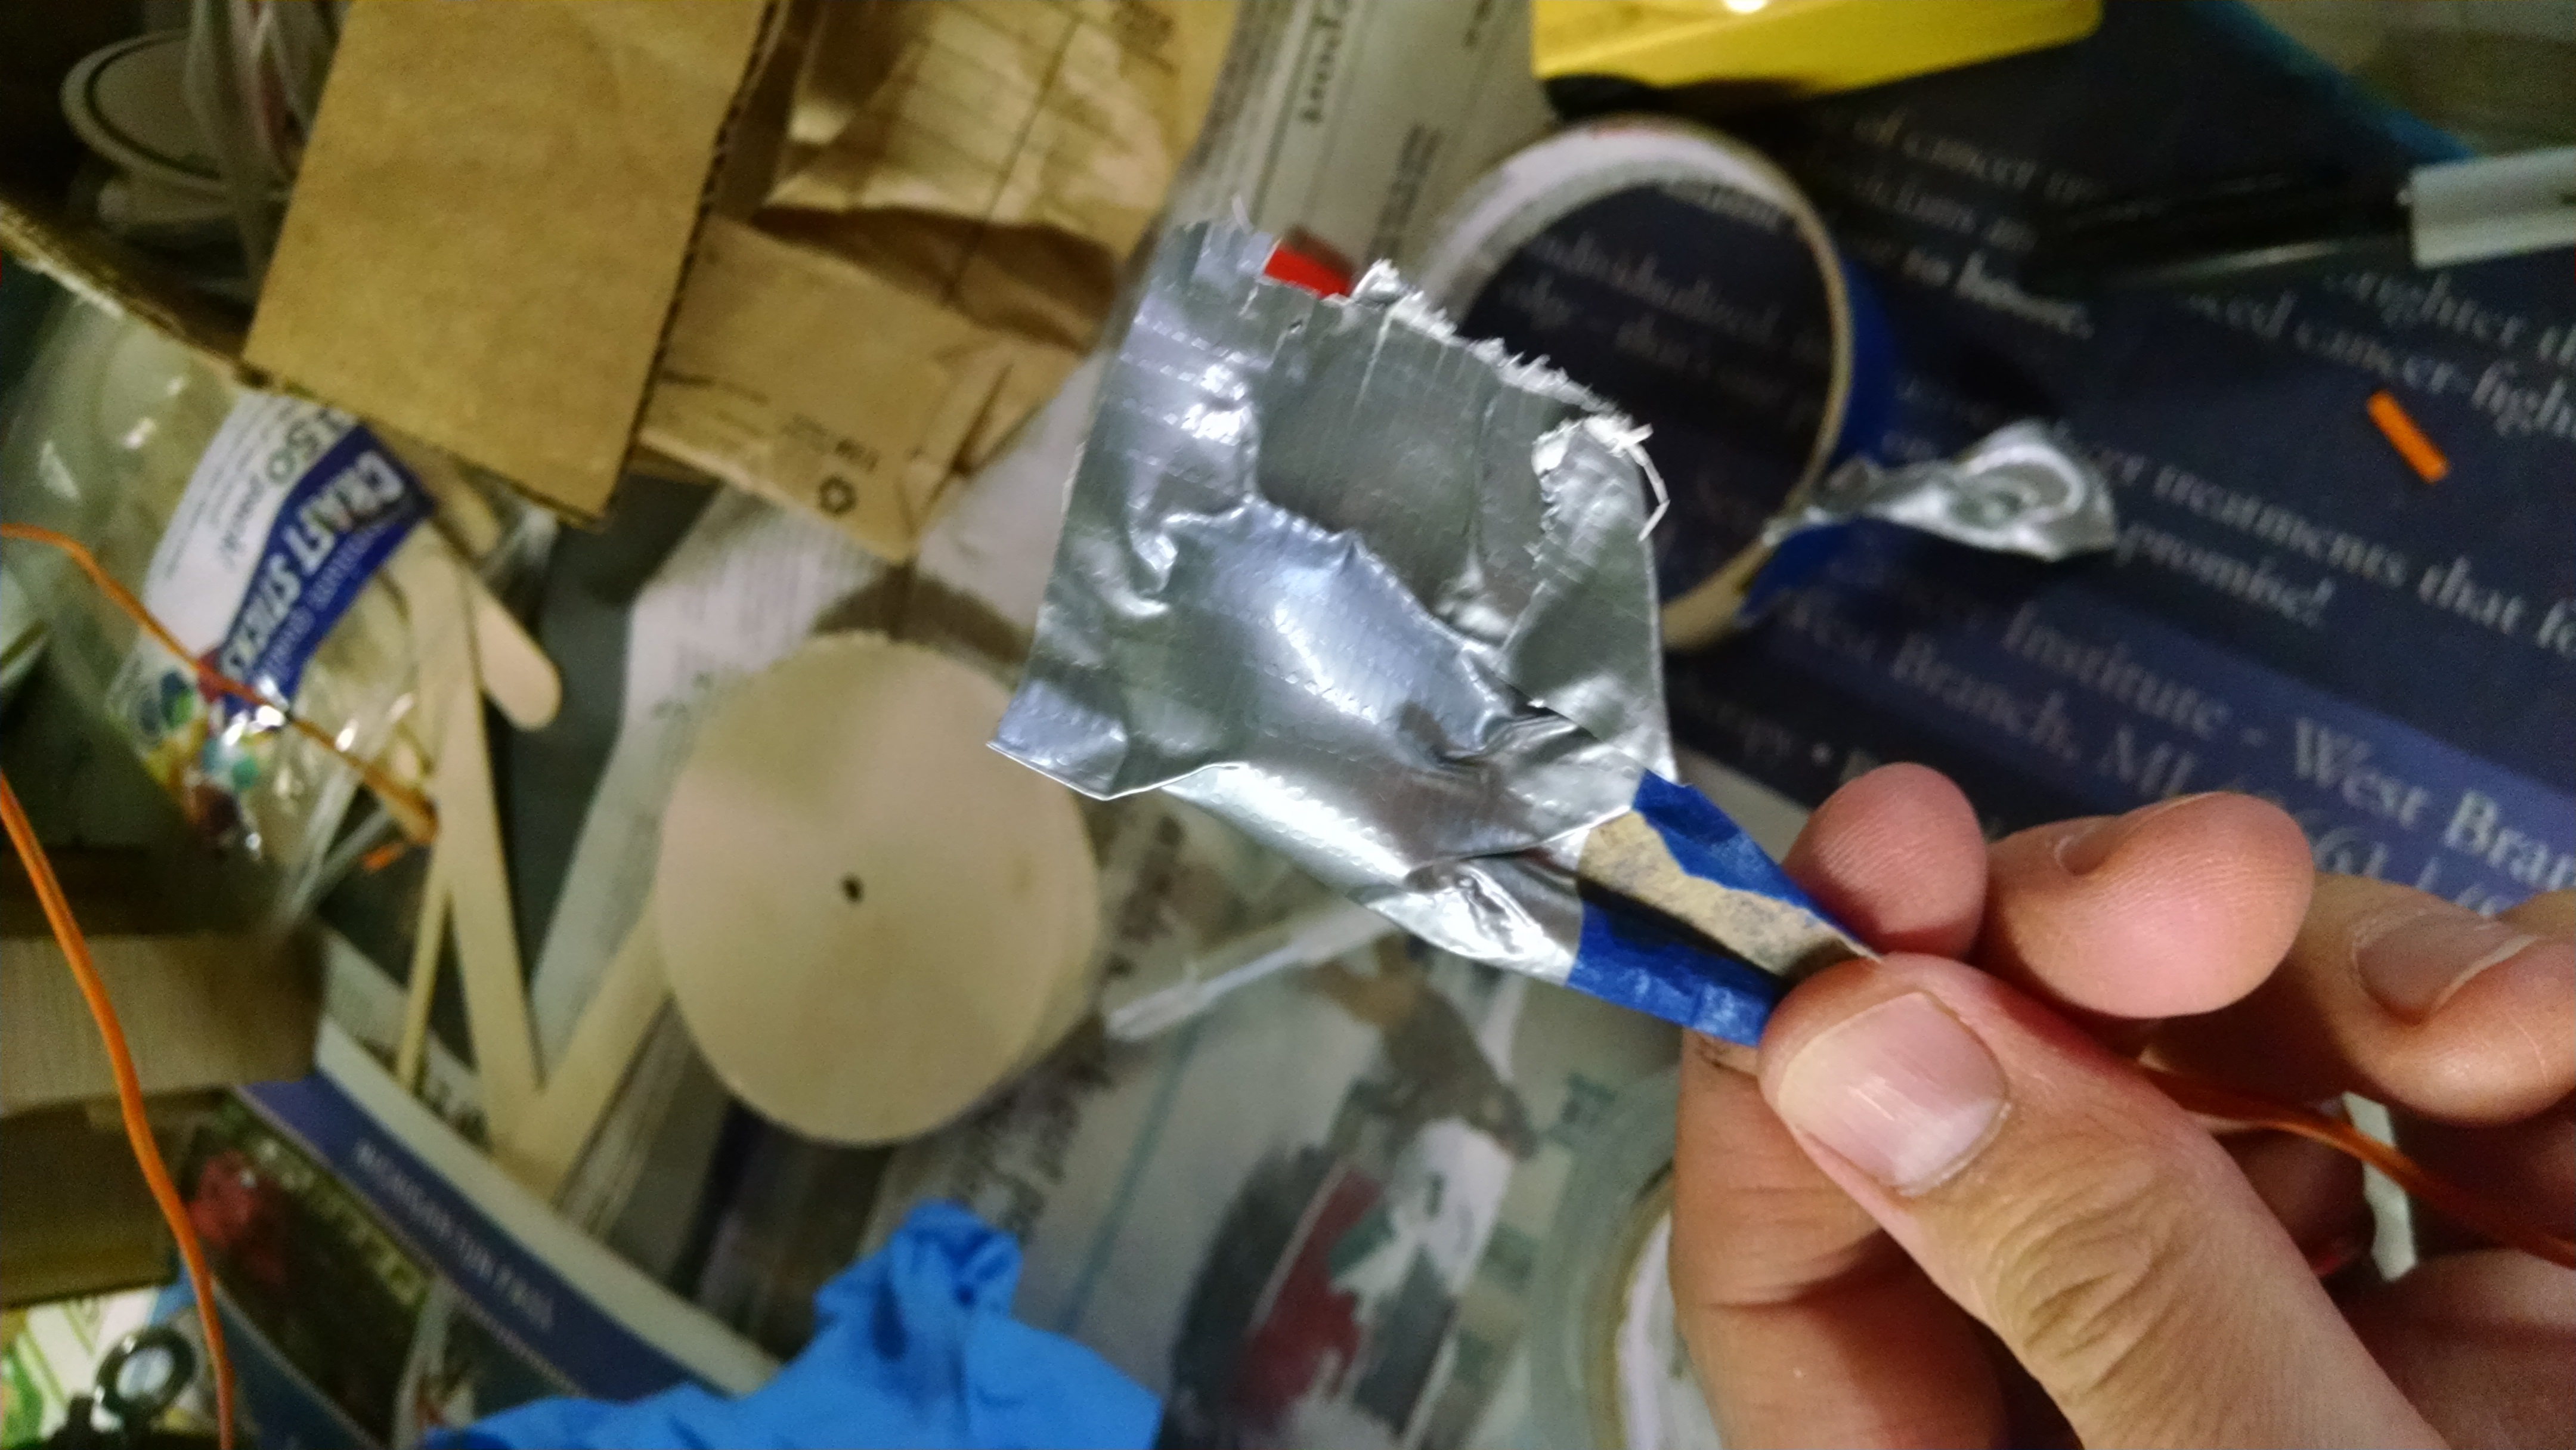
Pulled the wire threw the hole and out the side of the ebay for testing. taped up the terminals for protection during the testing.
Main test #3
Dog puck to protect the chute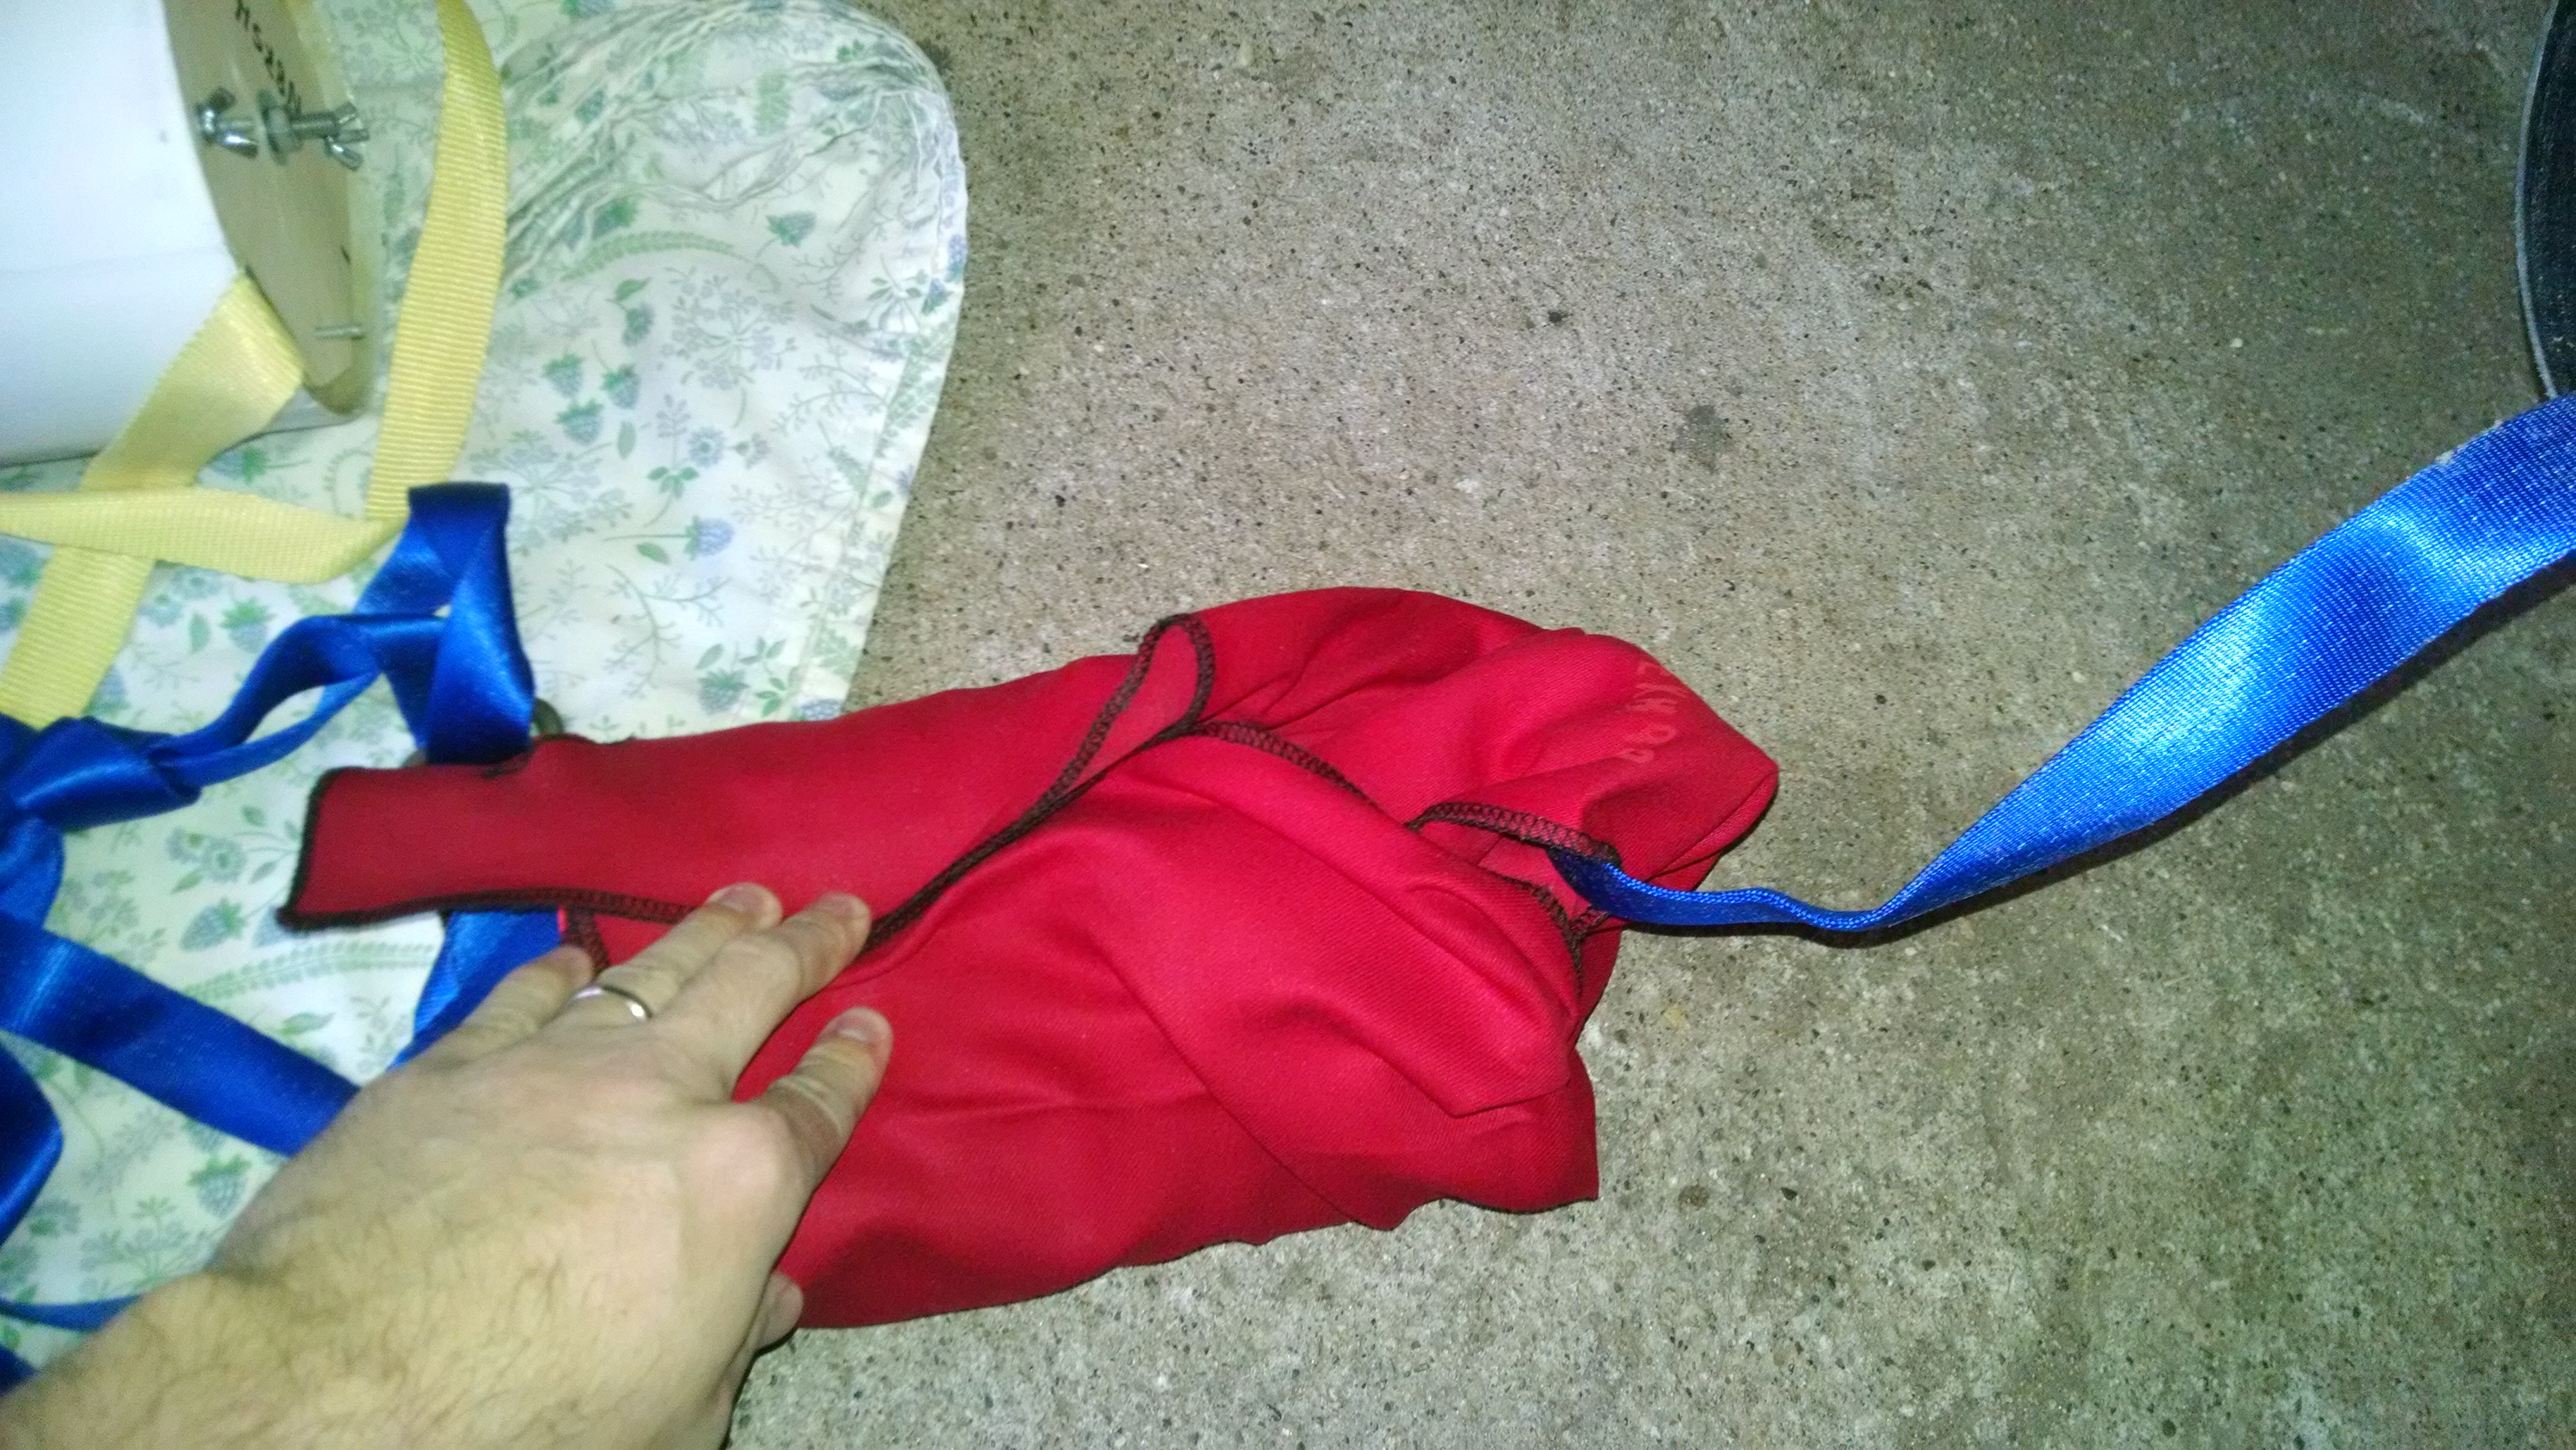
pack the chute and the shock cord in the protector

Add three shear pins to the top and the top is ready.
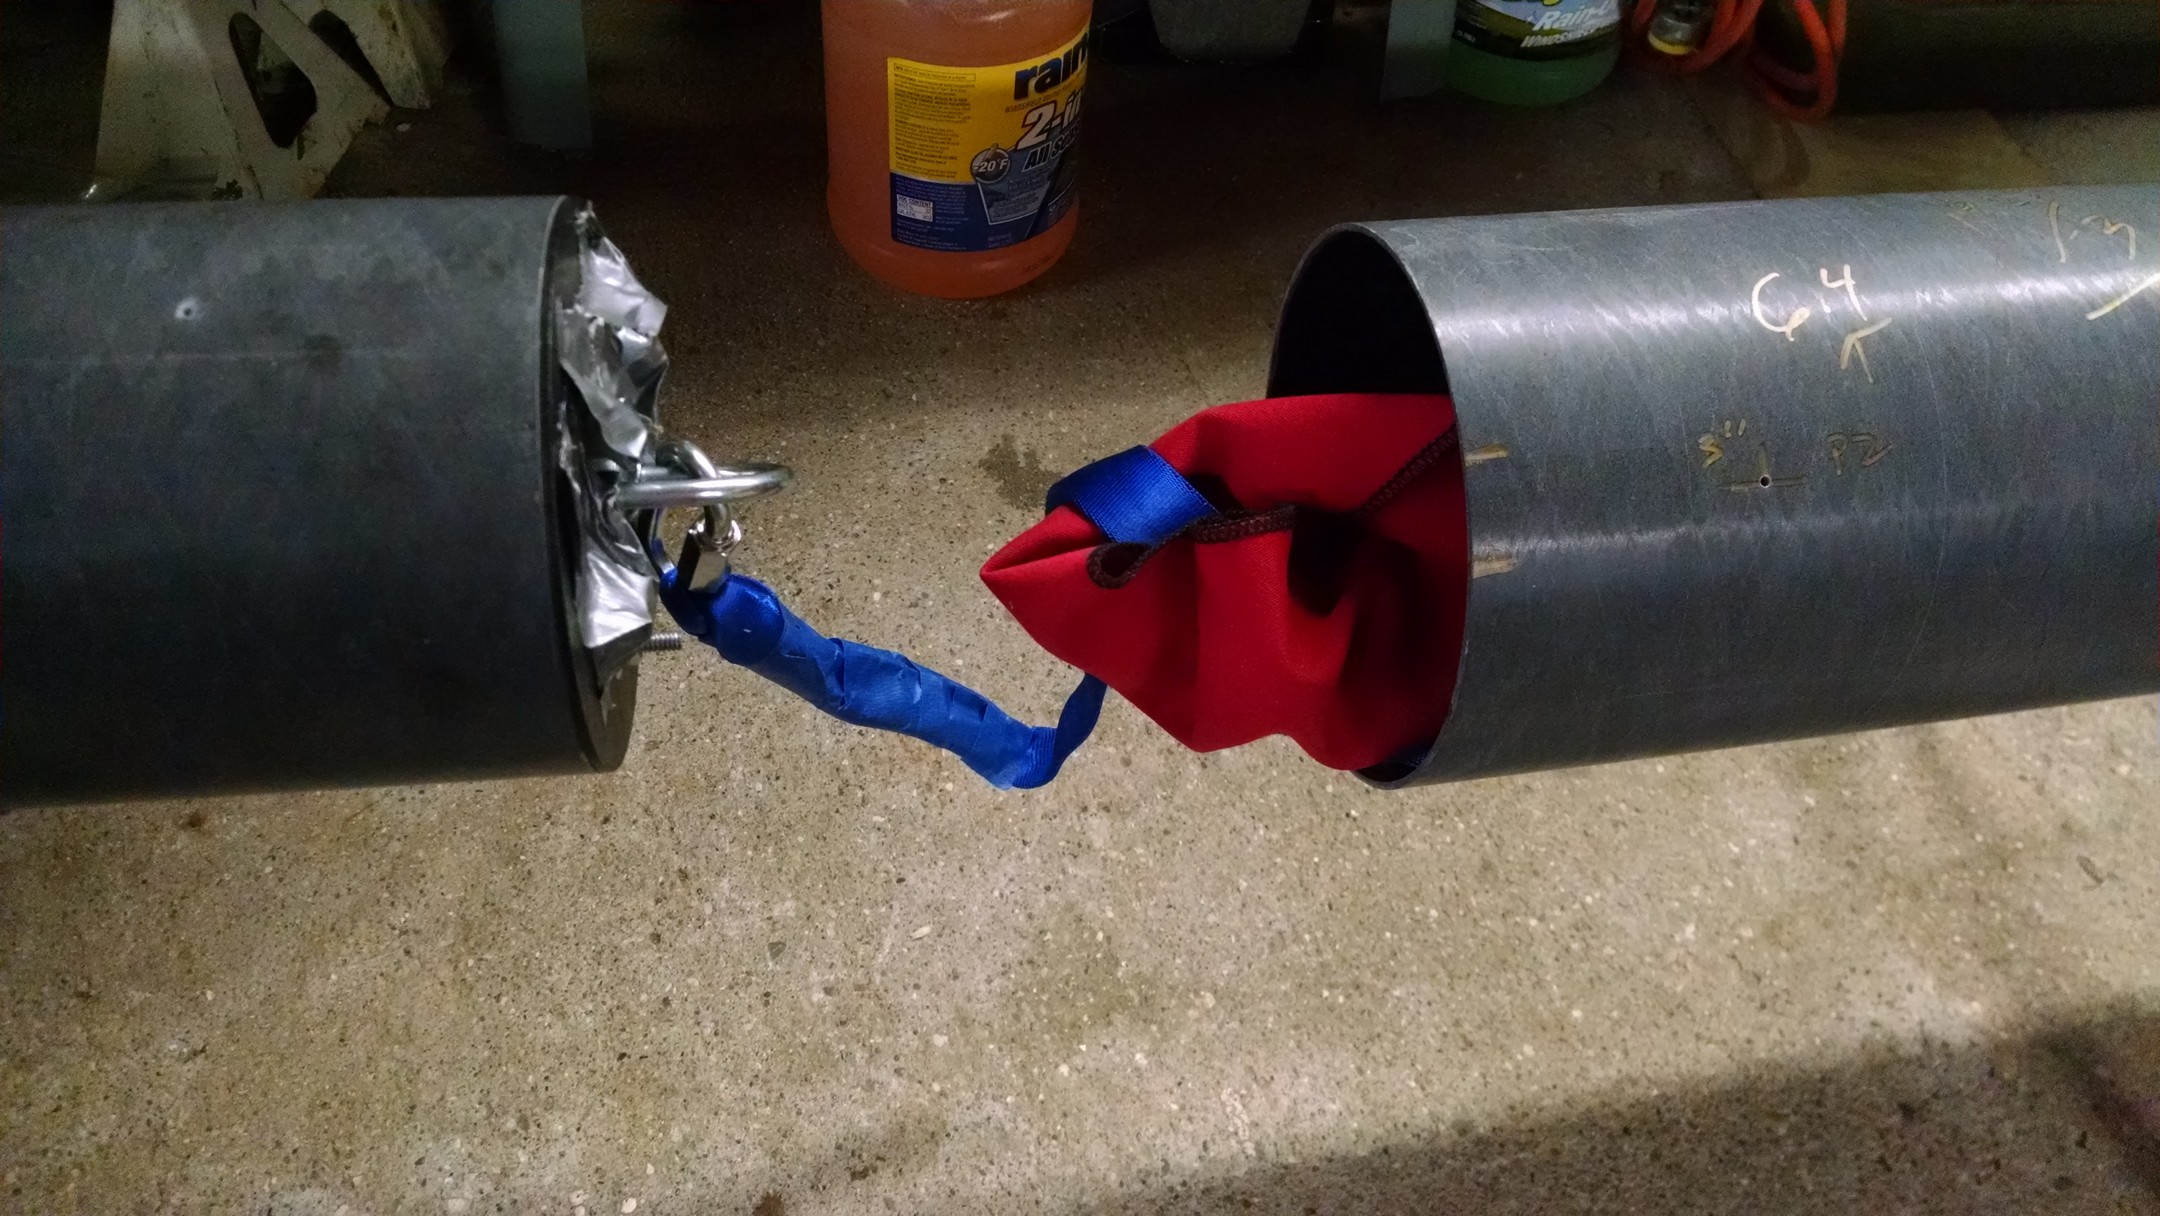
ebay to booster tube … getting the drouge chute and the shock cord in the protector, then load that with dog parf. then add the shear pins to it.
armed..

got 12ft on the drogue test #1

got 17 ft on the main test #3
Drogue Test #1 2016 02 06 – 3.4g of 4F BP, temp was 32*
Main Test #3 2016 02 06 – 4.5g of 4F BP, temp was 32*
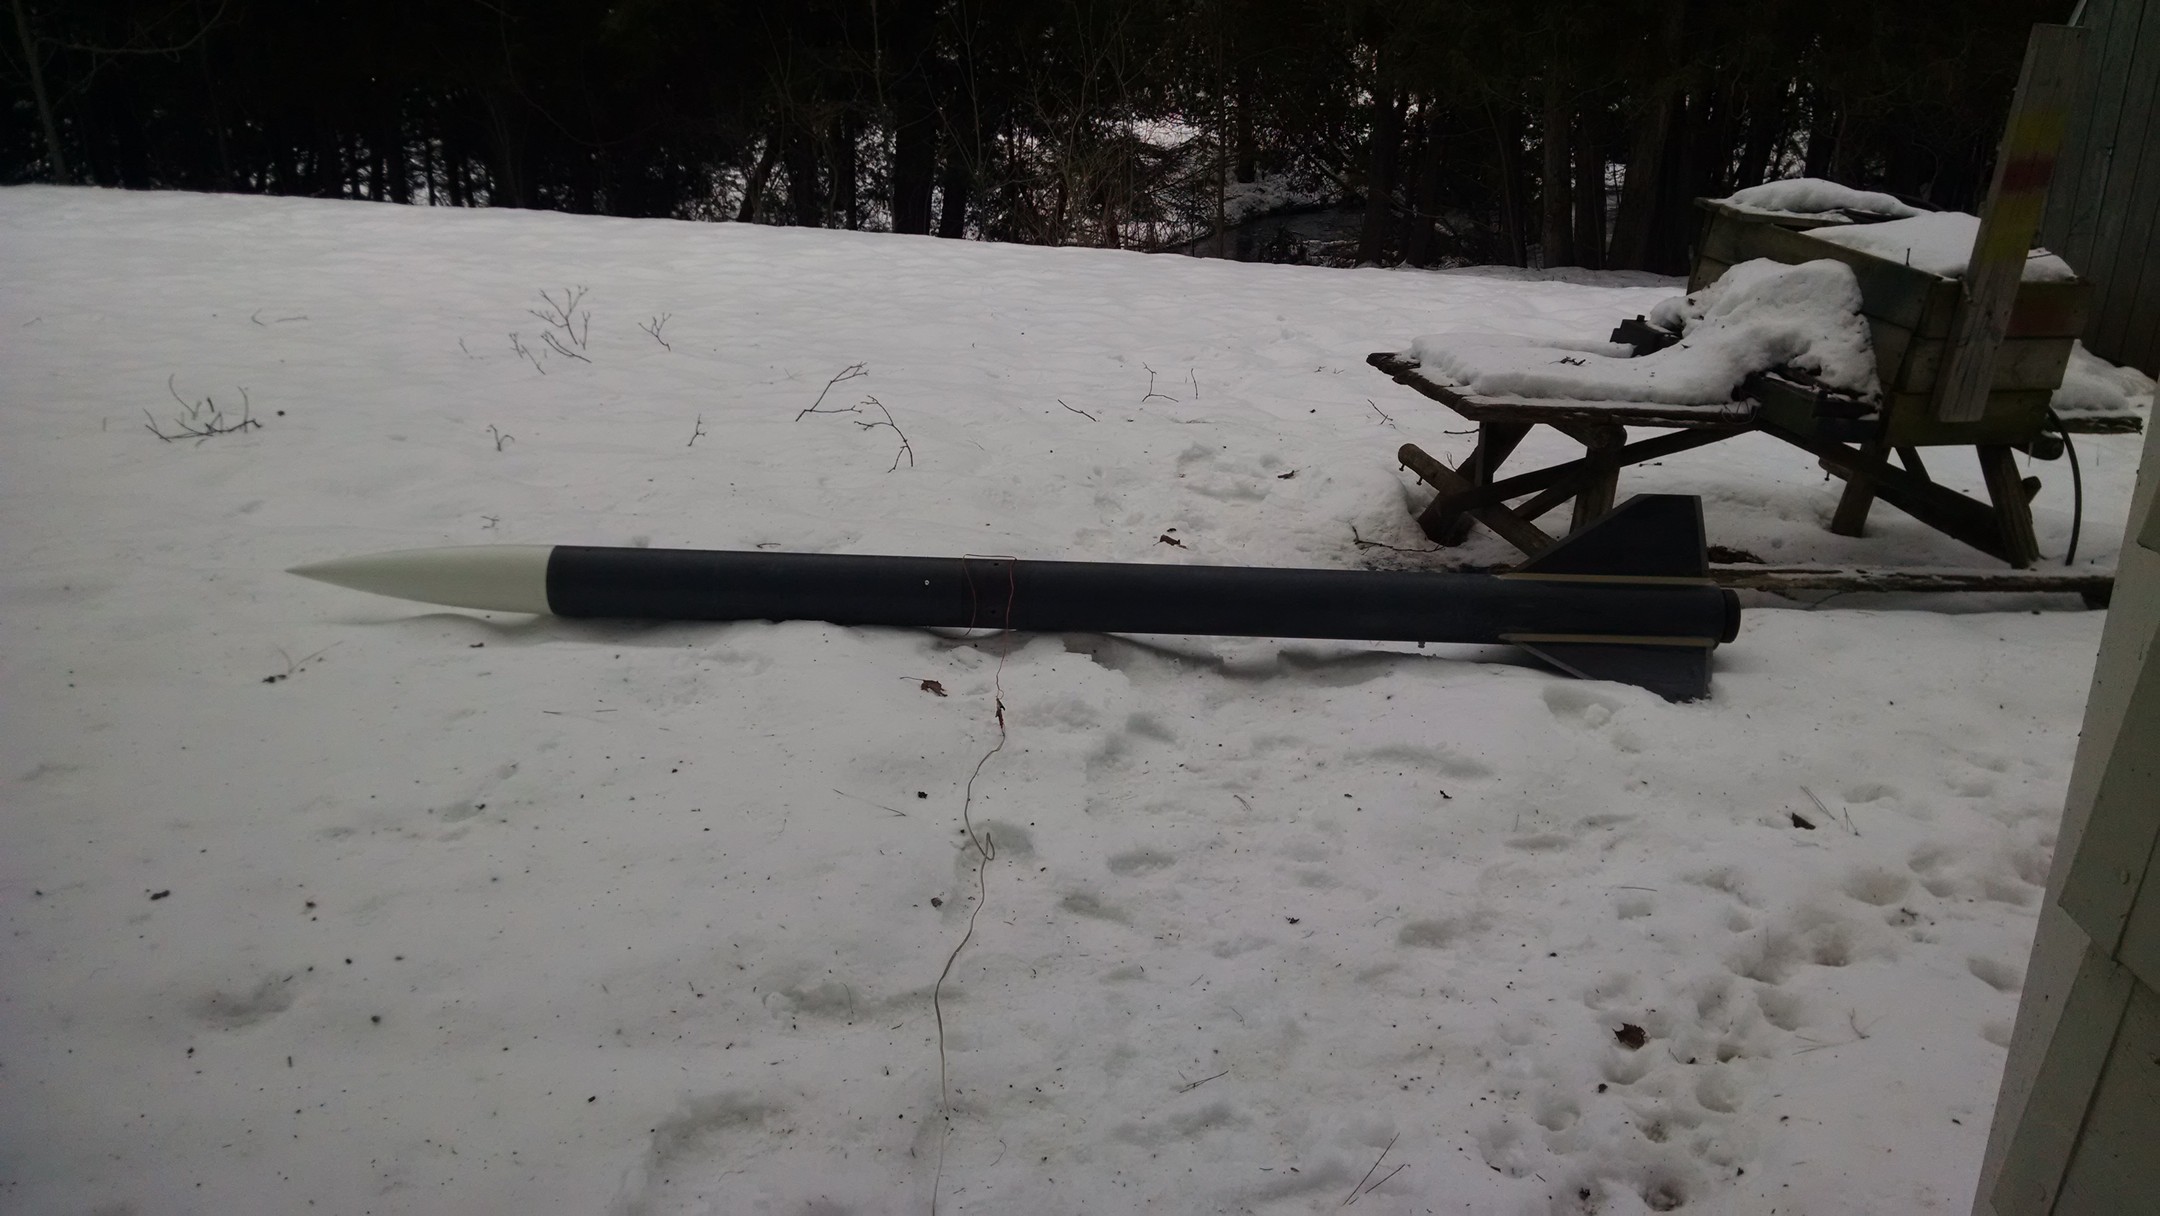
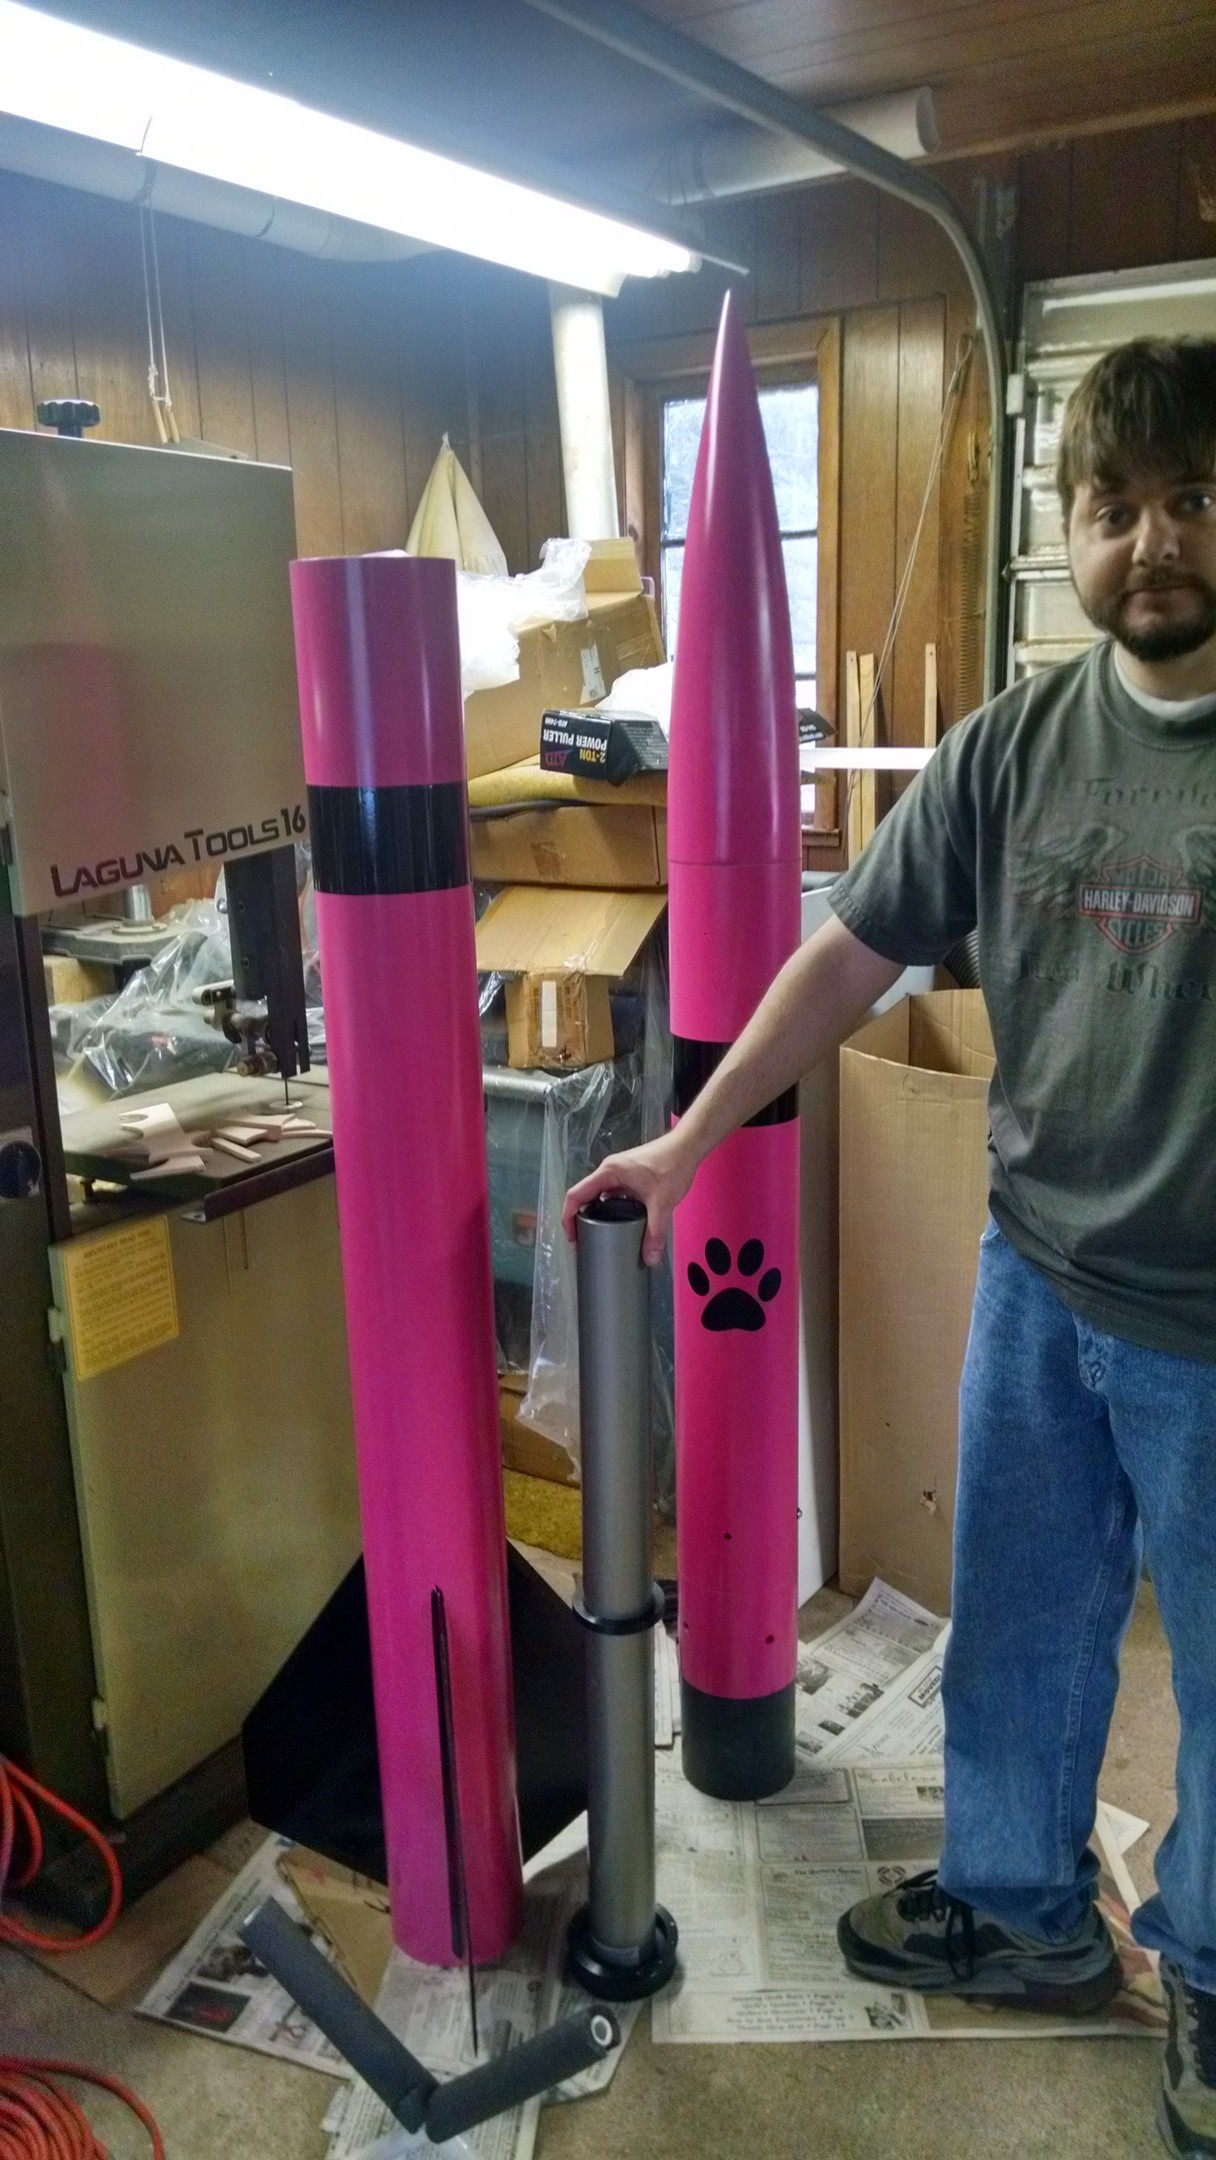
and Sammie wins the color chose of the rocket. Berry Pink with black
Construction and recovery for the Rocket have been approved. 2-20-16
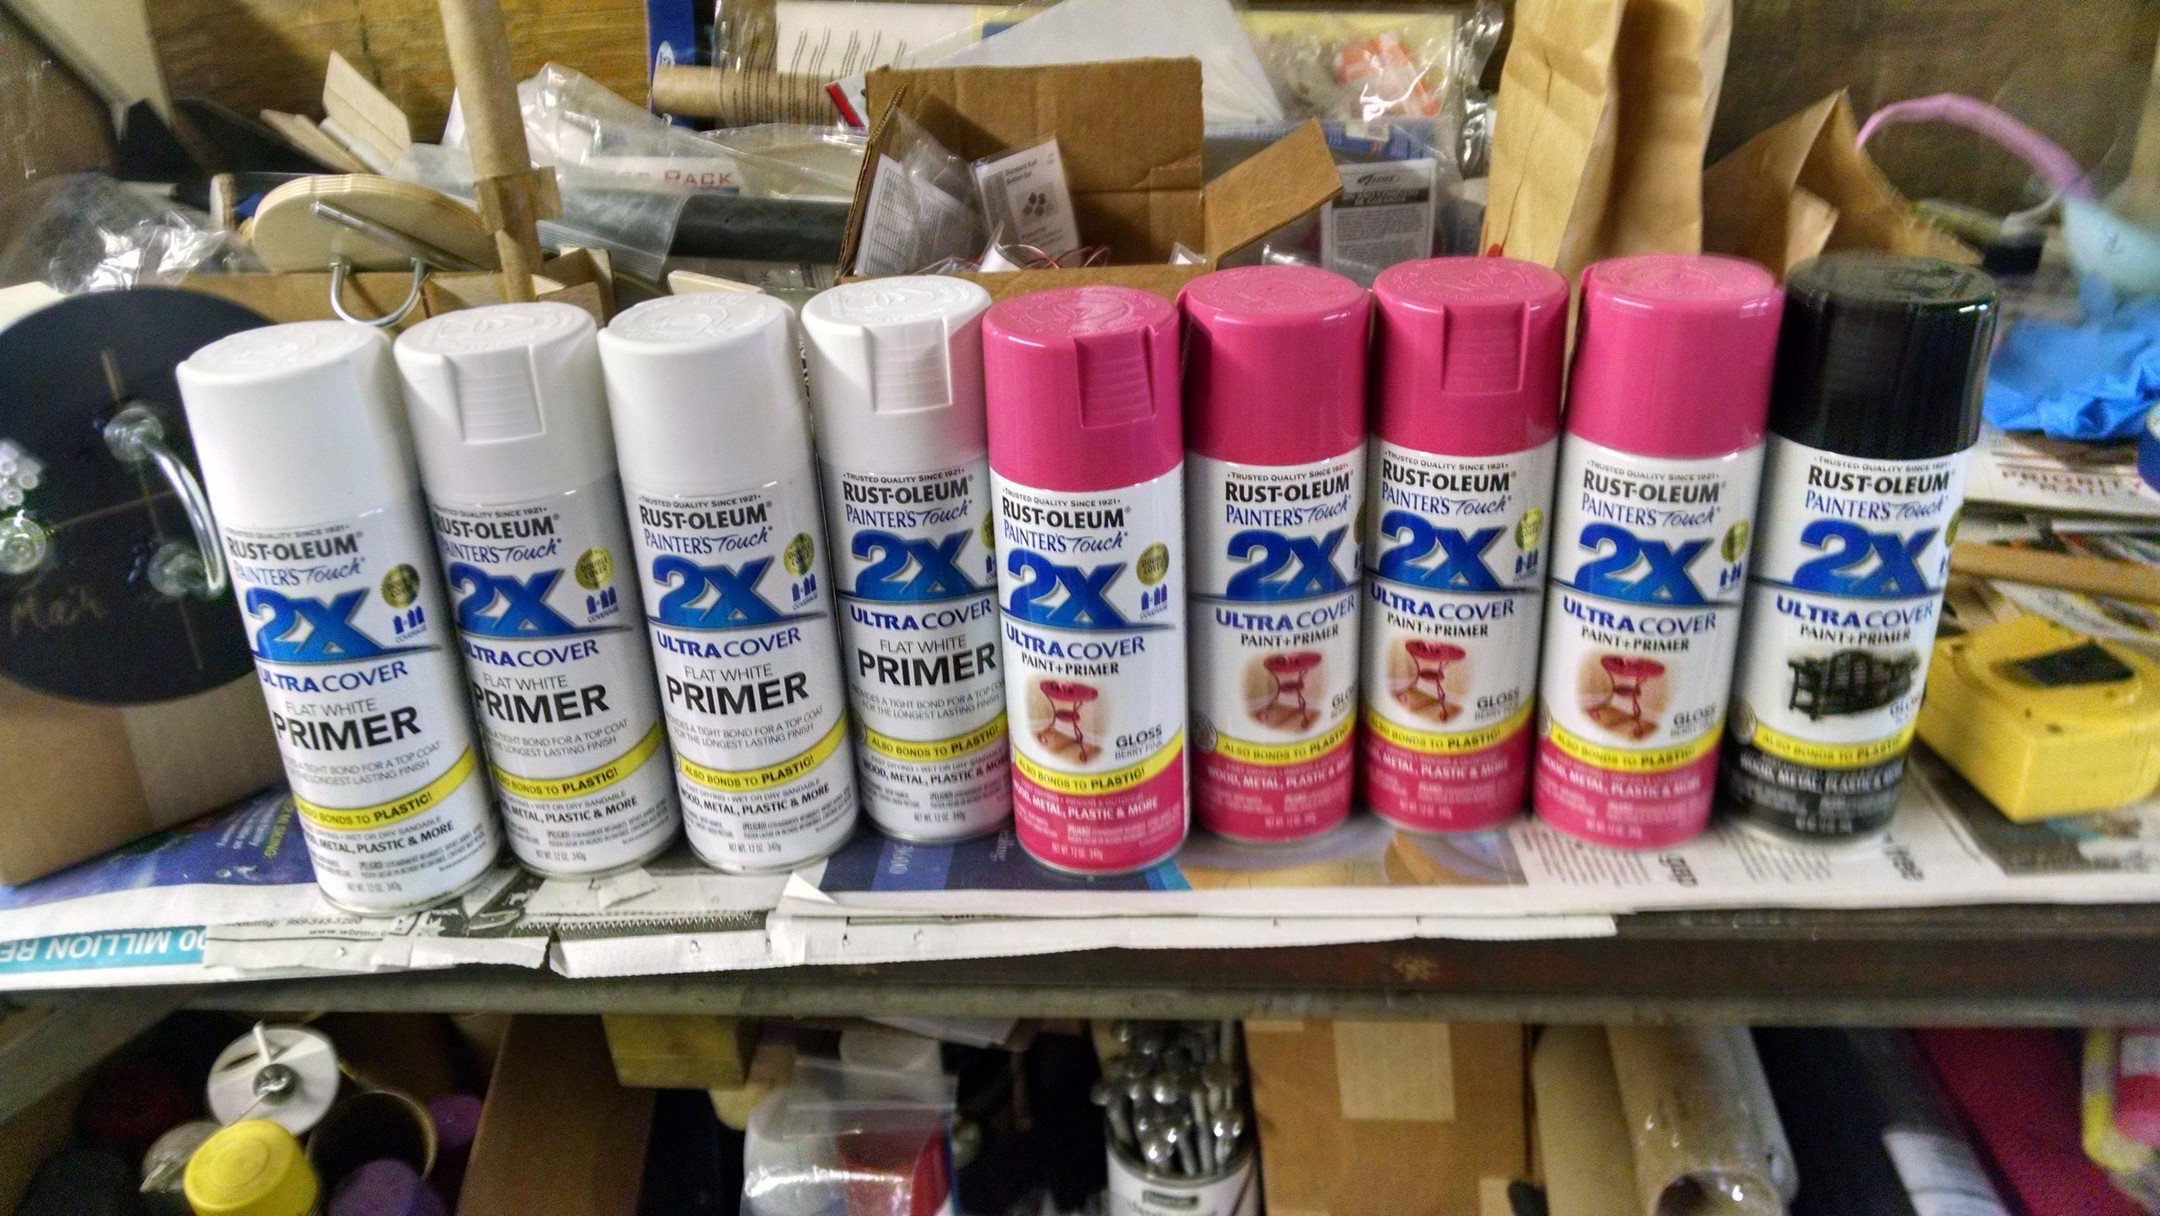
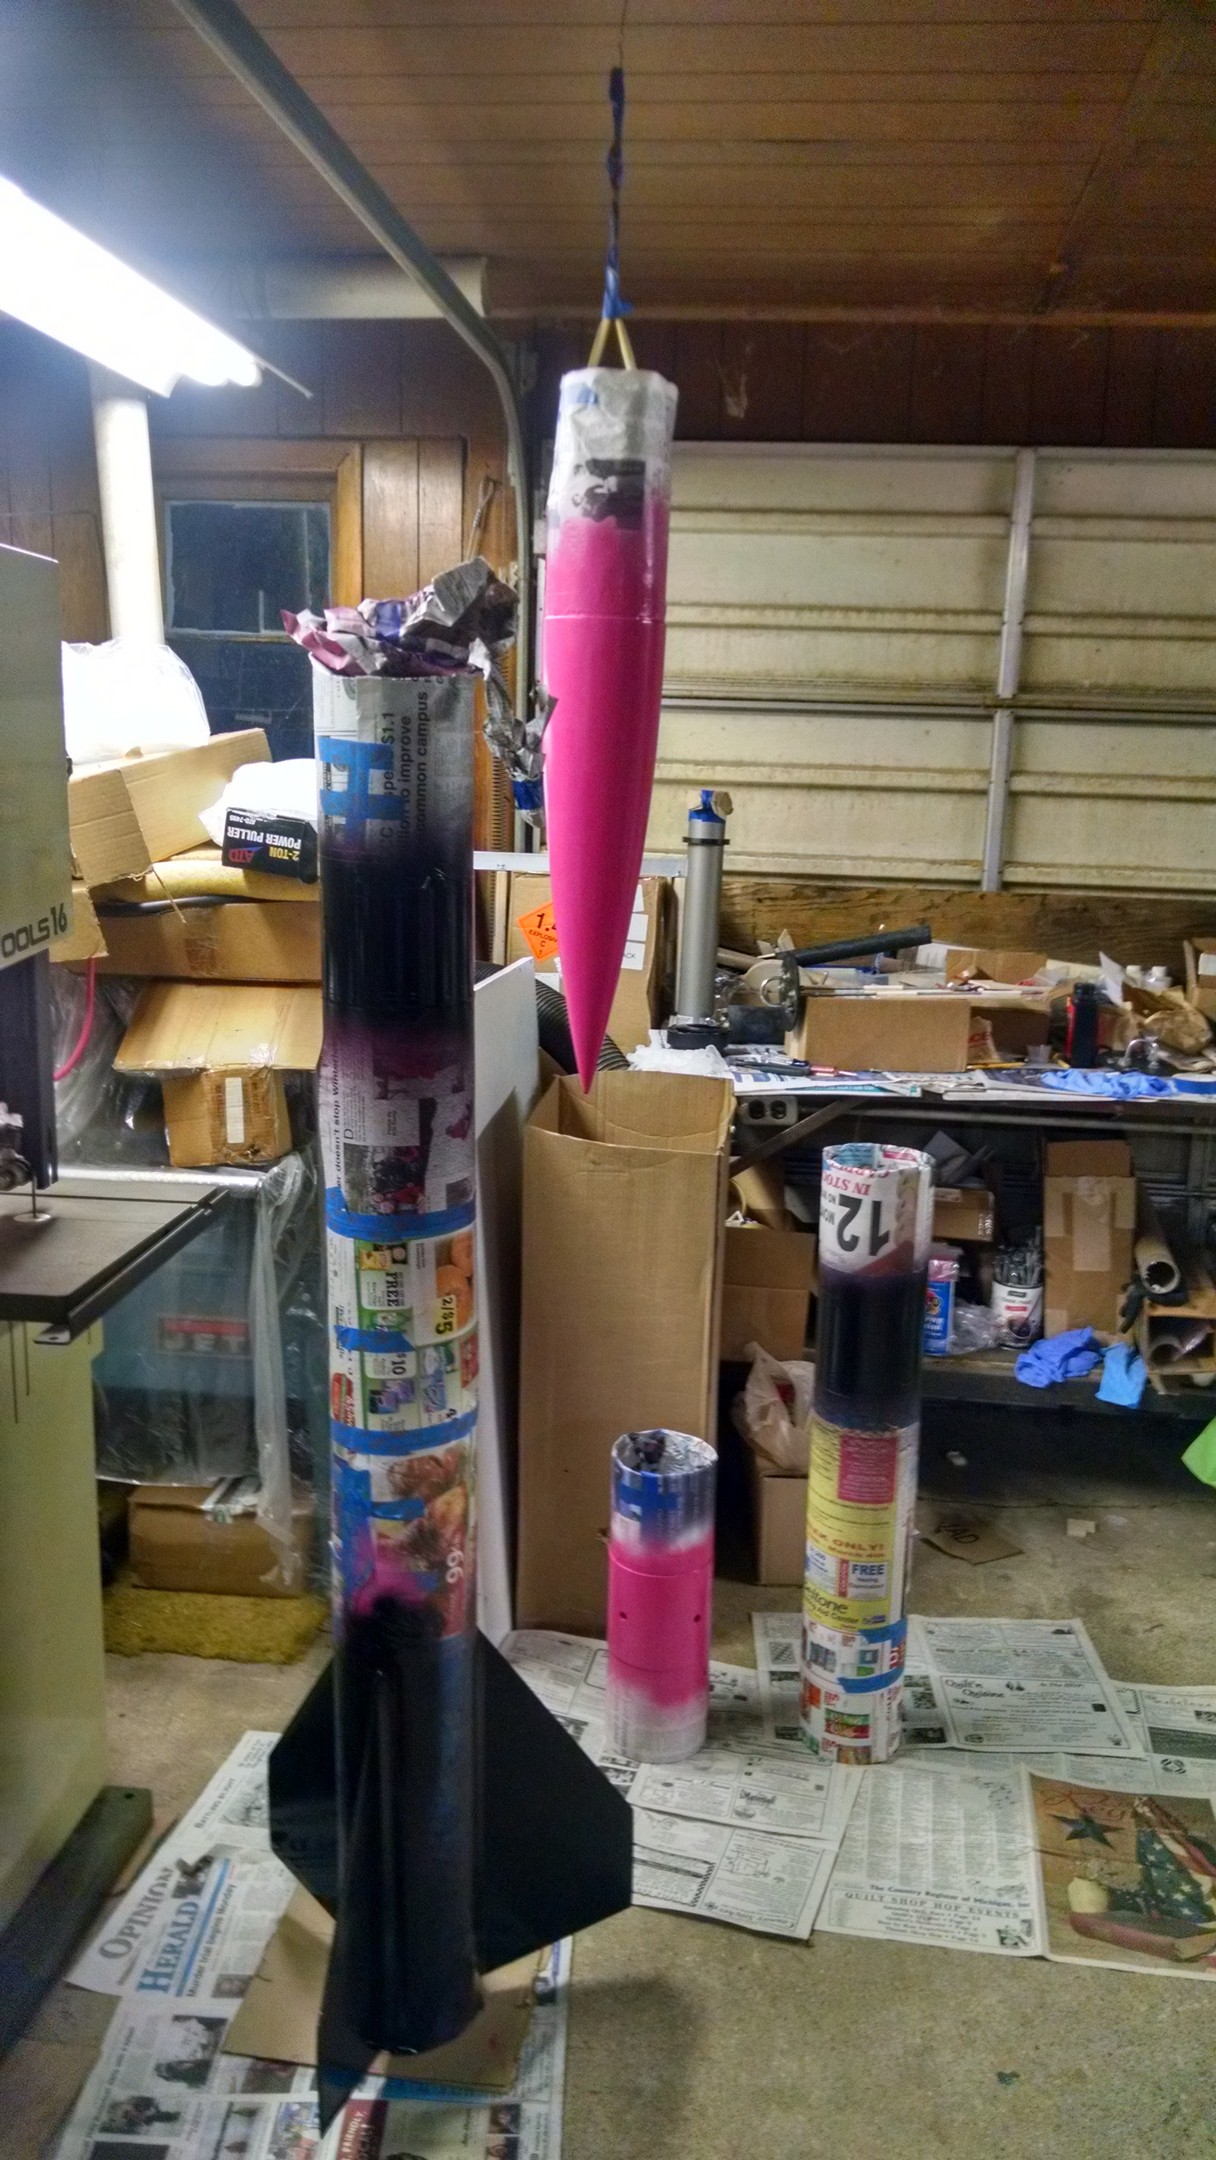
Time for primer !!!! Feb 20, 2016
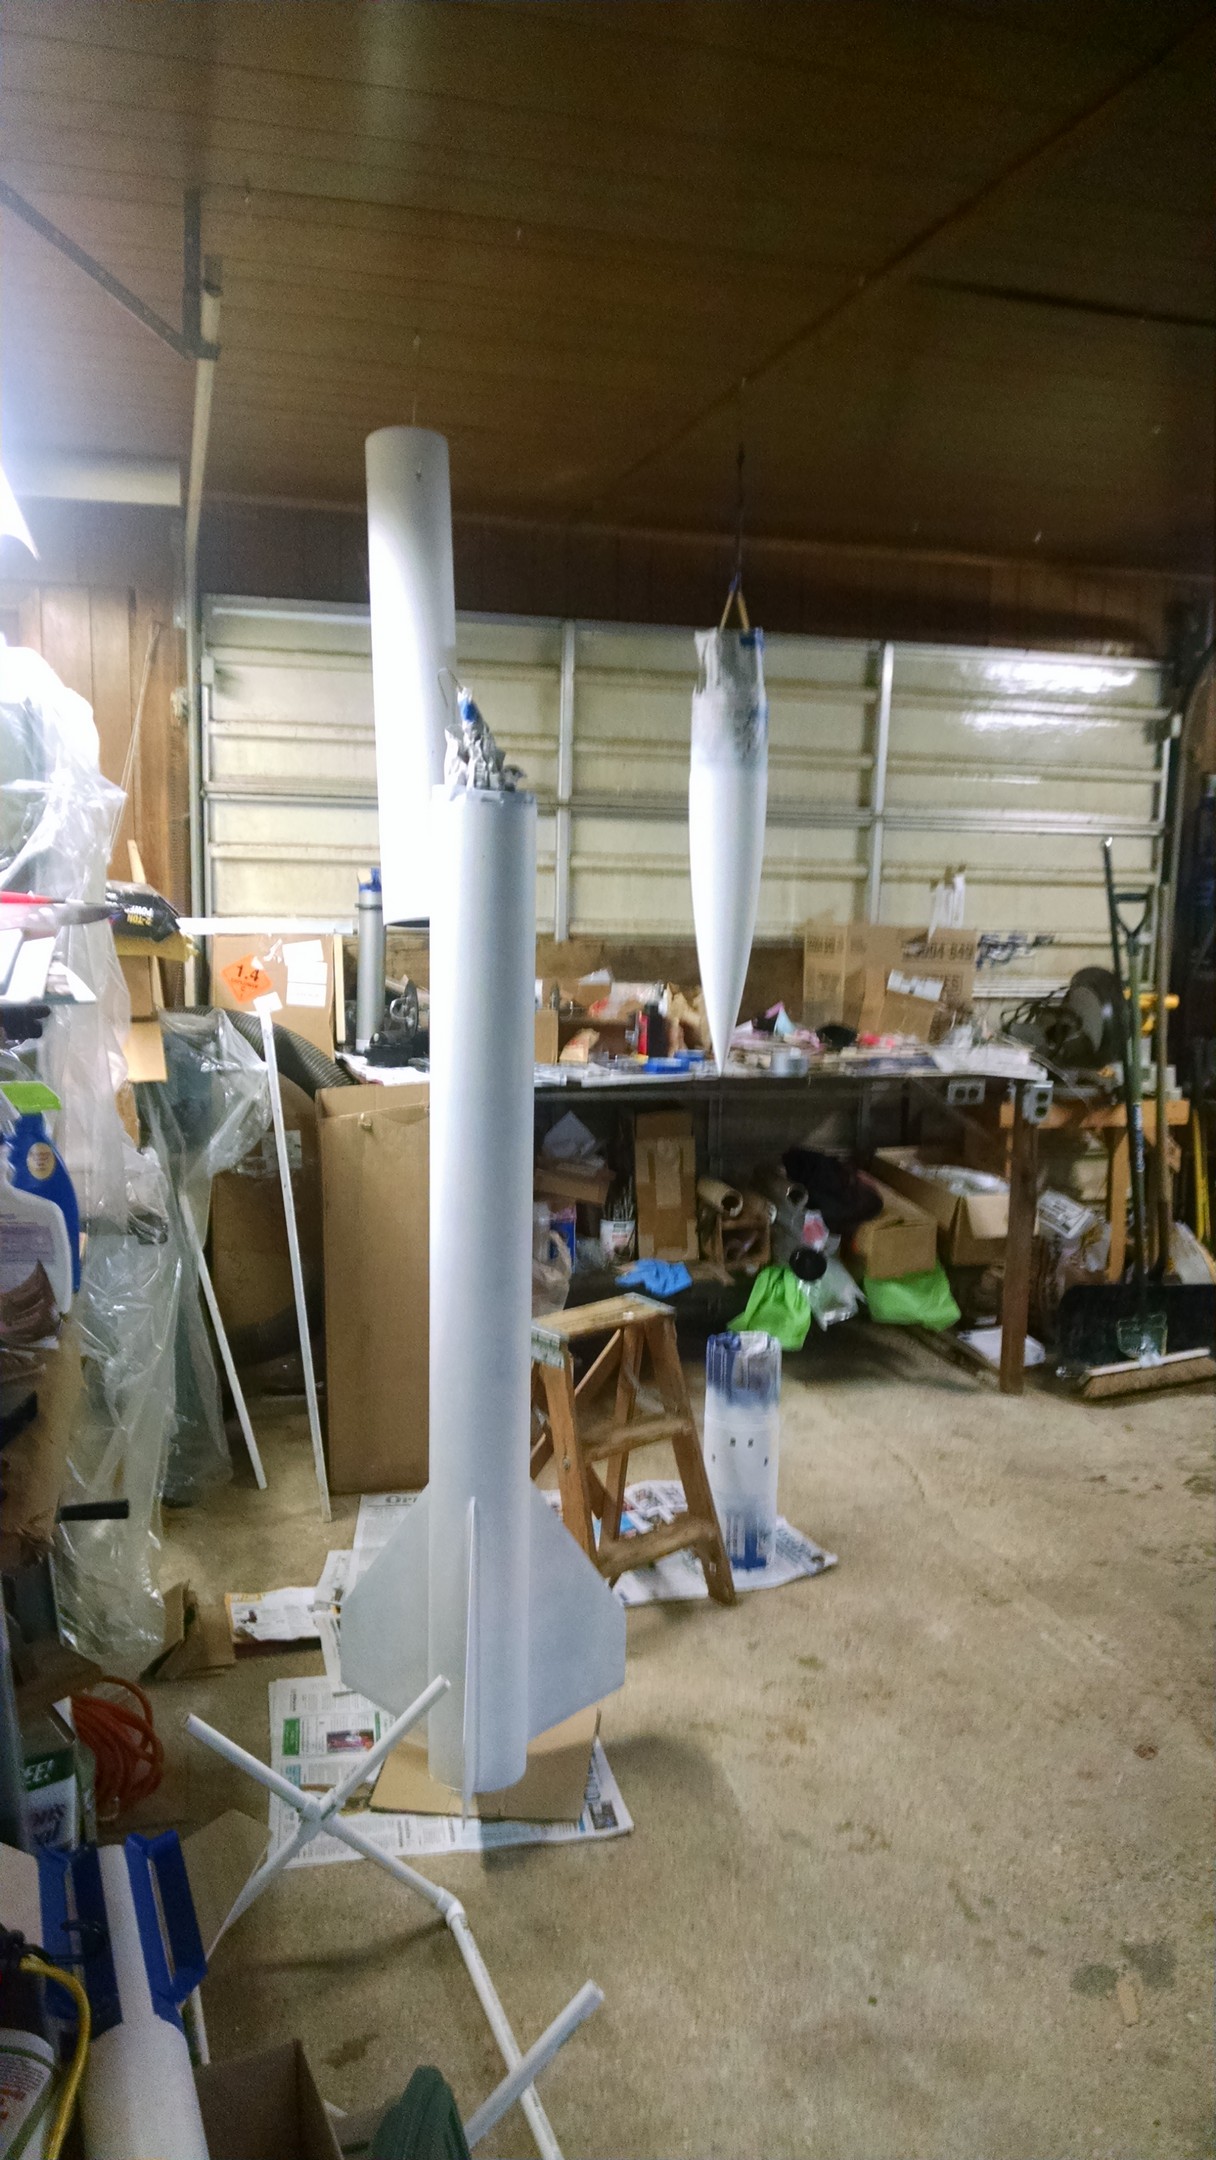
Time to let it dry, then it will be pink and black
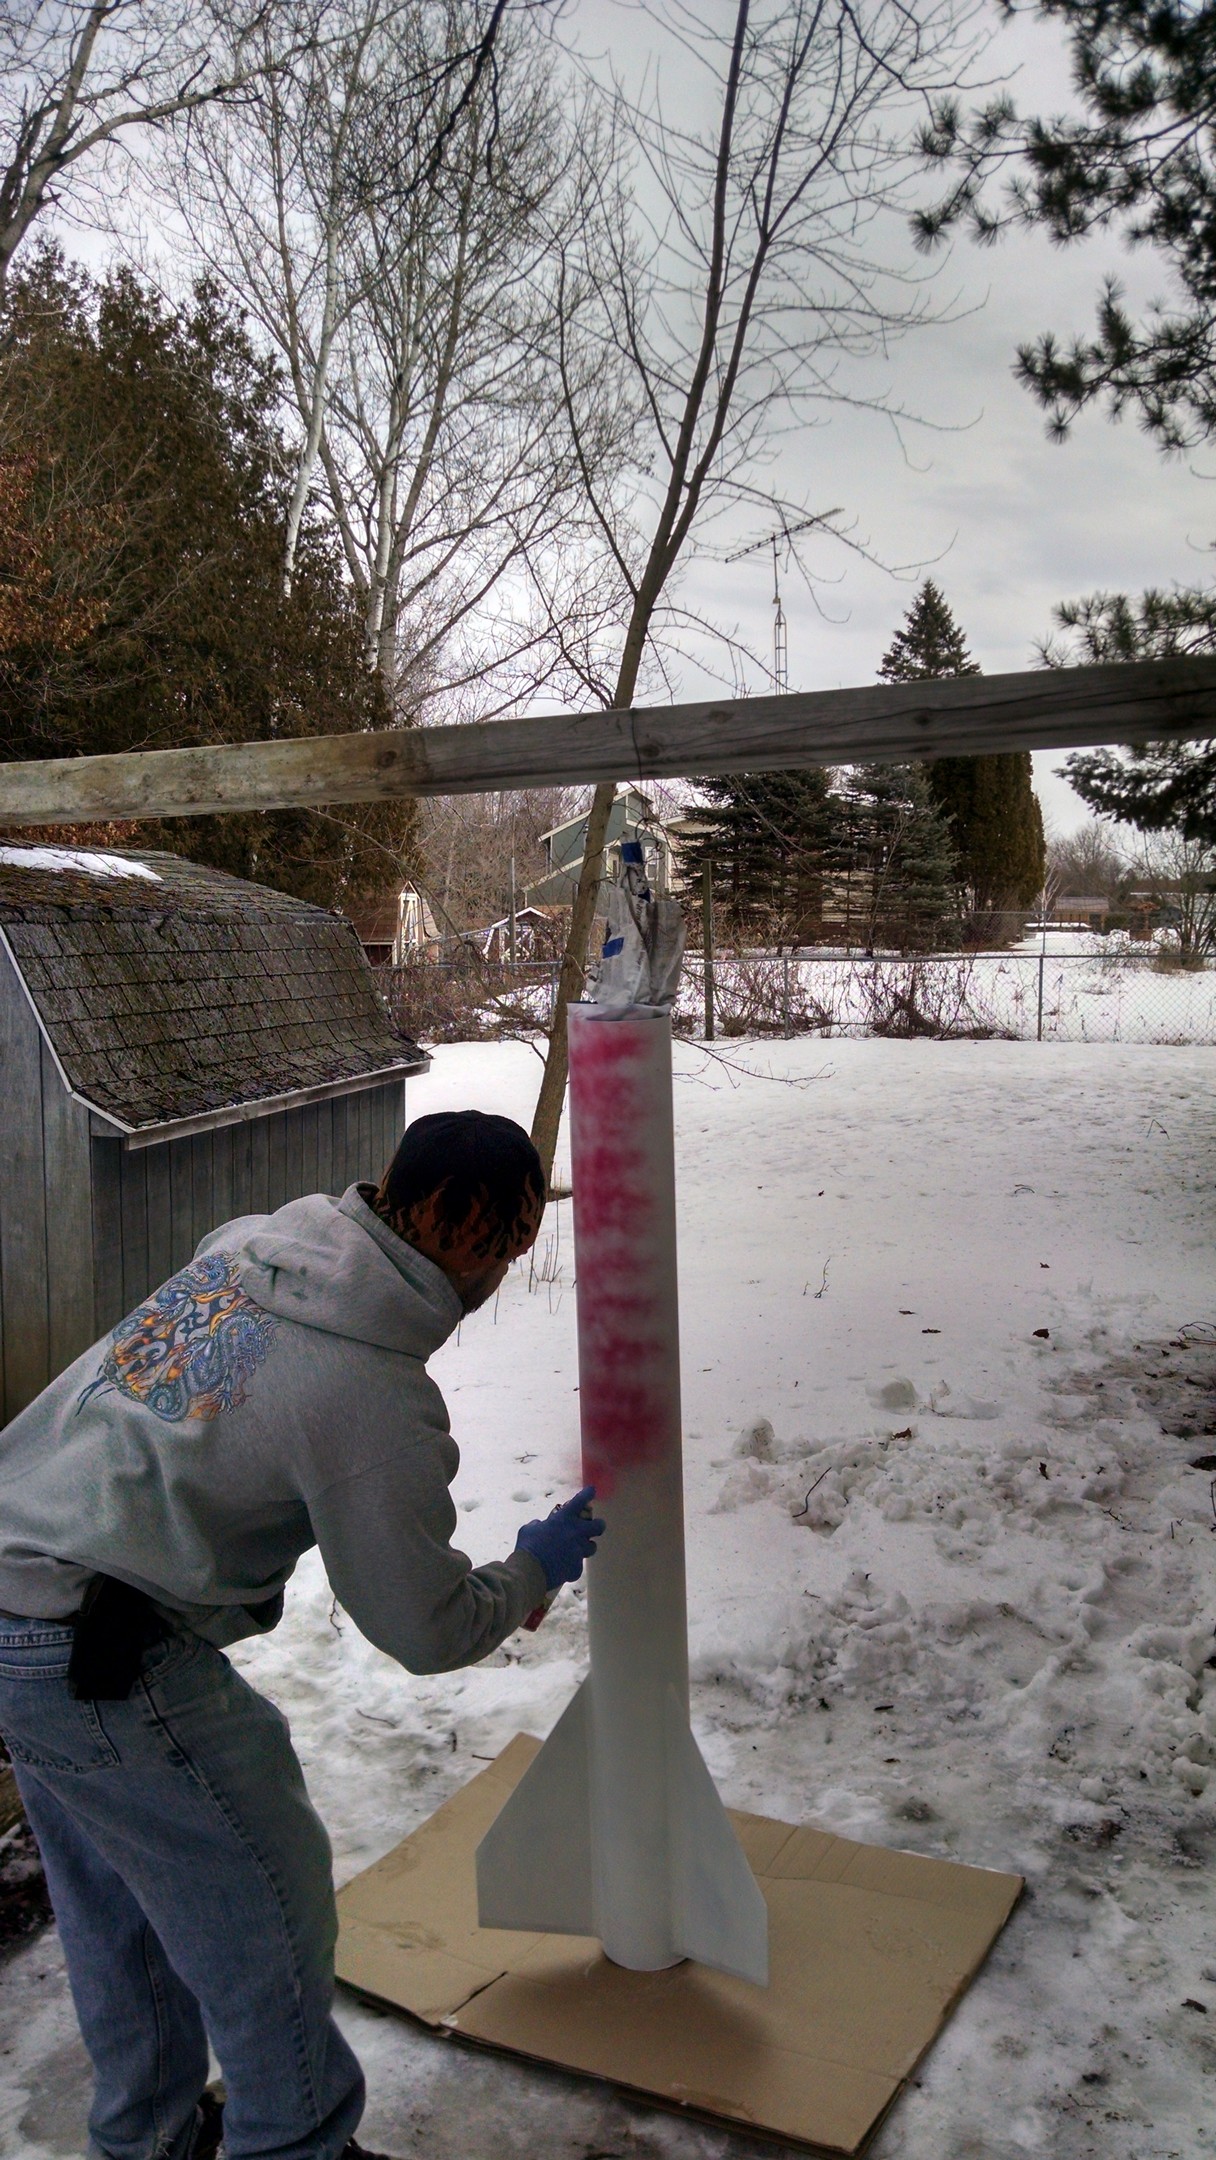
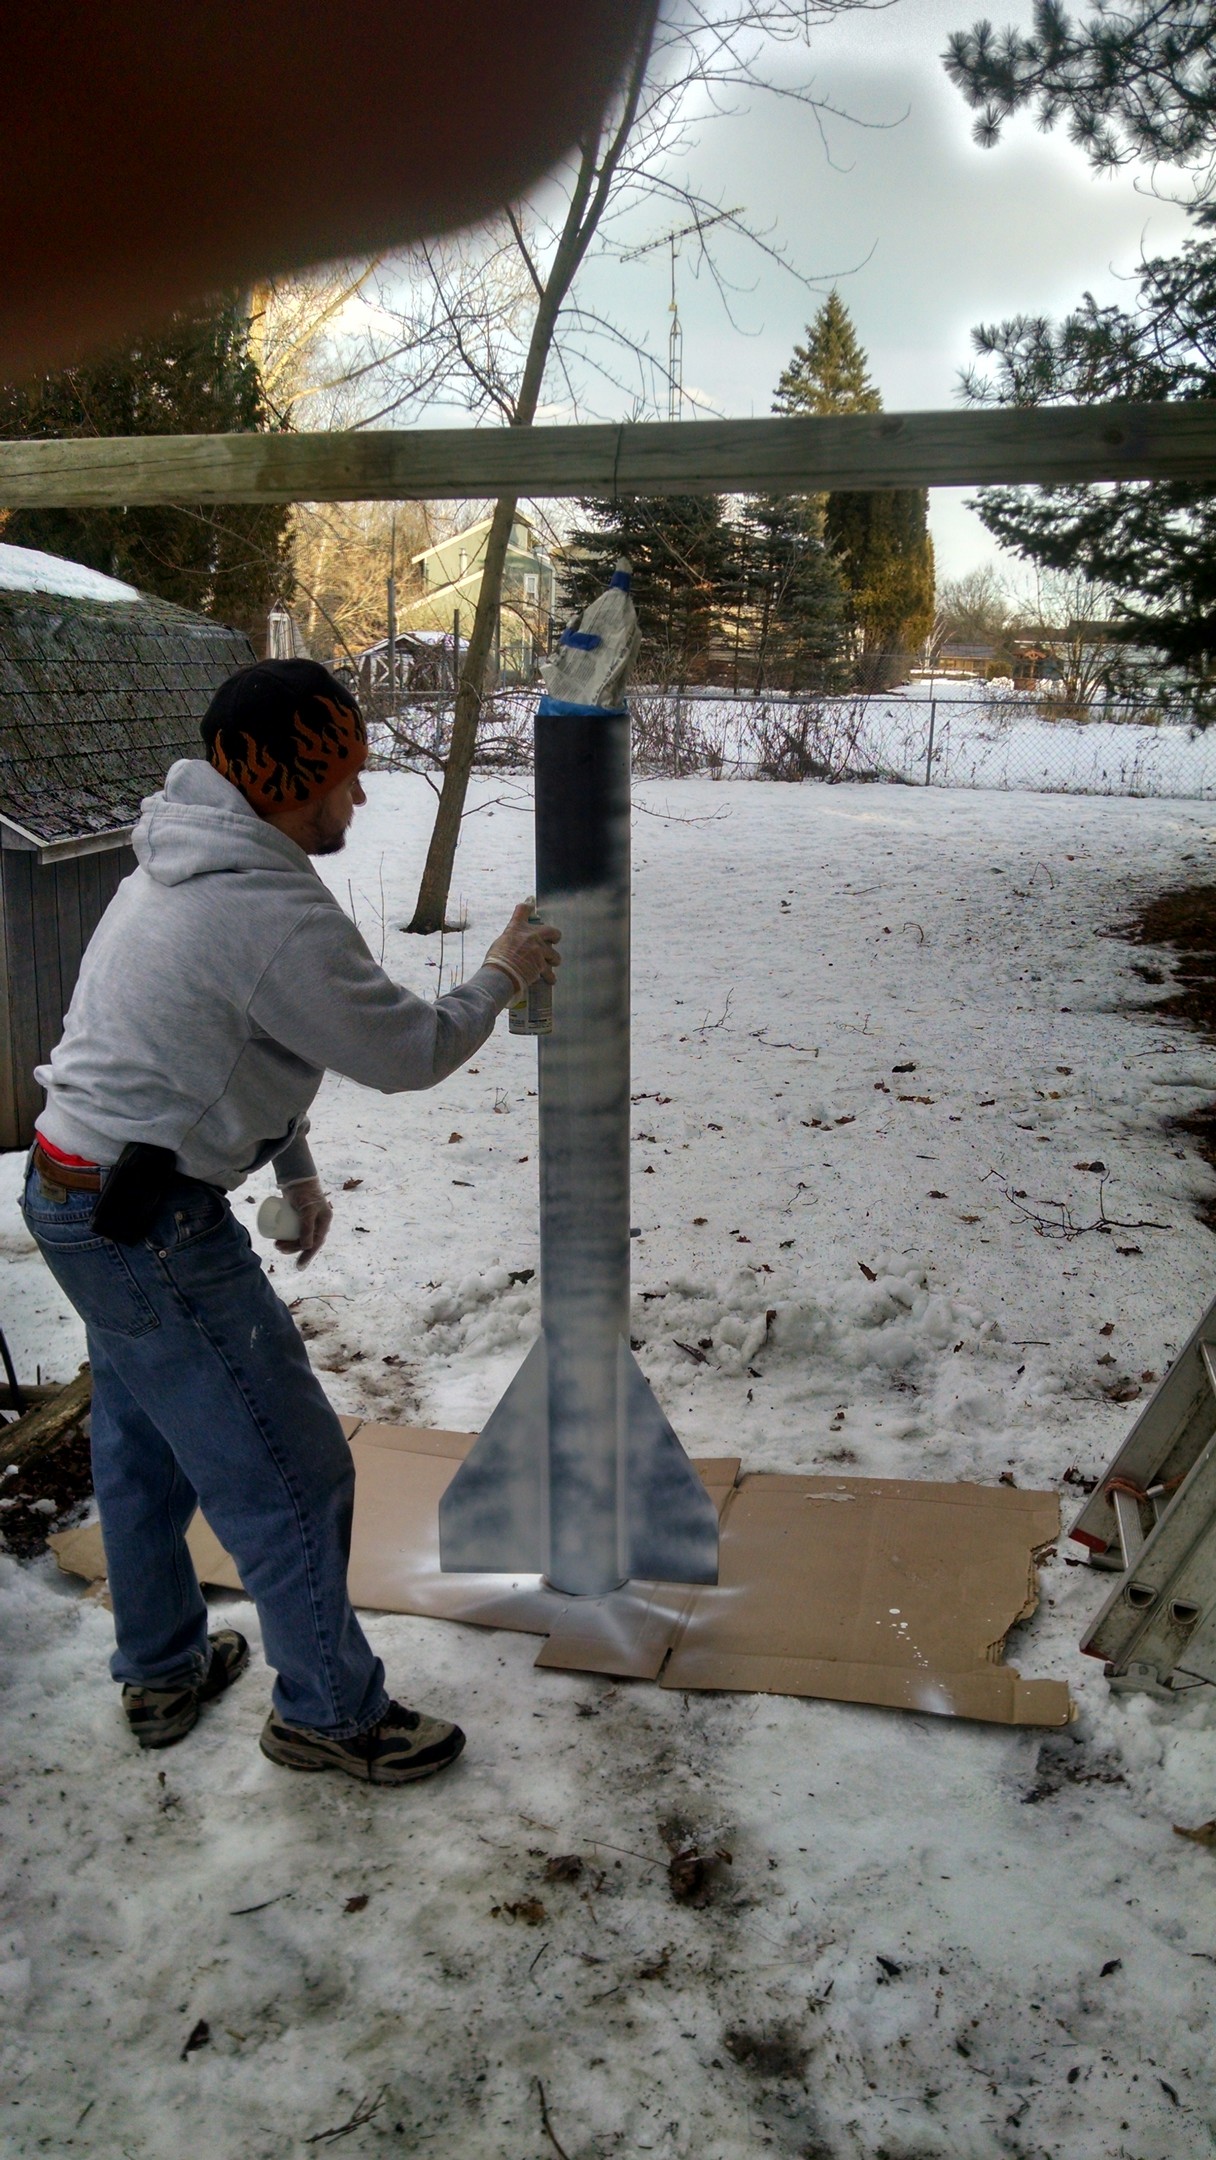
and down goes the pink…. Feb 28, 2016
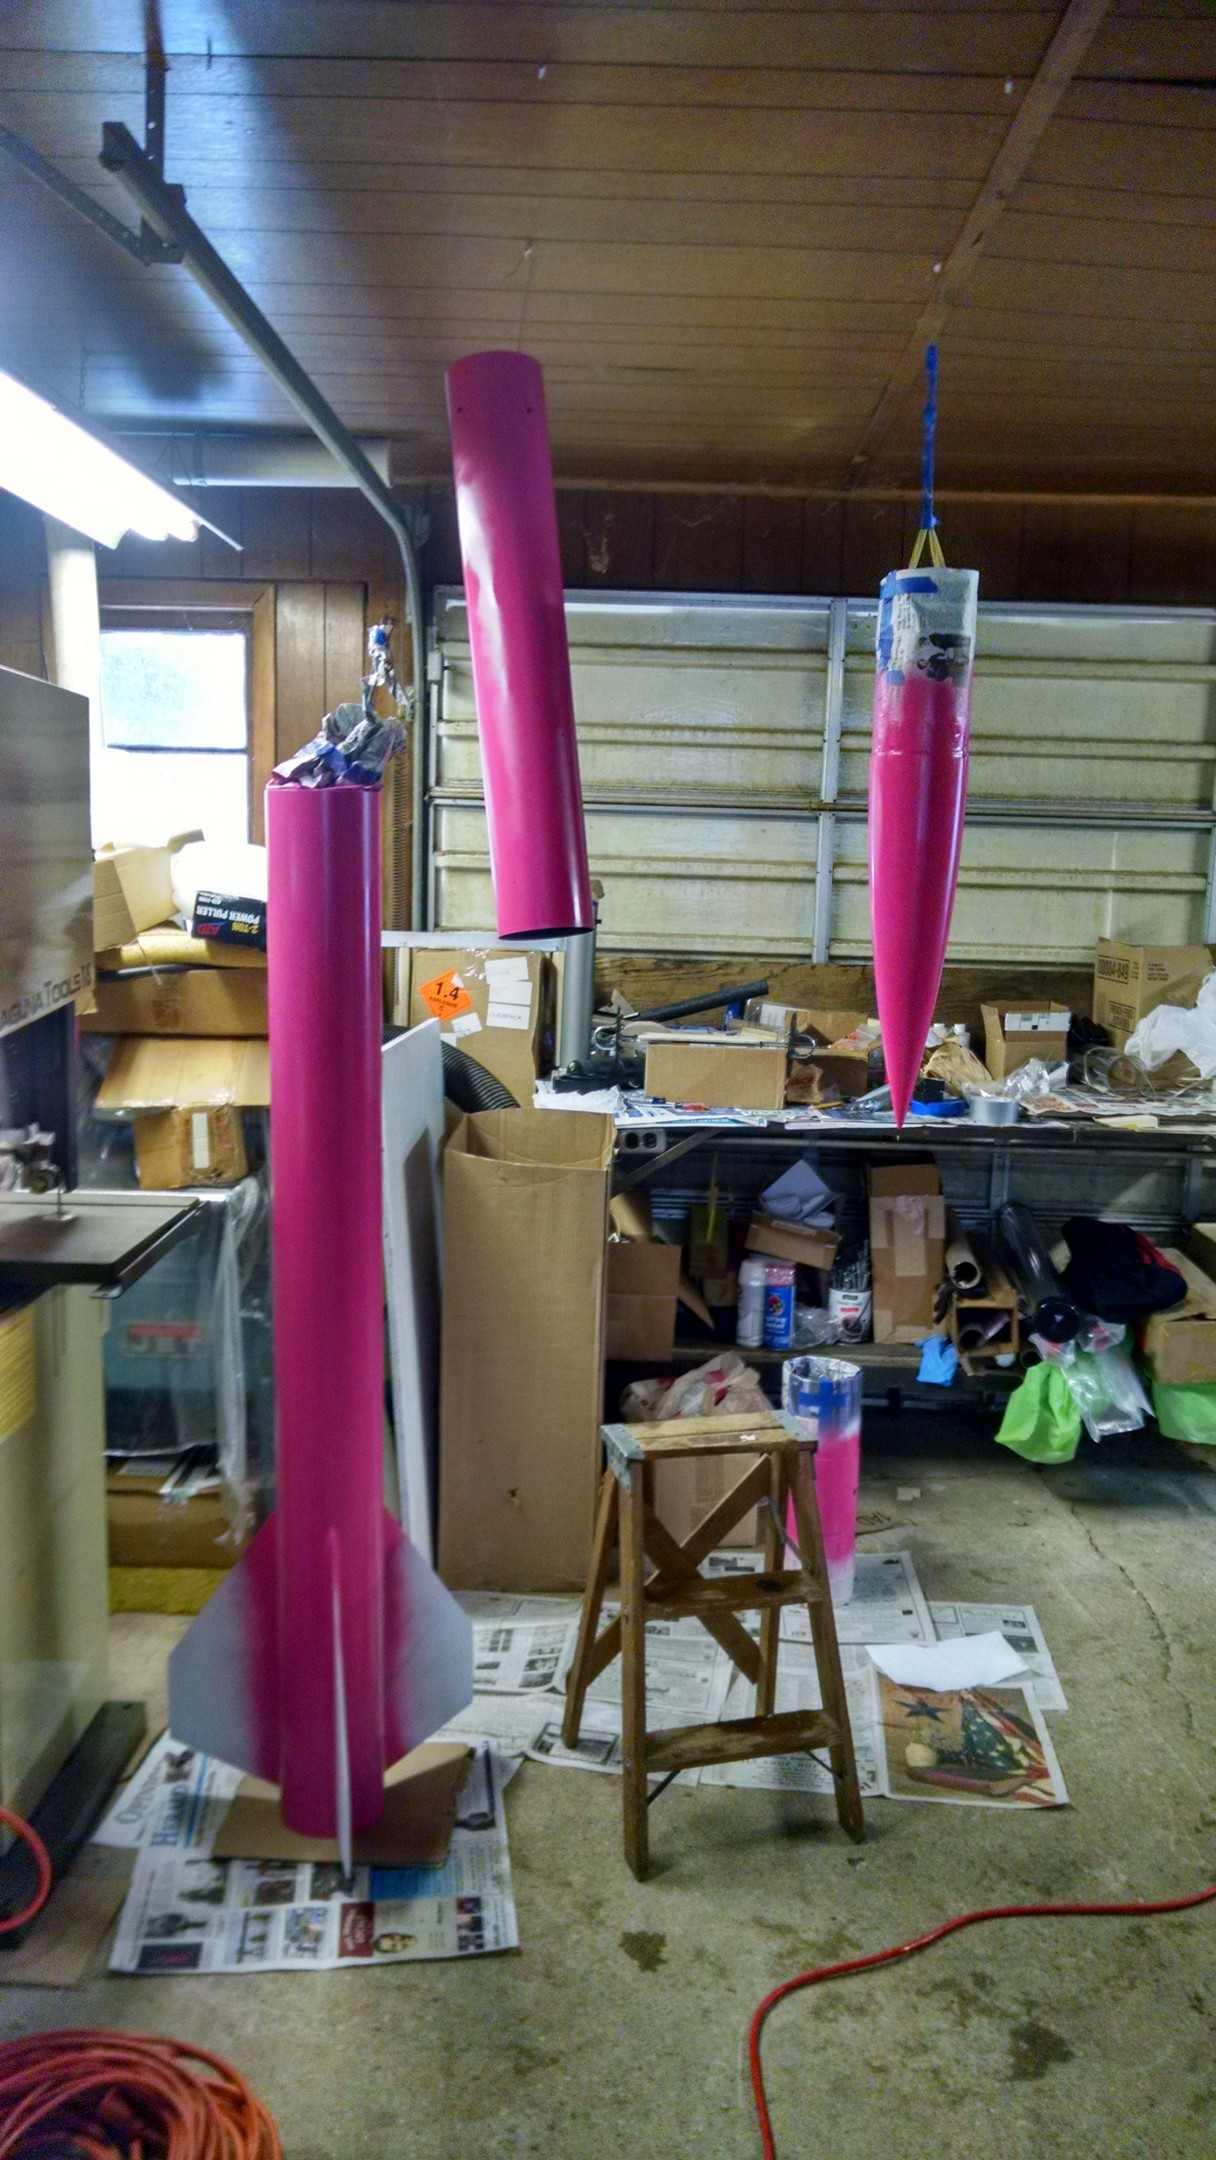
PINK Let it dry for a week…
Blank fins and two strips… March 5, 2016
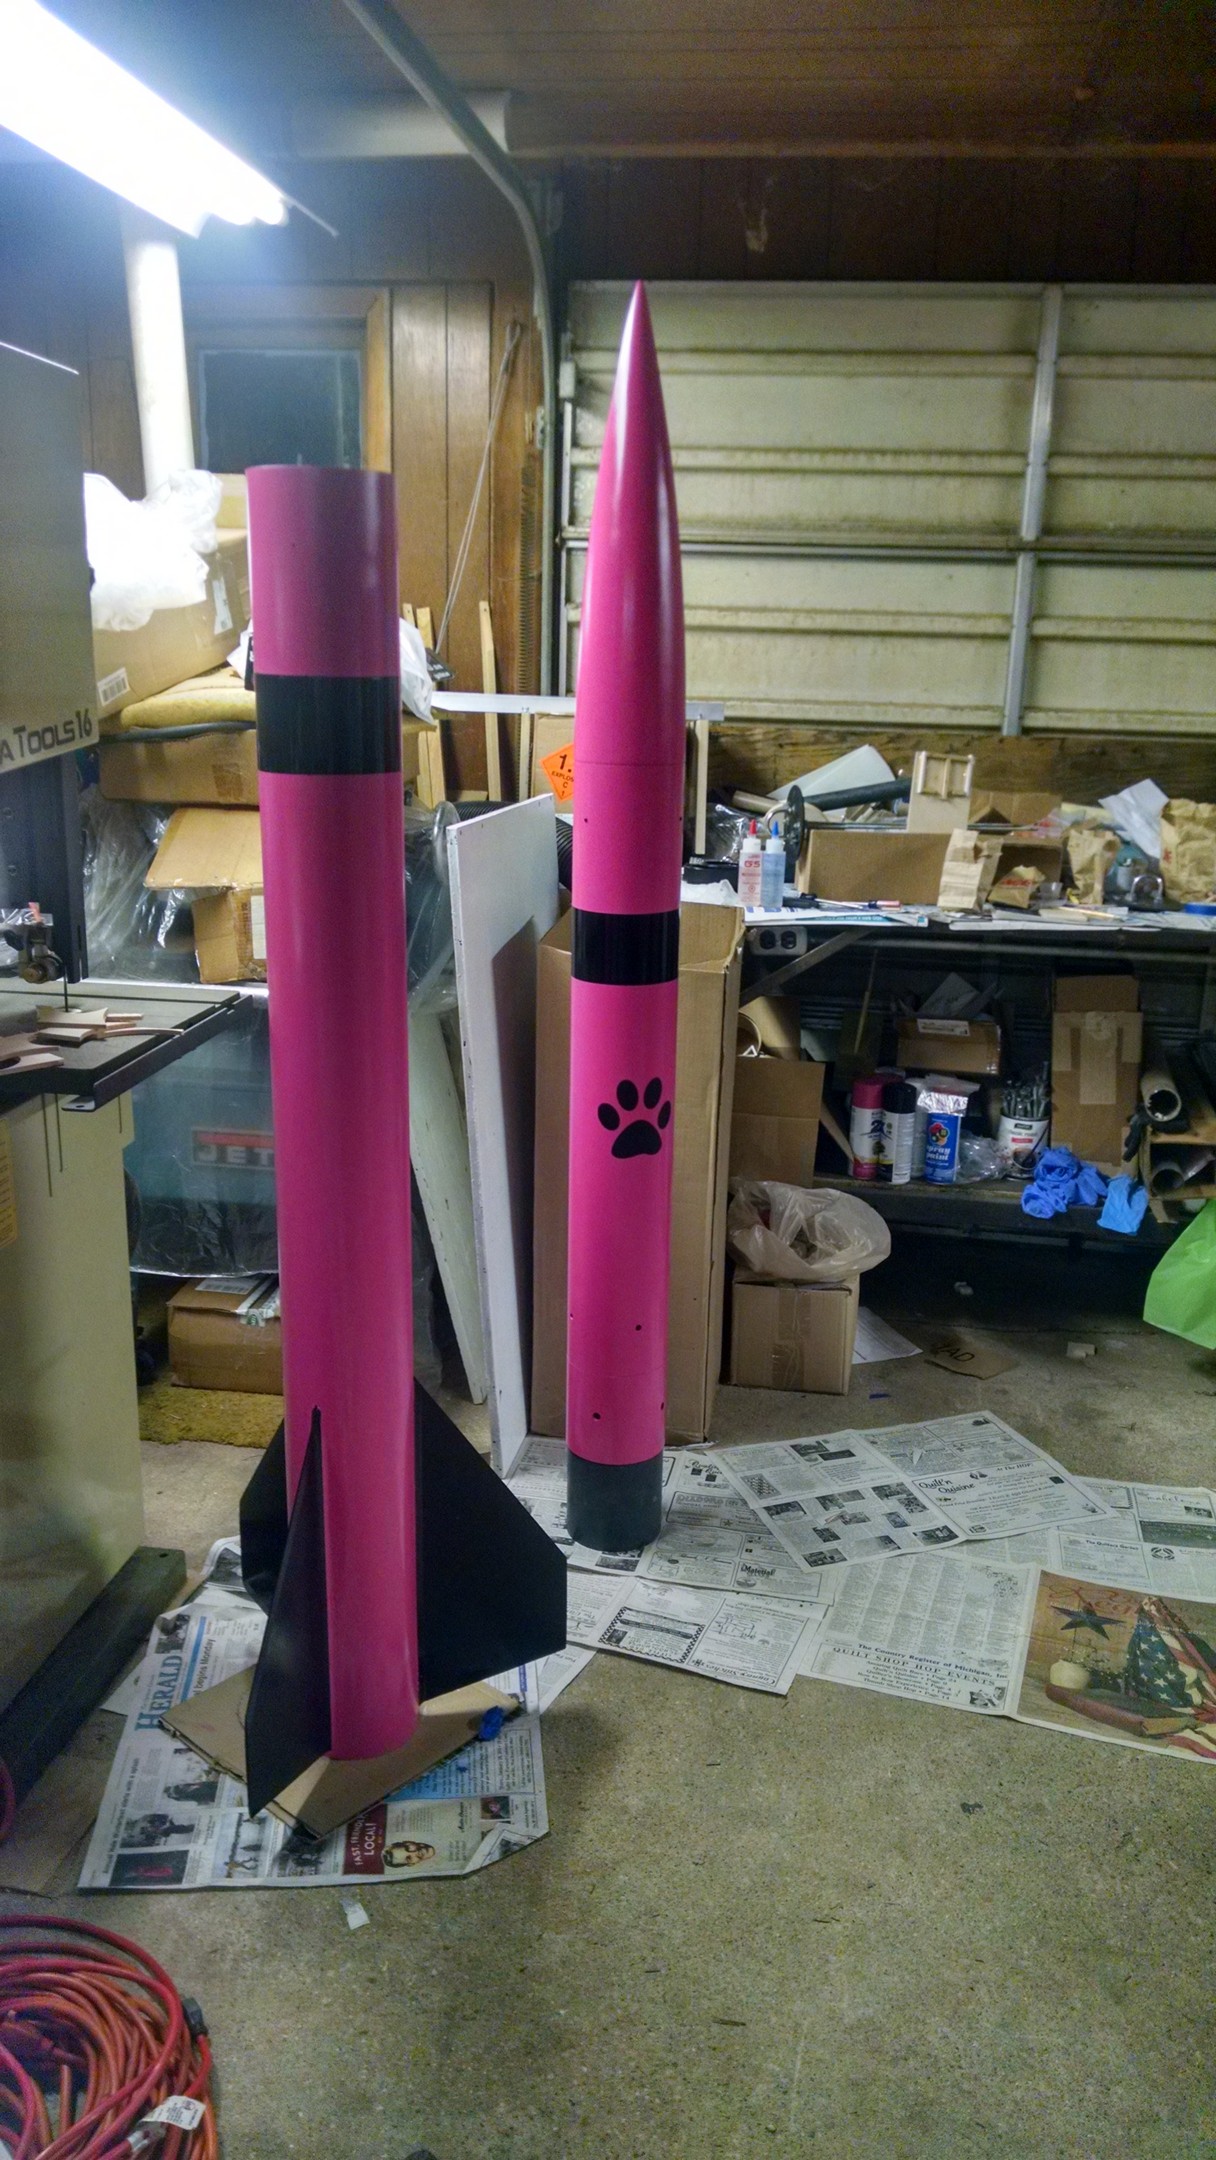
March 8, 2016 .. paw stickers added..
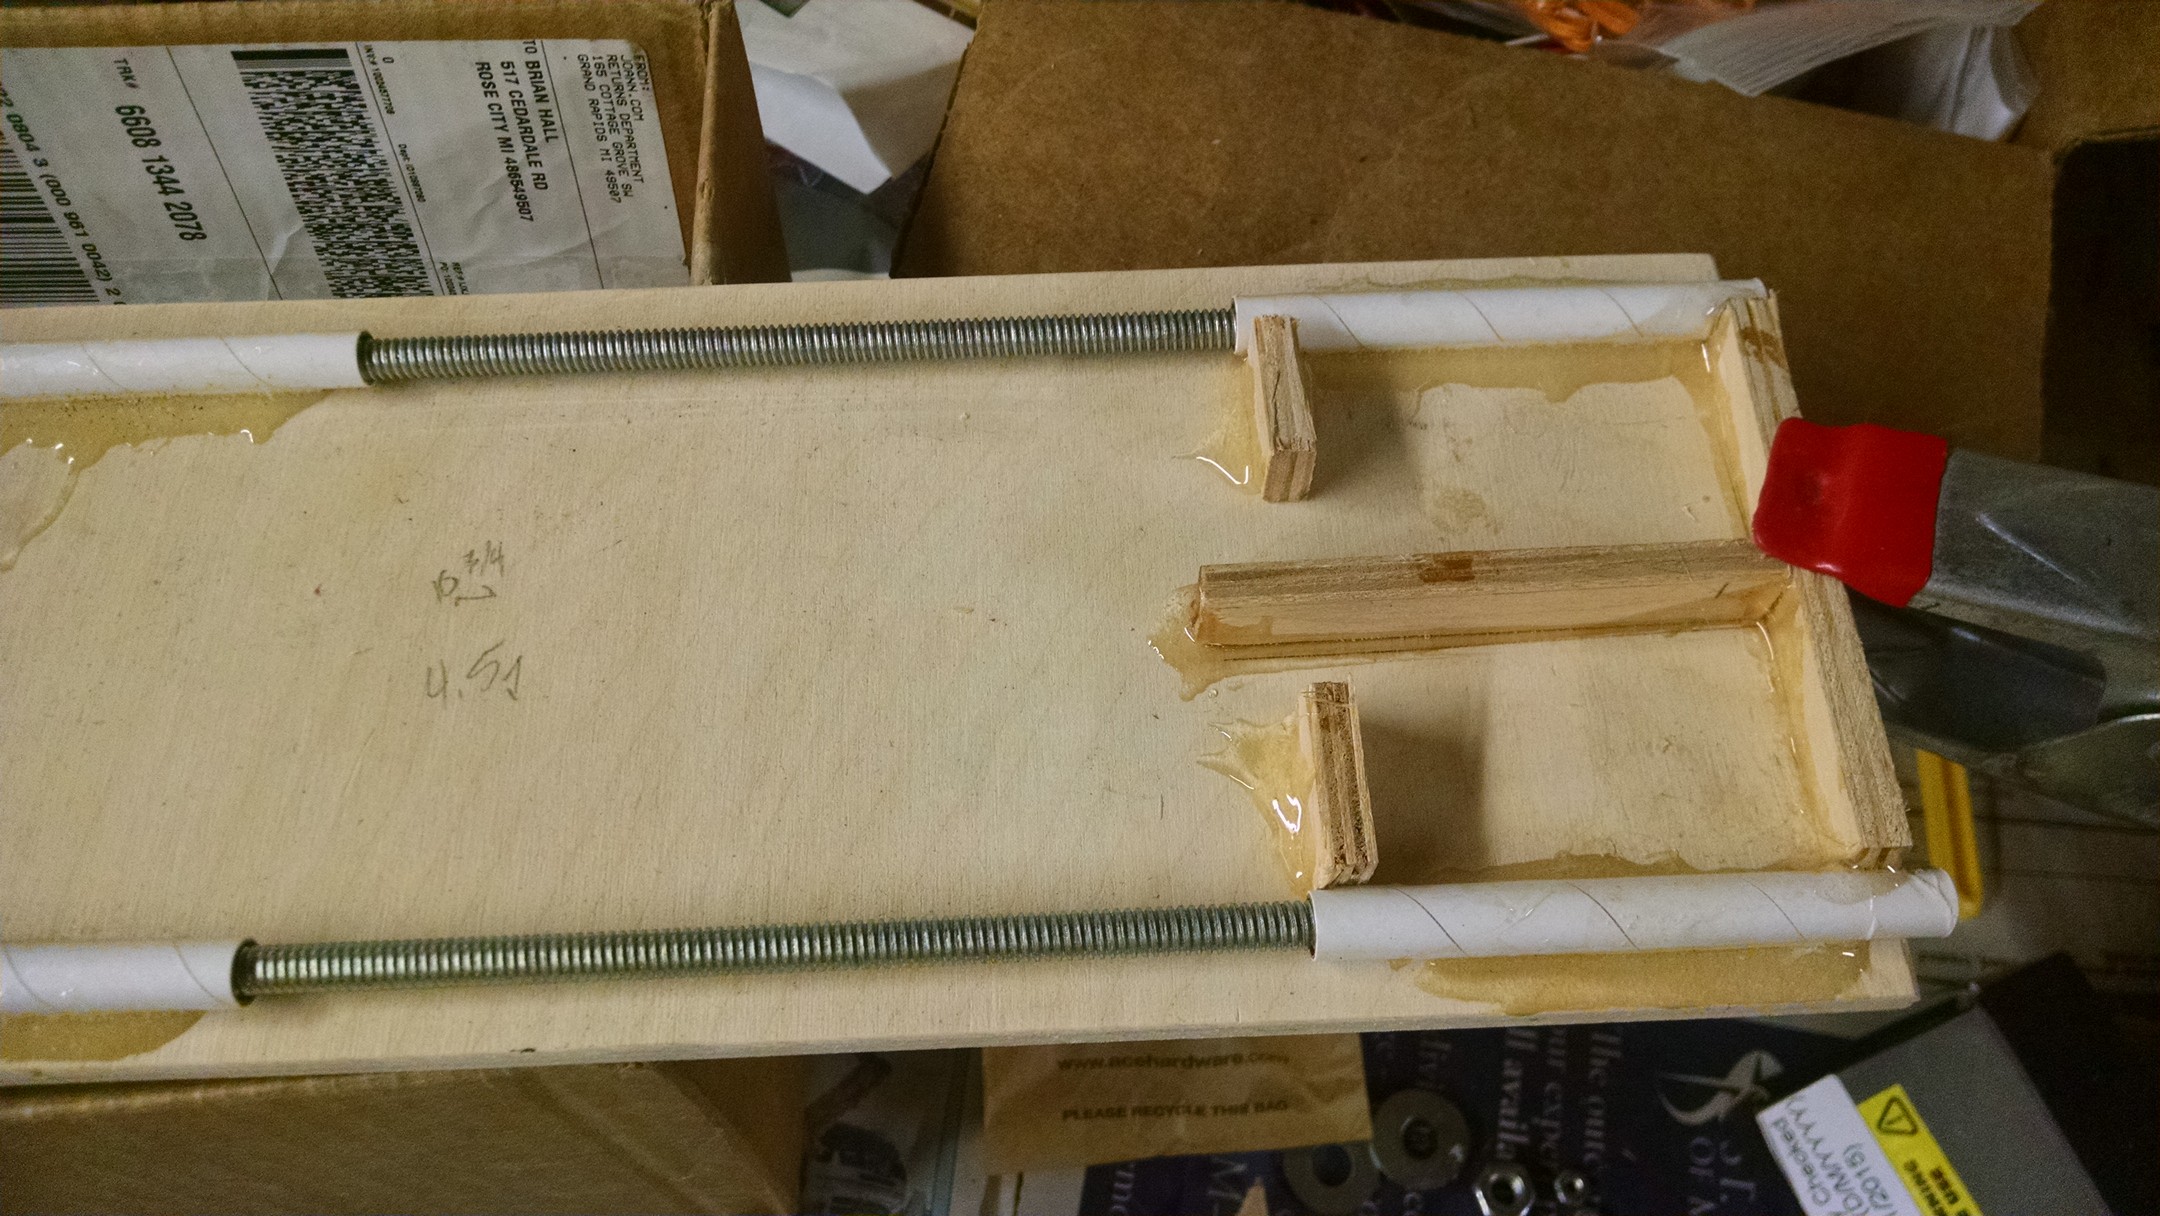
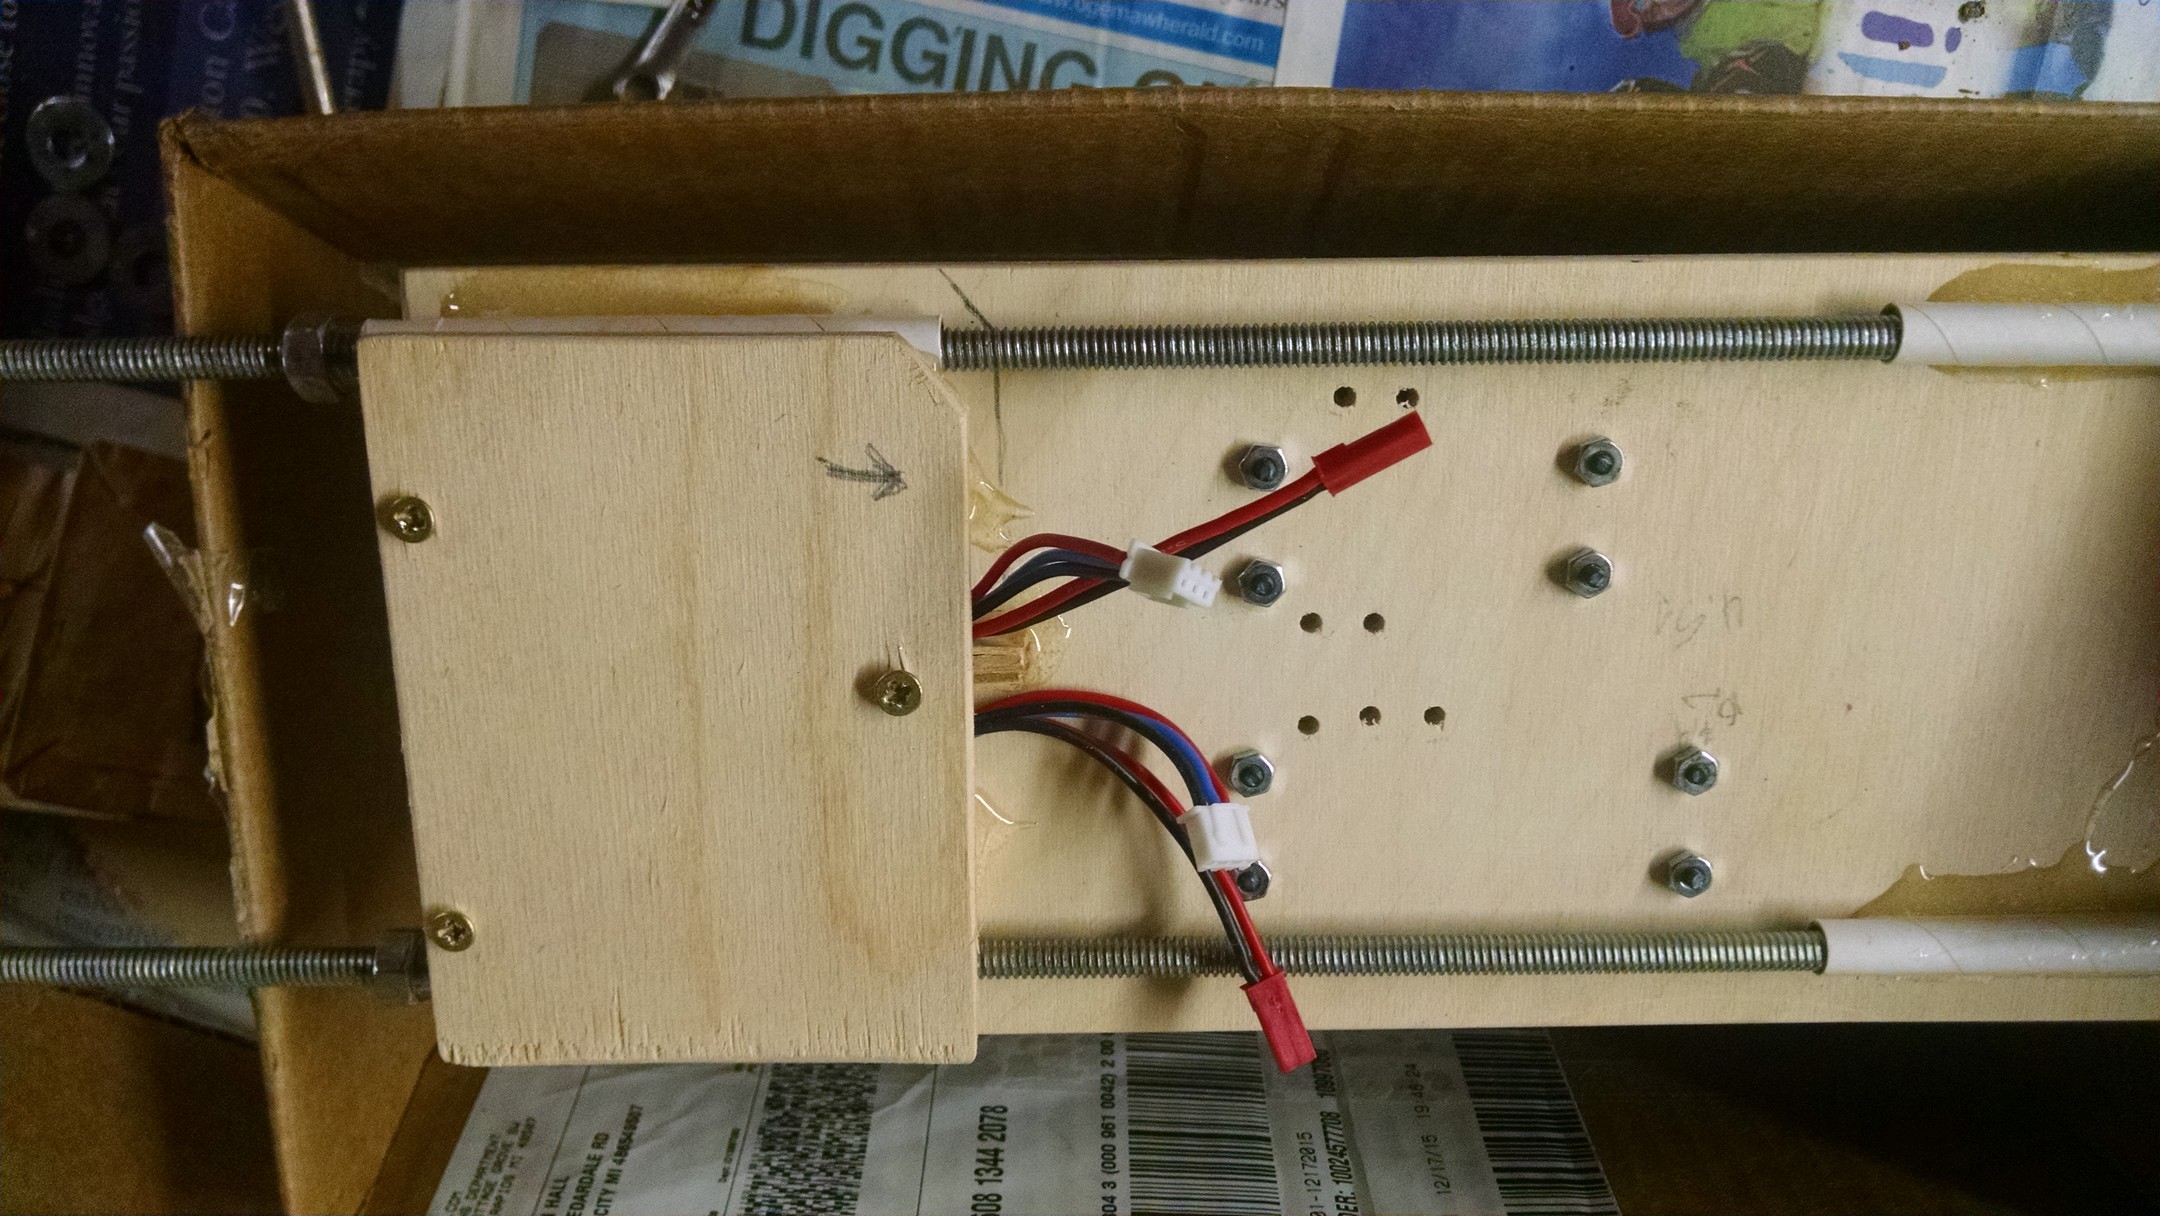
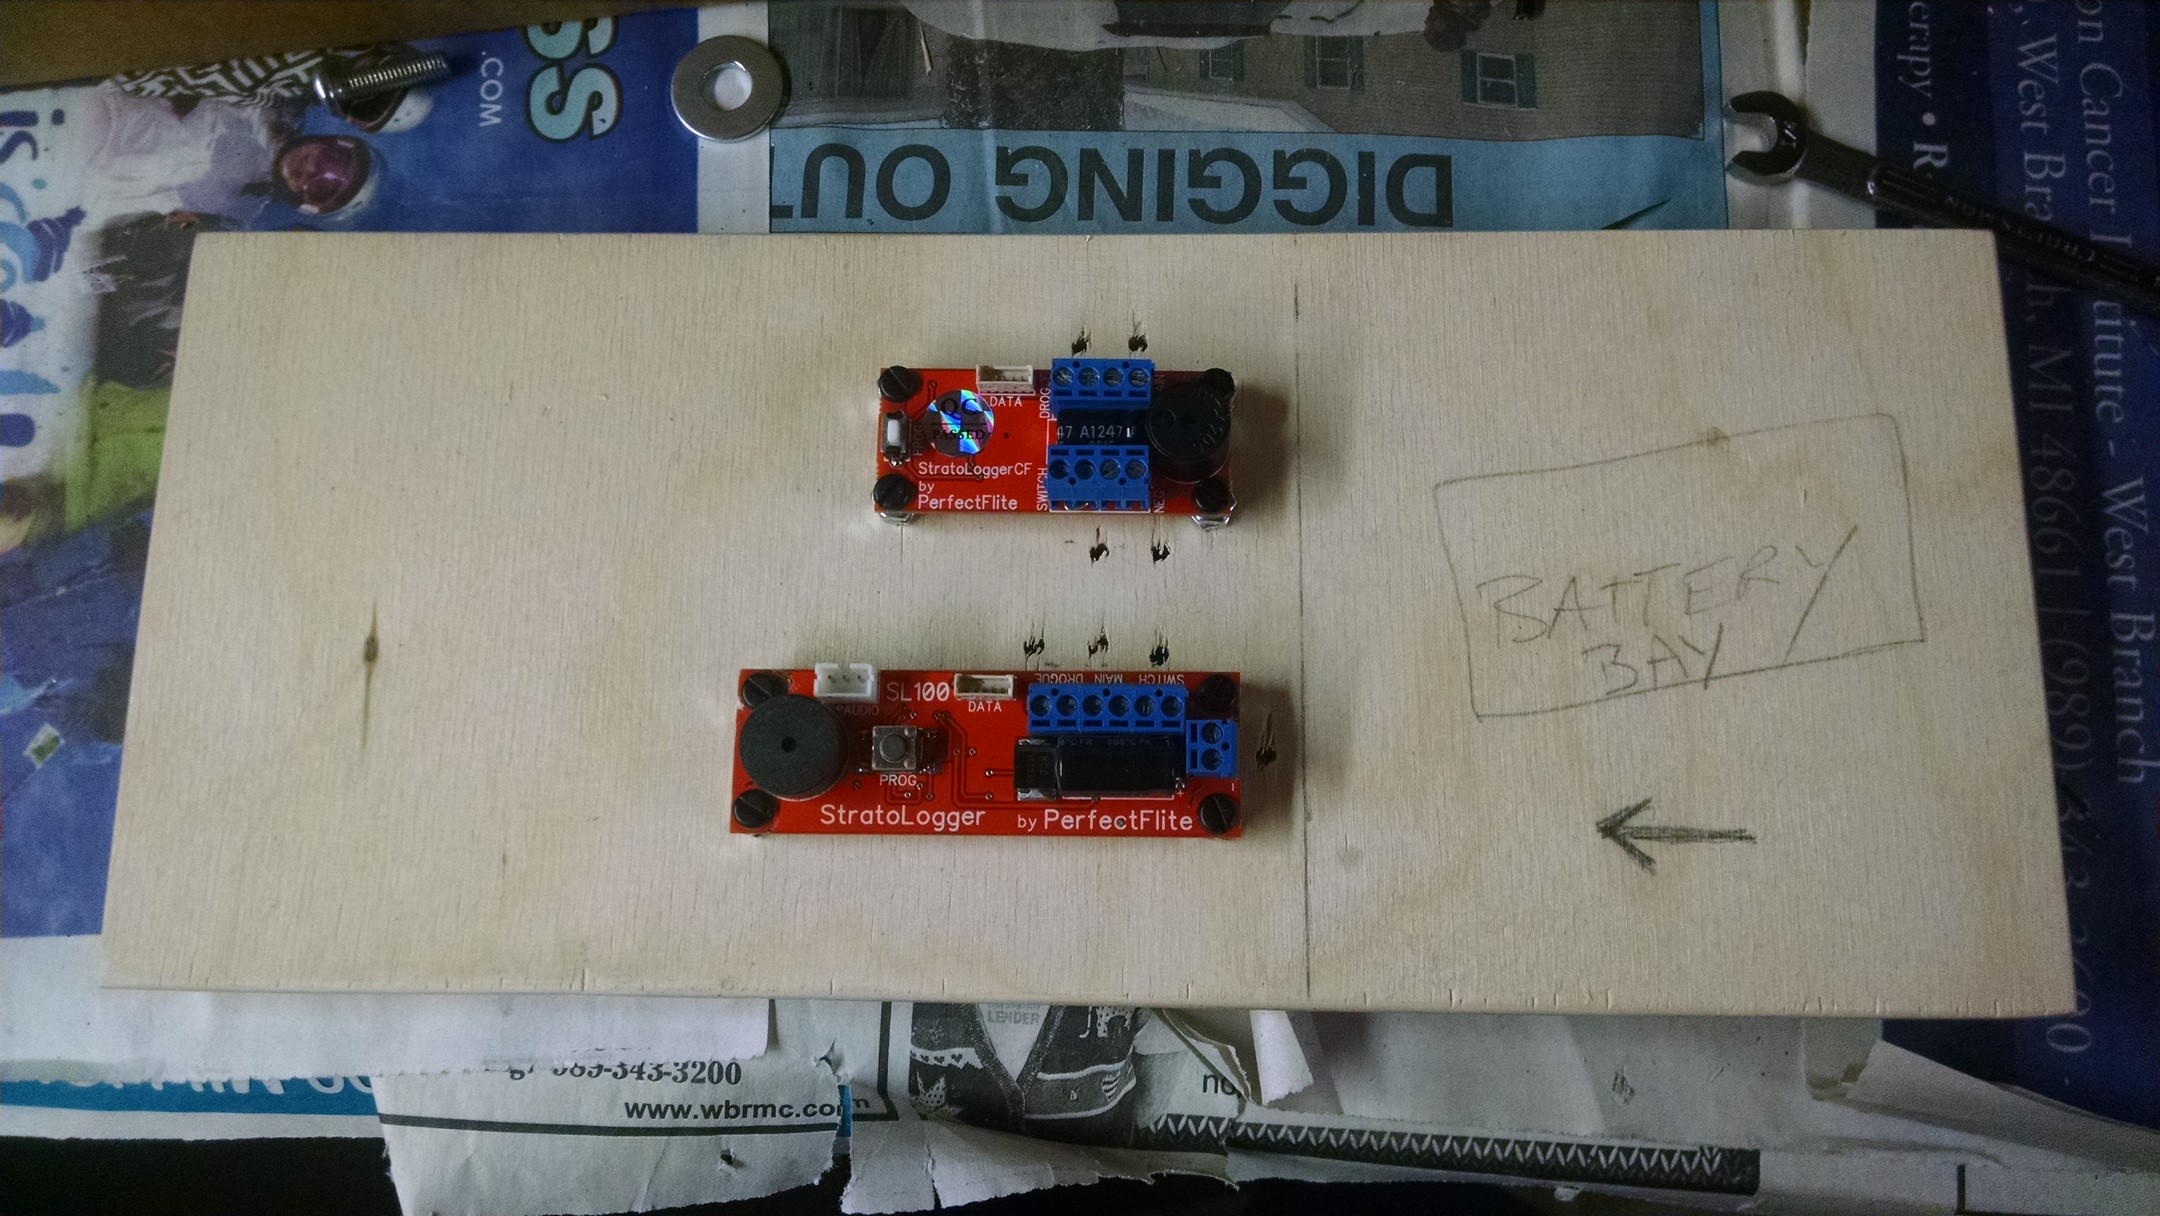
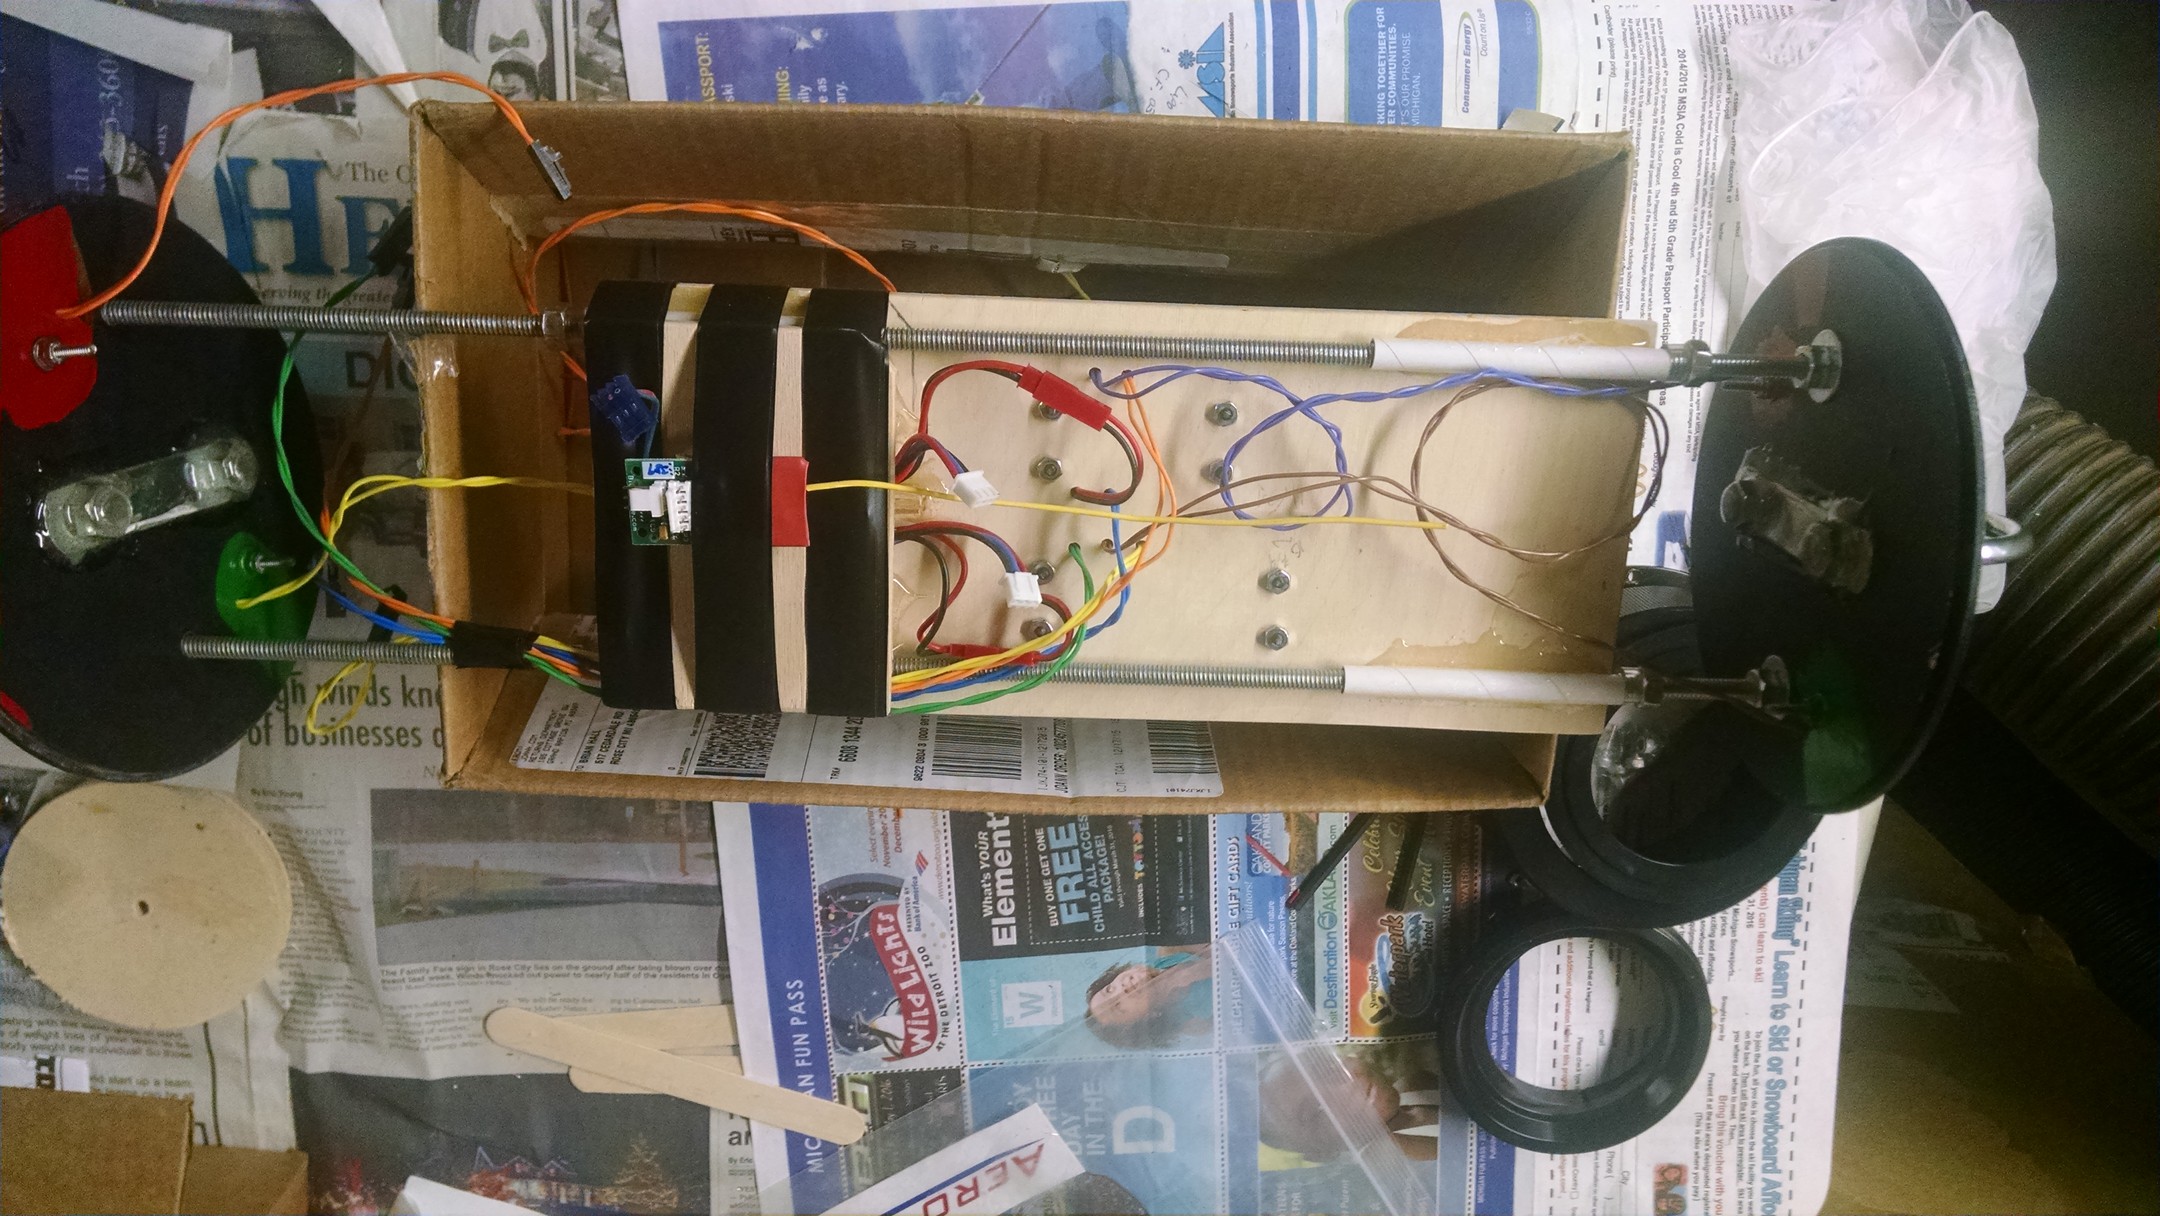
March 8, 2016 starting on the battery bay on the sled..
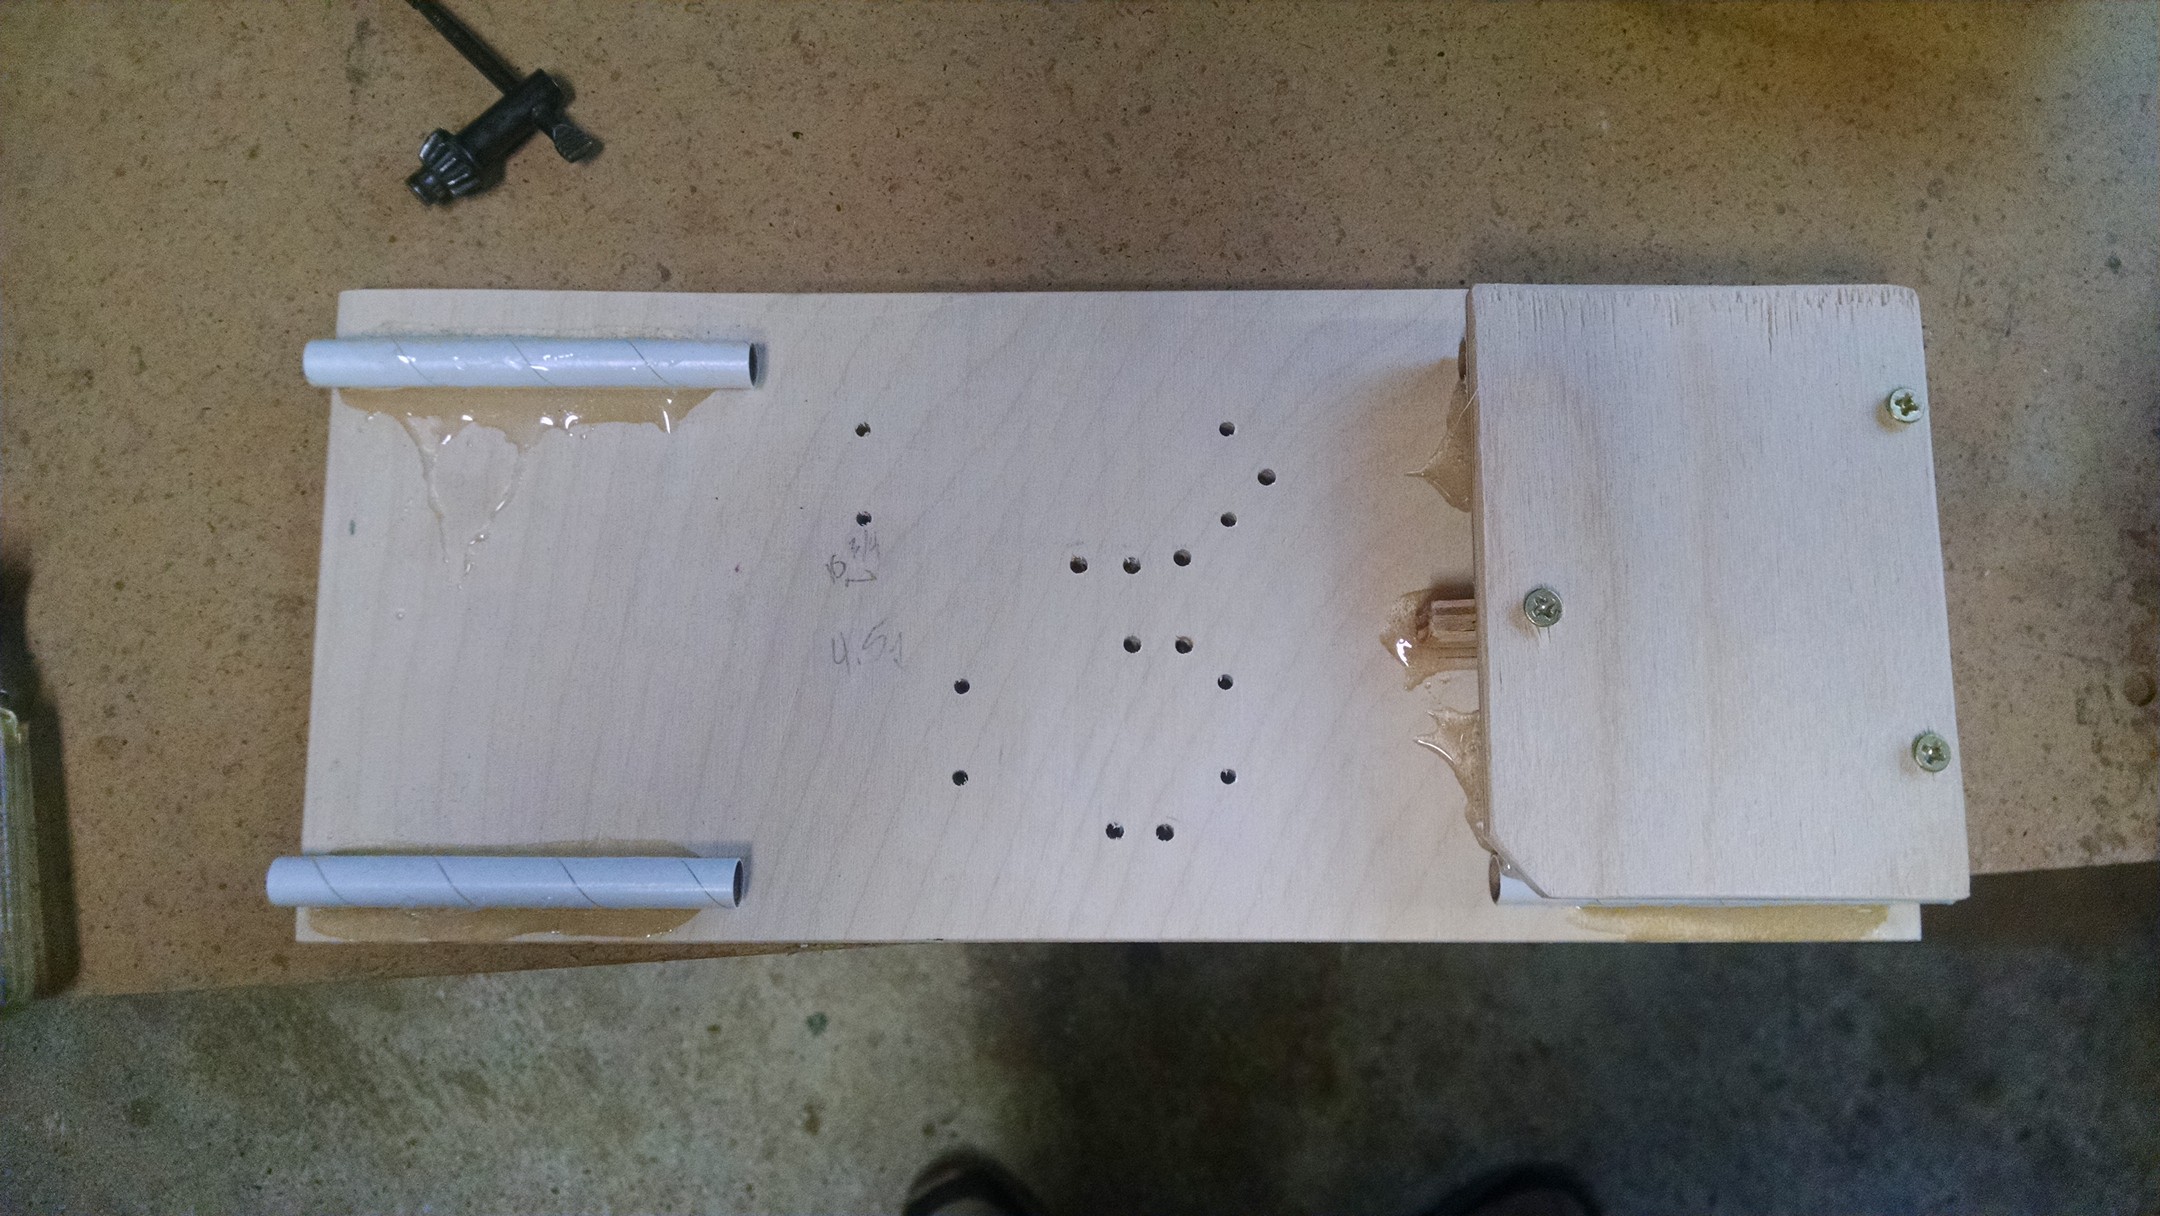
March 9, 2016 Bottom cover for battery bay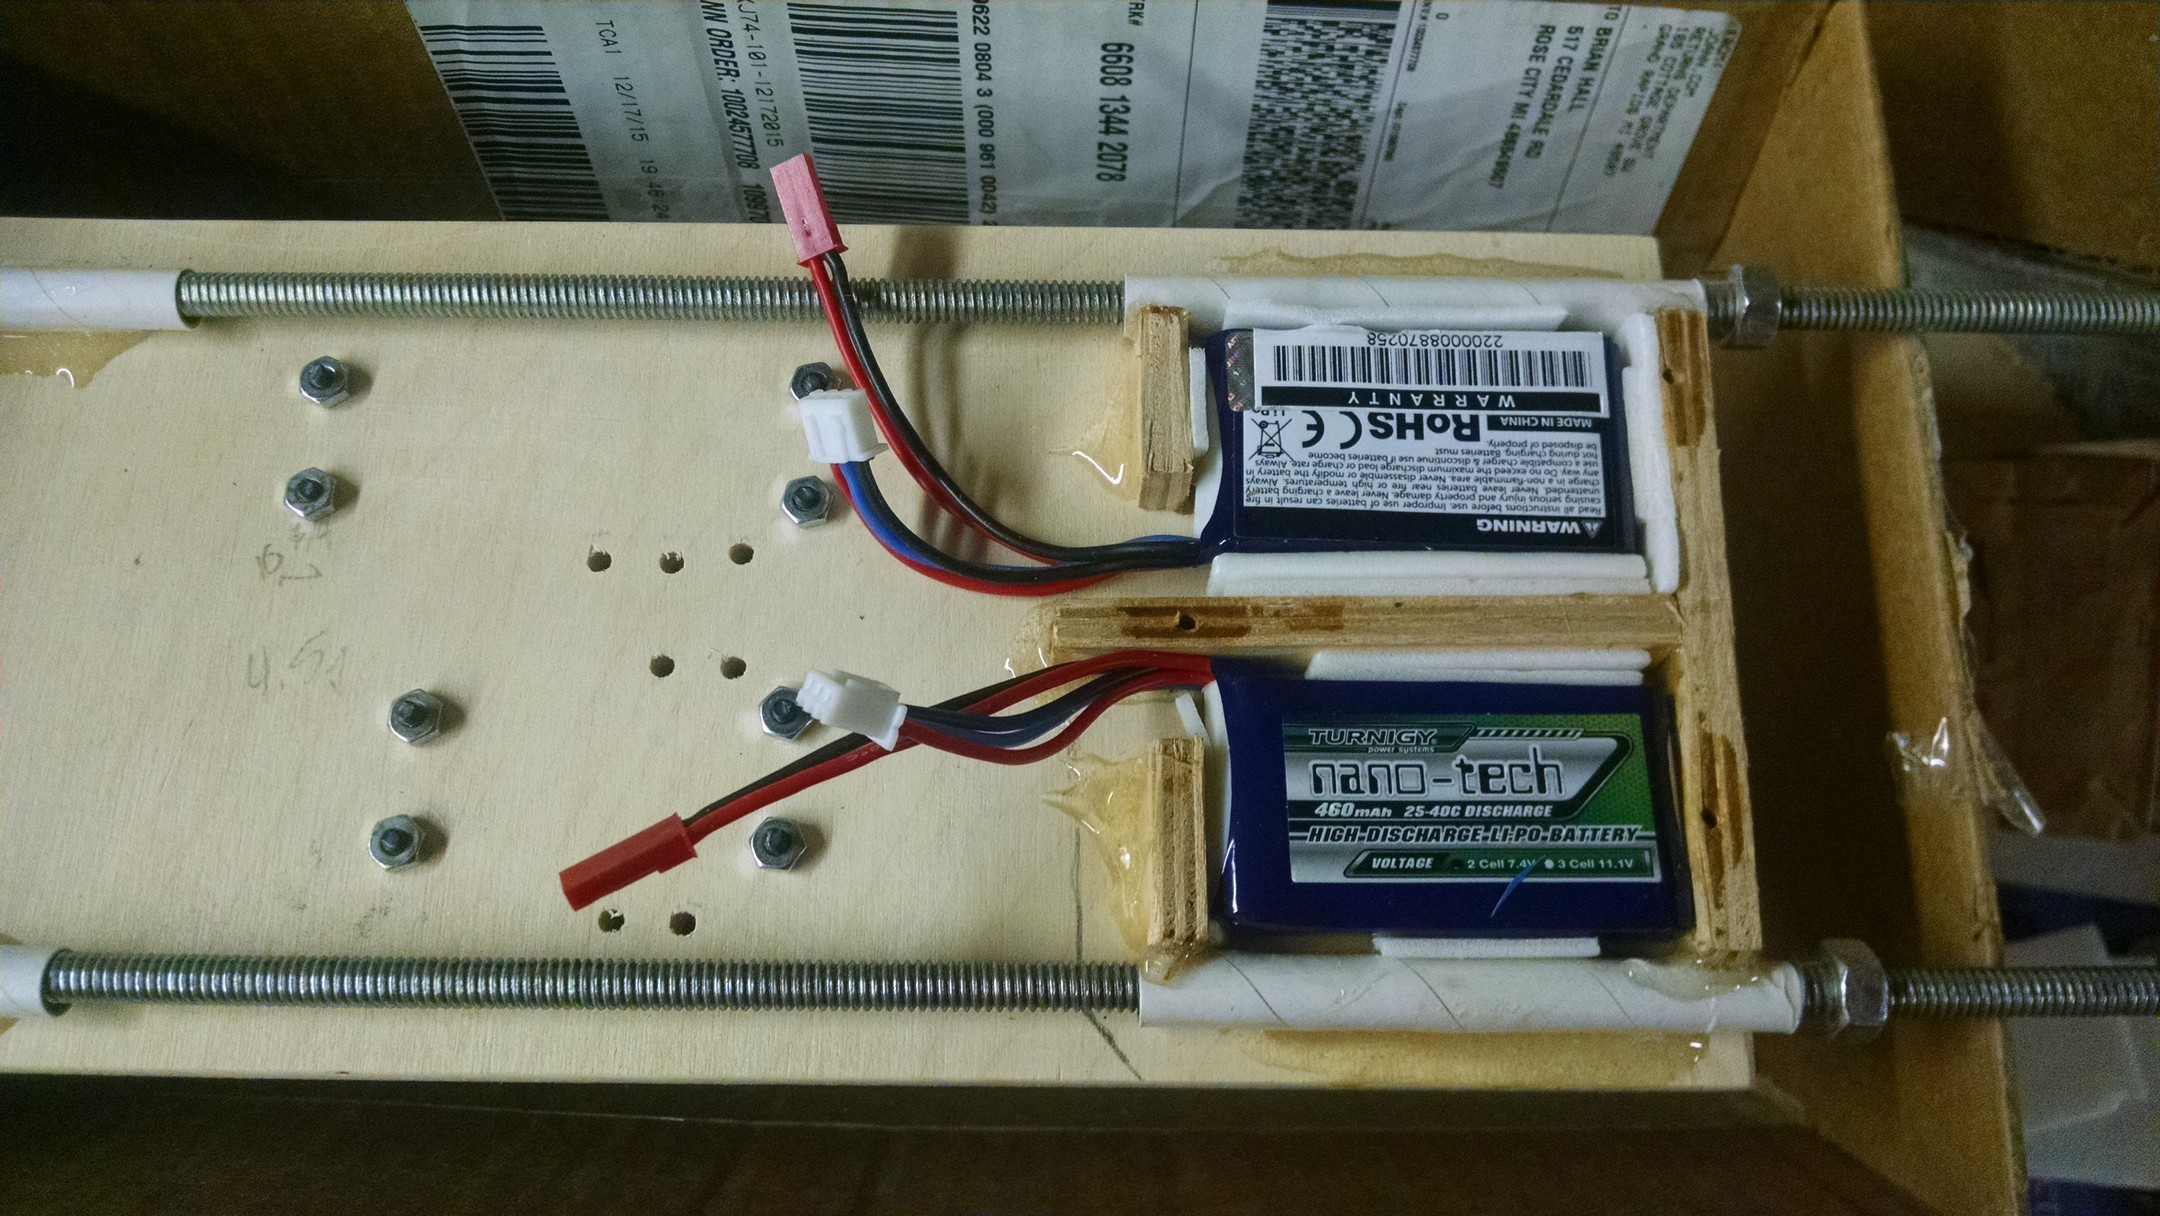
LiPo Batteries in with a little foam to keep it from moving
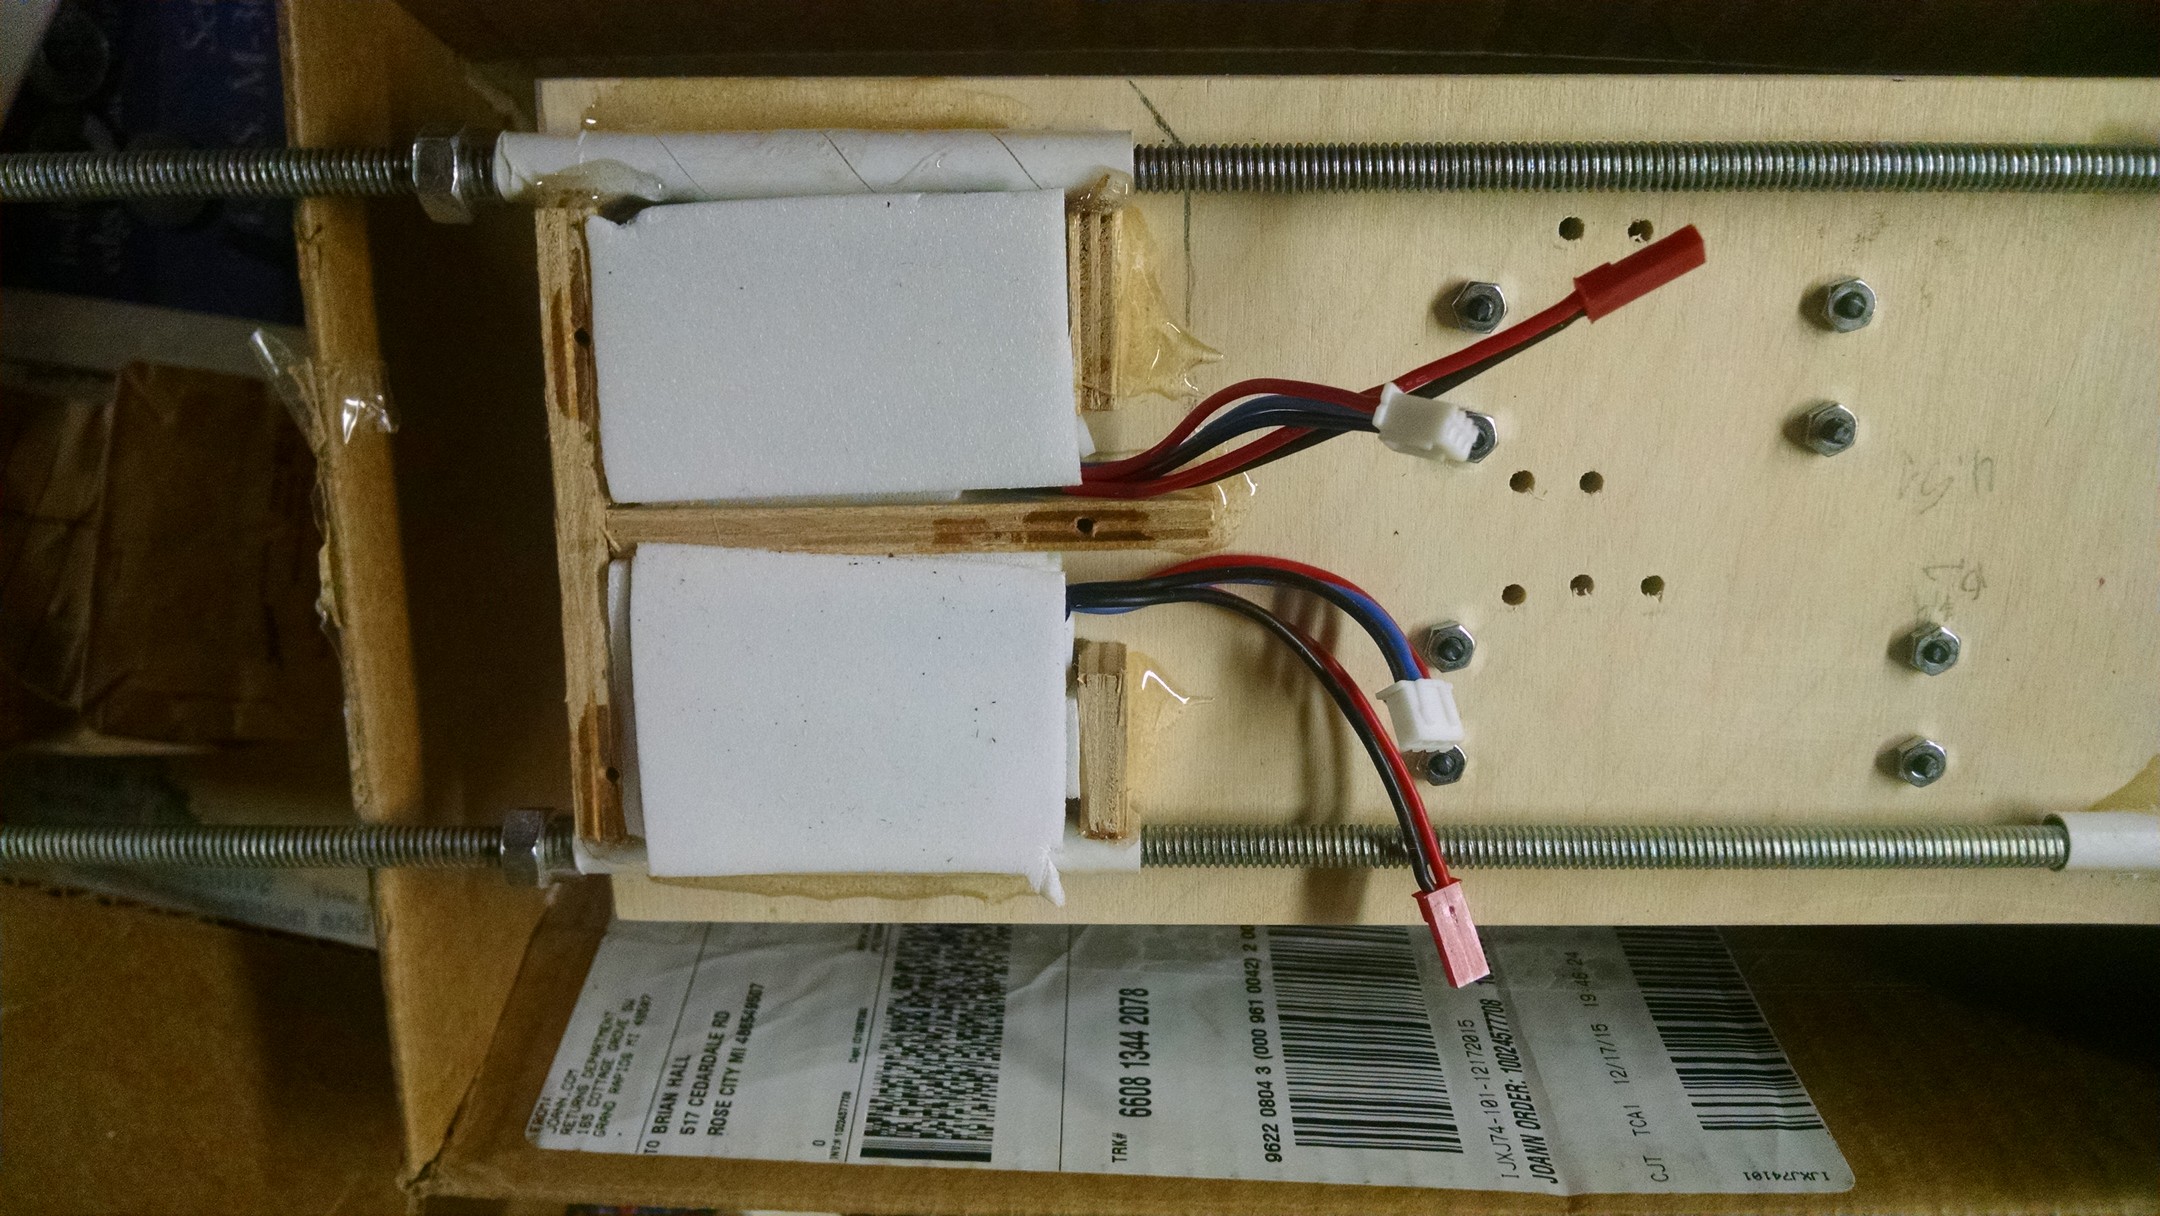
A bit more foam
cover on
StratoLogger mounted down.
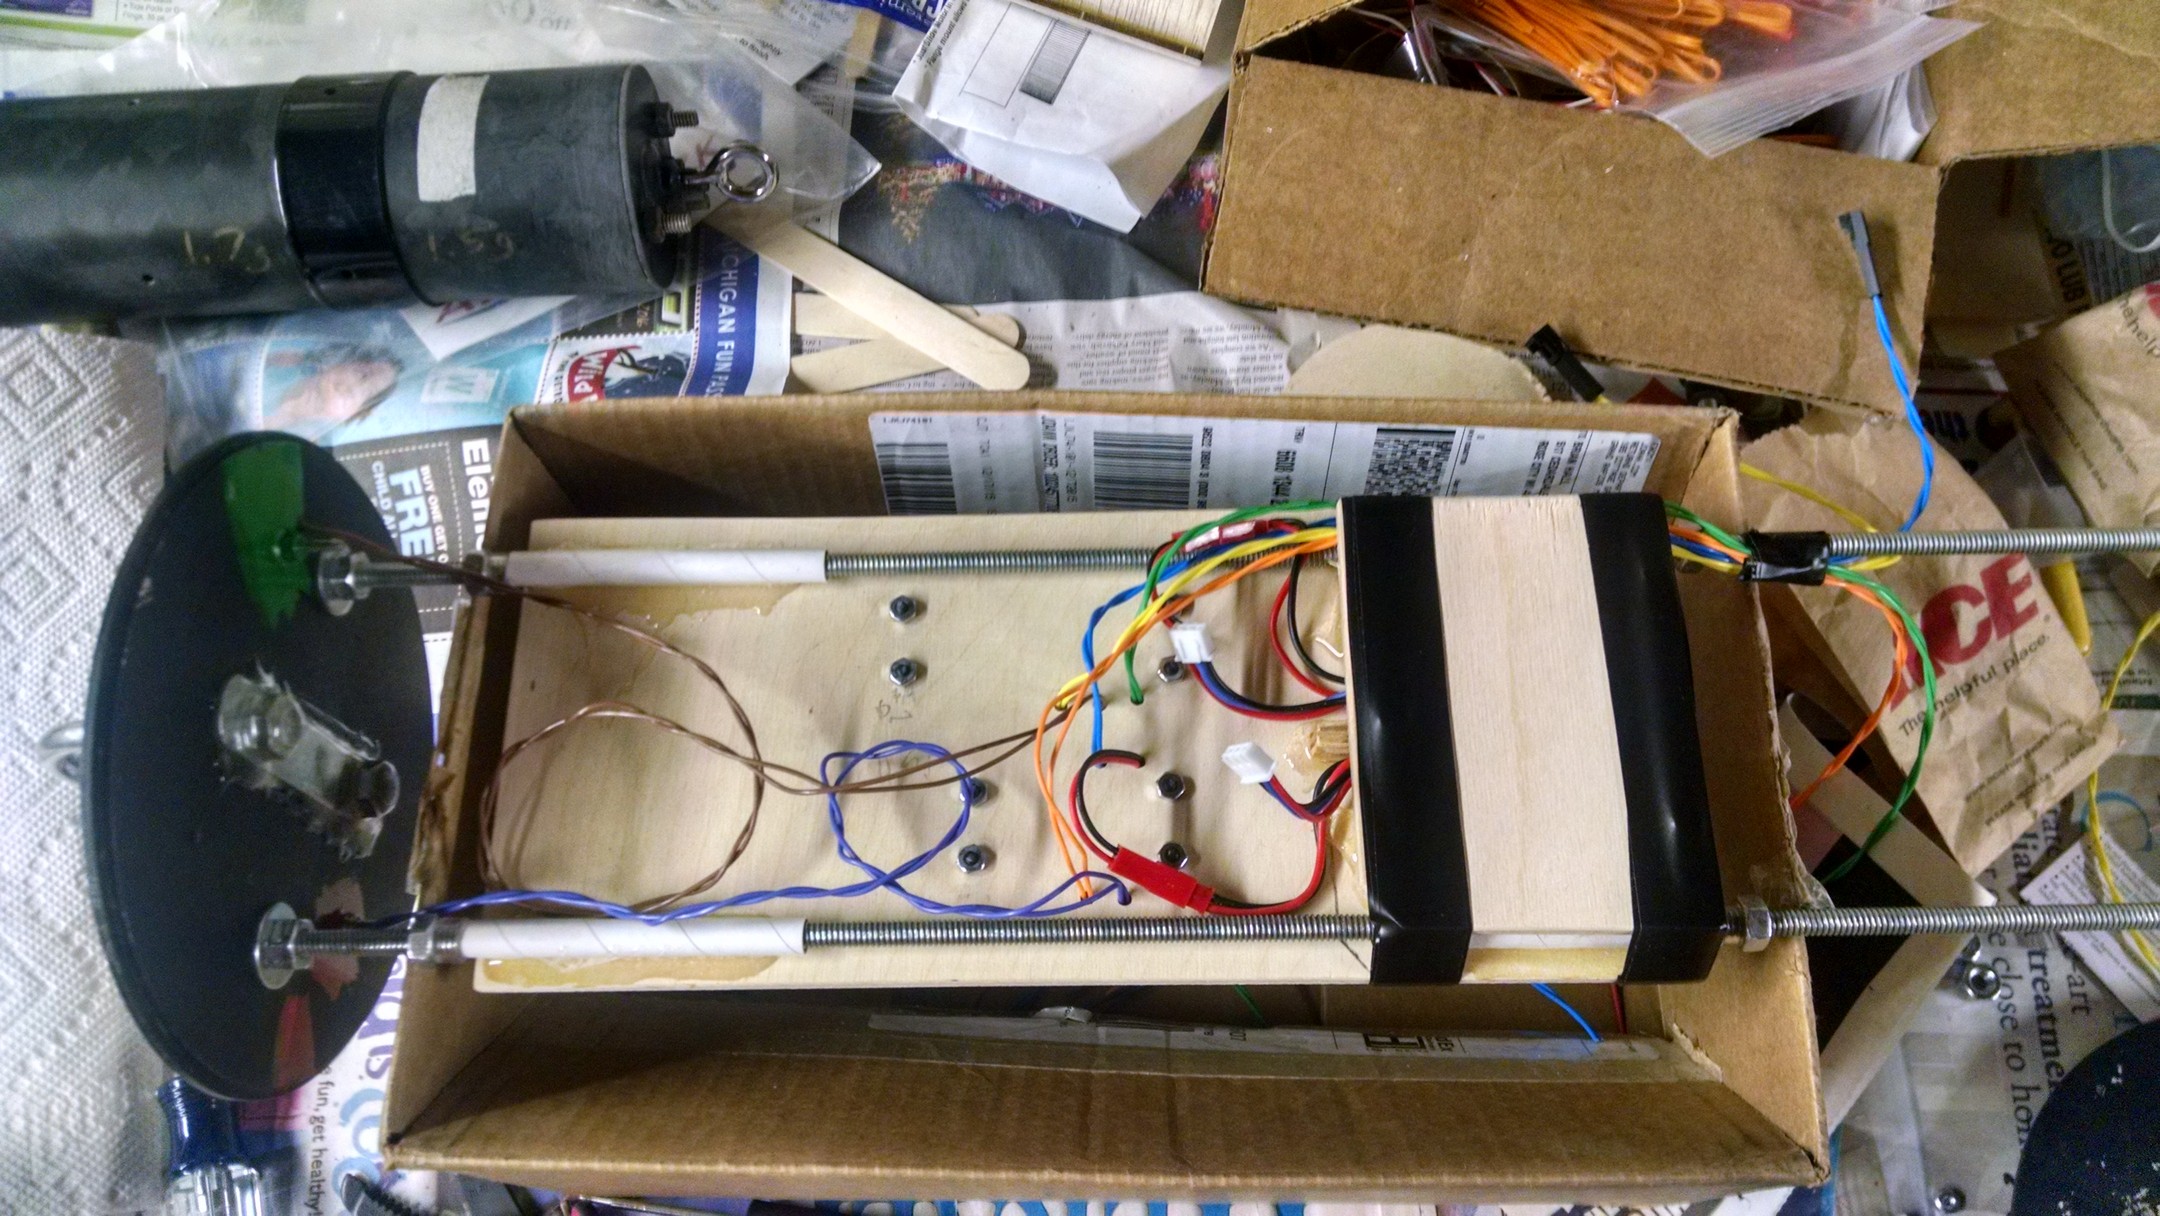
bottom view with all of the wires routed
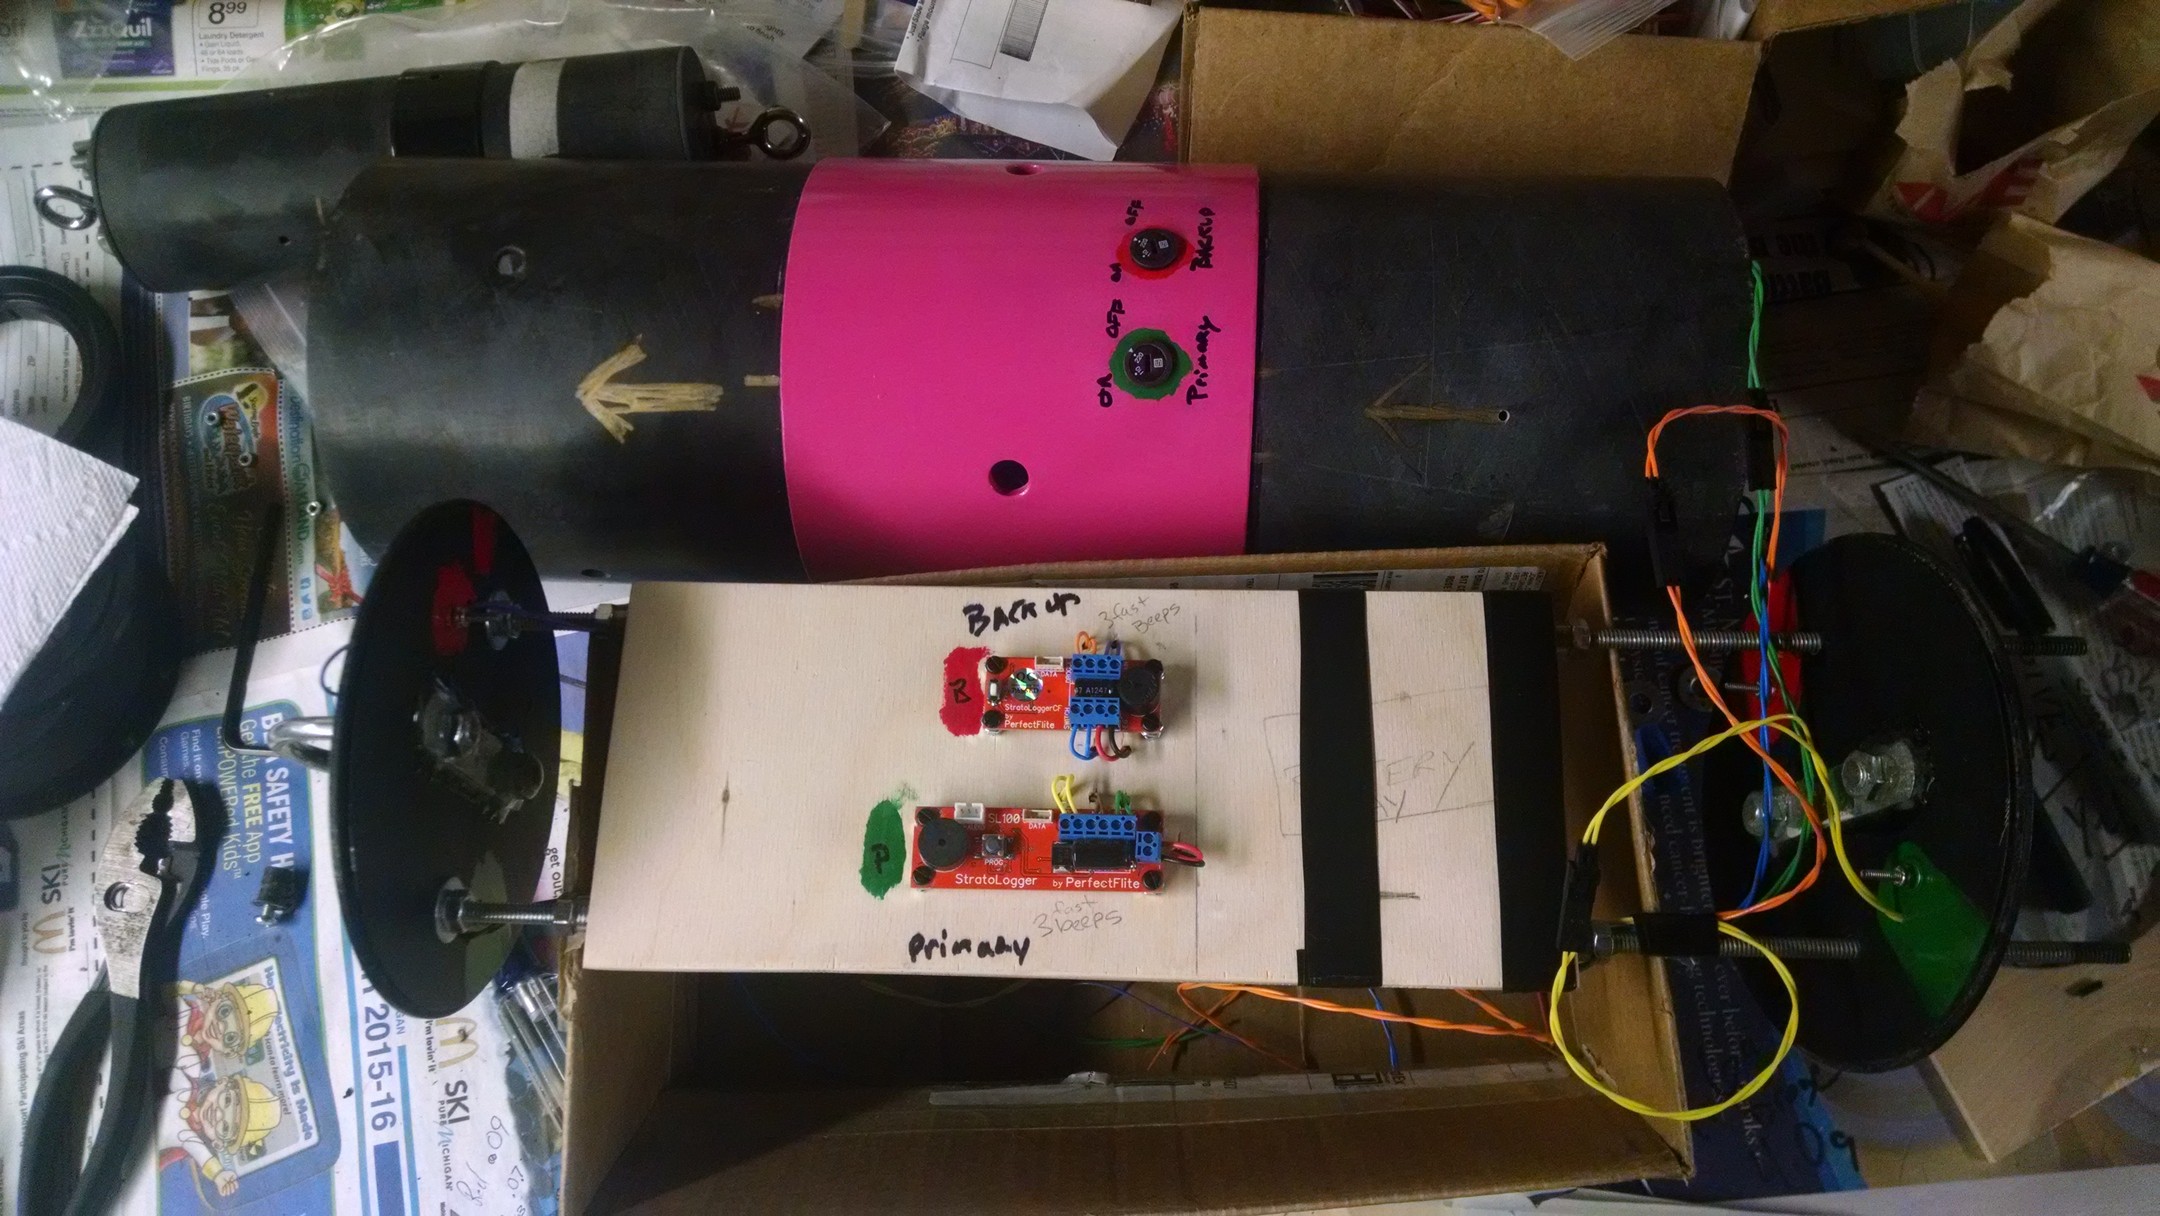
Top view… Green side is Primary and Red side is backup.. the electrical tape to a double protection to keeping the batteries in.
March 10, 2016 Added a Big Red Bee 70cm beacon to the bottom of the ebay.
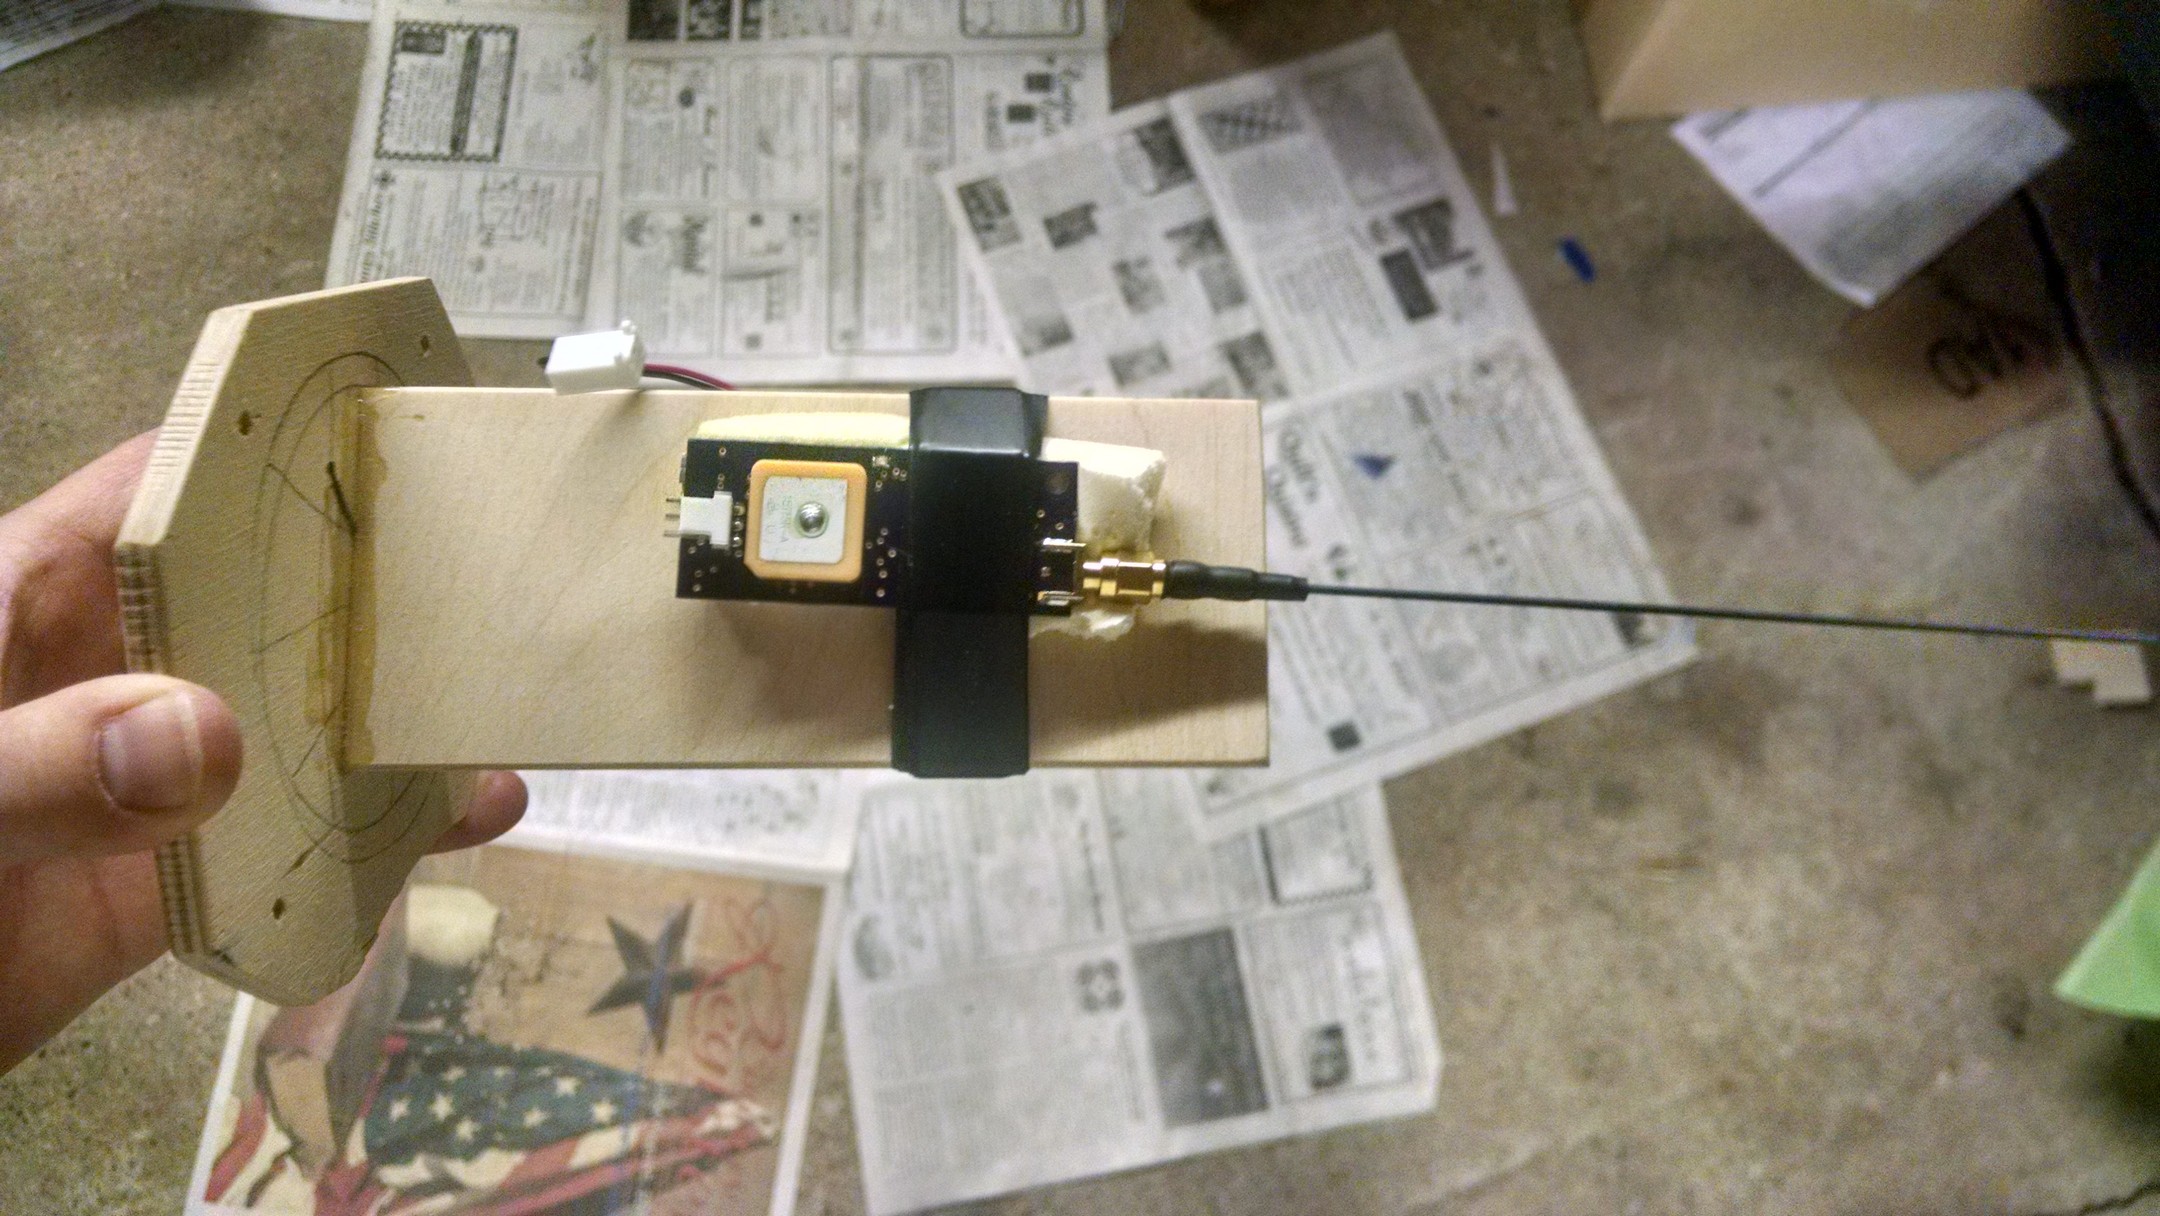
Mounted Big Red Bee 70cm APRS GPS unit to the tracker sled for the nose cone.
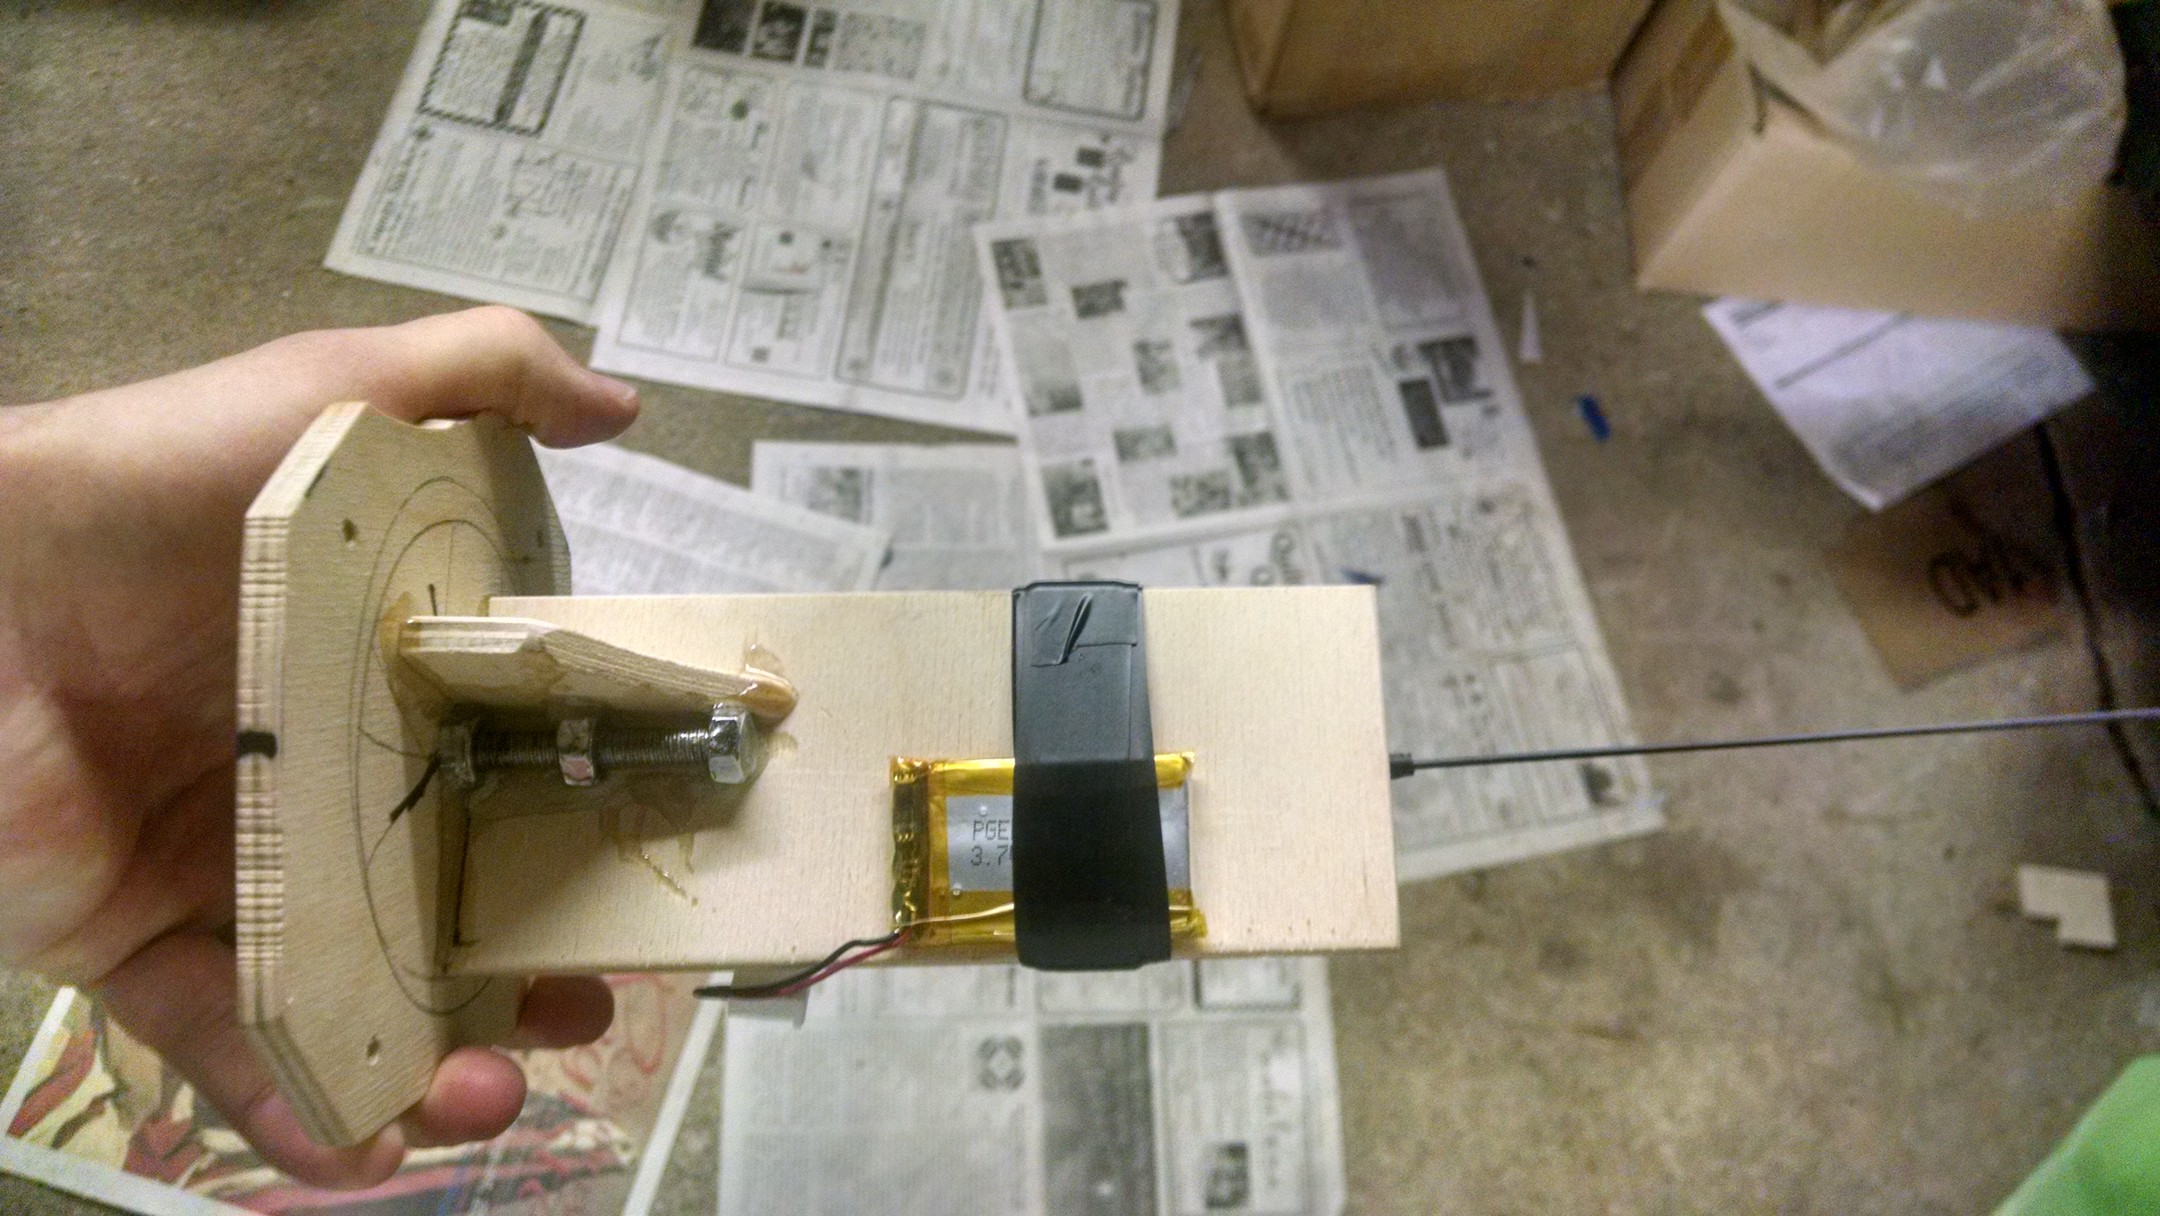
Battery is on the bottom.
Added some decals as well.
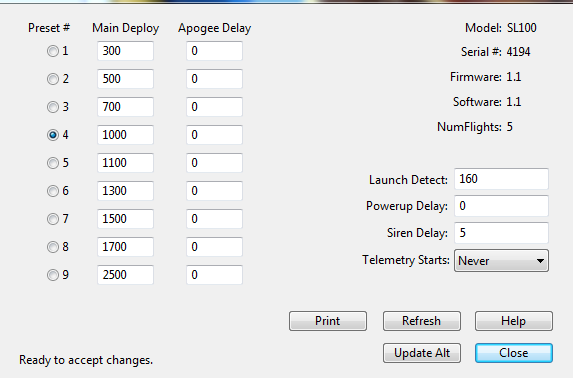
Main Altimeter programed
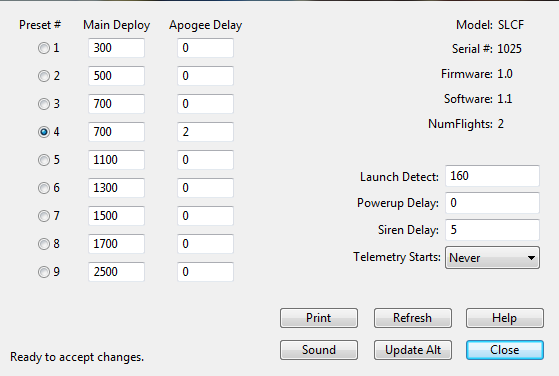
Backup Altimeter is programed
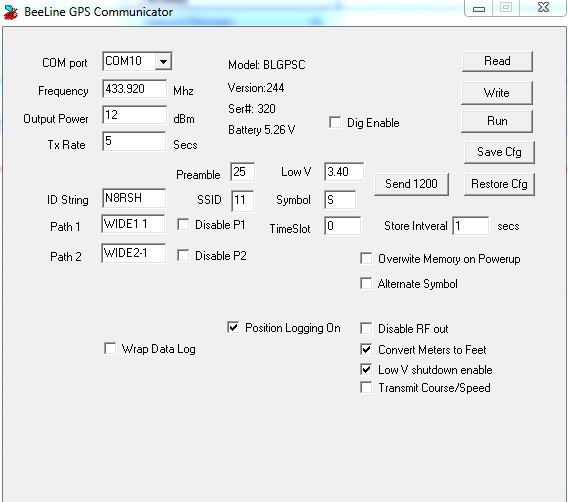
March 12, 2016 Big Red Bee 70cm GPS is programmed.
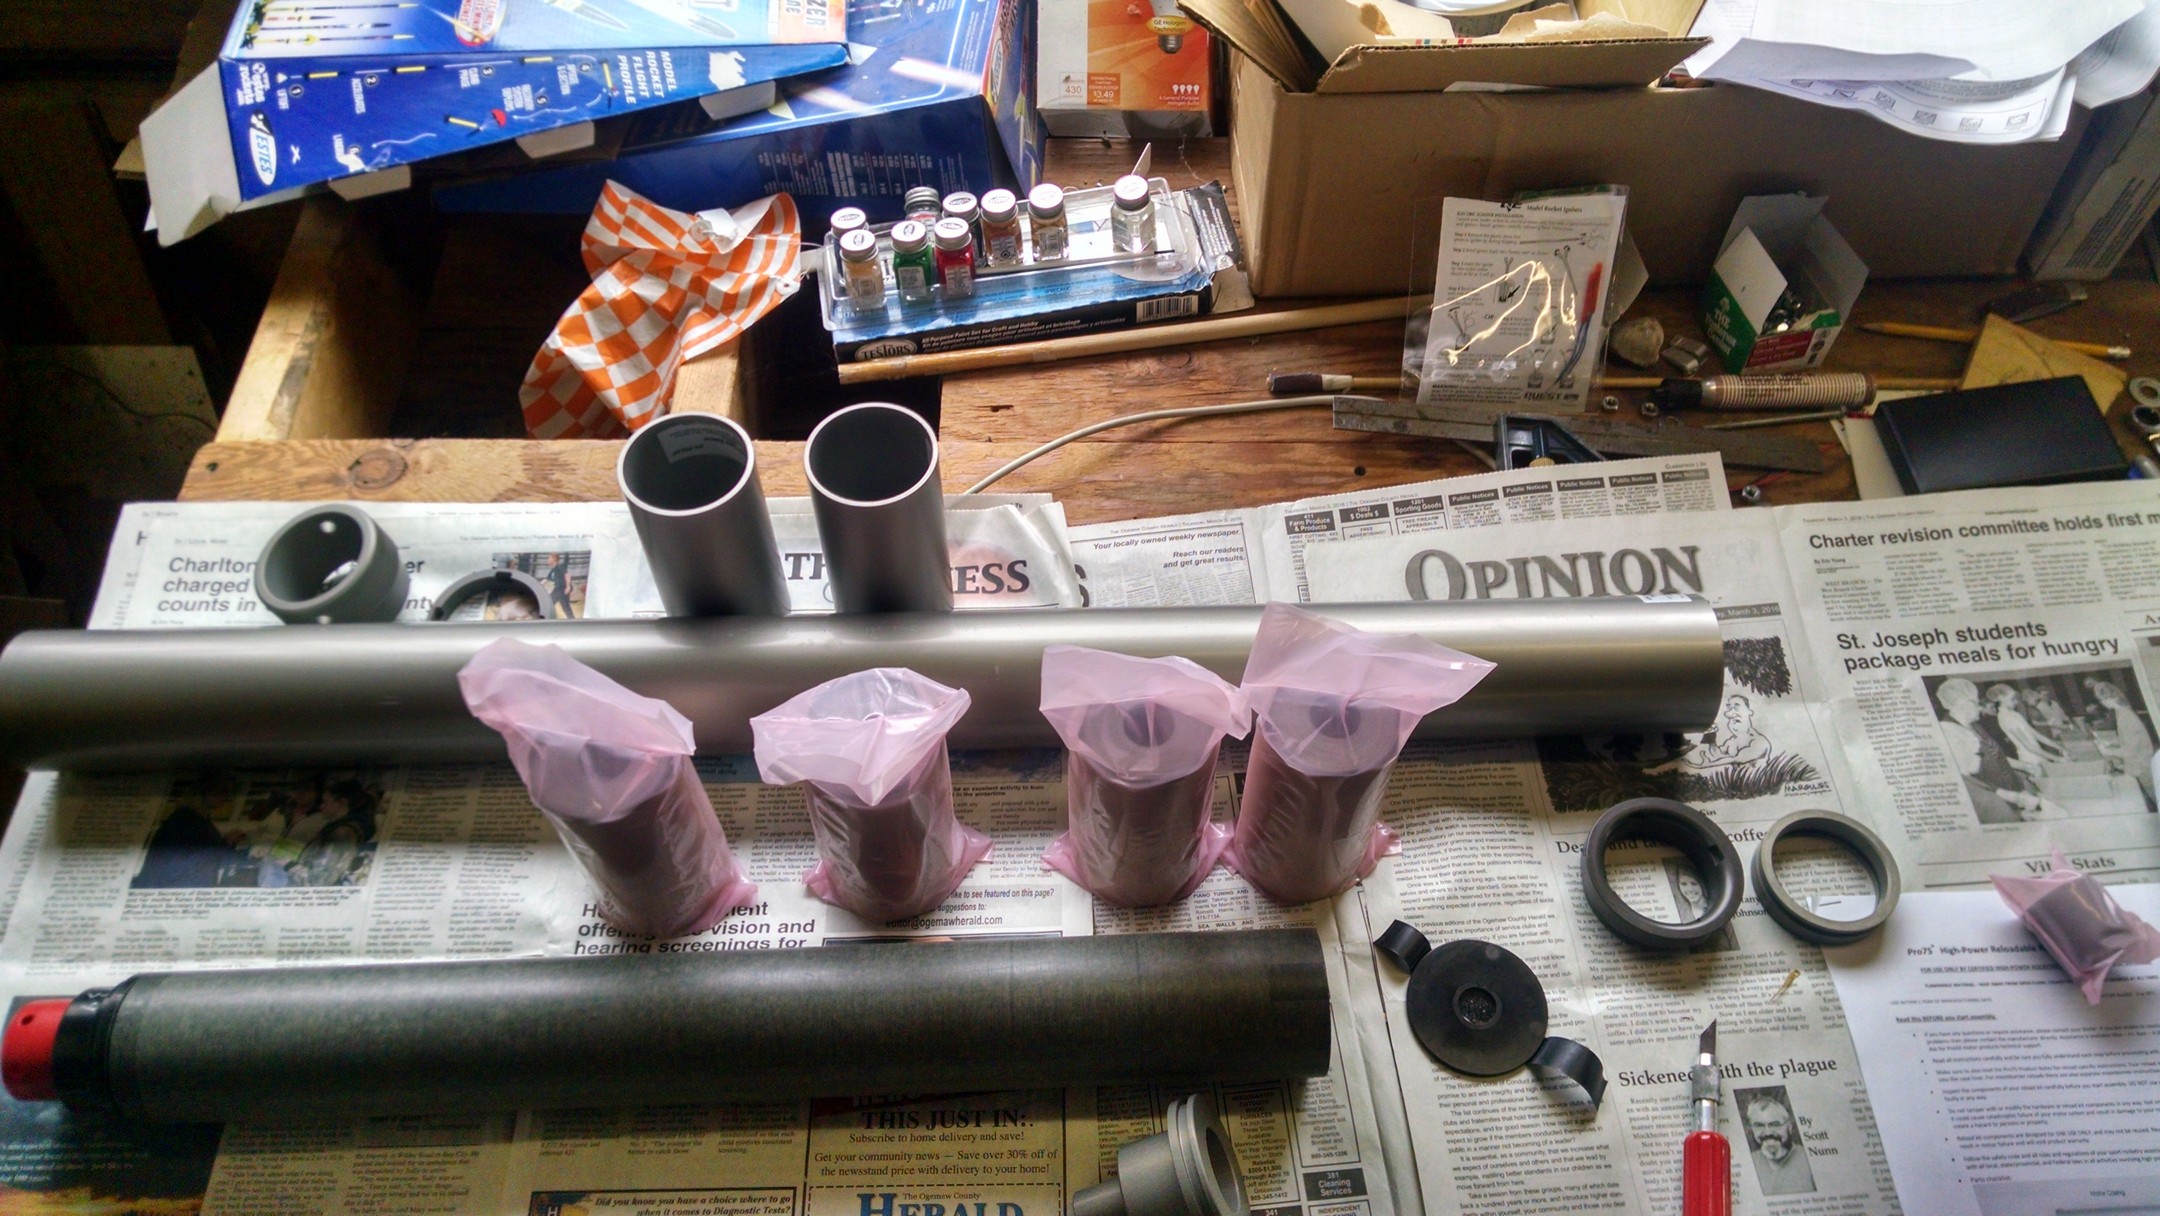
March 13, 2016 Motor assembly time …
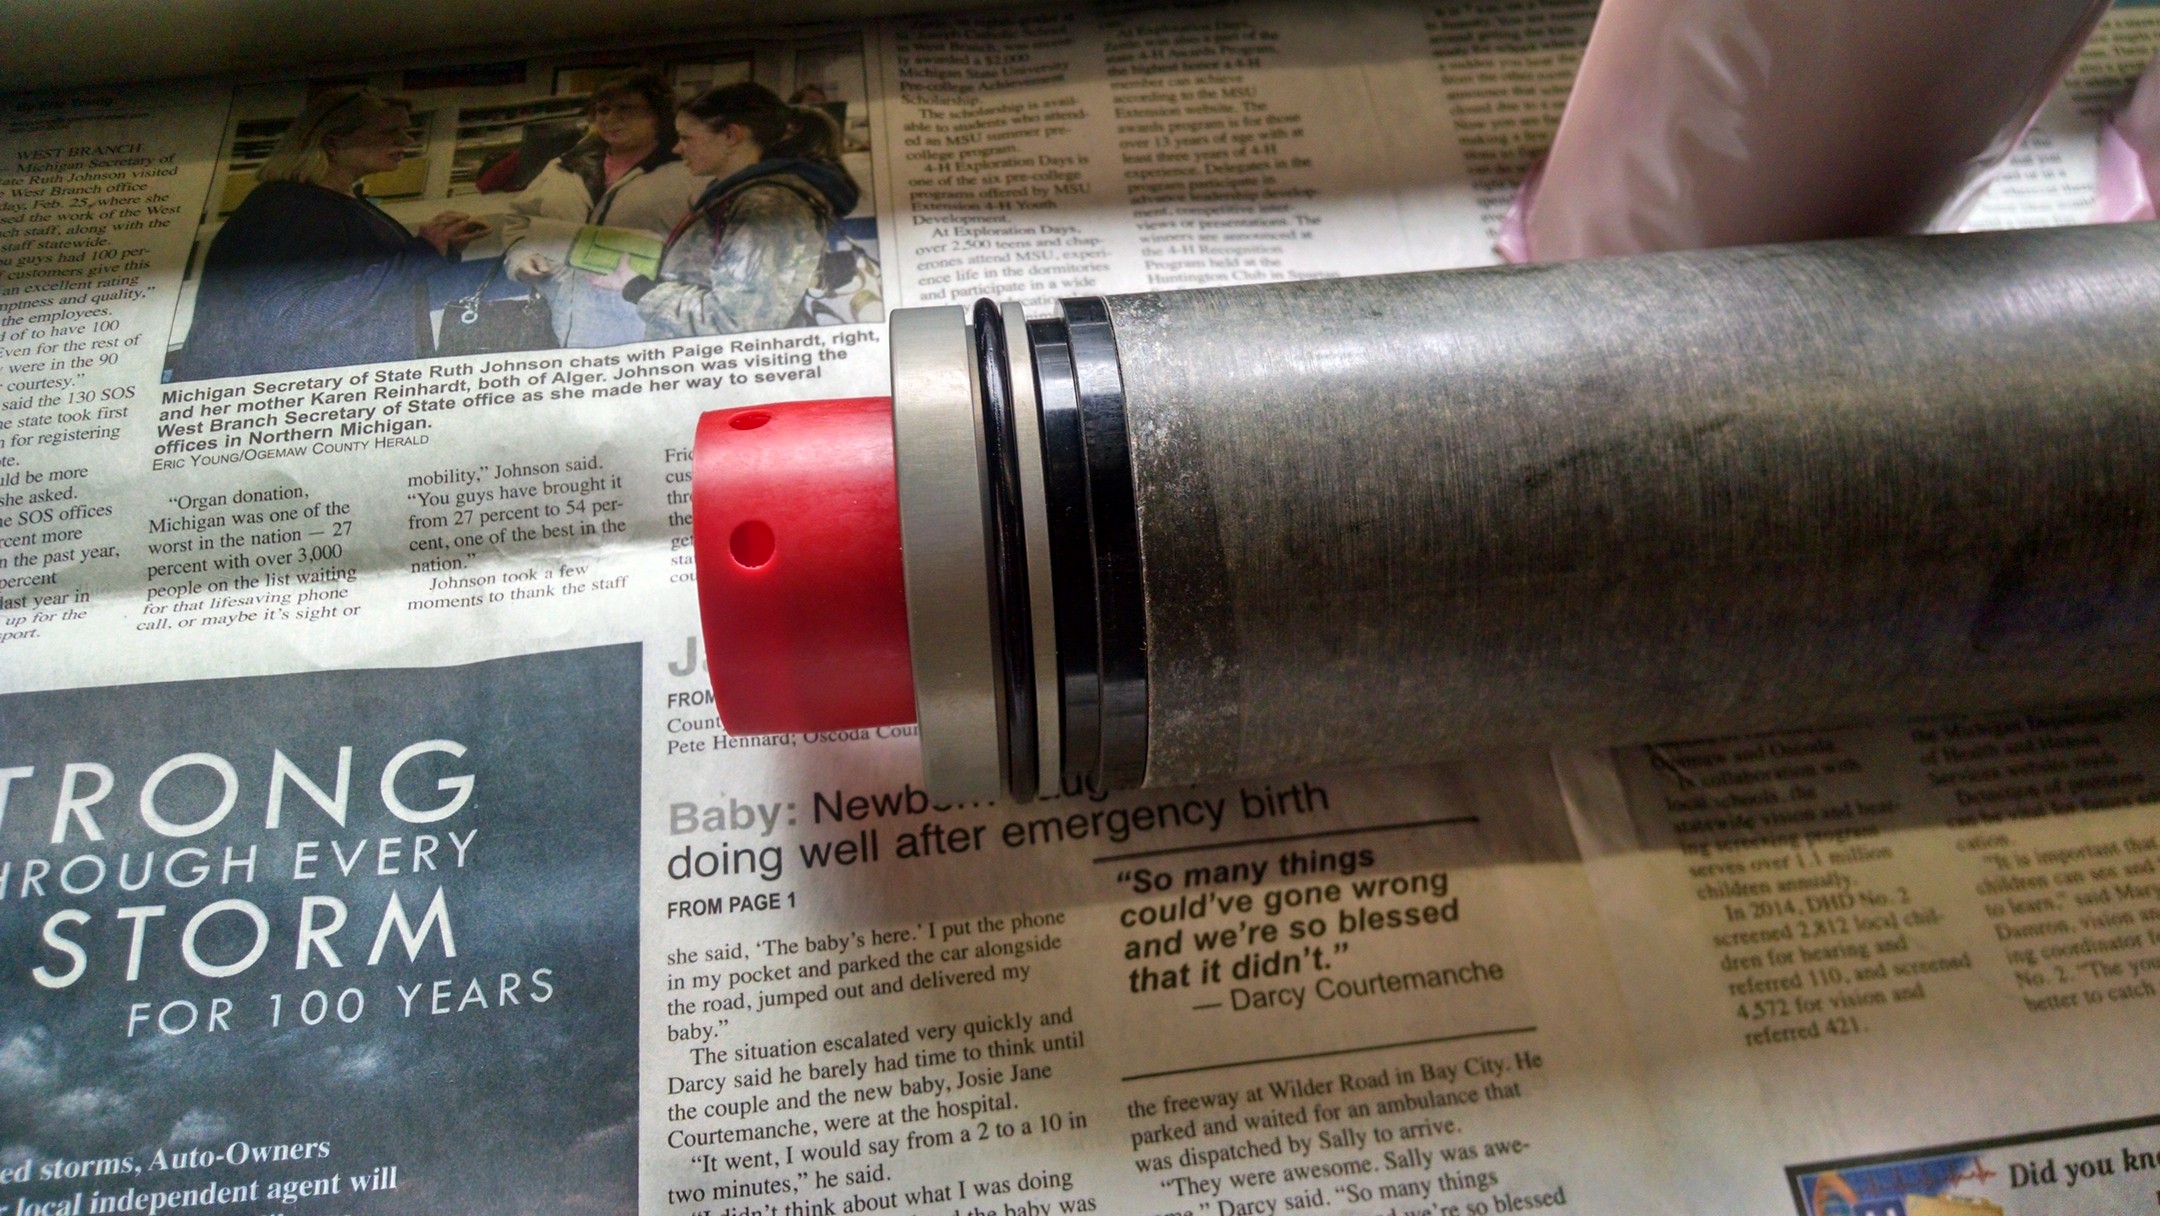
Forward closer with smoke charge inserted.. lubed on the inside of the closer
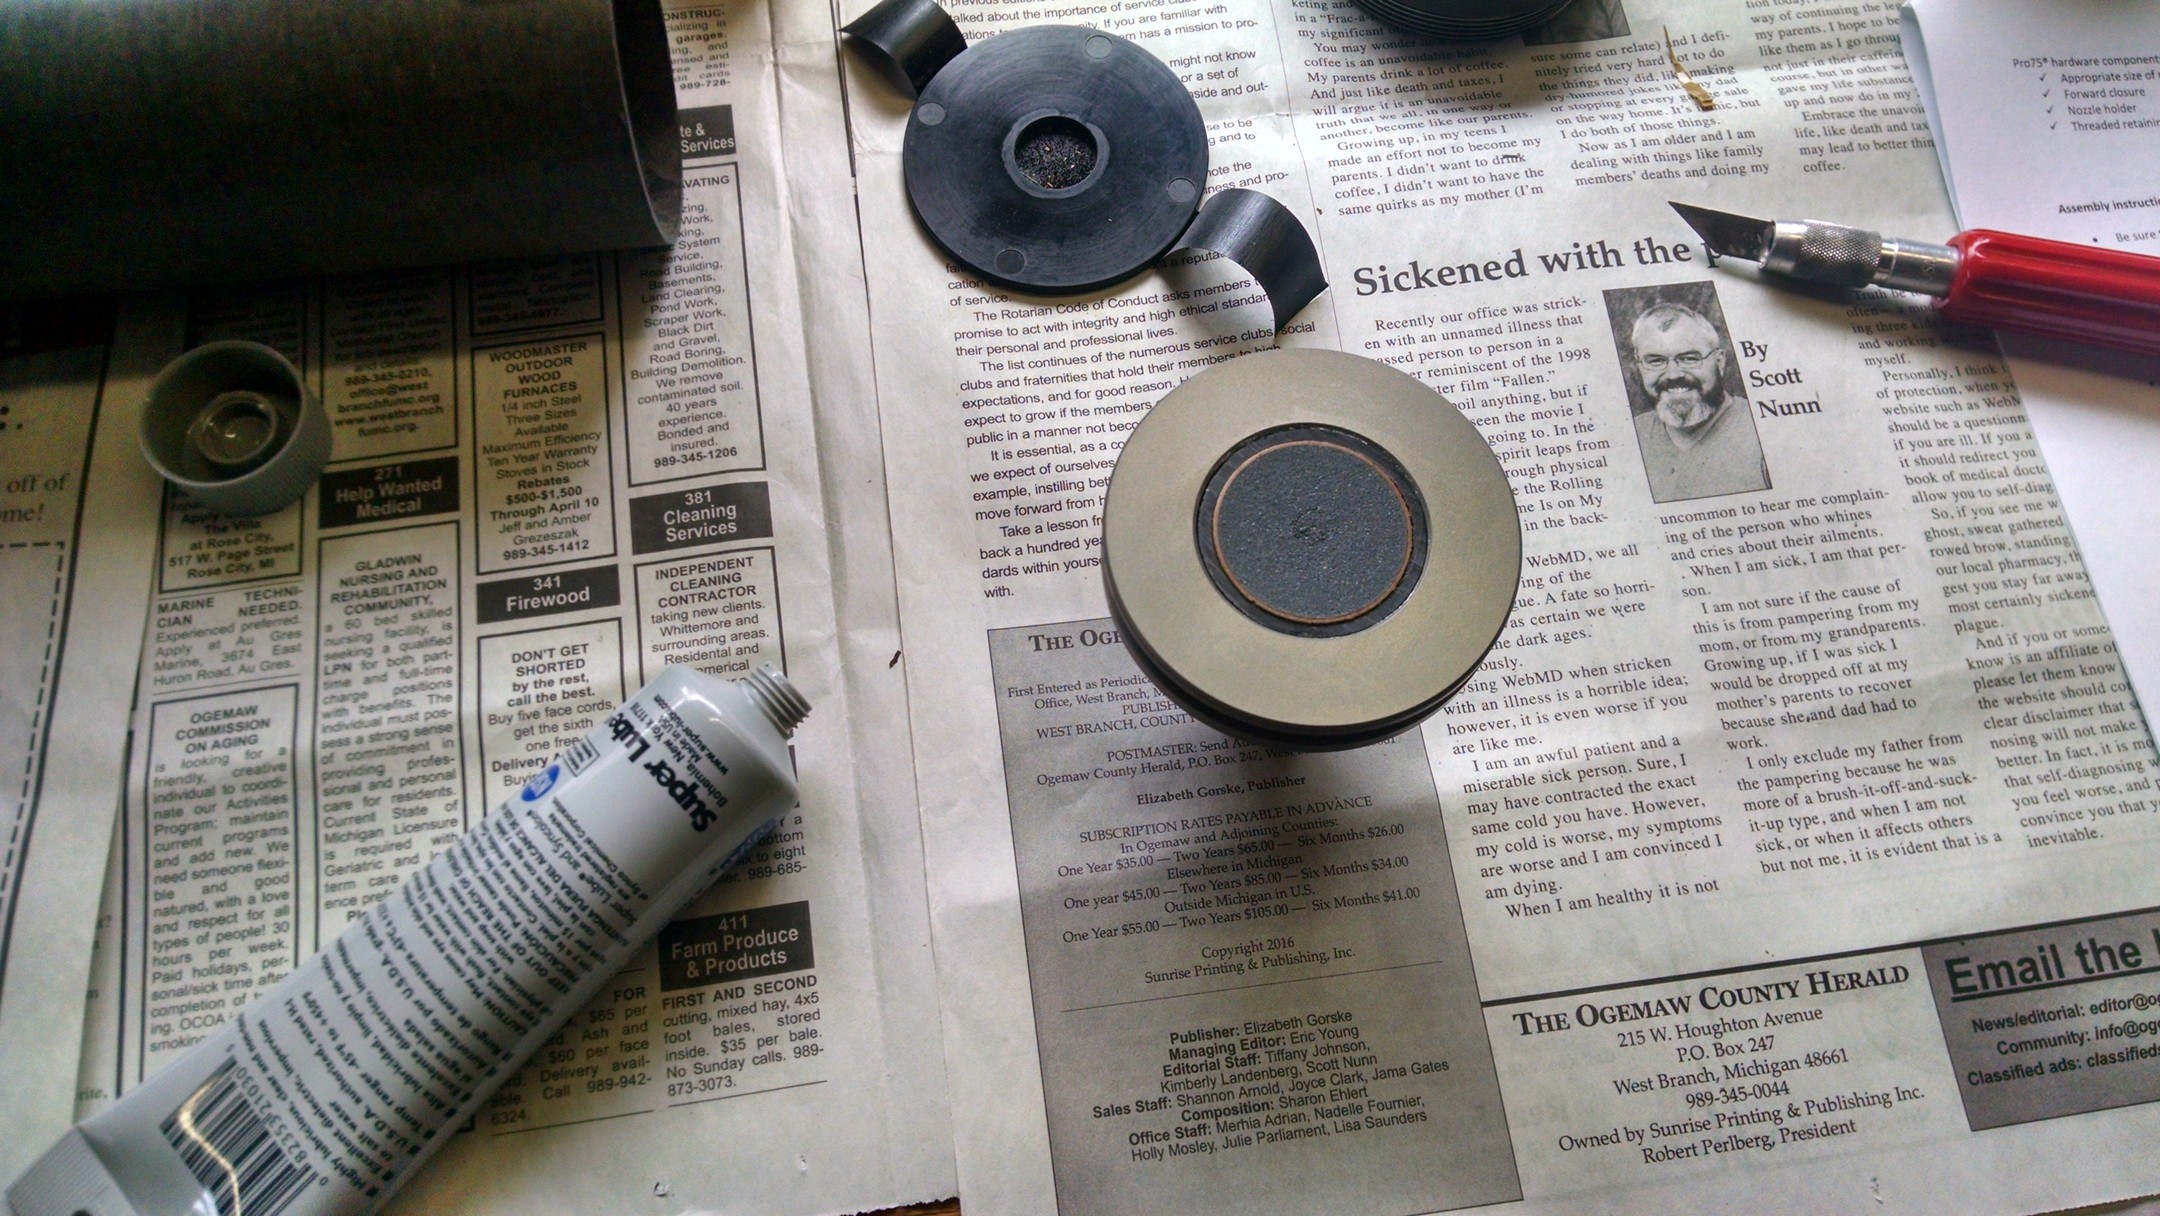
Rear retaining ring on the nozzle.. two O rings here, inside and outside of the metal ring
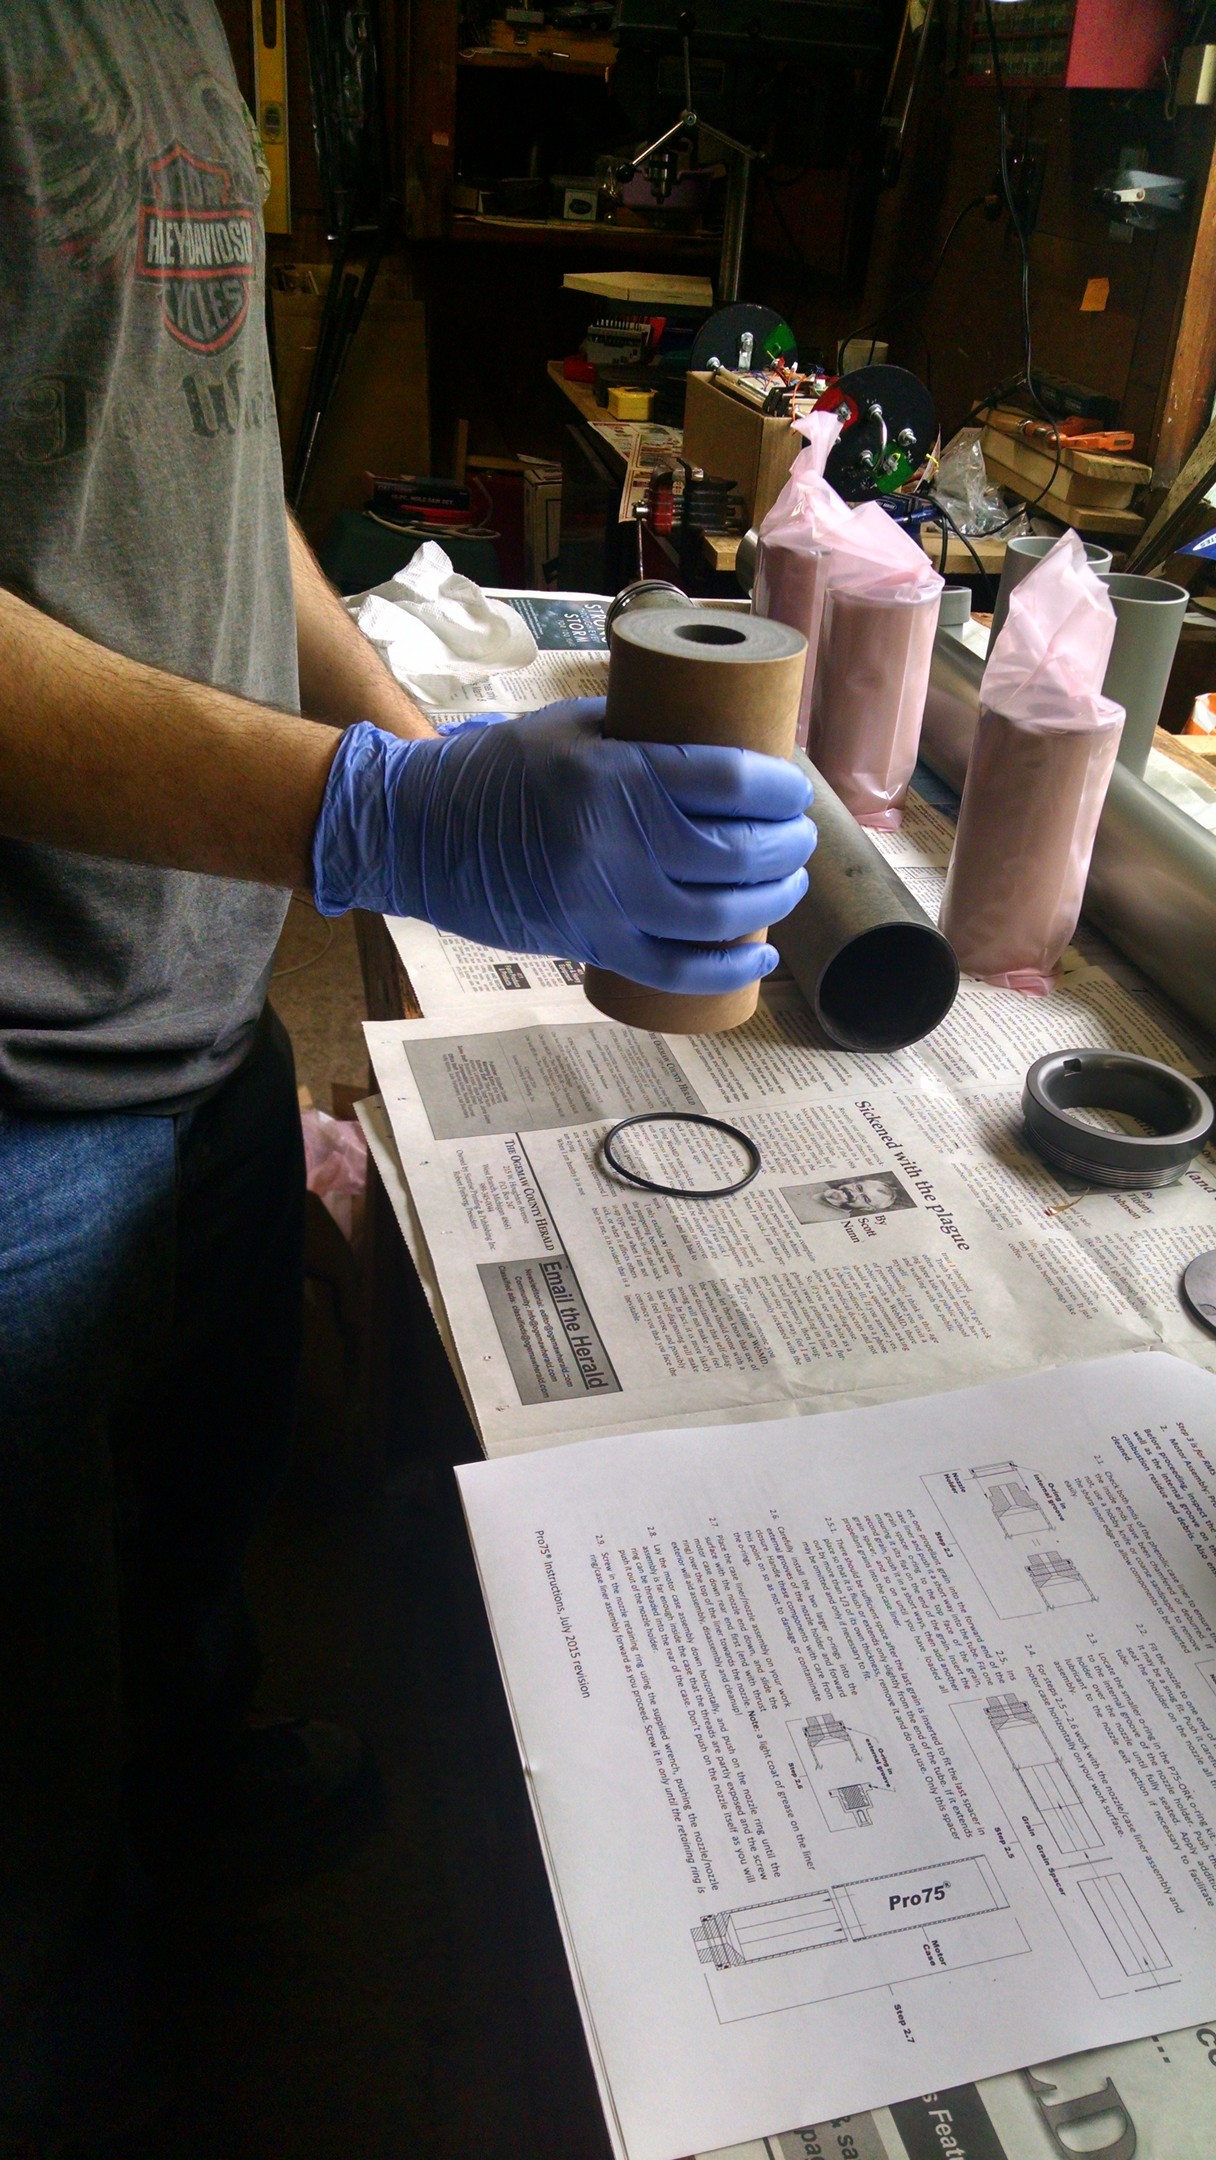
front the top.. grain in then o ring, then grain then o ring then grain then o ring then grain then o ring.
sorry is miss the photo of the forward closer and two spacers that go in the top..

Add the AreoPack adapter system from 75mm to 98mm
Looks like it will fit…

and I think we are ready to FLY!!!
 March 19-20, 2016 Cert Weekend